 |
 |
 |
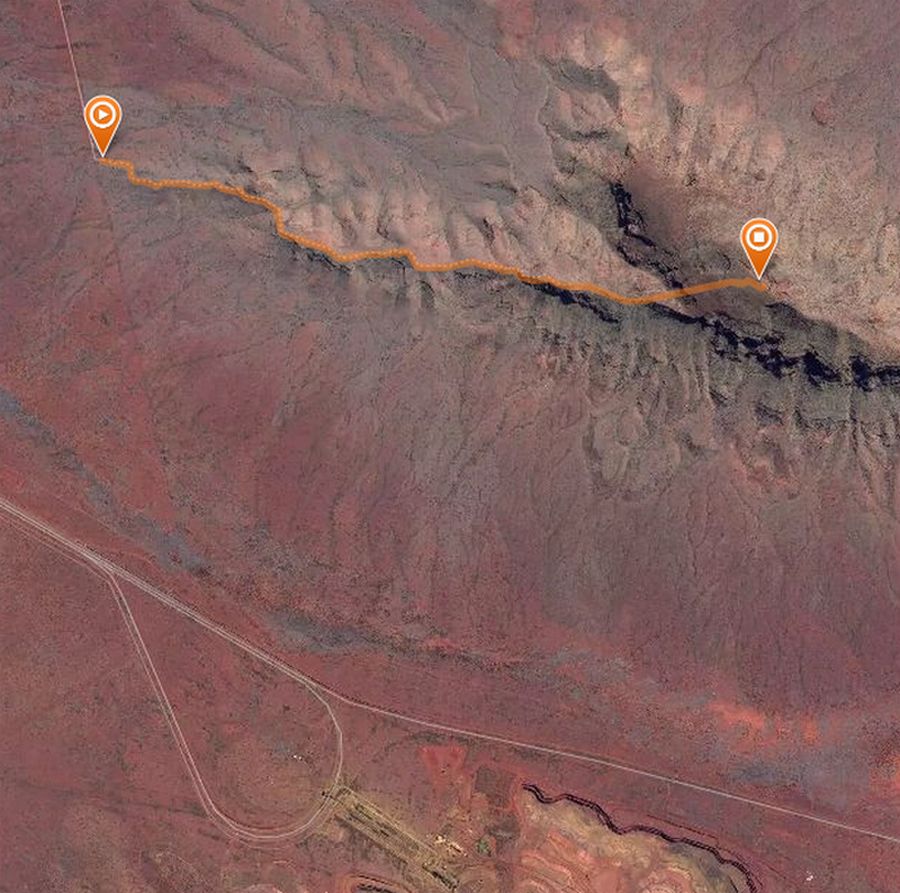
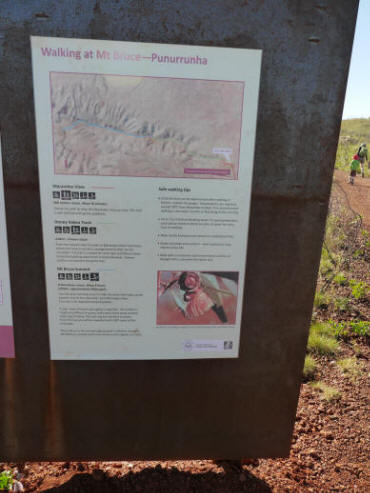
| The start sign in the
carpark |
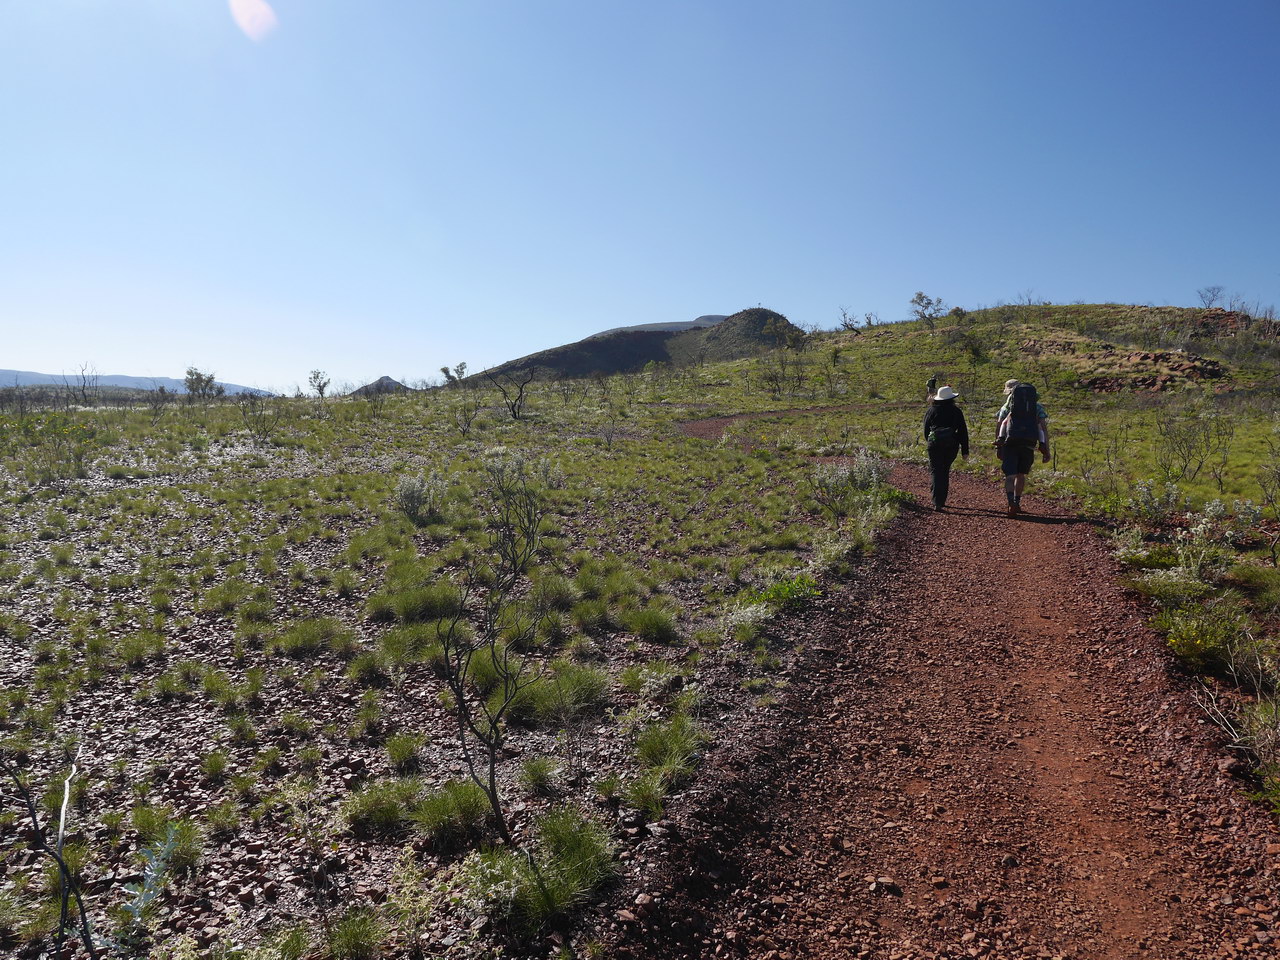
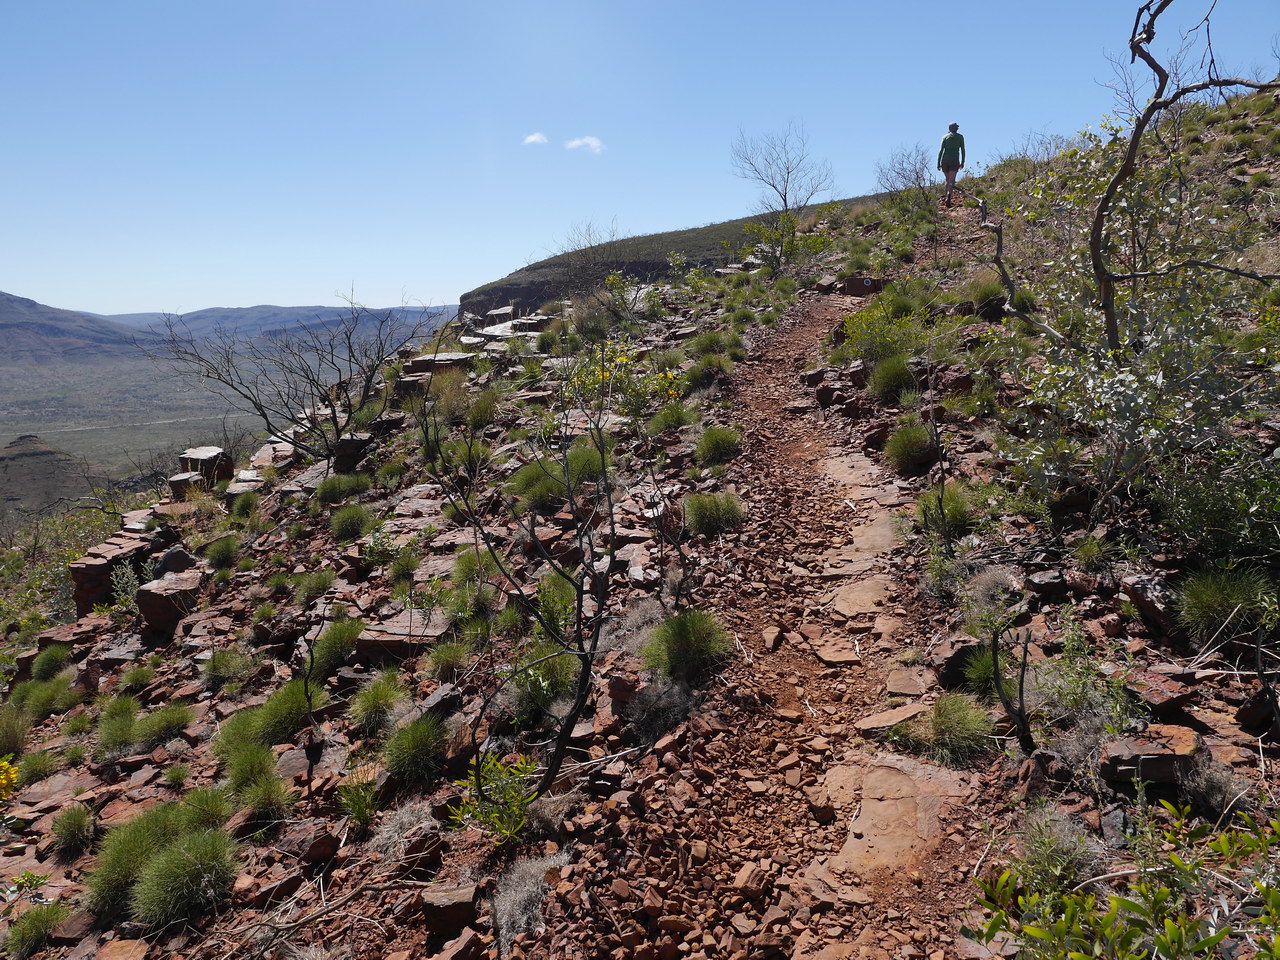
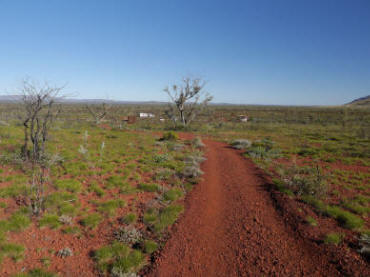
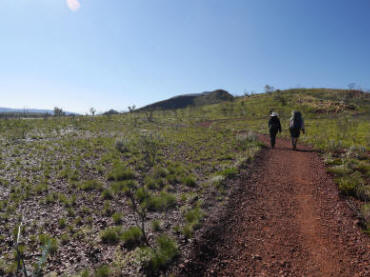
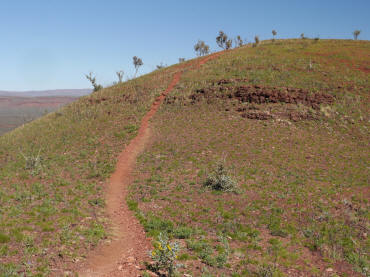
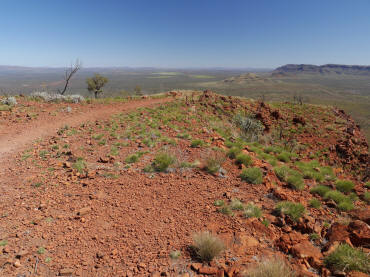
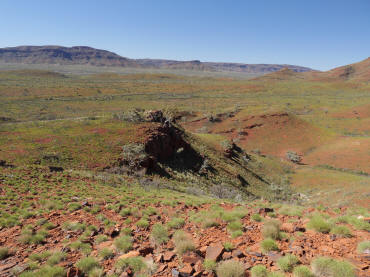
Some 200m in, looking back
to the carpark |
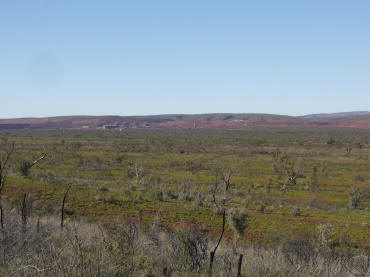
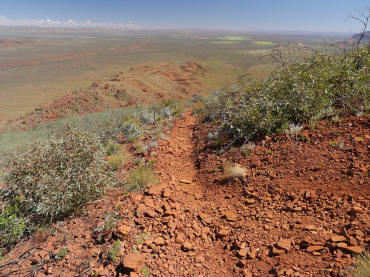
Looking forward |
 |
 |
 |
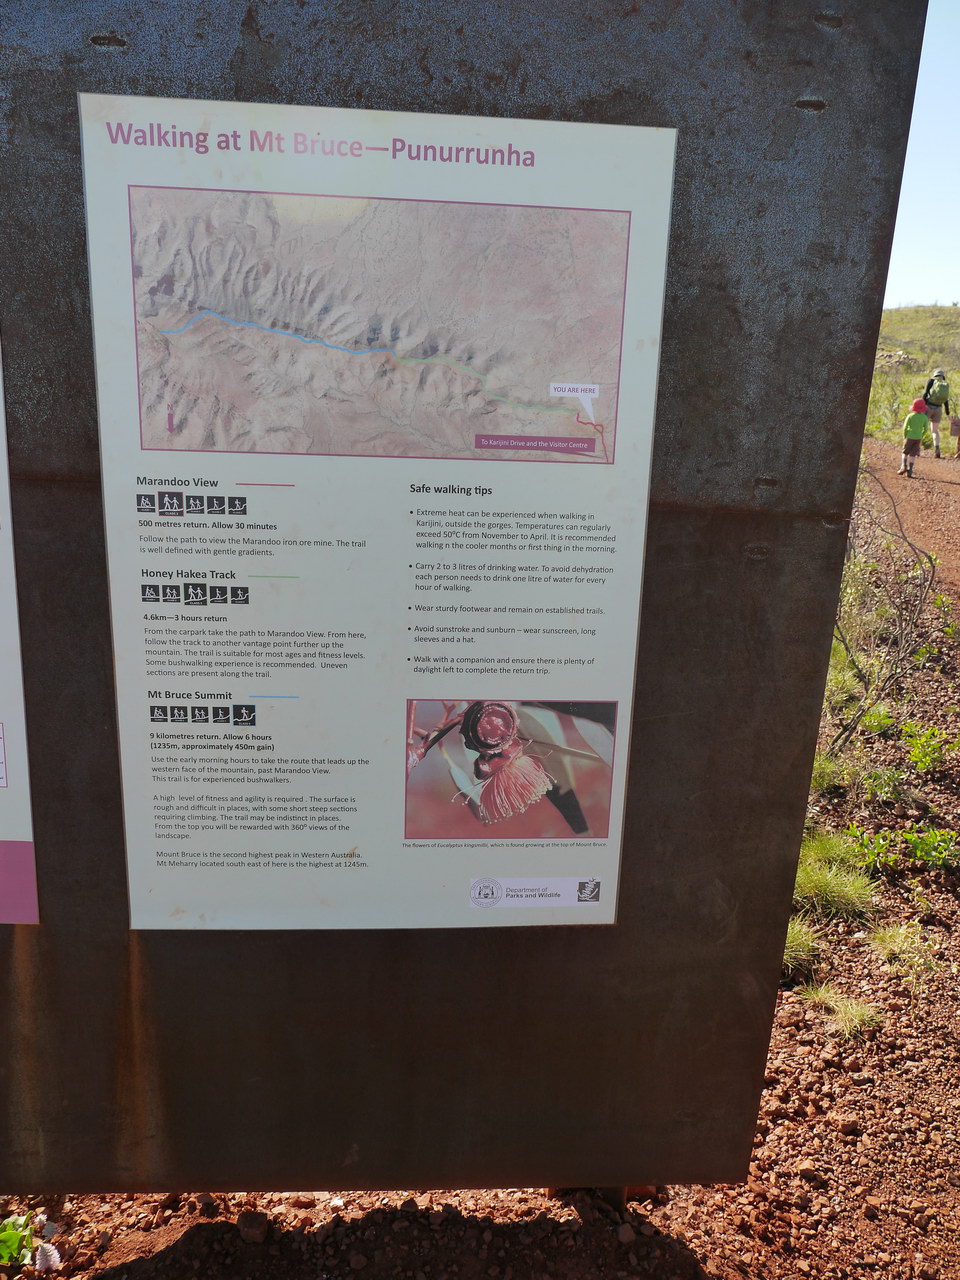
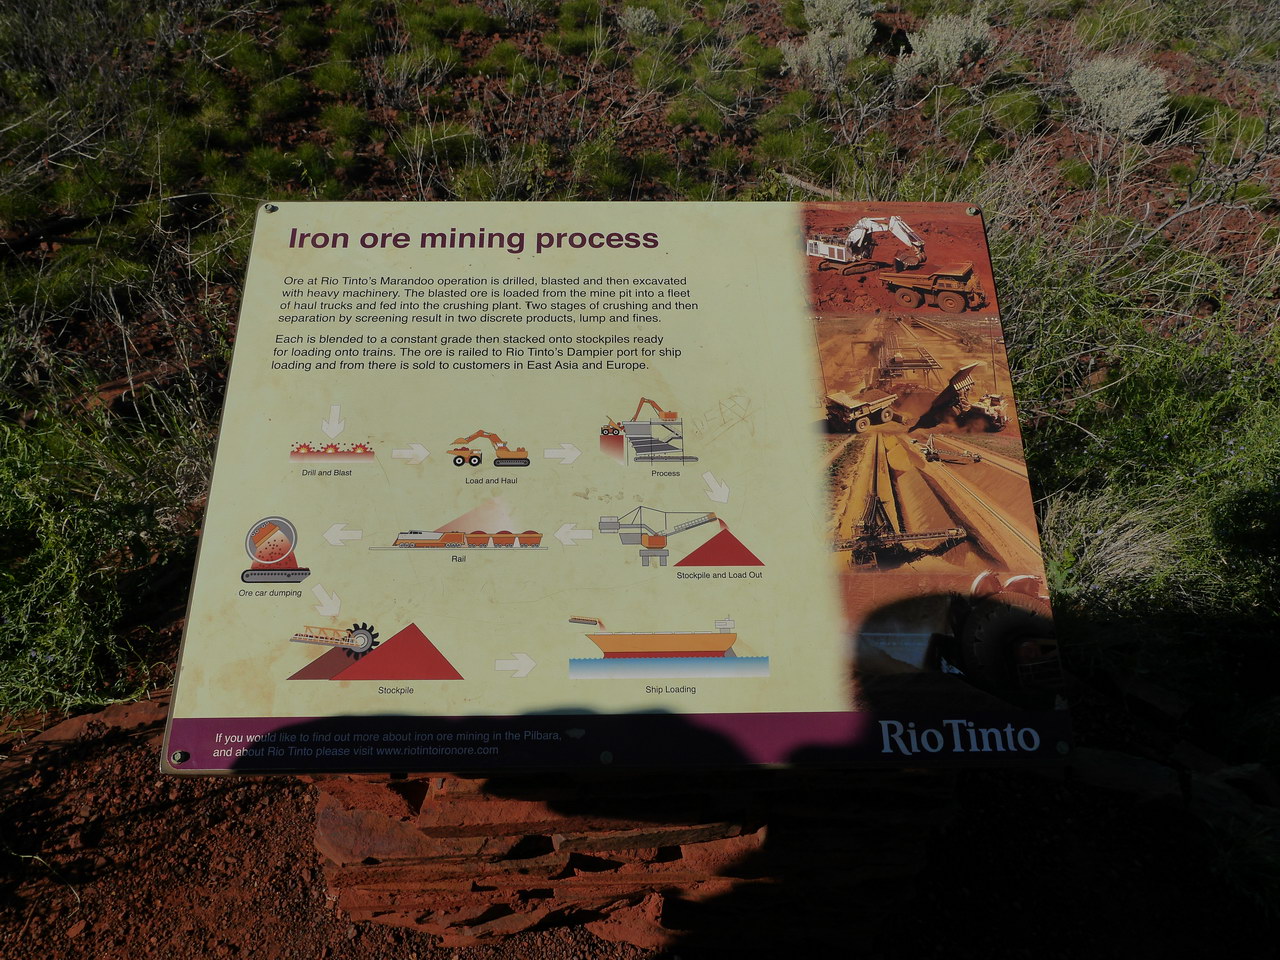
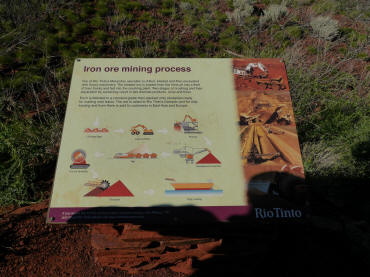
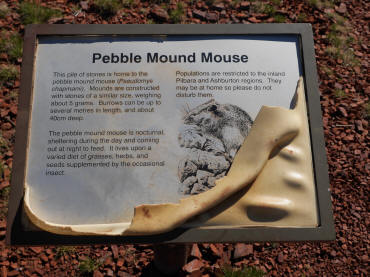
| Marandoo View, information
sign |
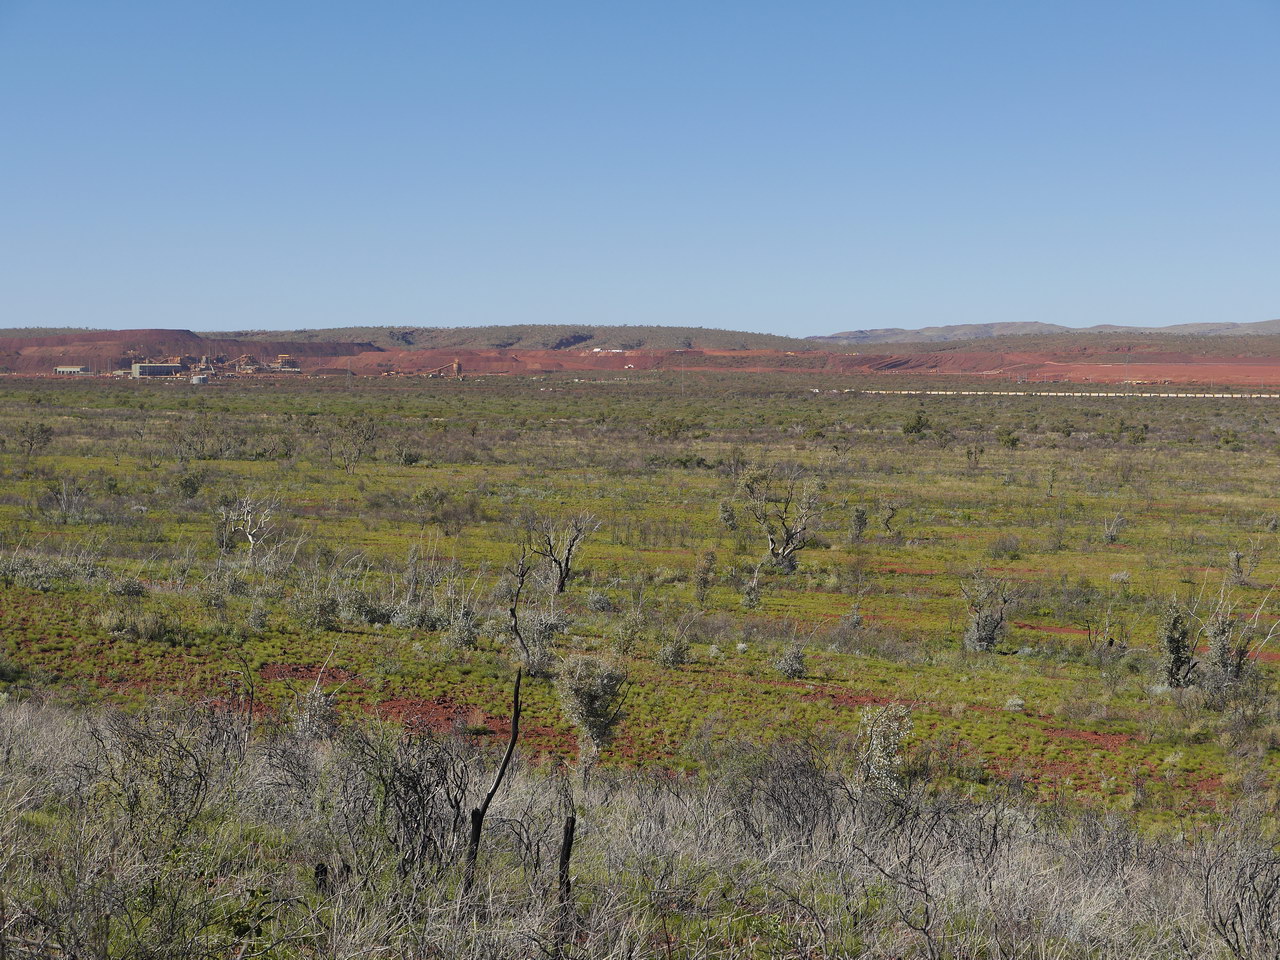
A very long ore train |
The Marandoo Mine |
 |
 |
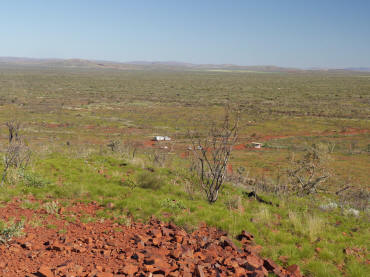 |
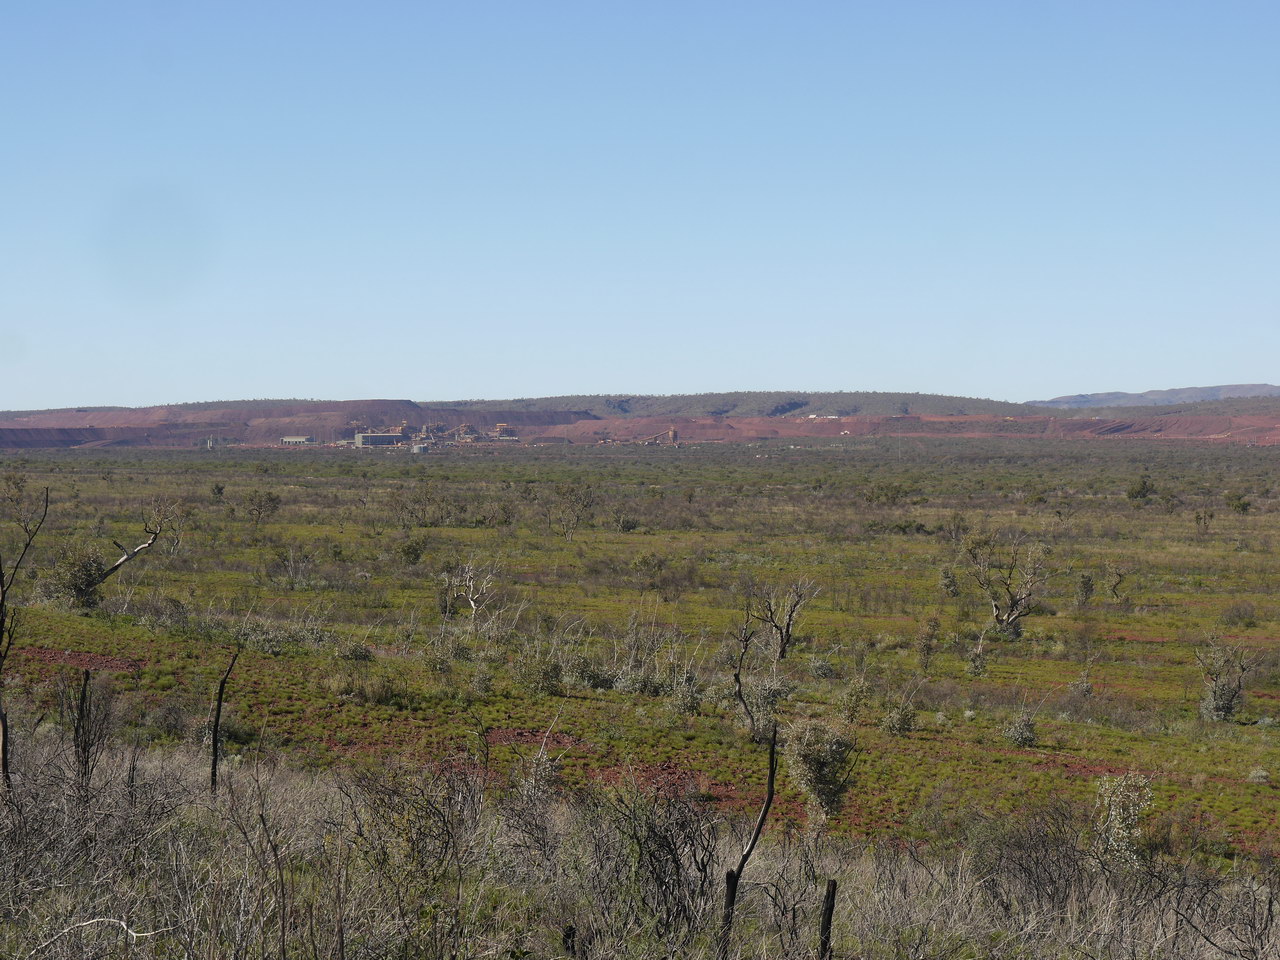
| The Marandoo Mine |
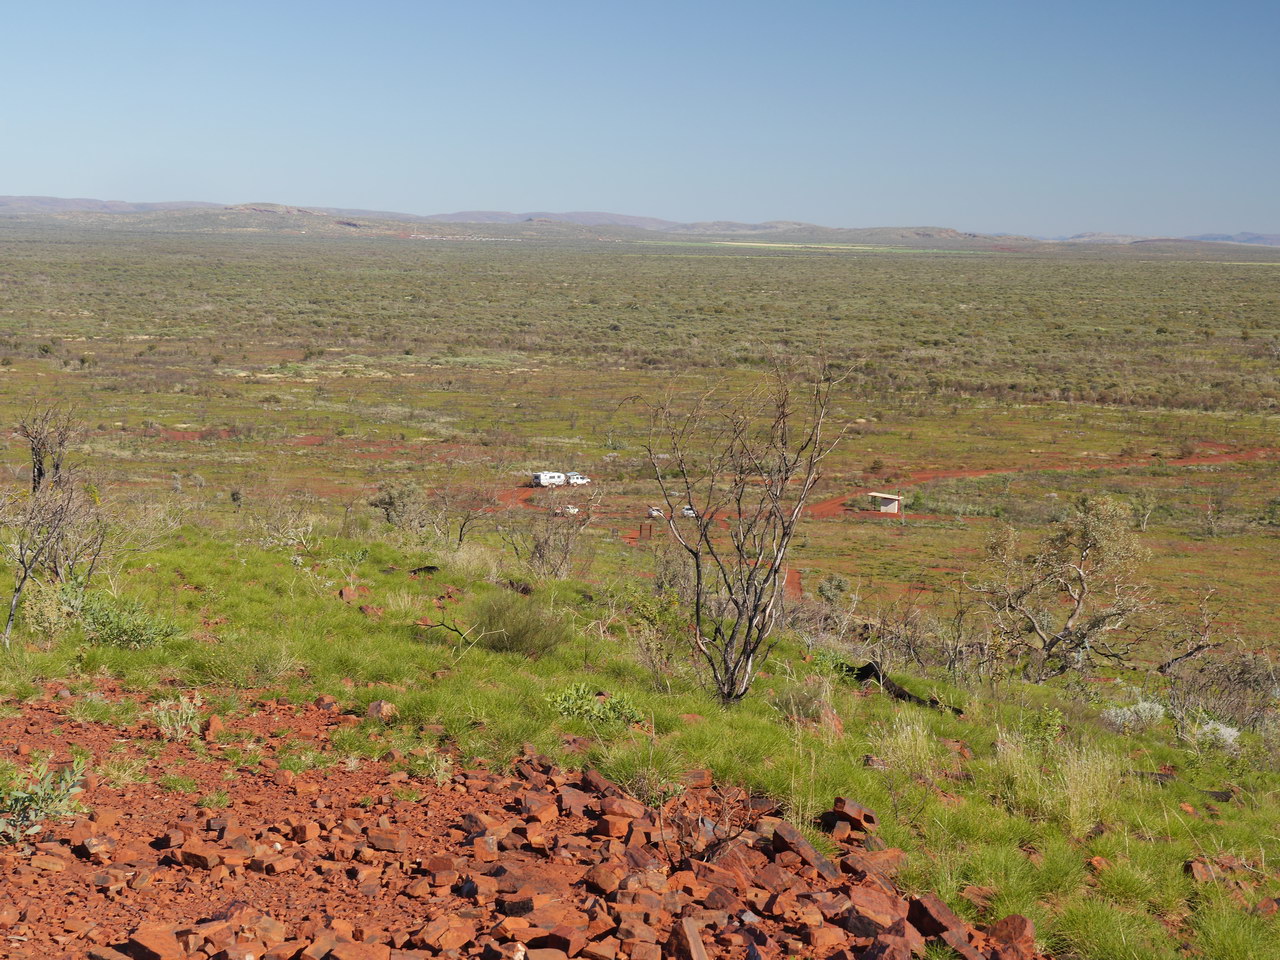
View back to the carpark |
View back to the carpark,
telephoto lens |
 |
 |
 |
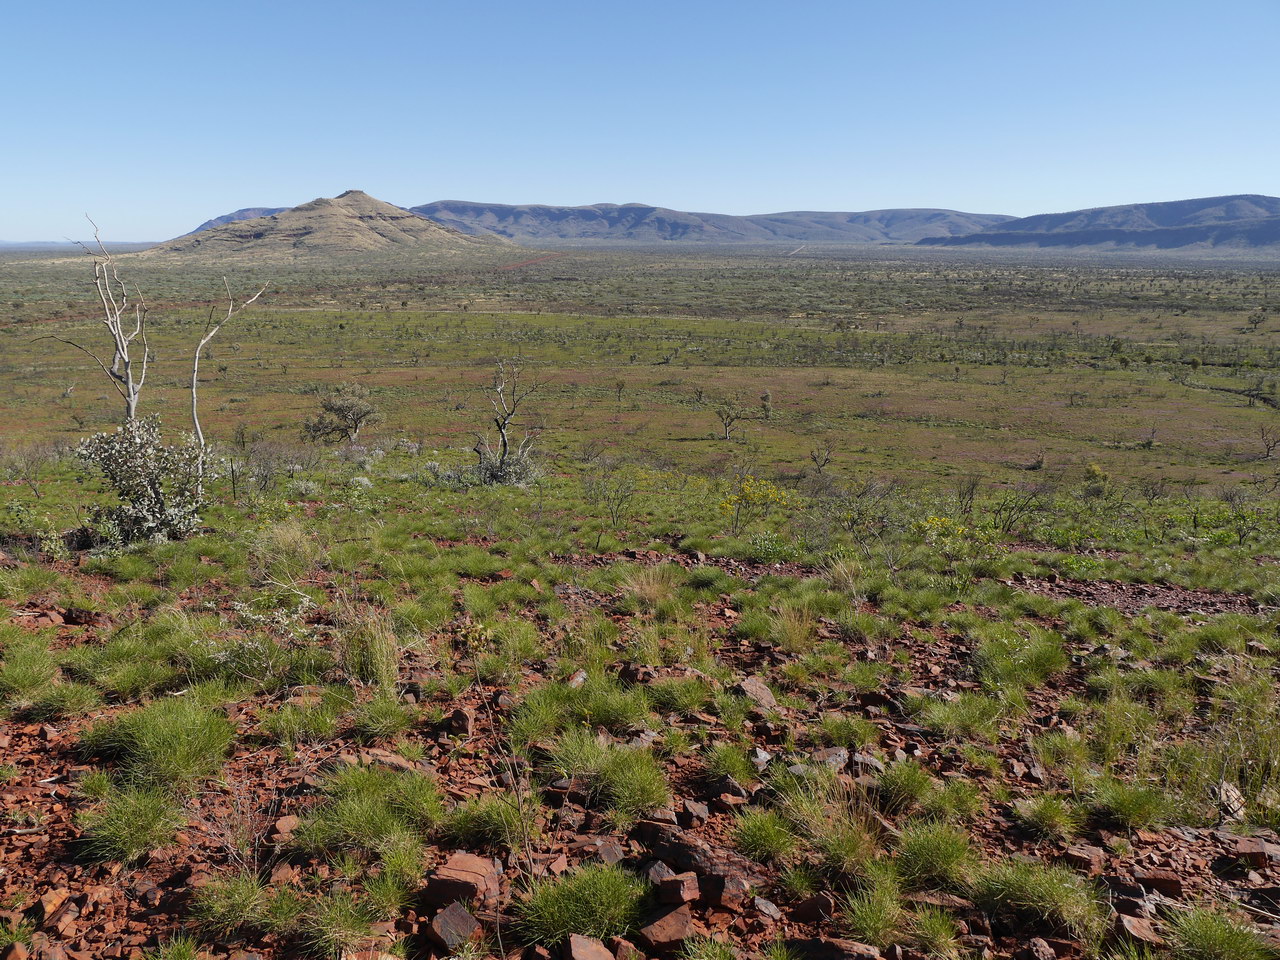
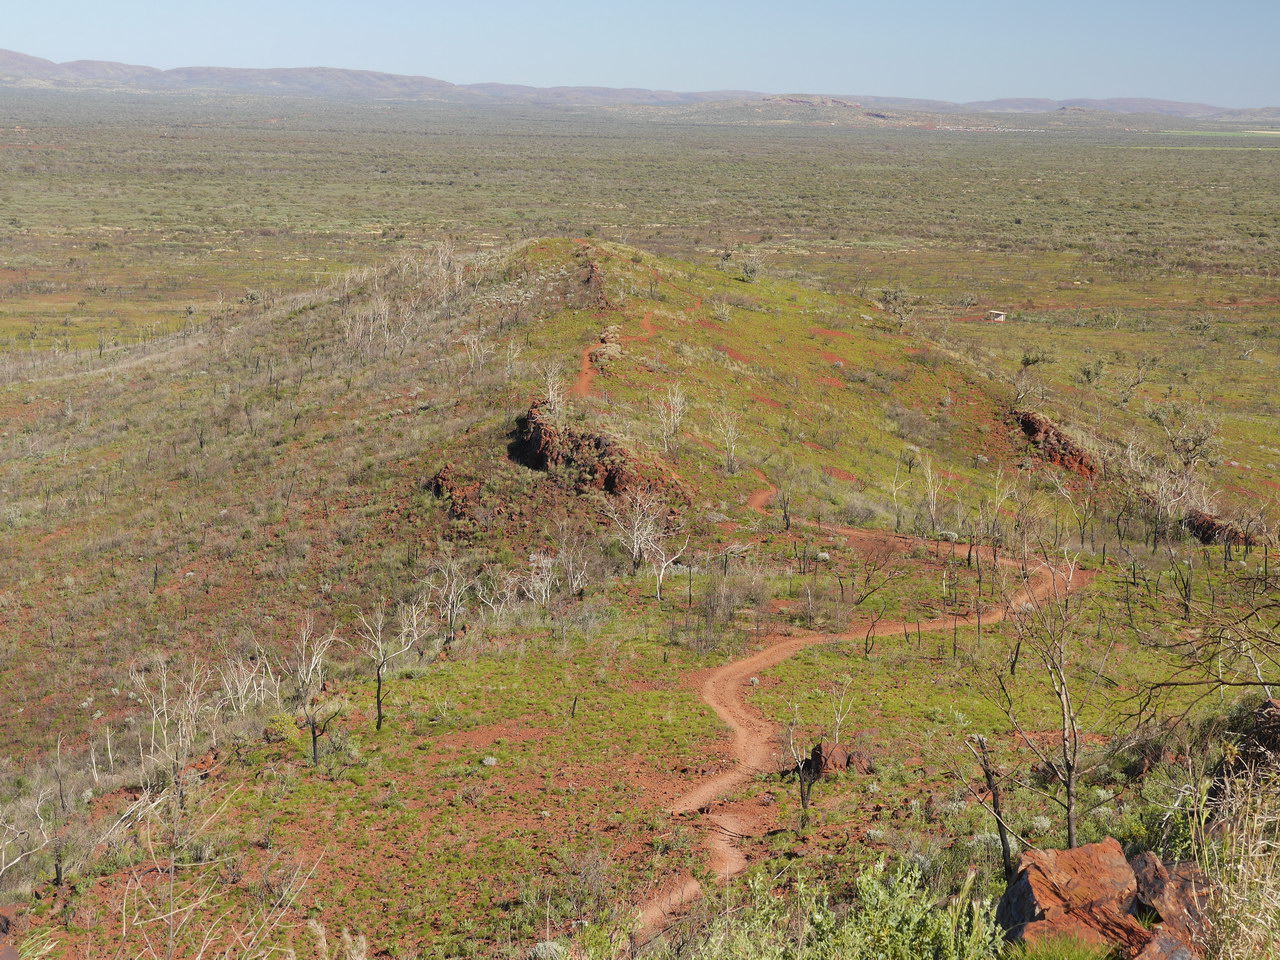
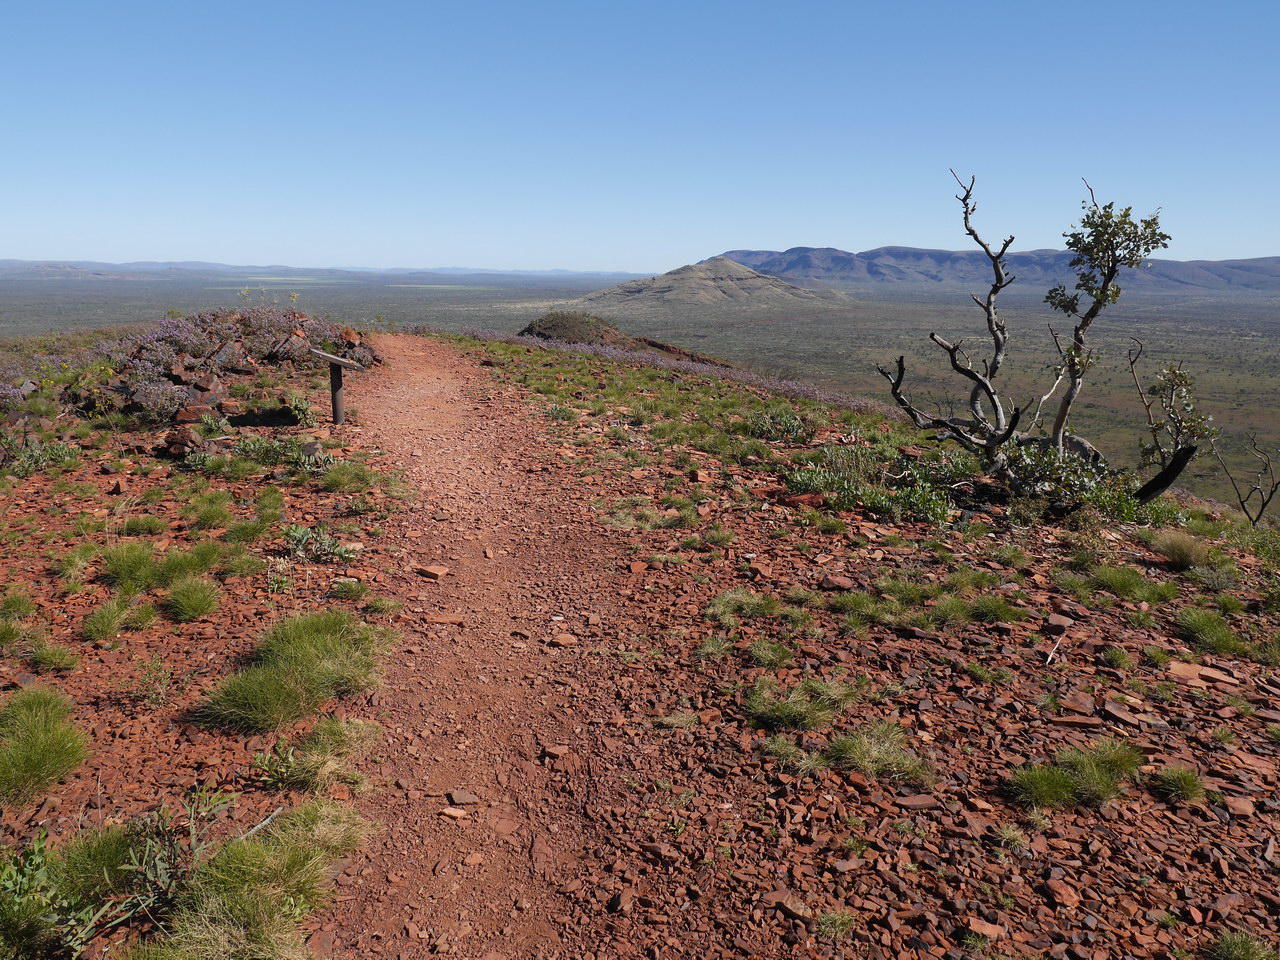
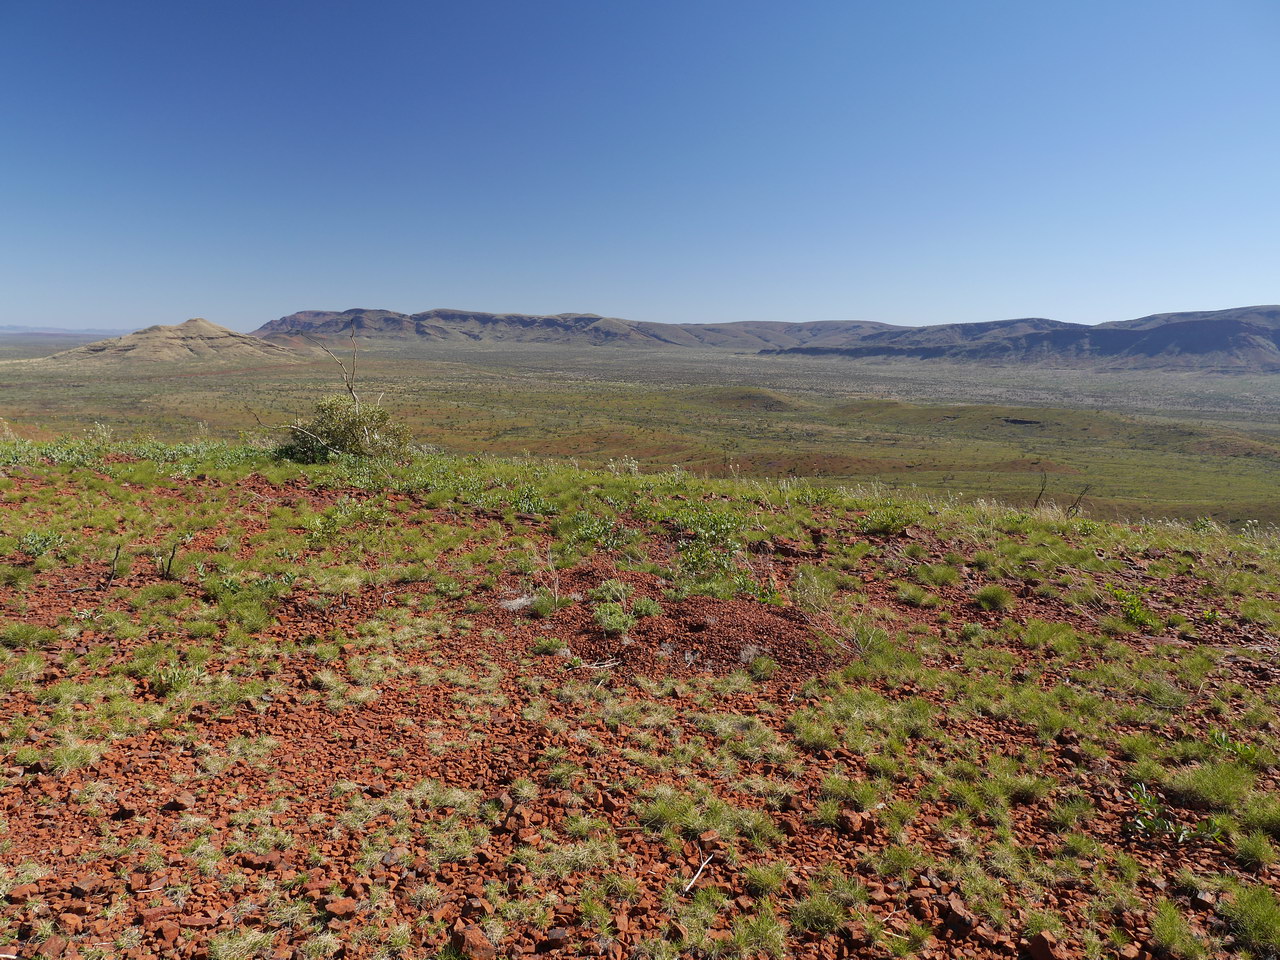
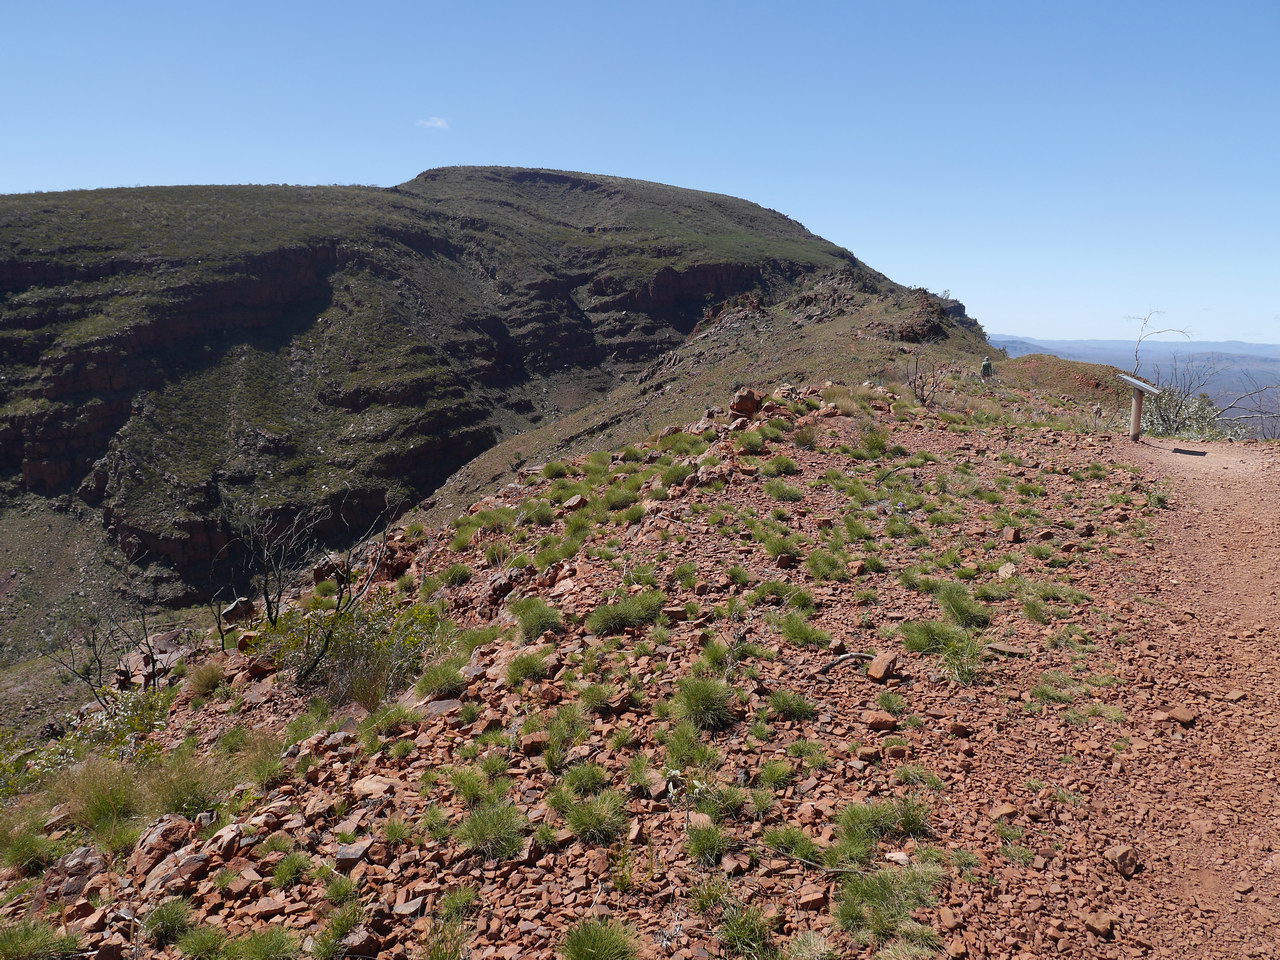
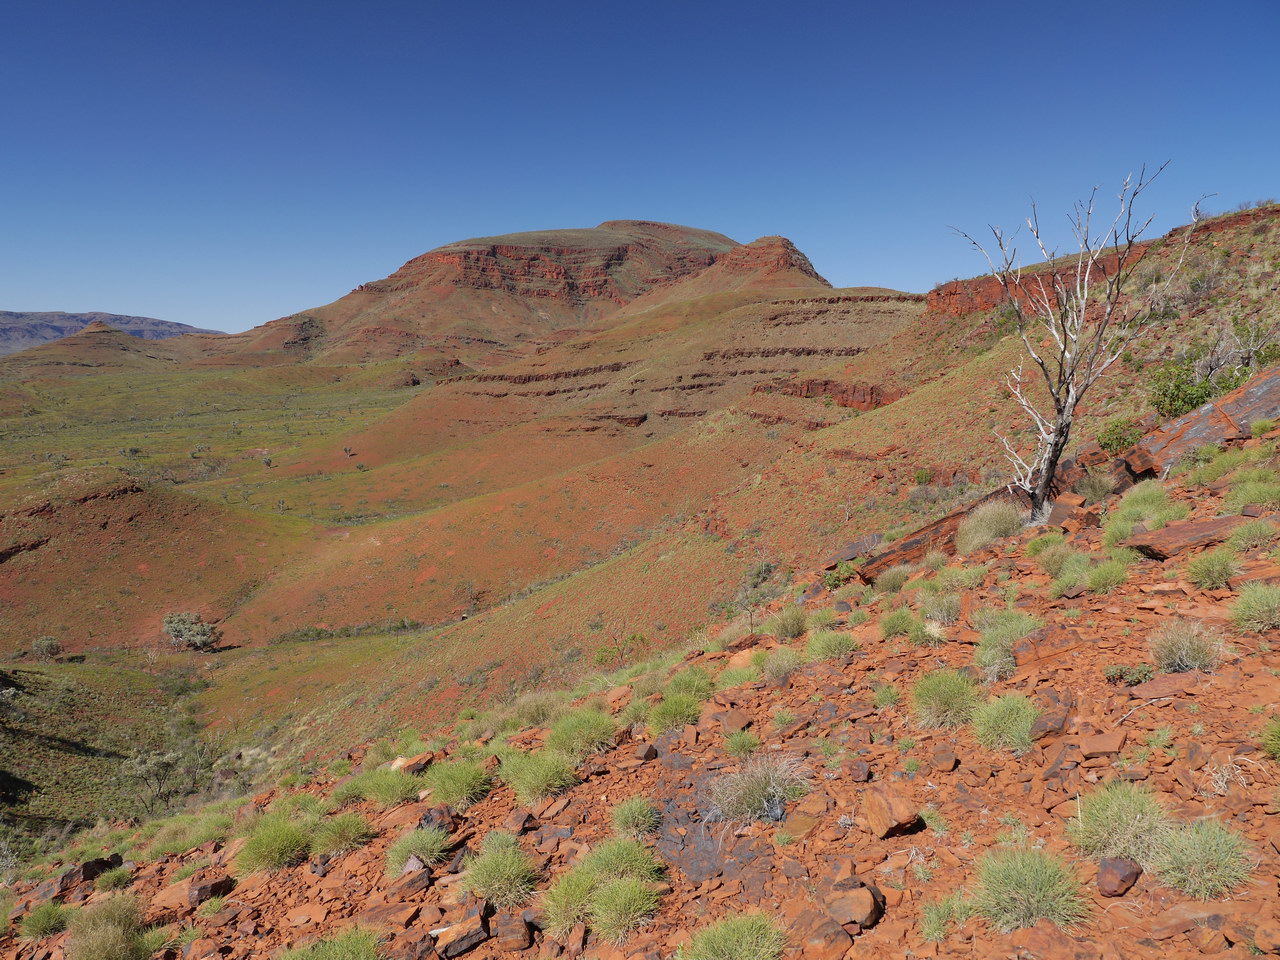
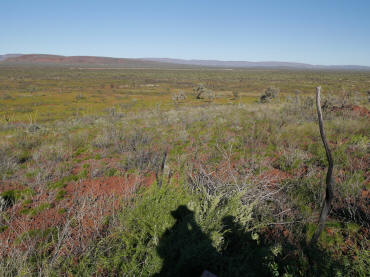
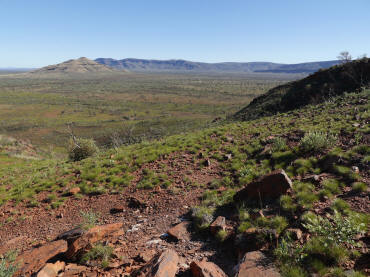
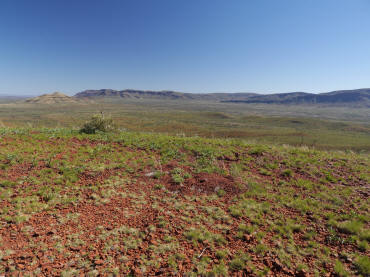
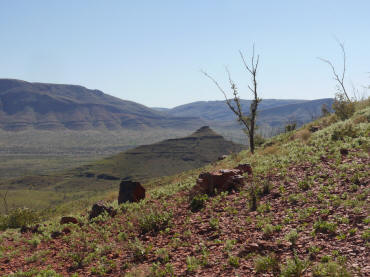
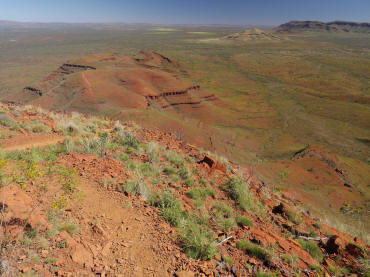
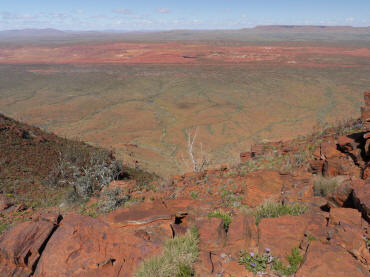
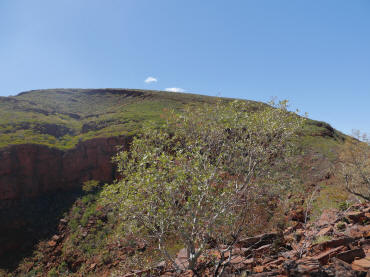
| View towards Karijini NP |
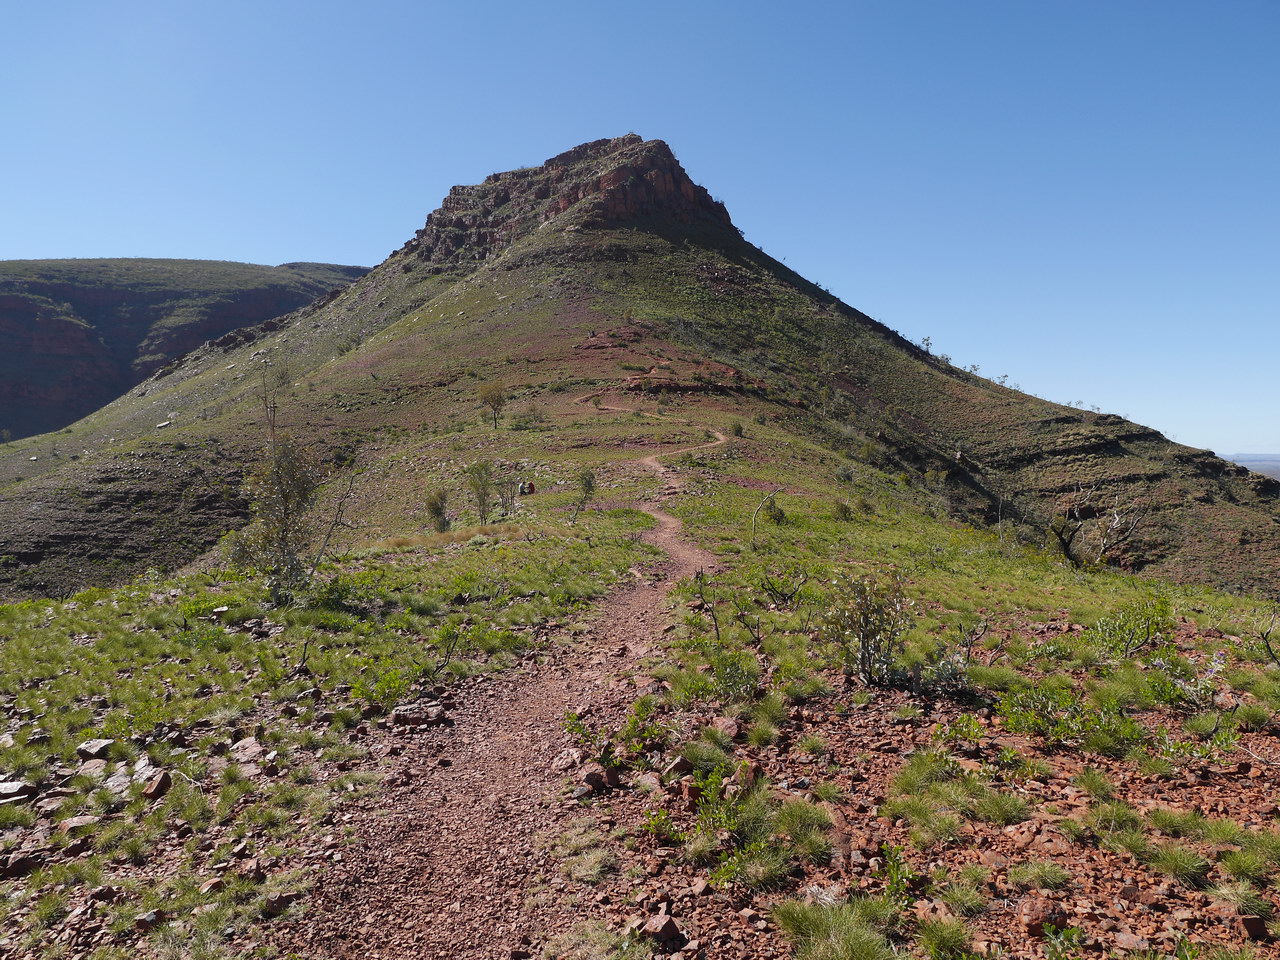
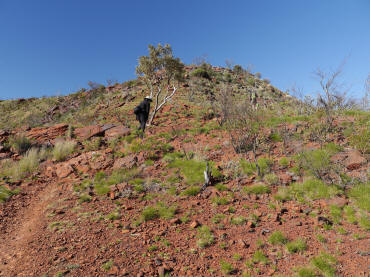
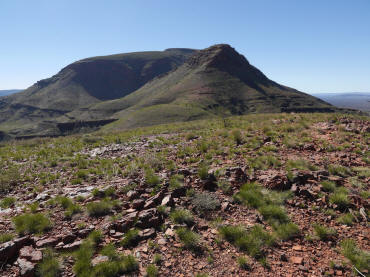
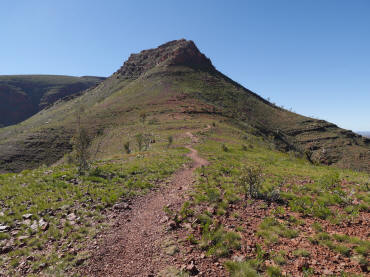
View towards the peak |
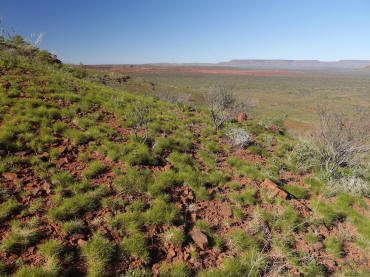
View from Honey Hakea
Track |
 |
 |
 |
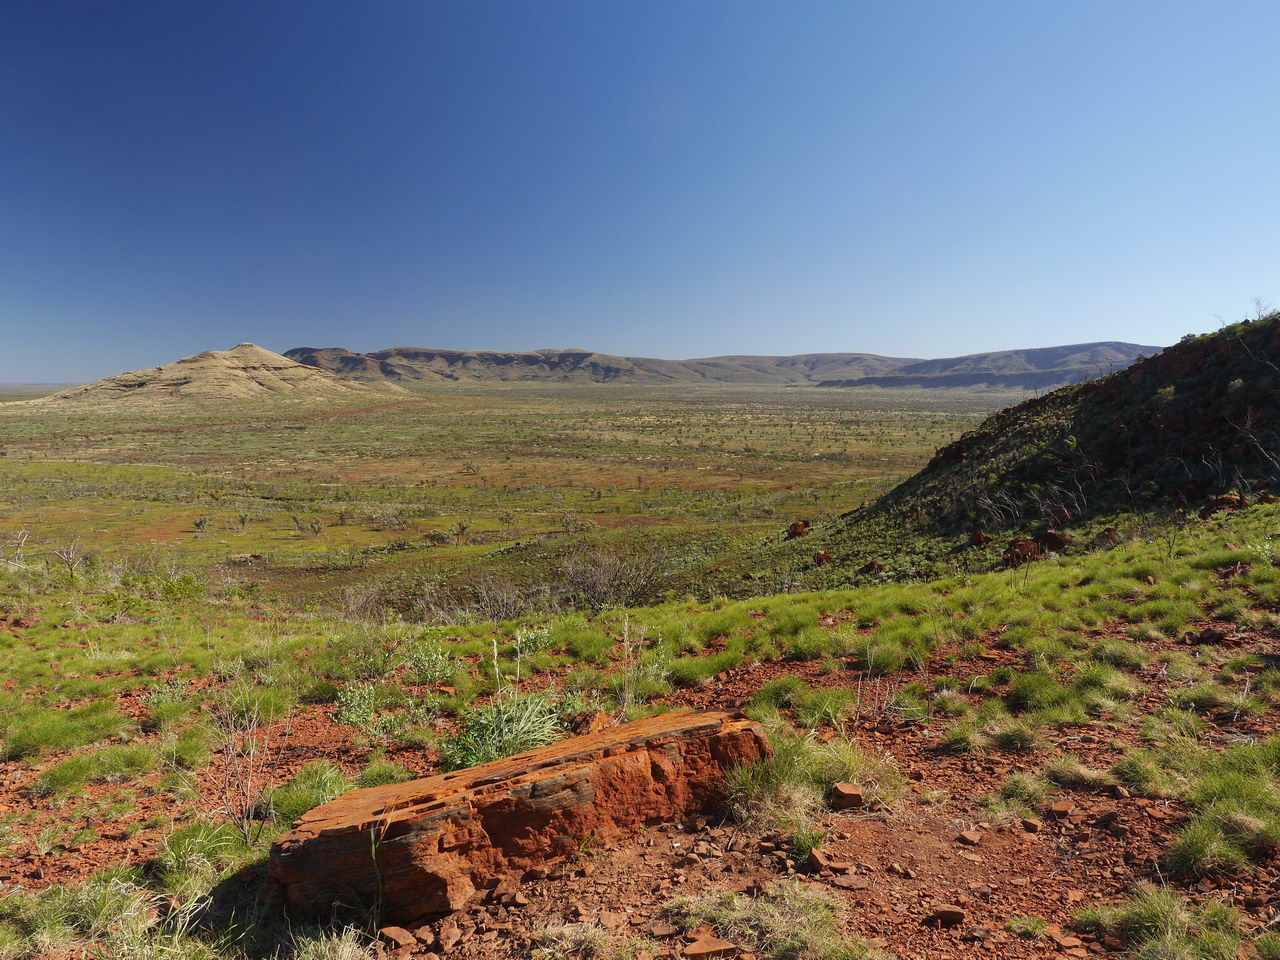
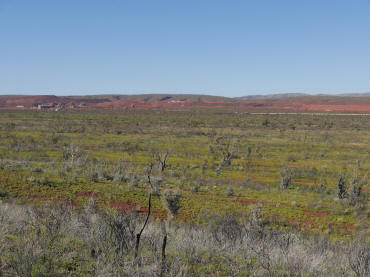
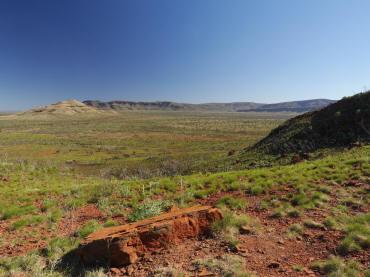
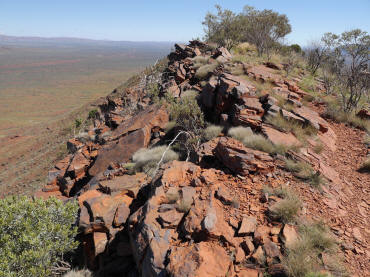
| View from Honey Hakea
Track |
View from Honey Hakea
Track |
View from Honey Hakea
Track |
 |
 |
 |
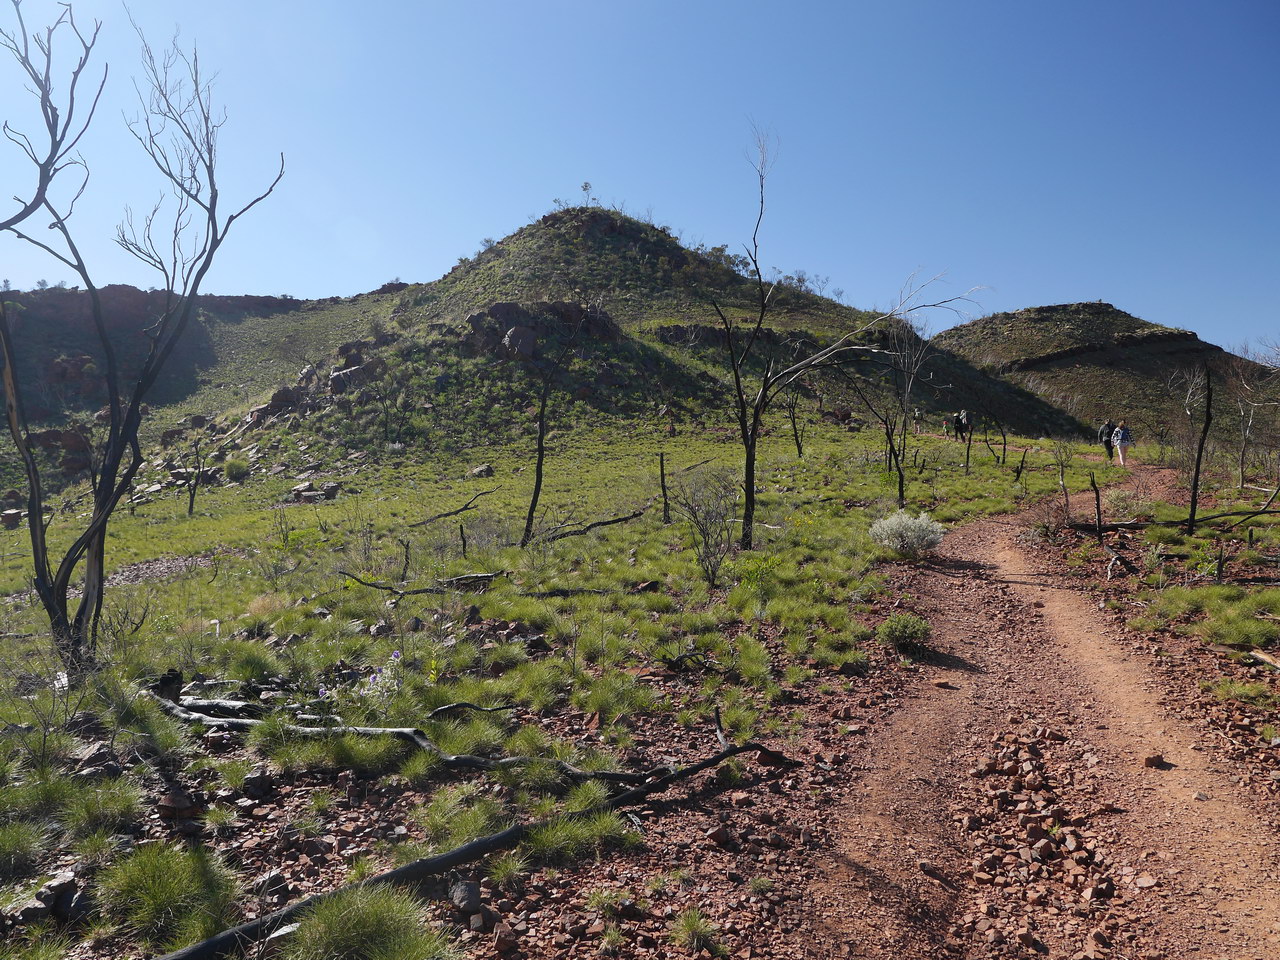
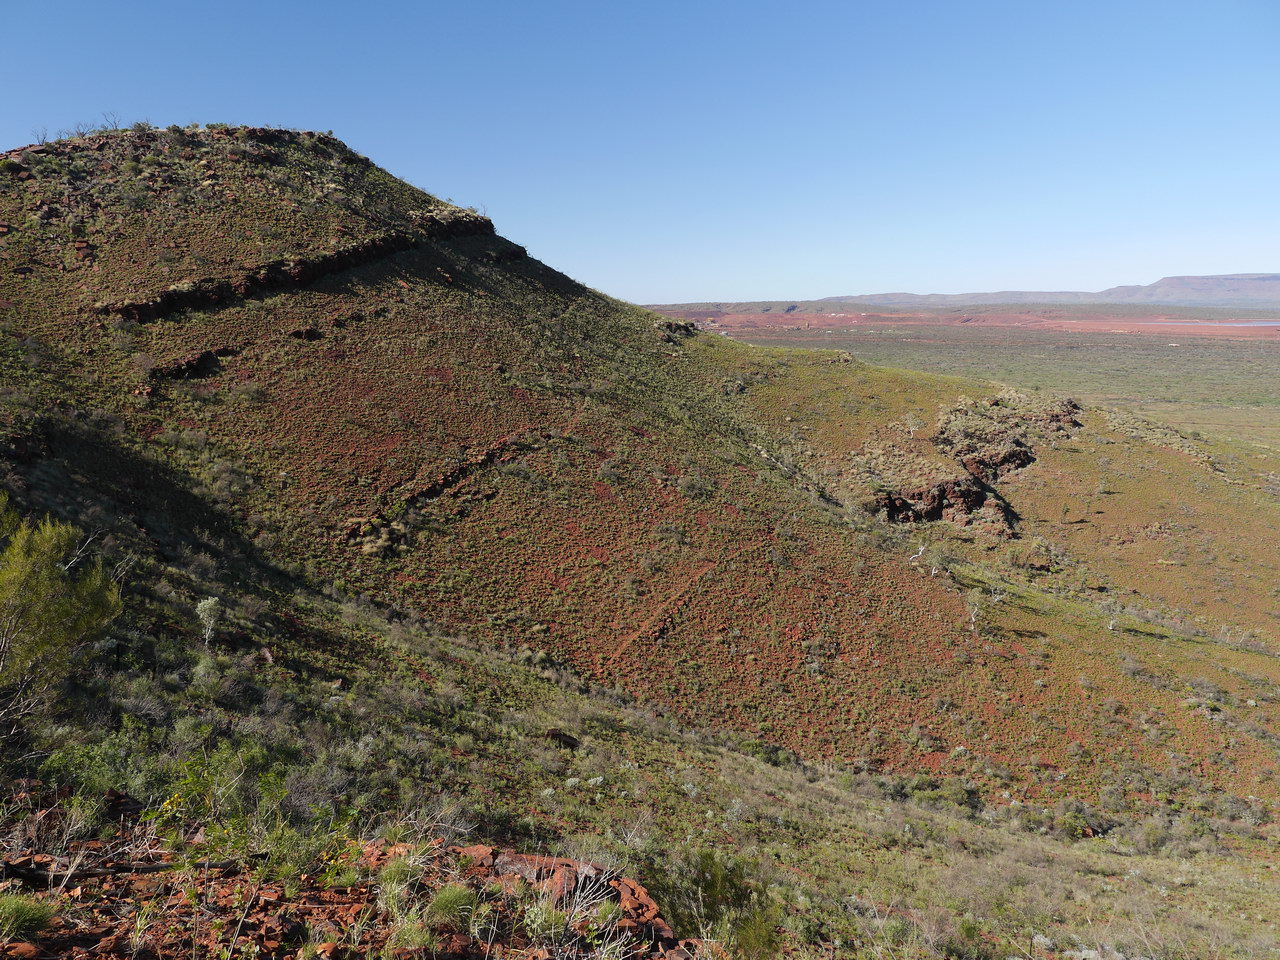
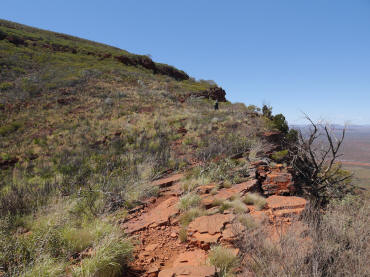
| View from Honey Hakea
Track |
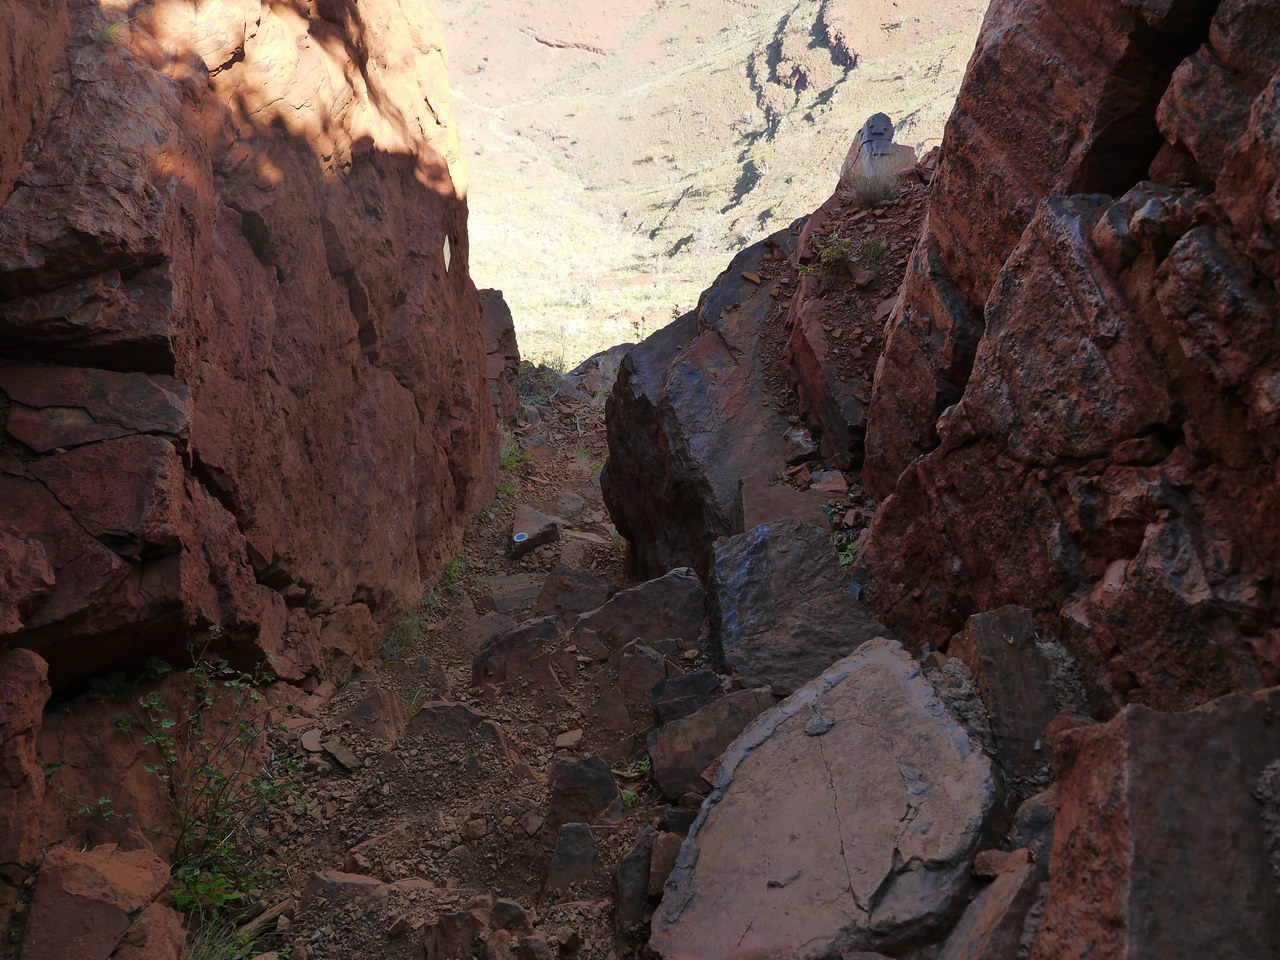
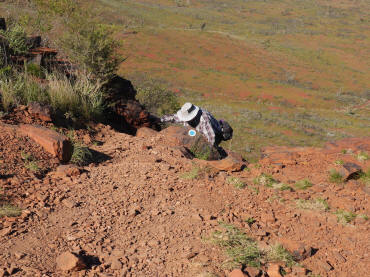
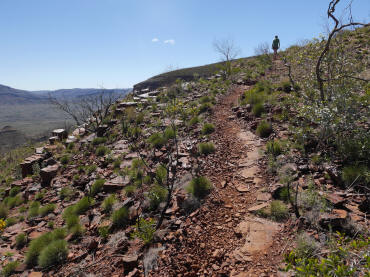
Starting to get harder |
View from Honey Hakea
Track |
 |
 |
 |
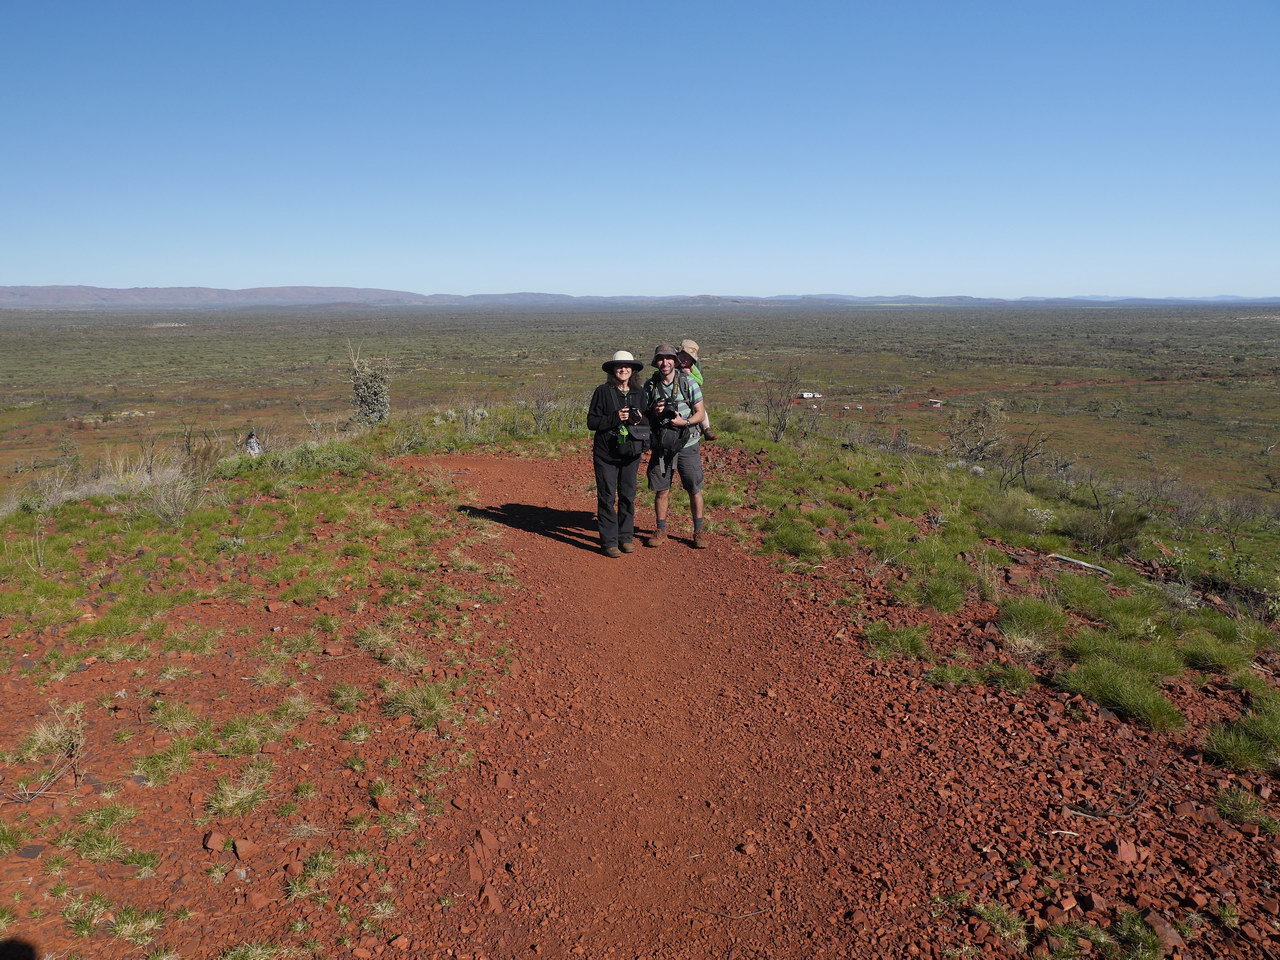
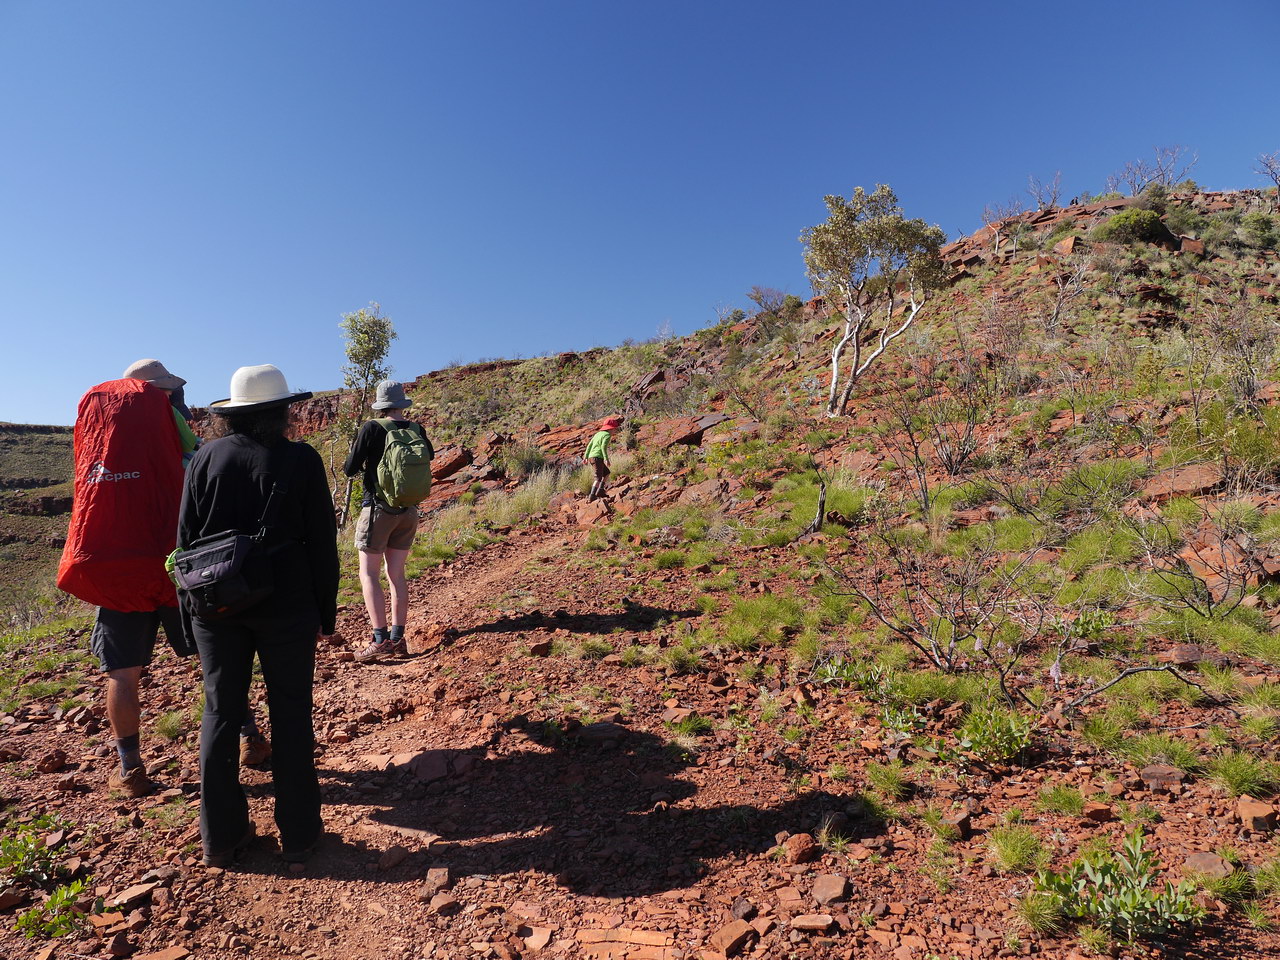
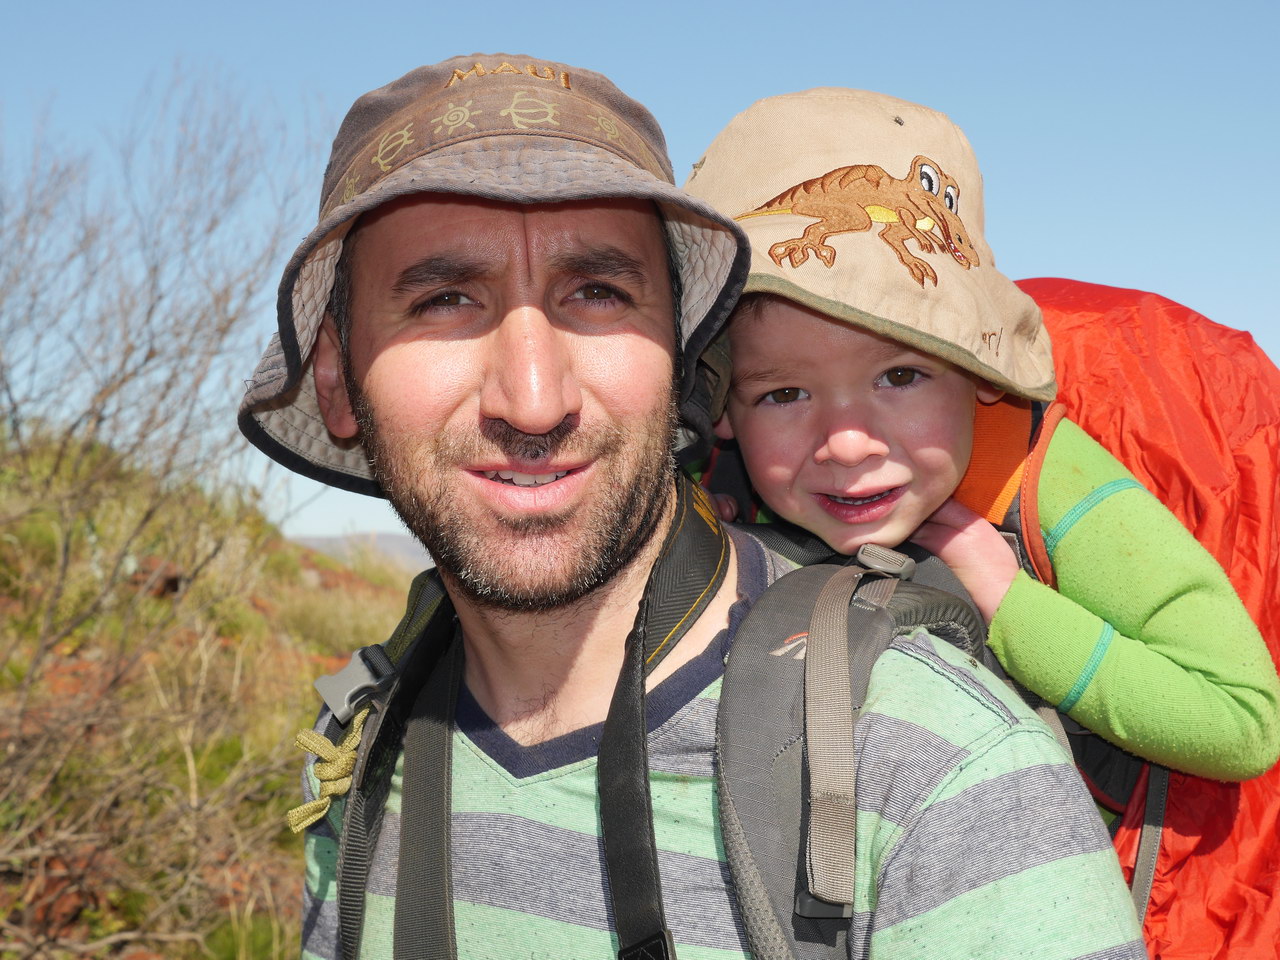
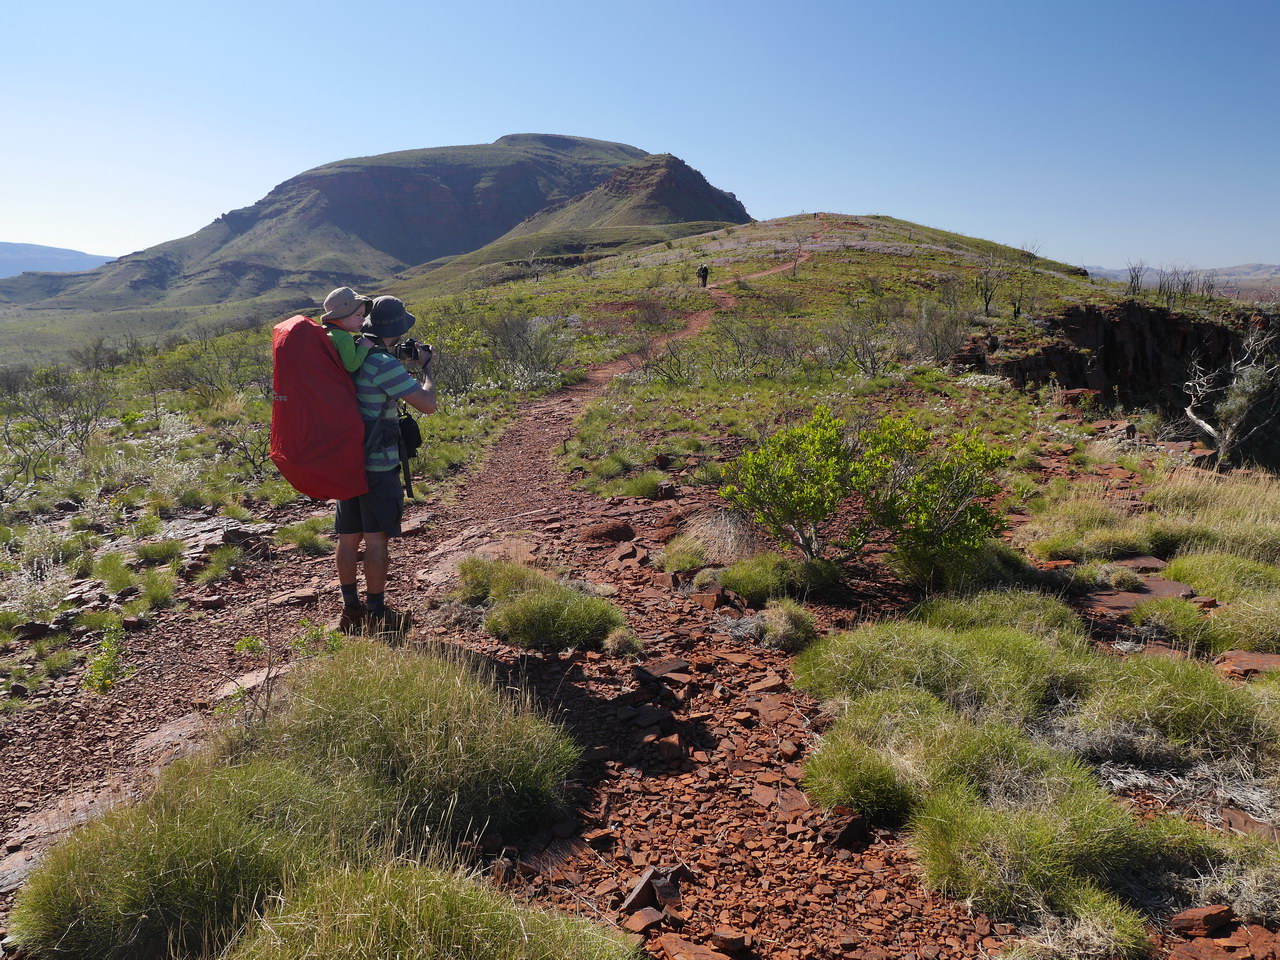
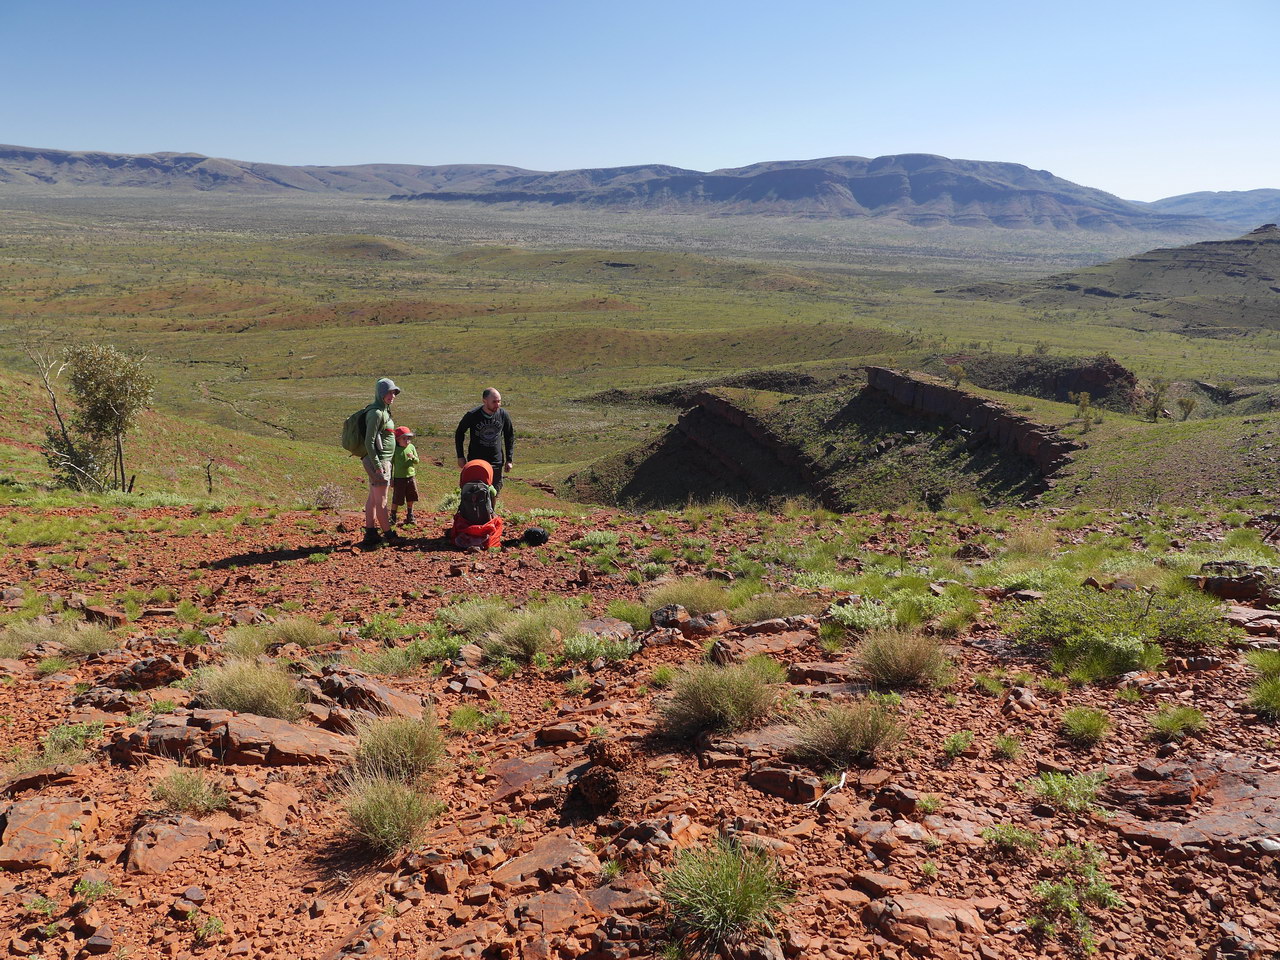
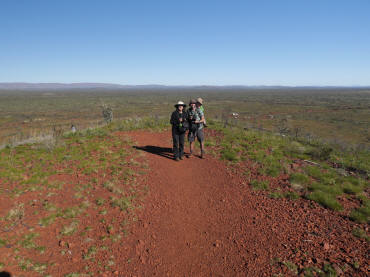
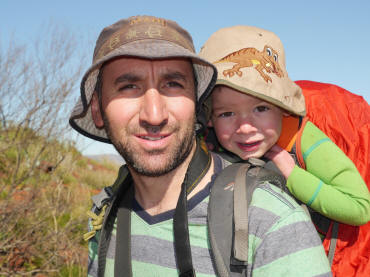
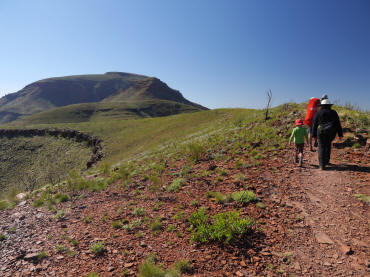
| All the family on the
track |
Luca and Ashley |
Its steeper than it looks |
 |
 |
 |
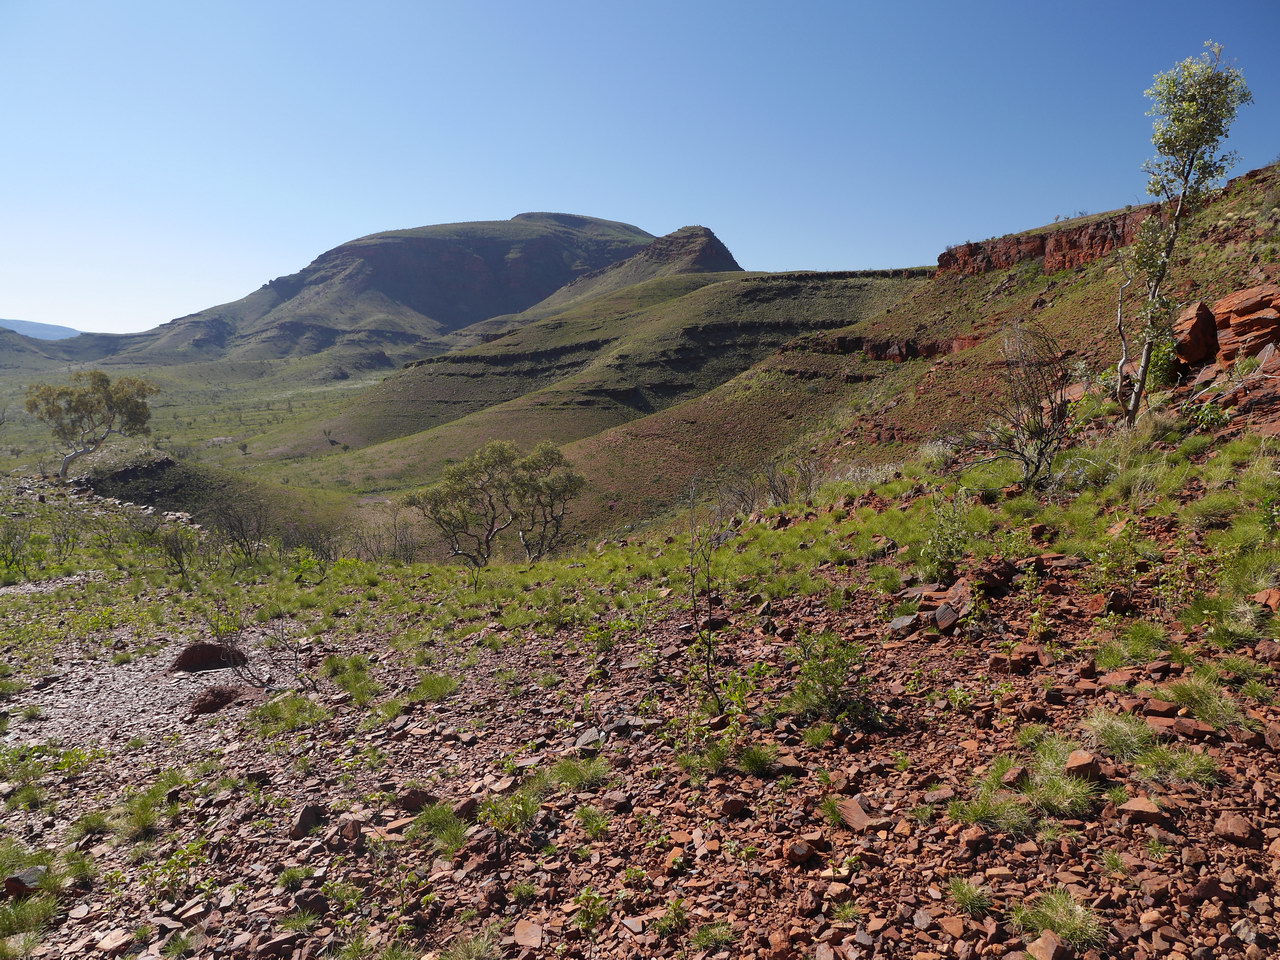
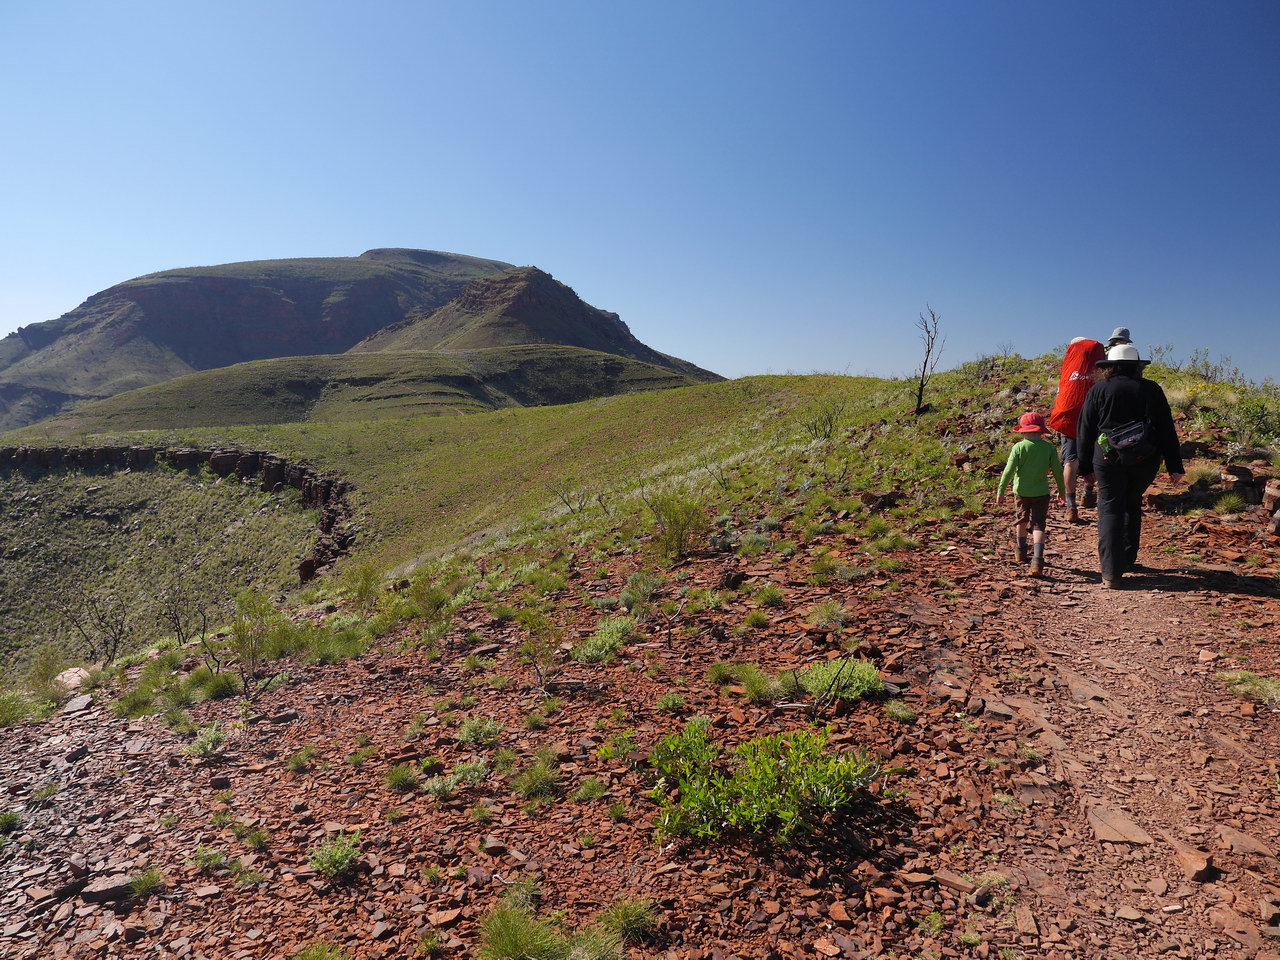
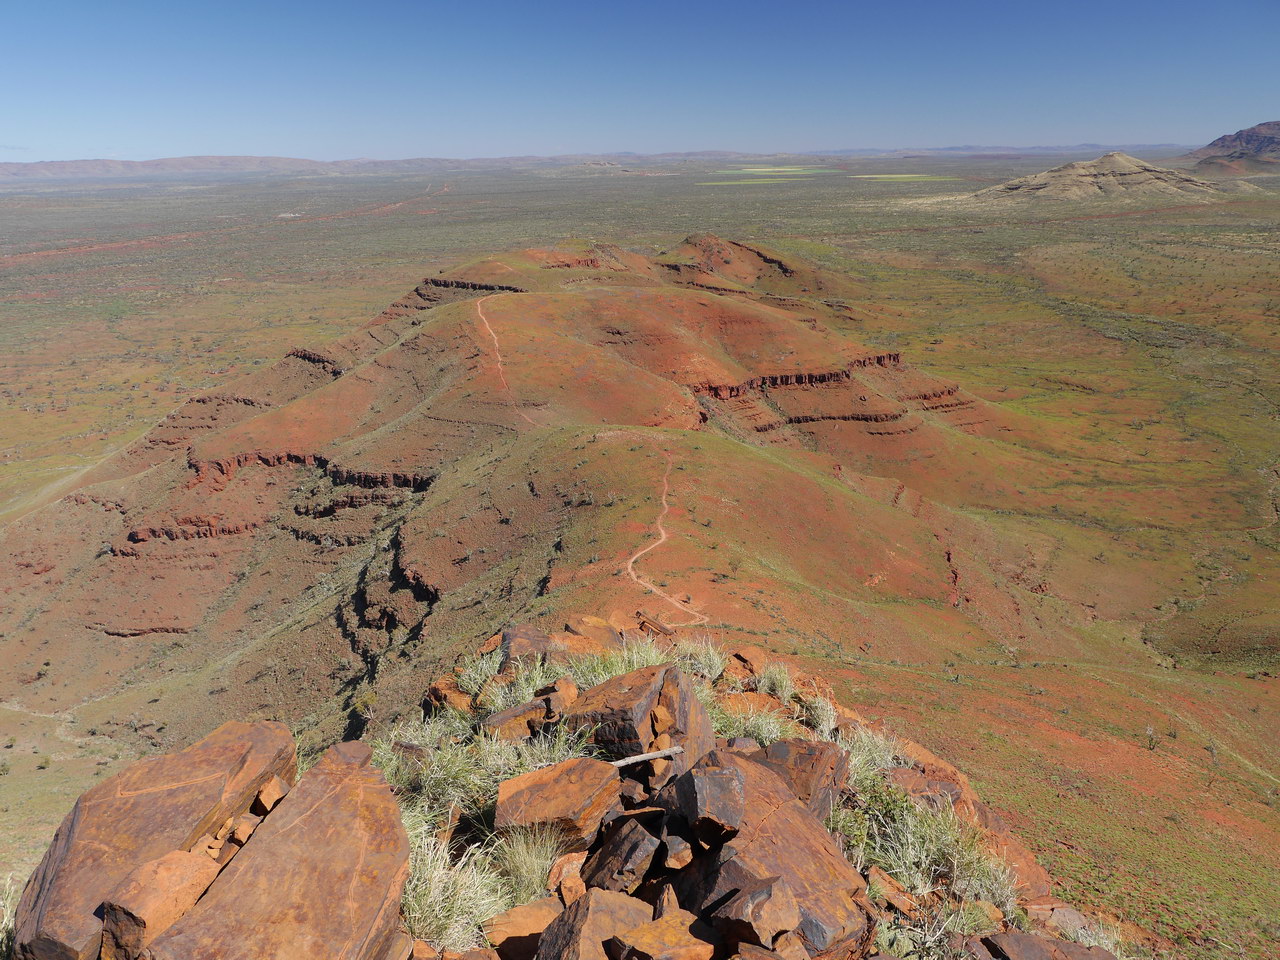
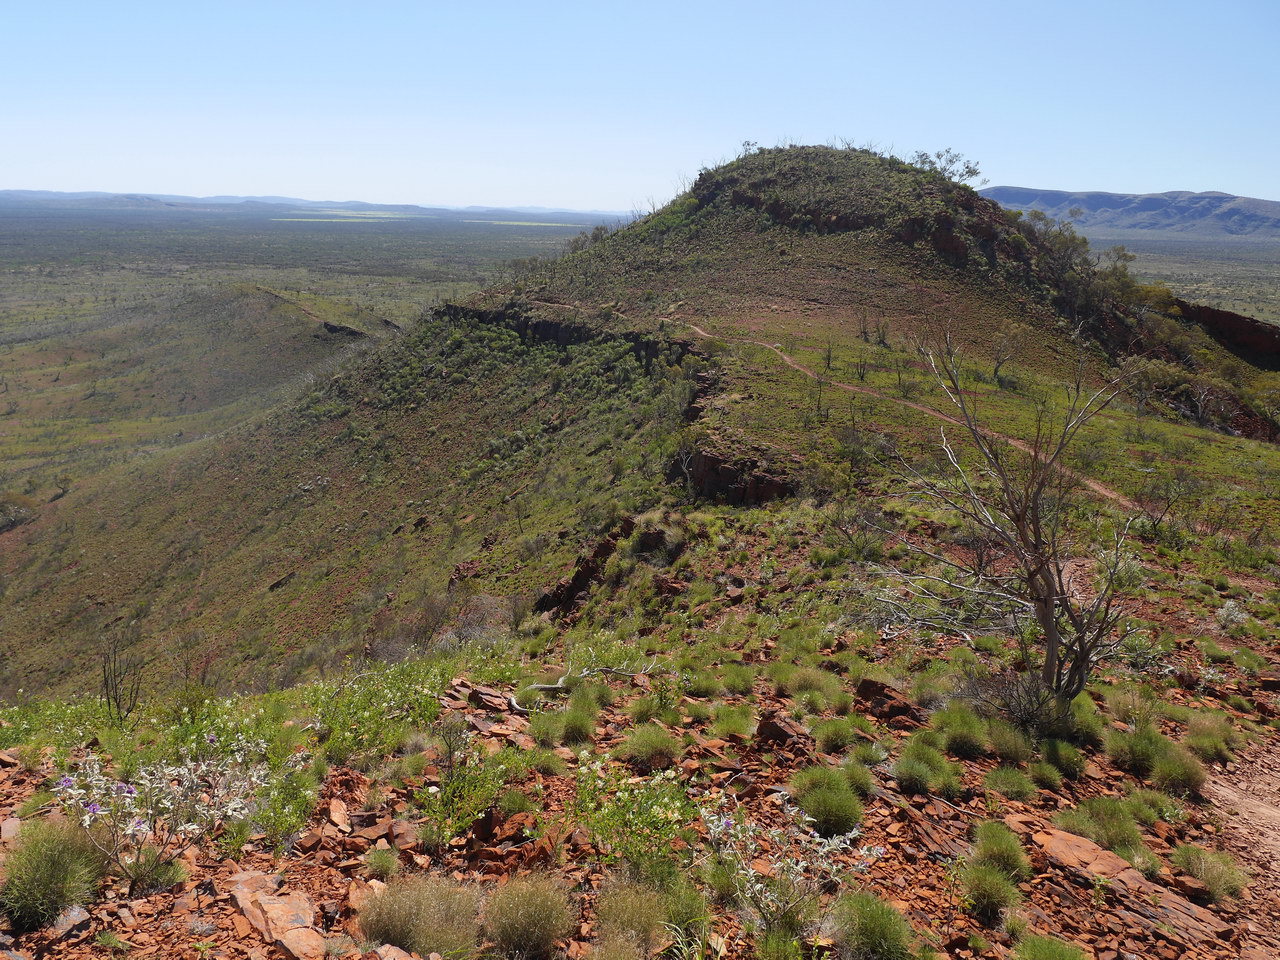
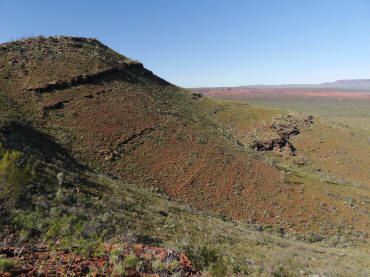
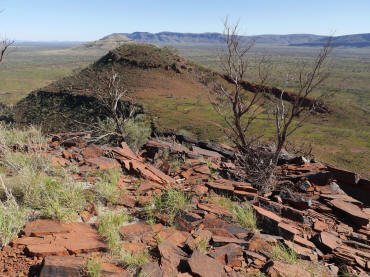
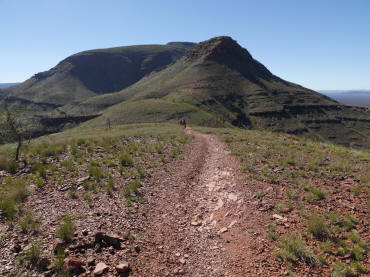
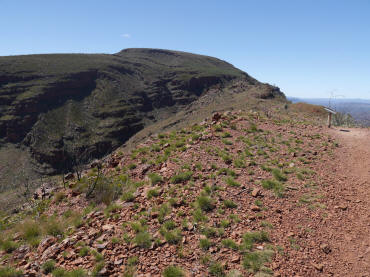
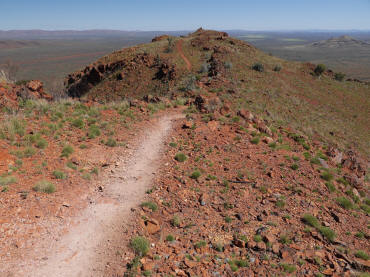
| The summit a long way off
yet! |
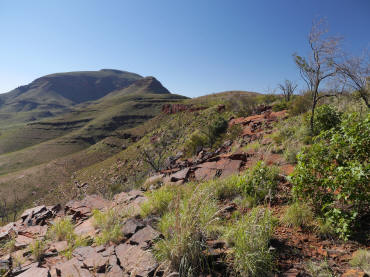
The way we have came |
The summit, still ahead. |
 |
 |
 |
| The summit |
The summit |
The track back |
 |
 |
 |
| The Marandoo Mine |
The track back |
The track back |
 |
 |
 |
| The track back |
The summit ahead |
The summit ahead |
 |
 |
 |
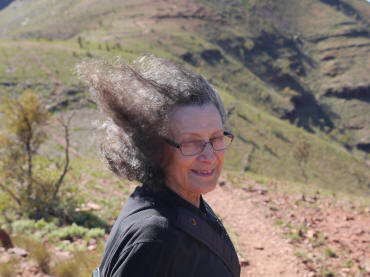
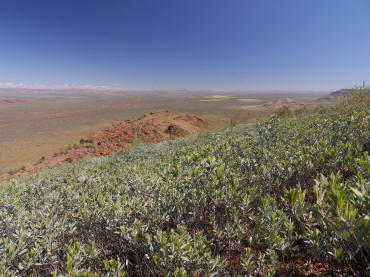
| So windy |
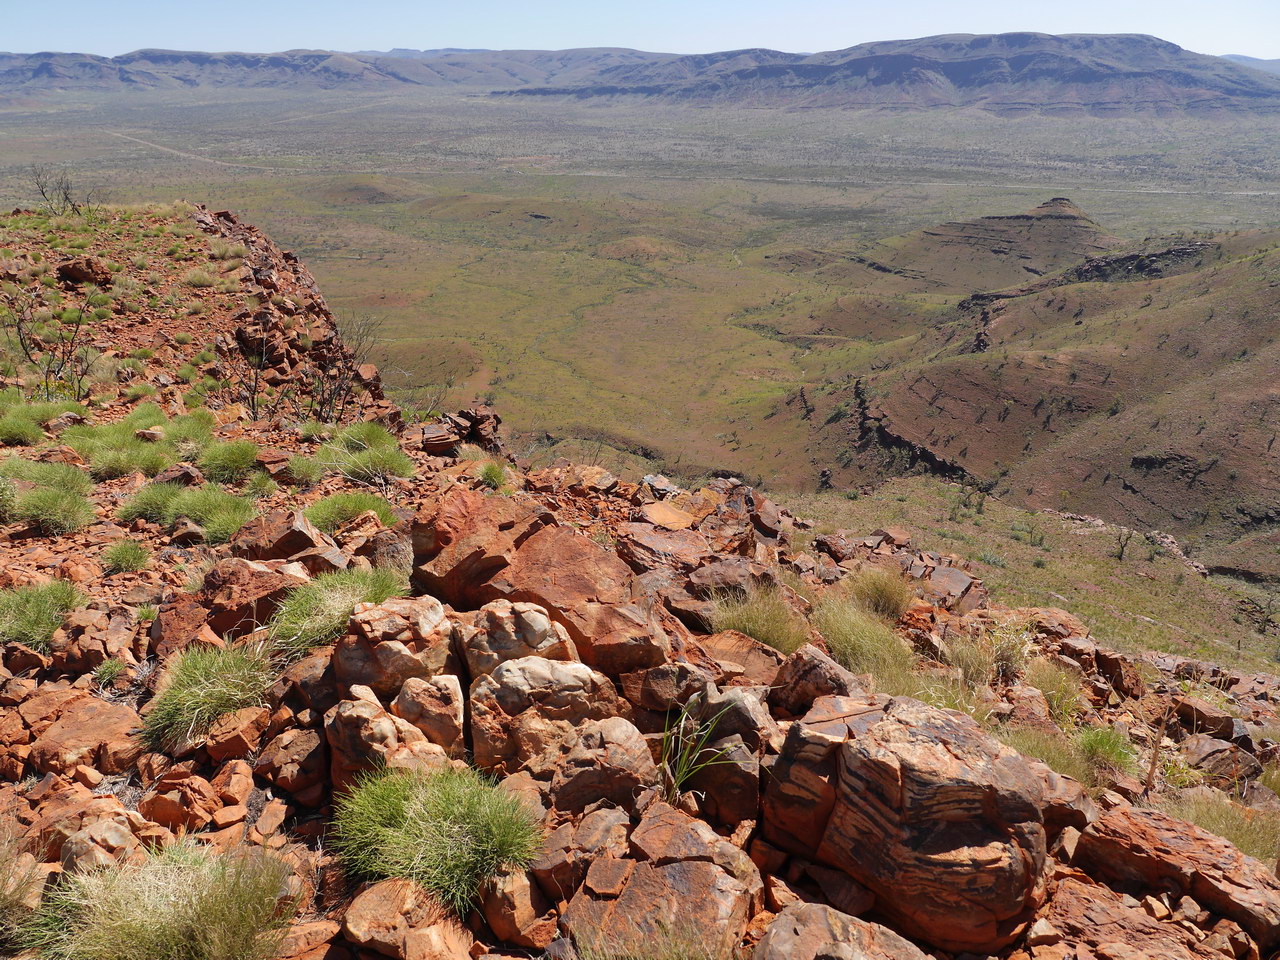
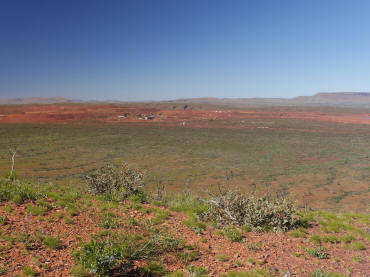
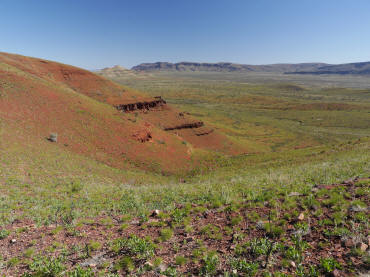
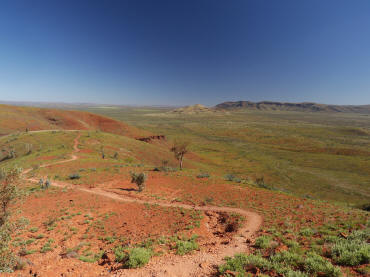
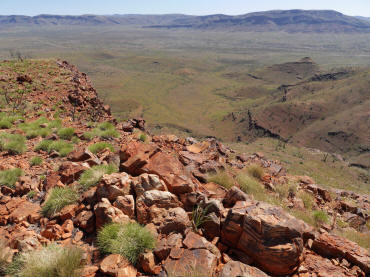
View of Karijini NP |
Along the track |
 |
 |
 |
| View of Karijini NP |
It gets very hot up here,
take food and water |
Along the track |
 |
 |
 |
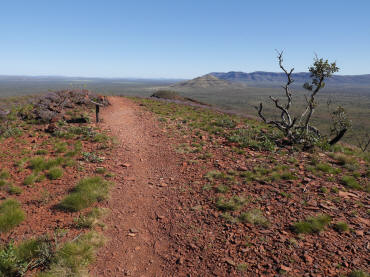
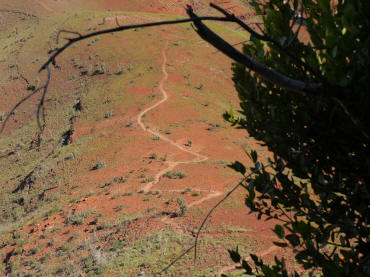
| Along the track |
Along the track, view of
Karijini NP |
Decision point, turn
around point for the kids |
 |
 |
 |
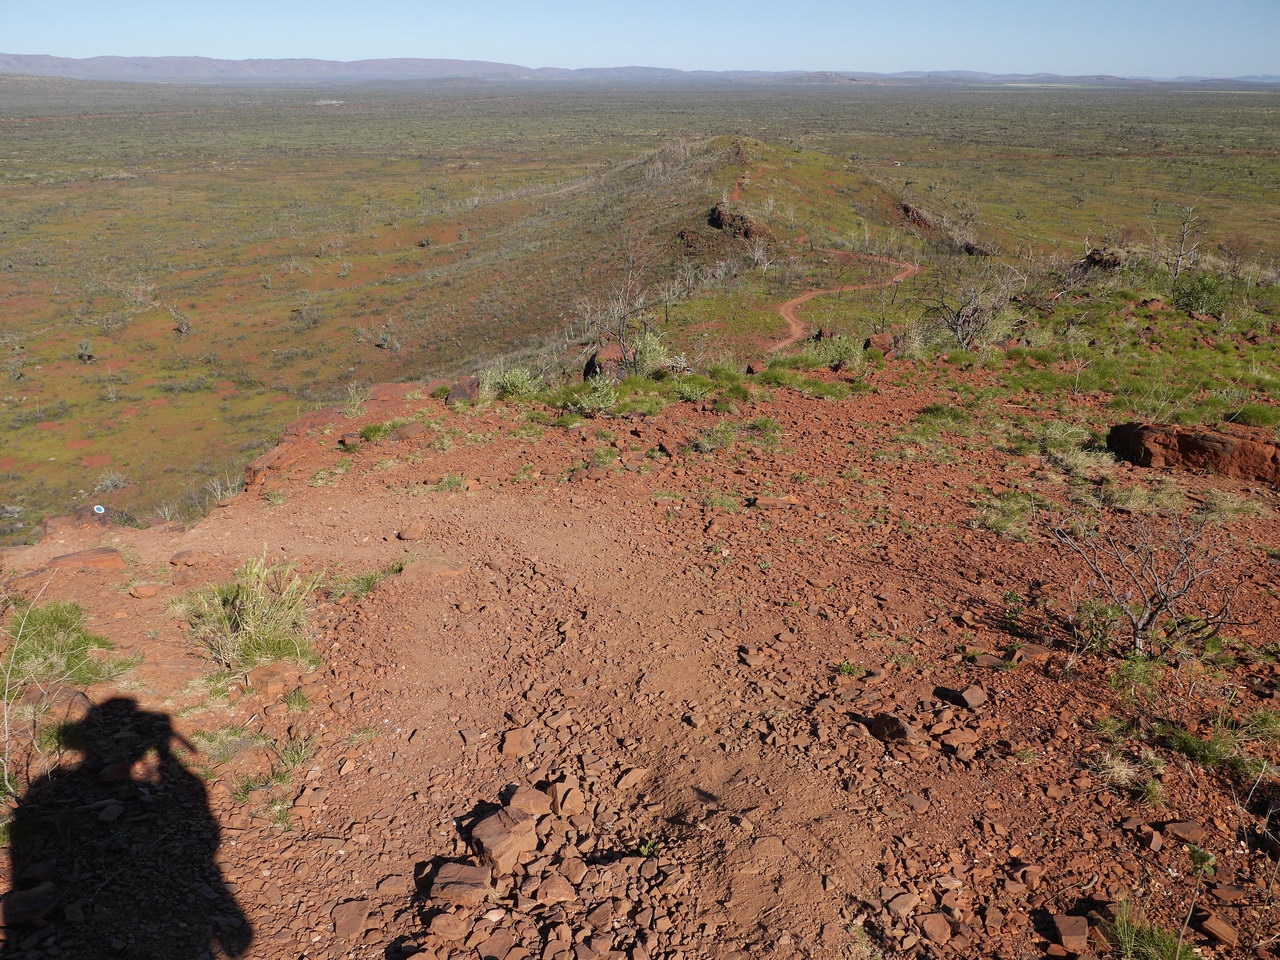
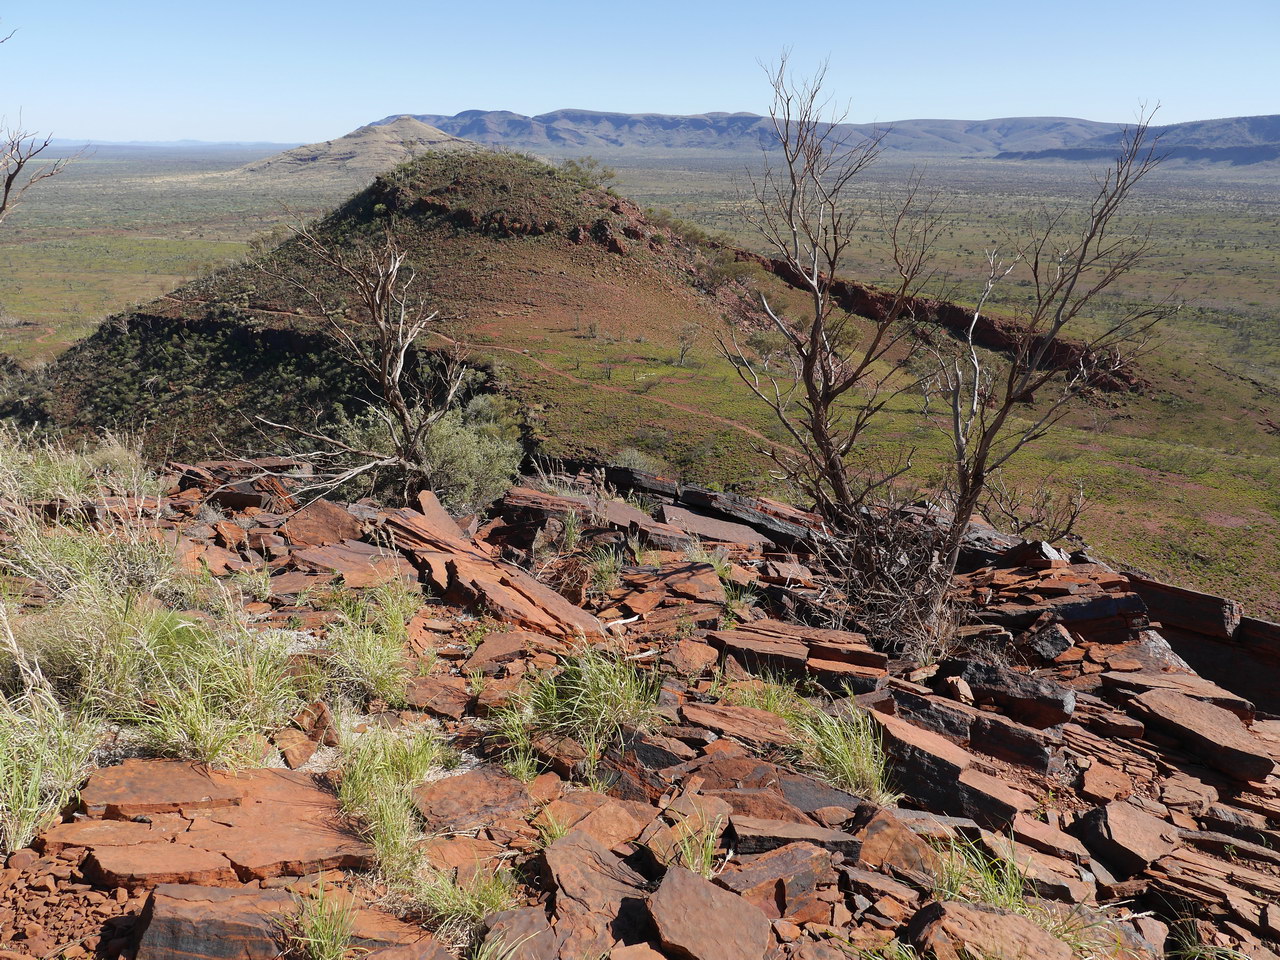
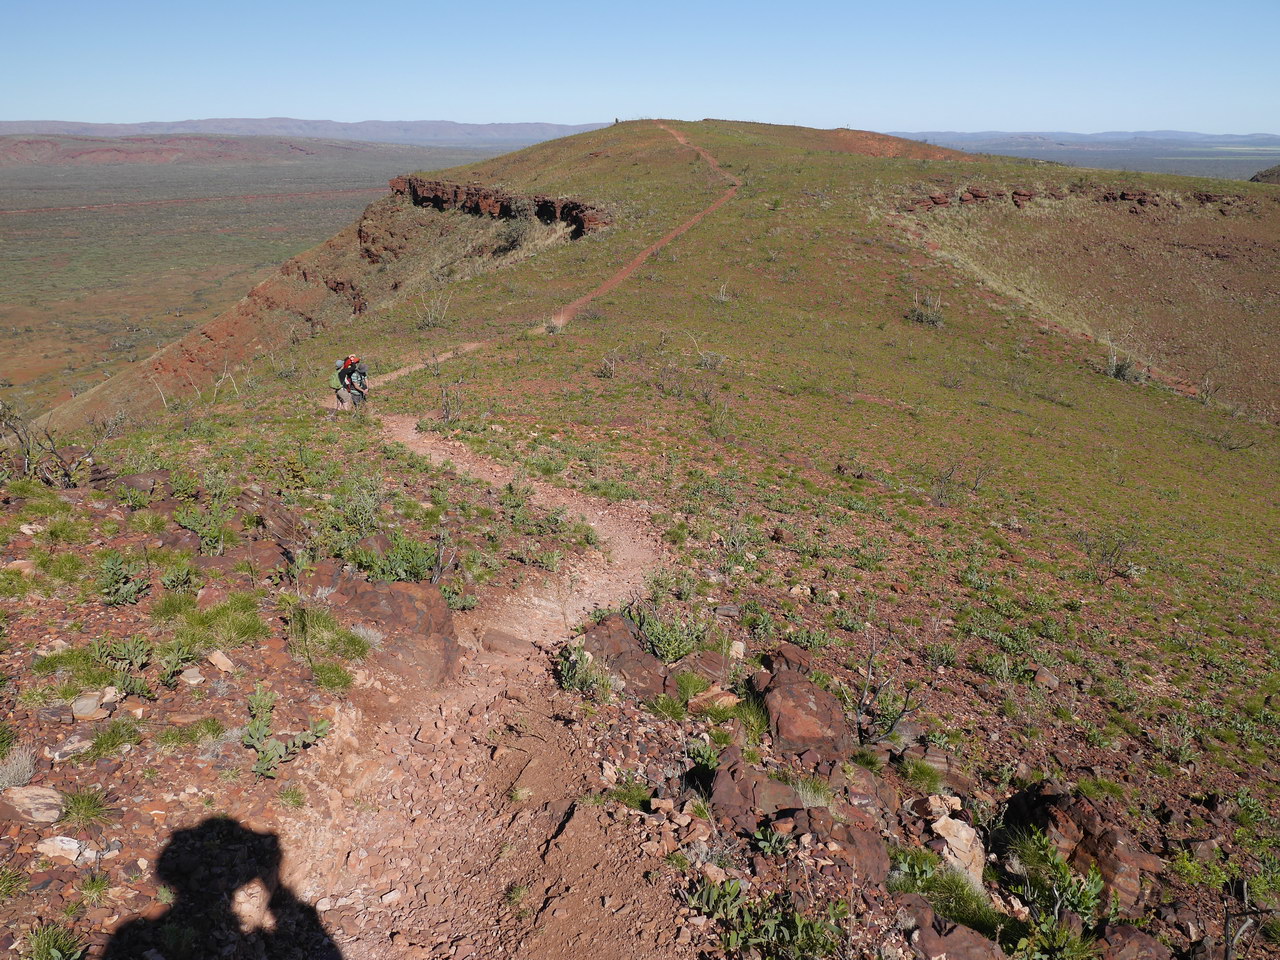
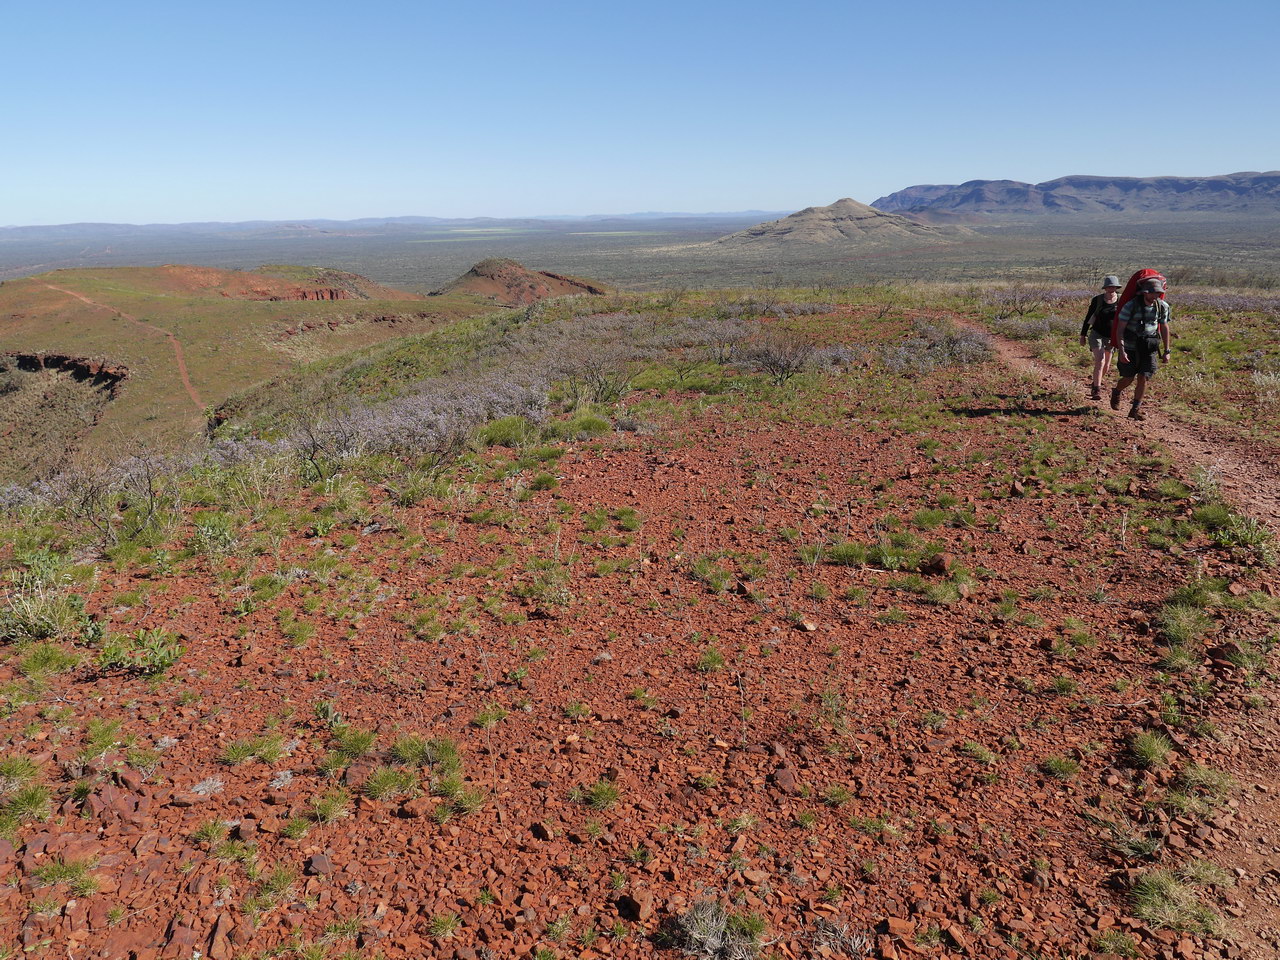
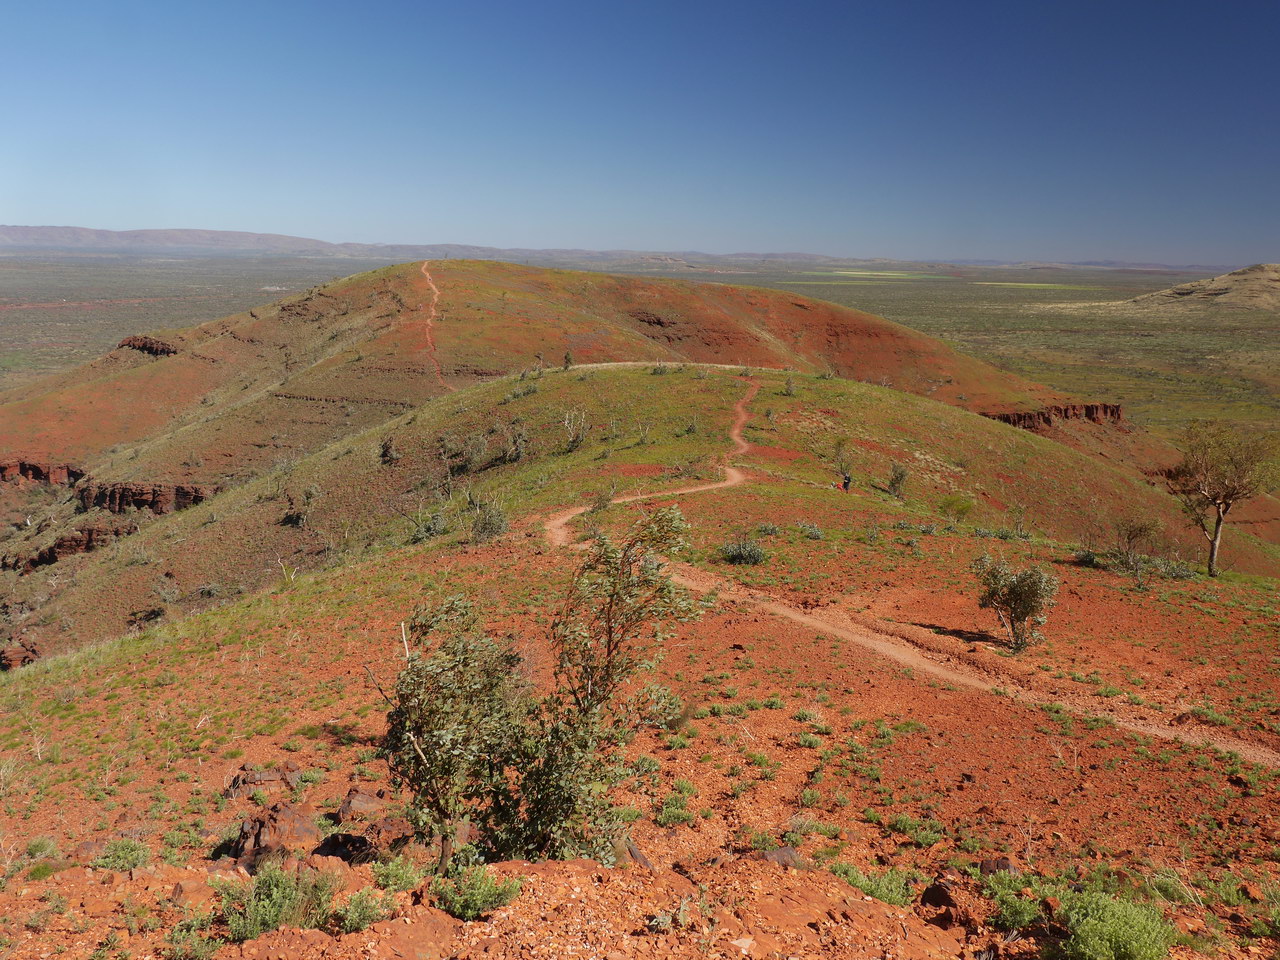
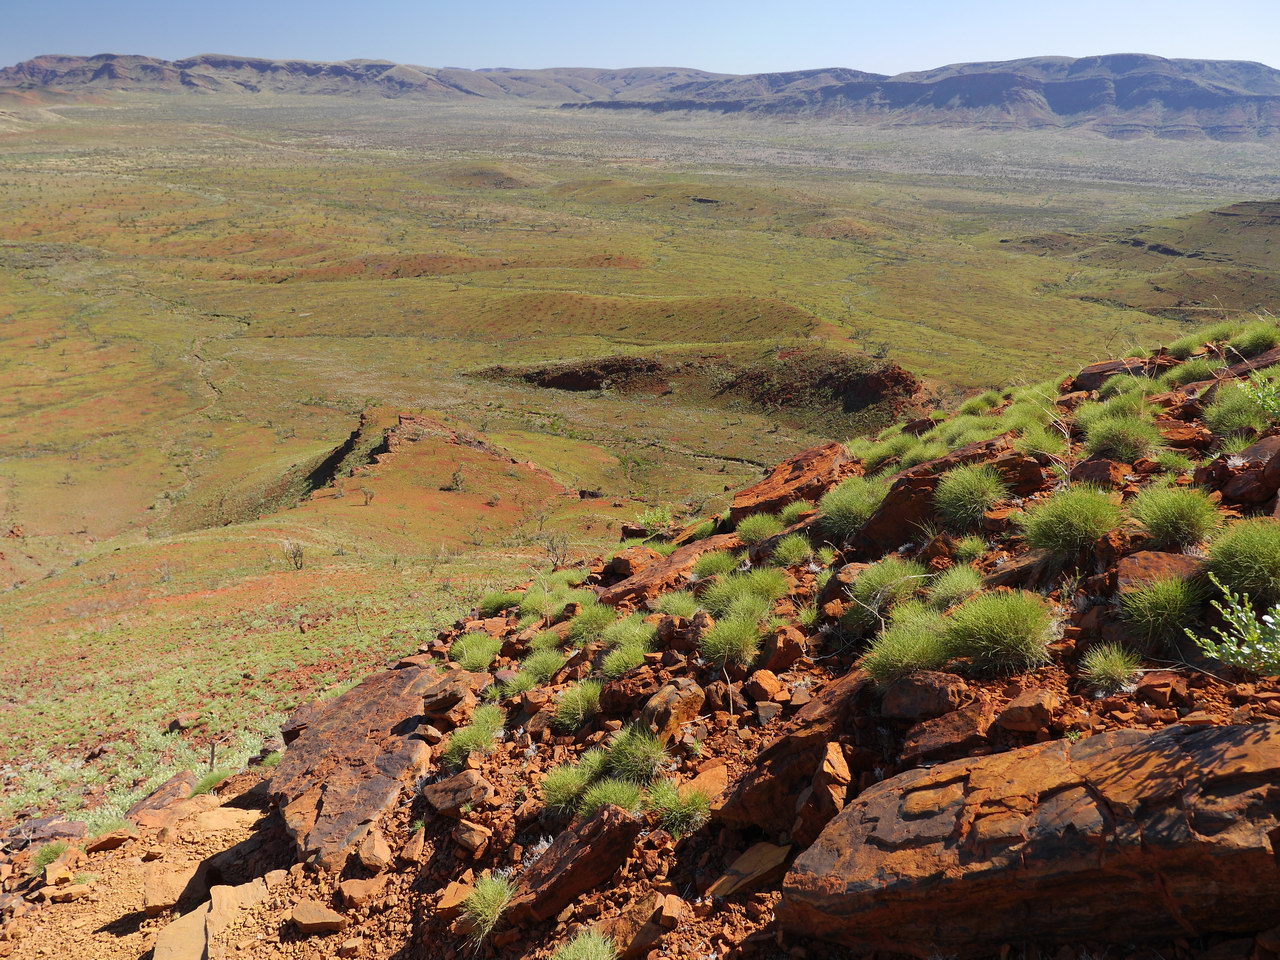
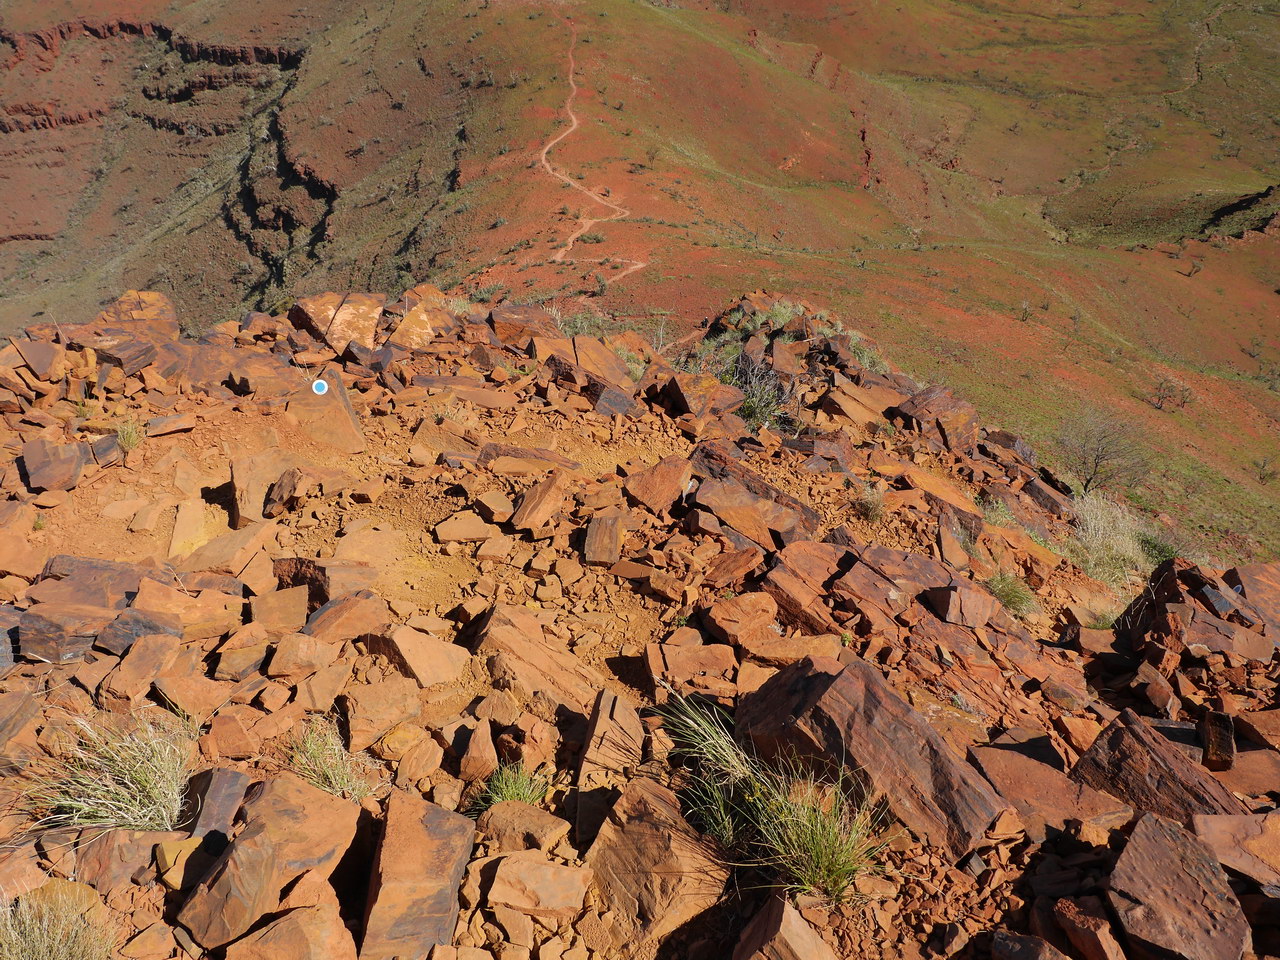
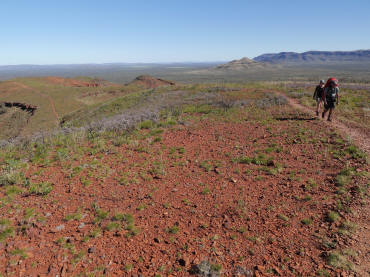
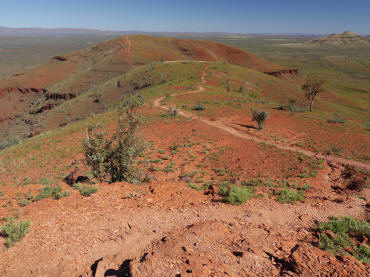
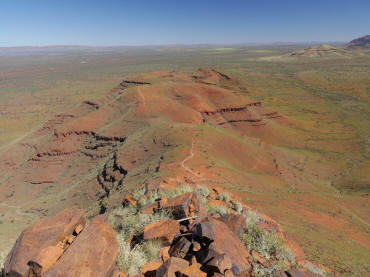
| On the Summit track,
backwards view. |
Not the end, still a long
way to go |
On the Summit track,
backwards view. |
 |
 |
 |
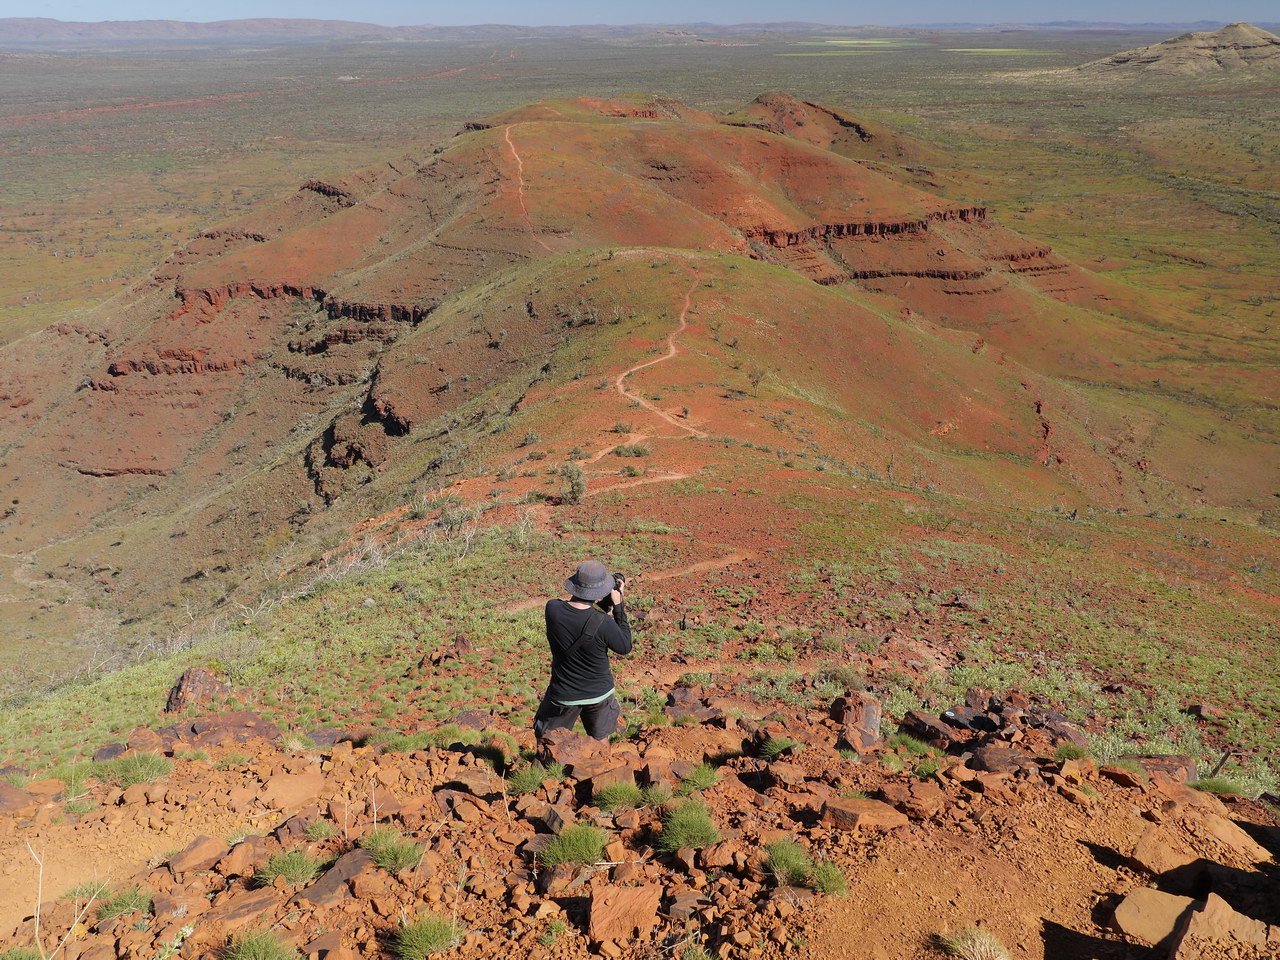
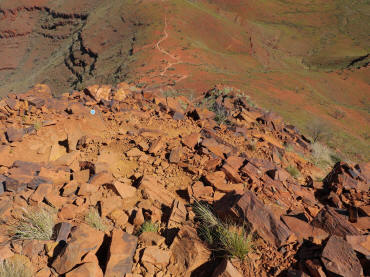
| On the Summit track,
backwards view. |
On the Summit track,
backwards view. |
On the Summit track,
backwards view. |
 |
 |
 |
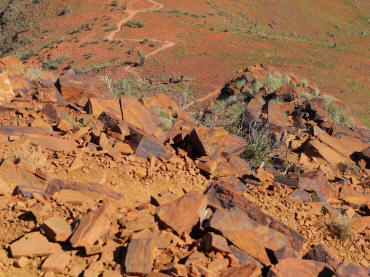
| On the Summit track,
backwards view. |
On the Summit track,
backwards view. |
On the Summit track,
backwards view. |
 |
 |
 |
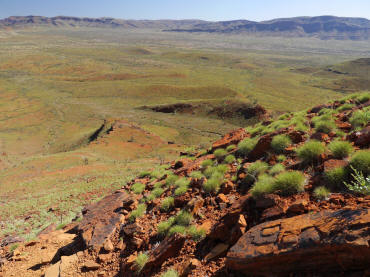
| On the Summit track,
backwards view. |
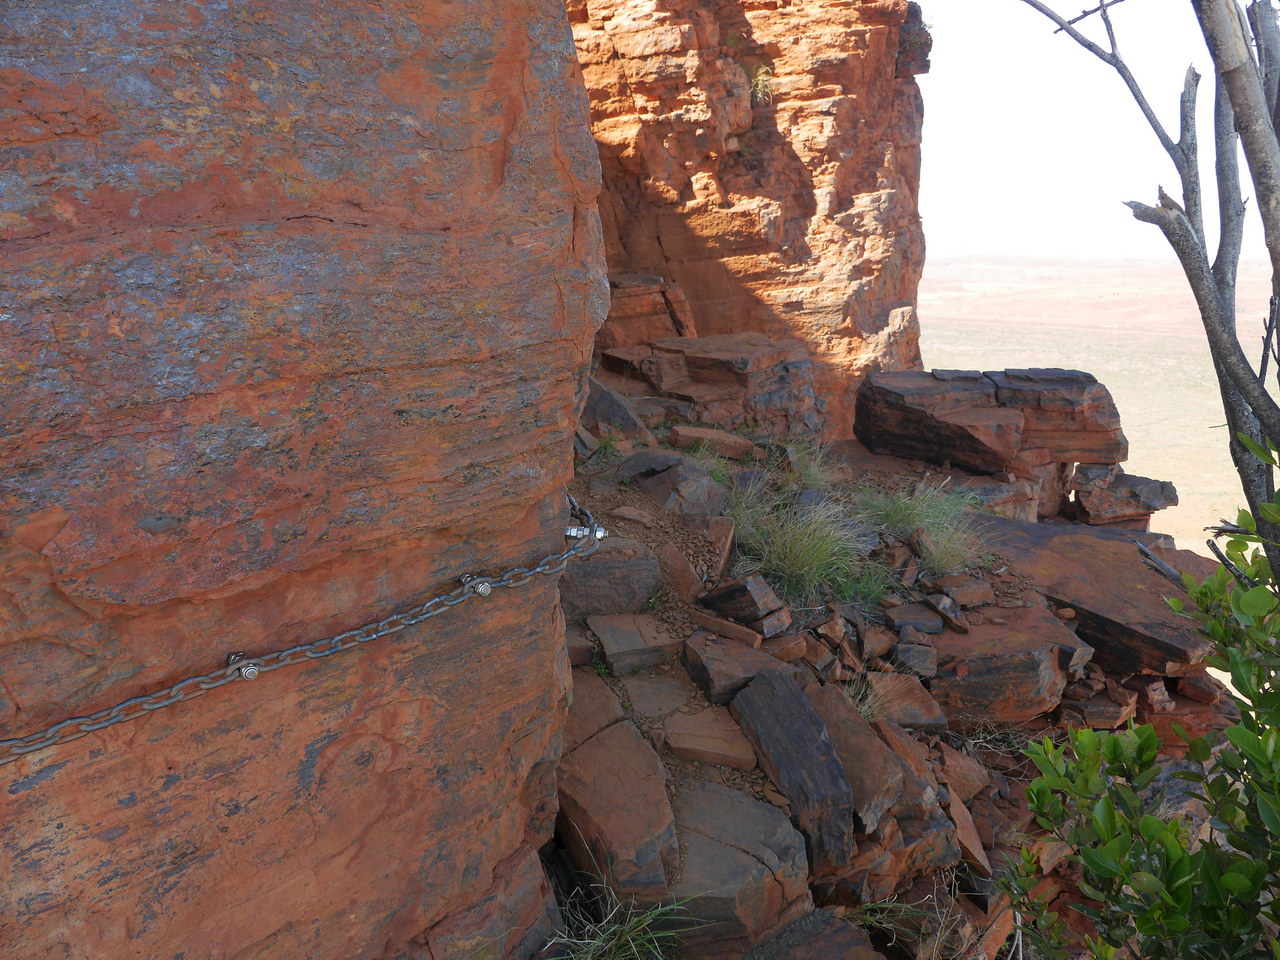
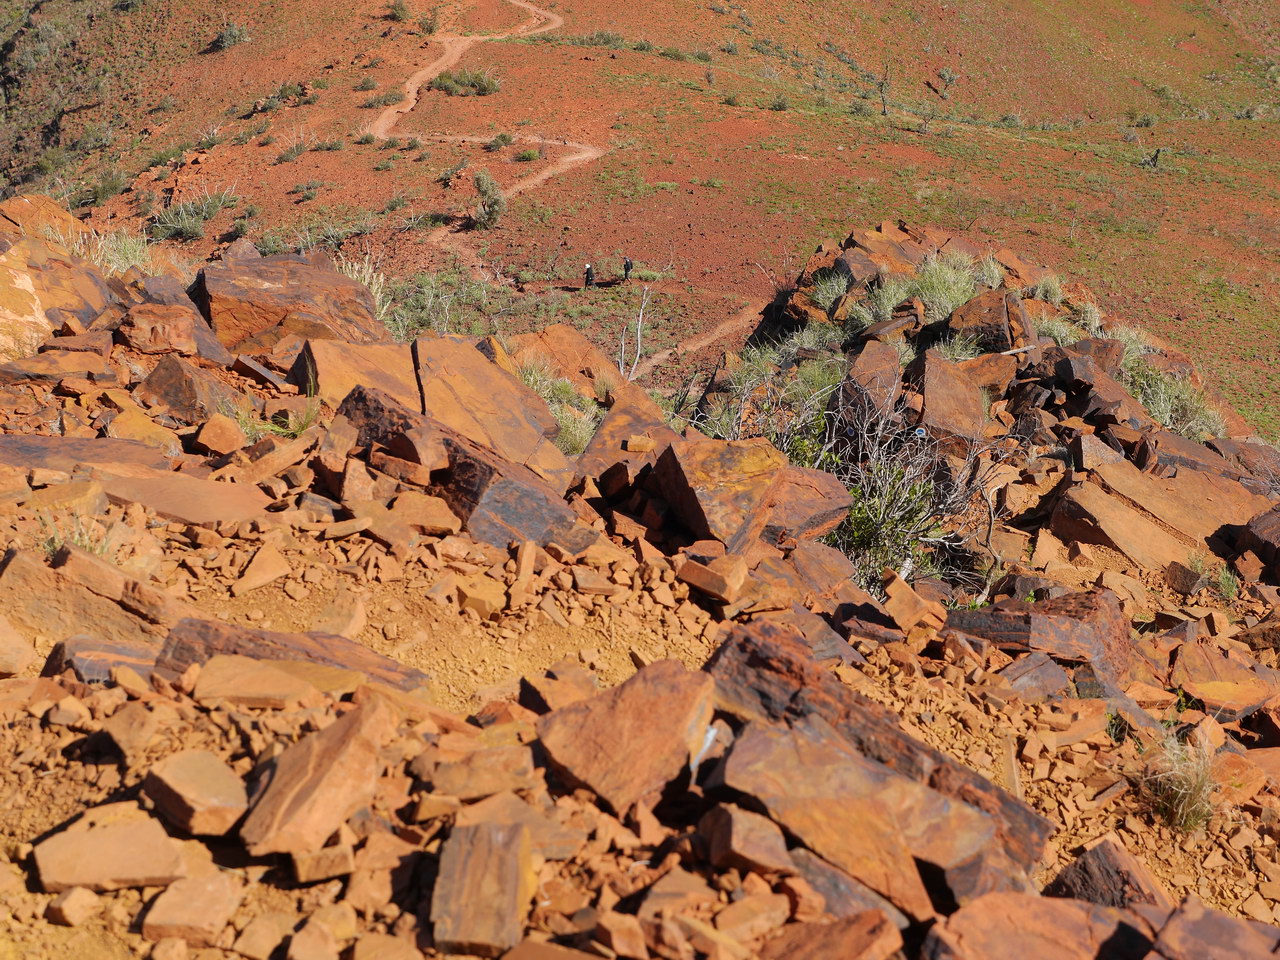
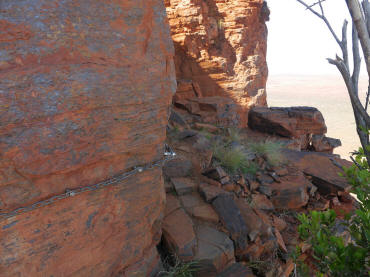
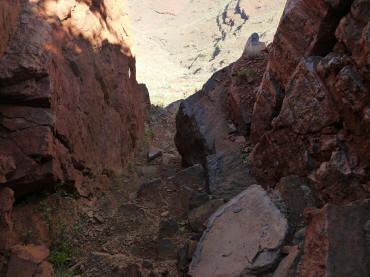
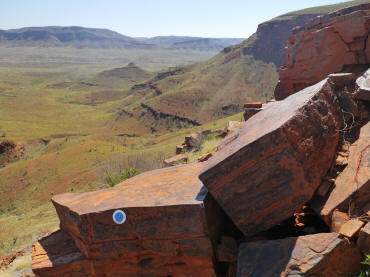
Getting interesting, a
chain to help |
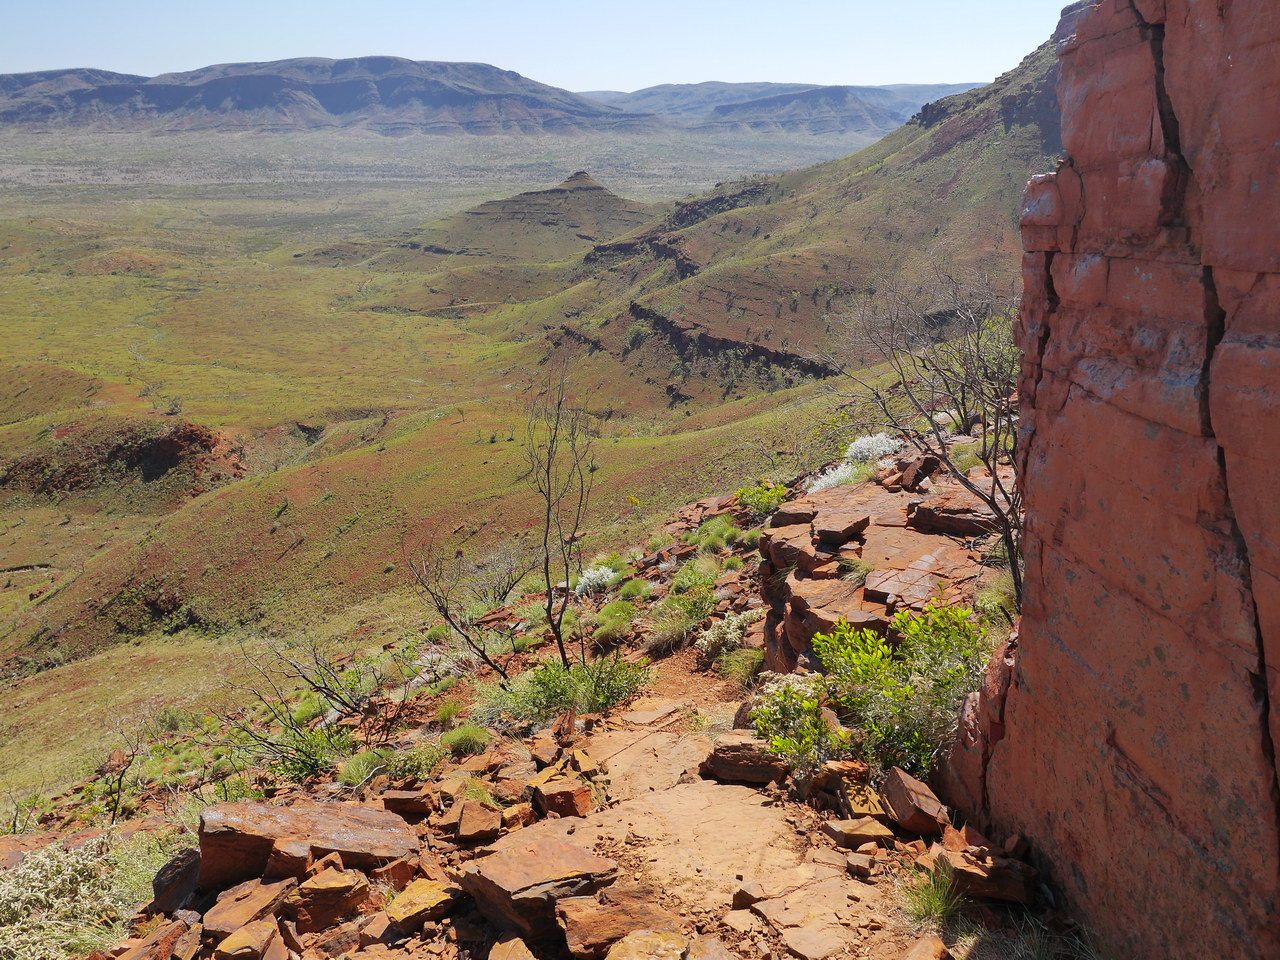
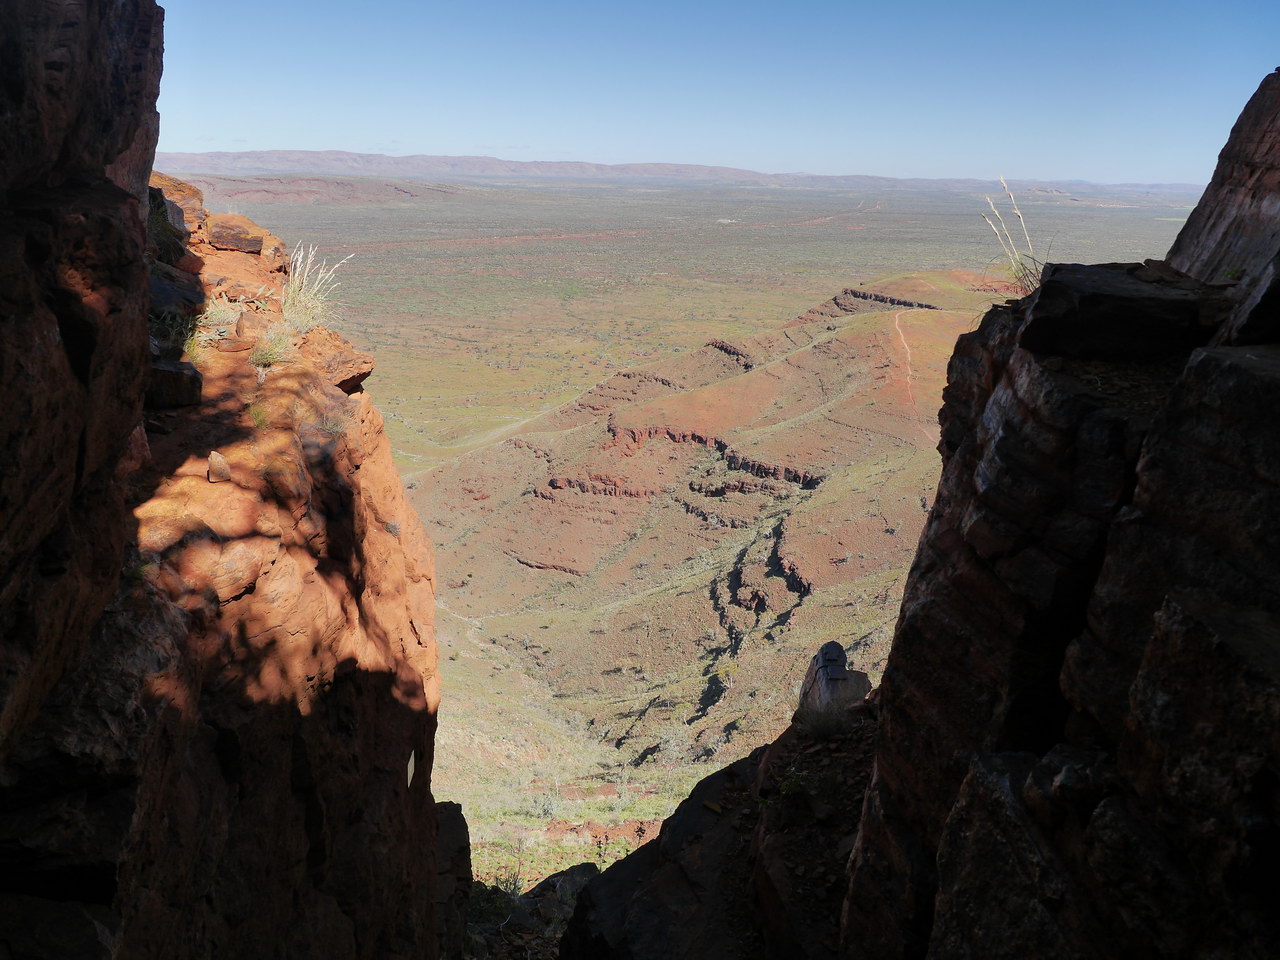
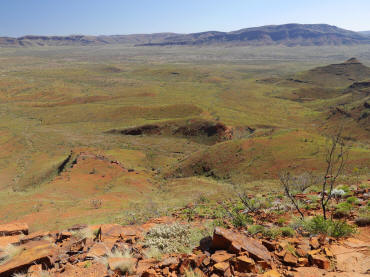
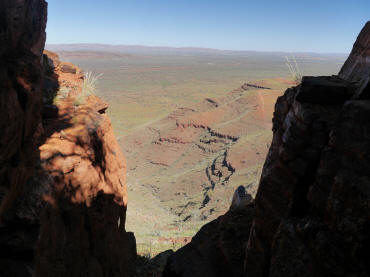
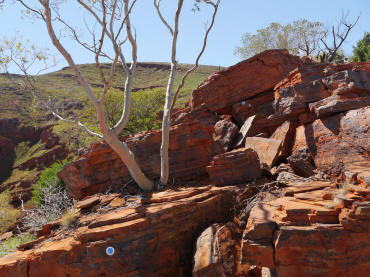
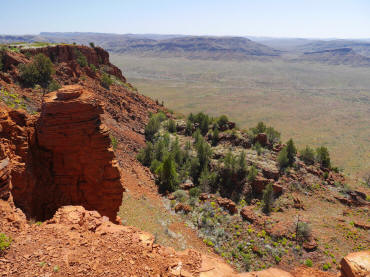
Great view... |
 |
 |
 |
| ...from a difficult
section |
On the Summit track,
backwards view. |
On the Summit track,
backwards view. |
 |
 |
 |
| On the Summit track,
backwards view. |
On the Summit track,
backwards view. |
On the Summit track,
backwards view. |
 |
 |
 |
| On the Summit track,
backwards view. |
On the Summit track,
backwards view. |
On the Summit track,
backwards view. |
 |
 |
 |
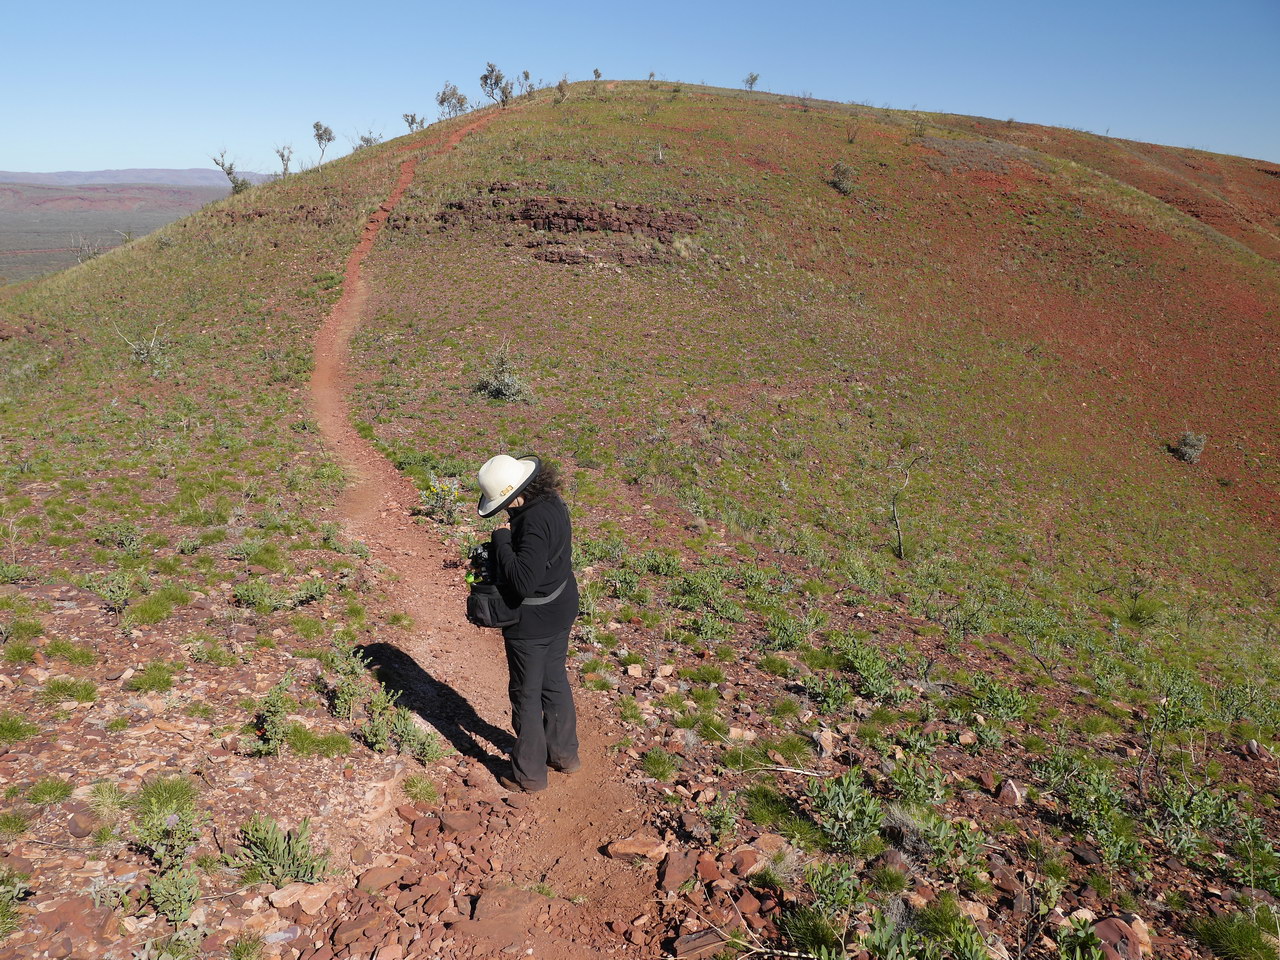
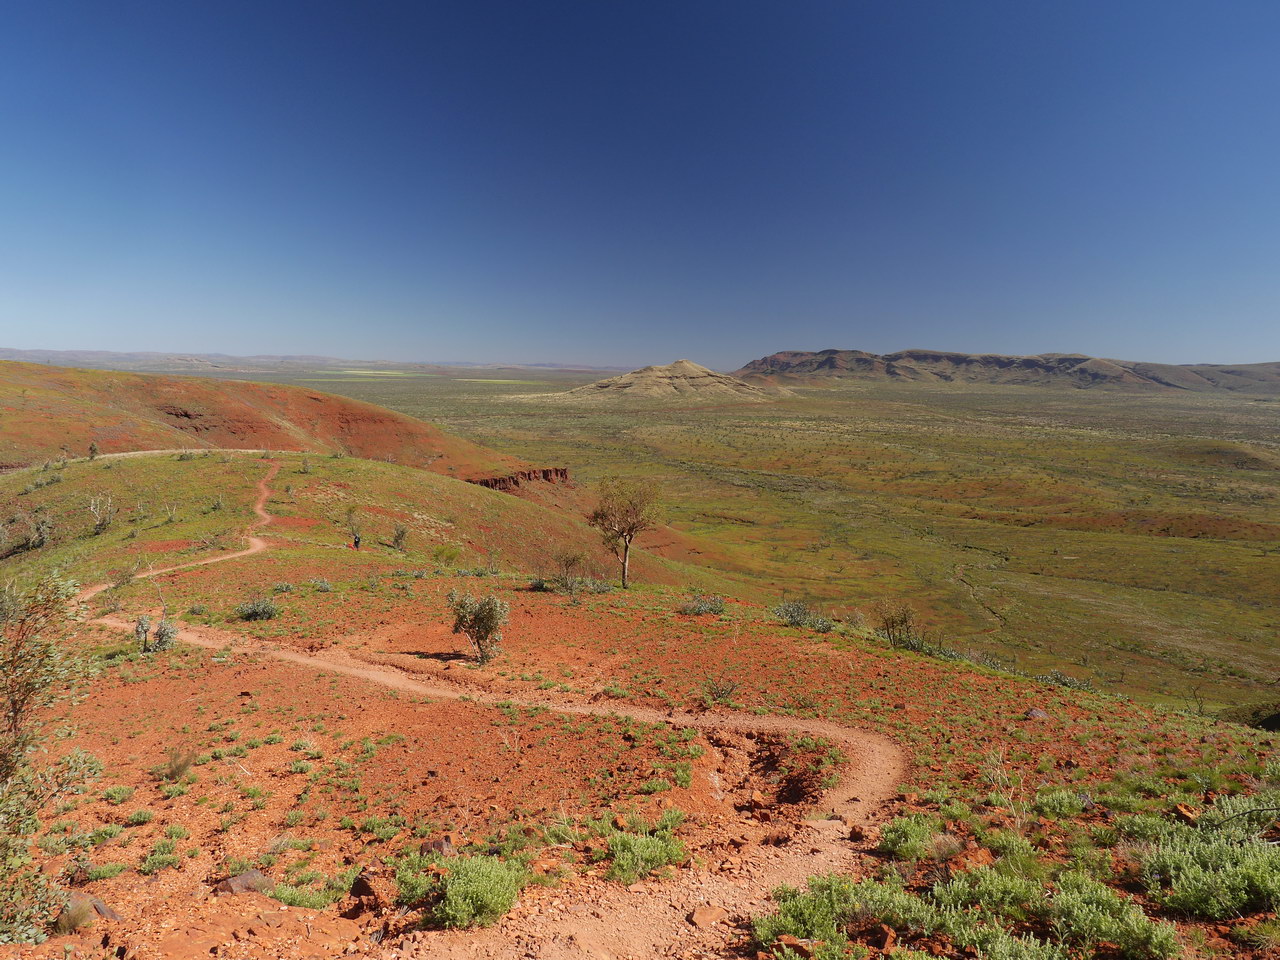
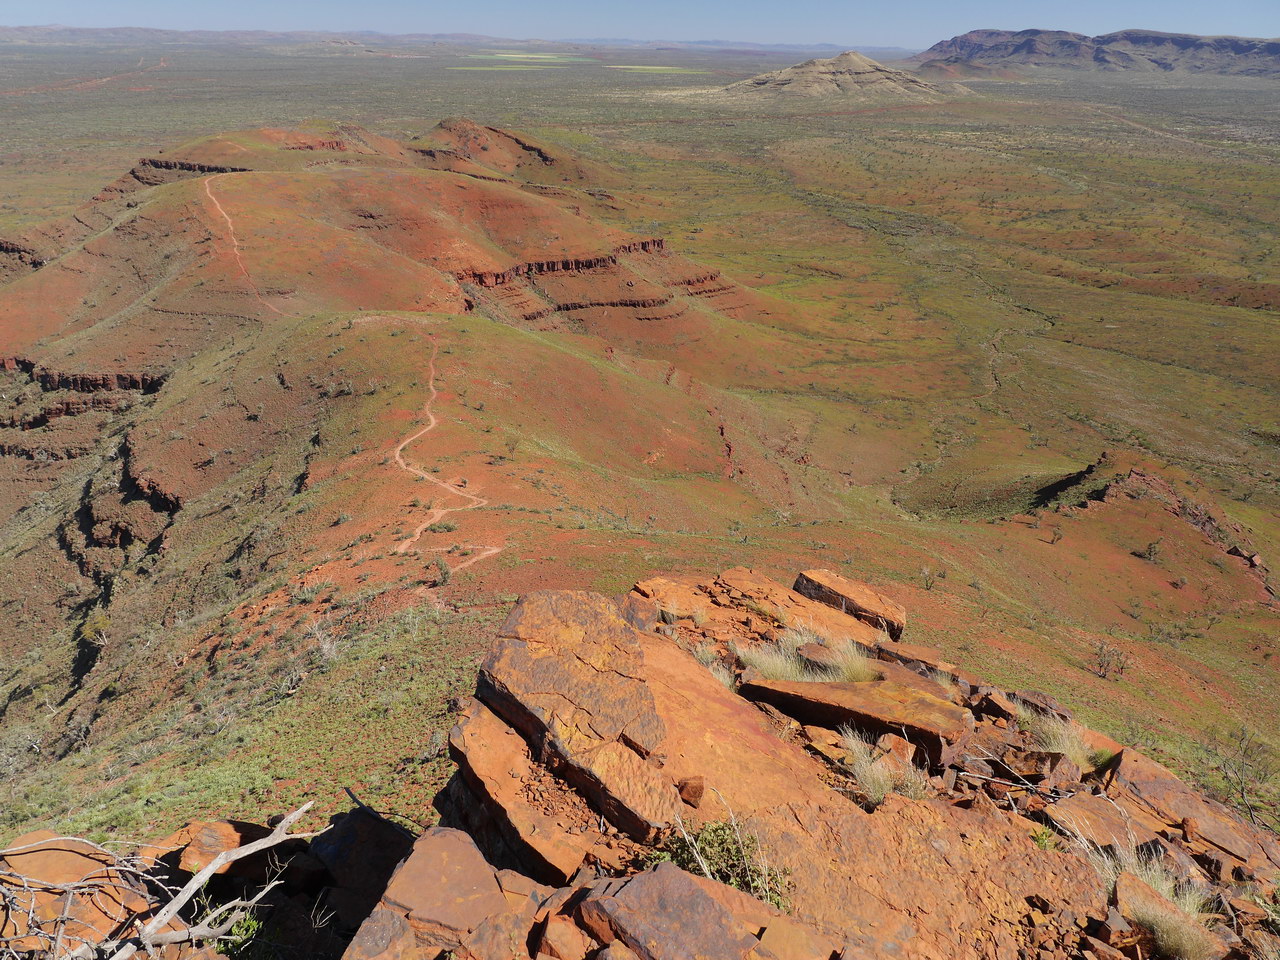
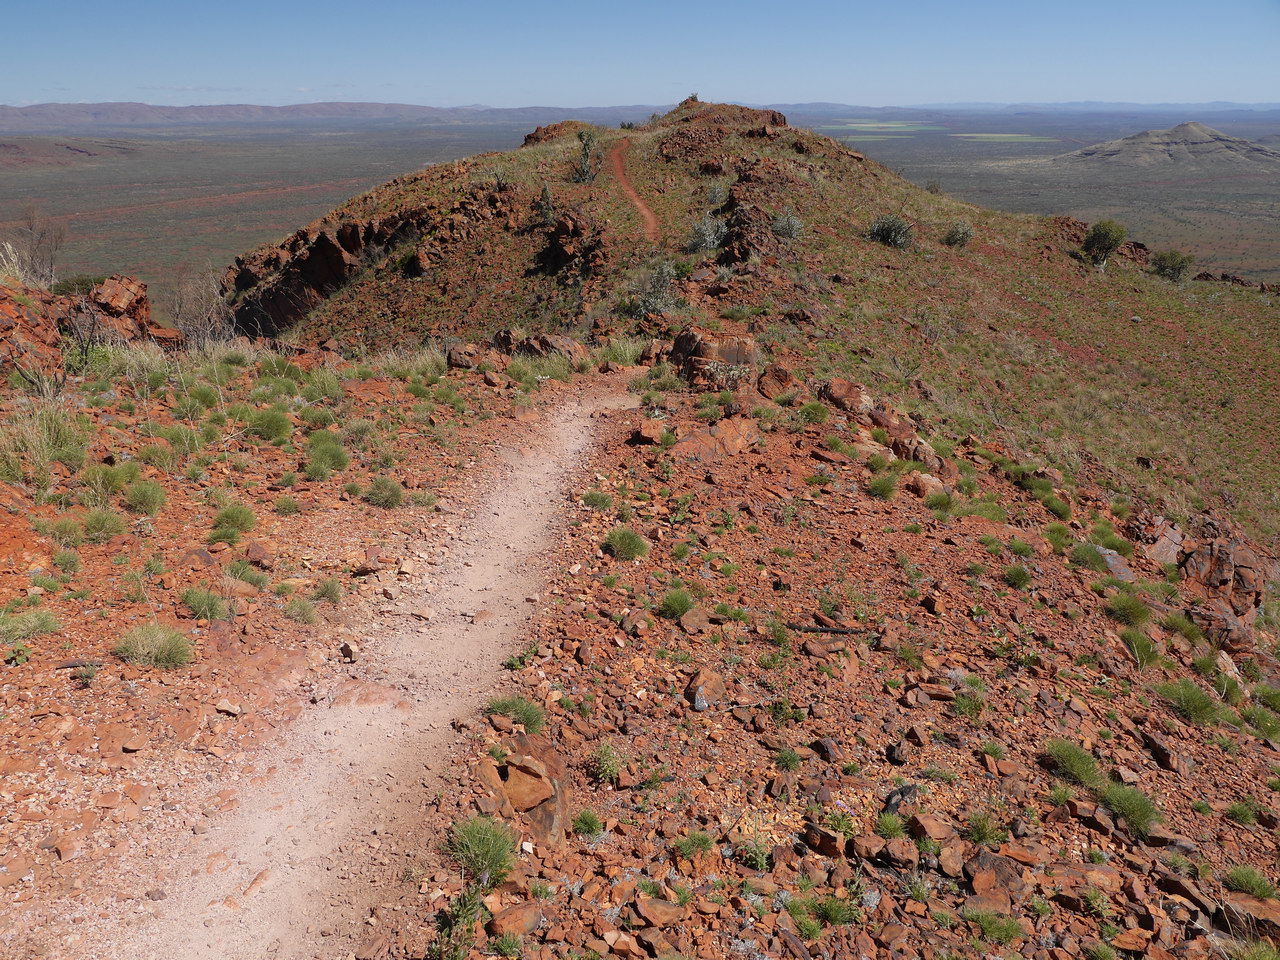
| Summit track view |
Summit track, the end is
still a long way away |
Karijini NP view |
 |
 |
 |
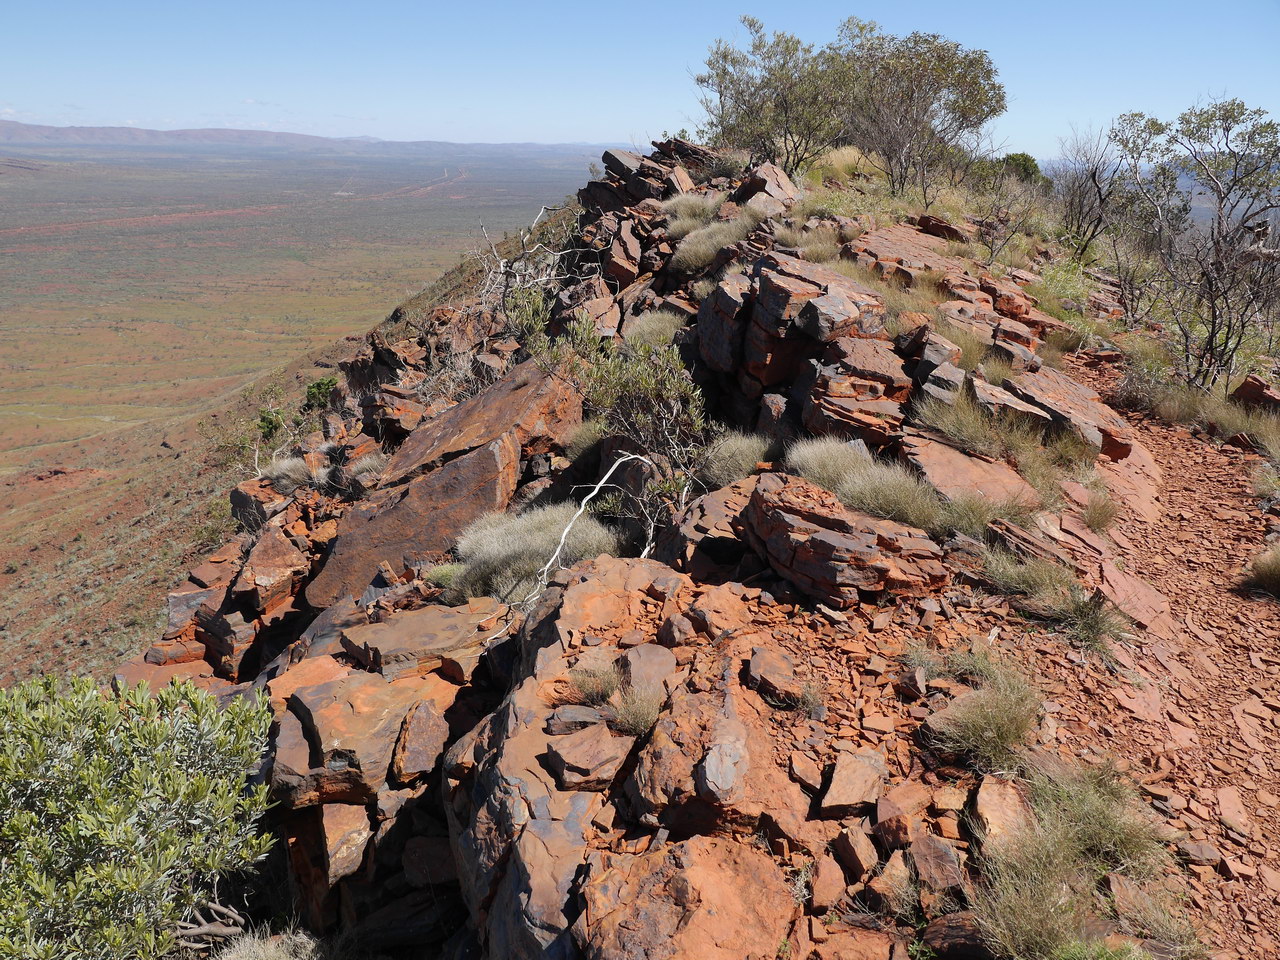
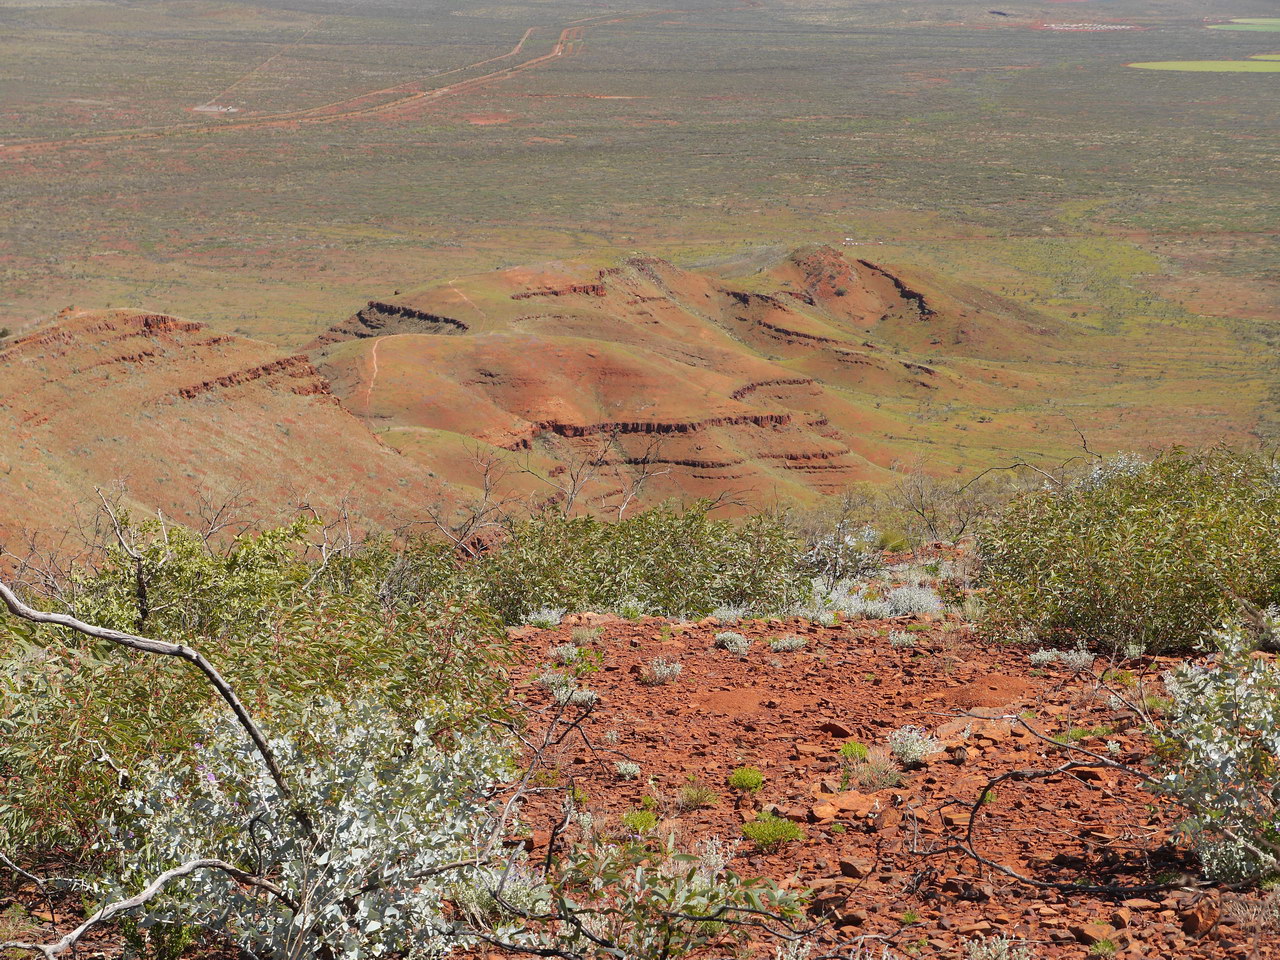
| Looking back |
Marandoo Mine view |
Looking back, as usual |
 |
 |
 |
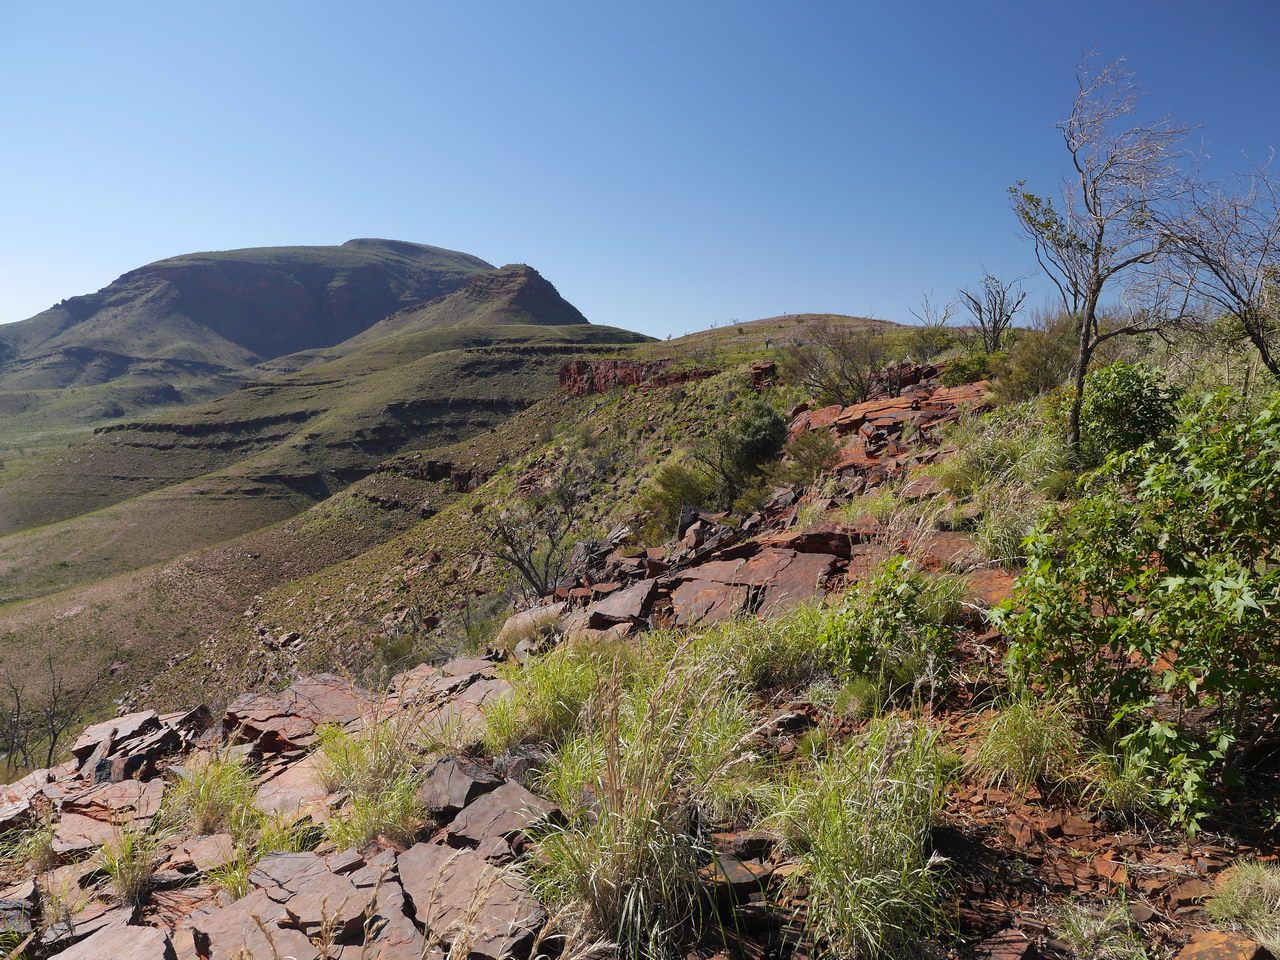
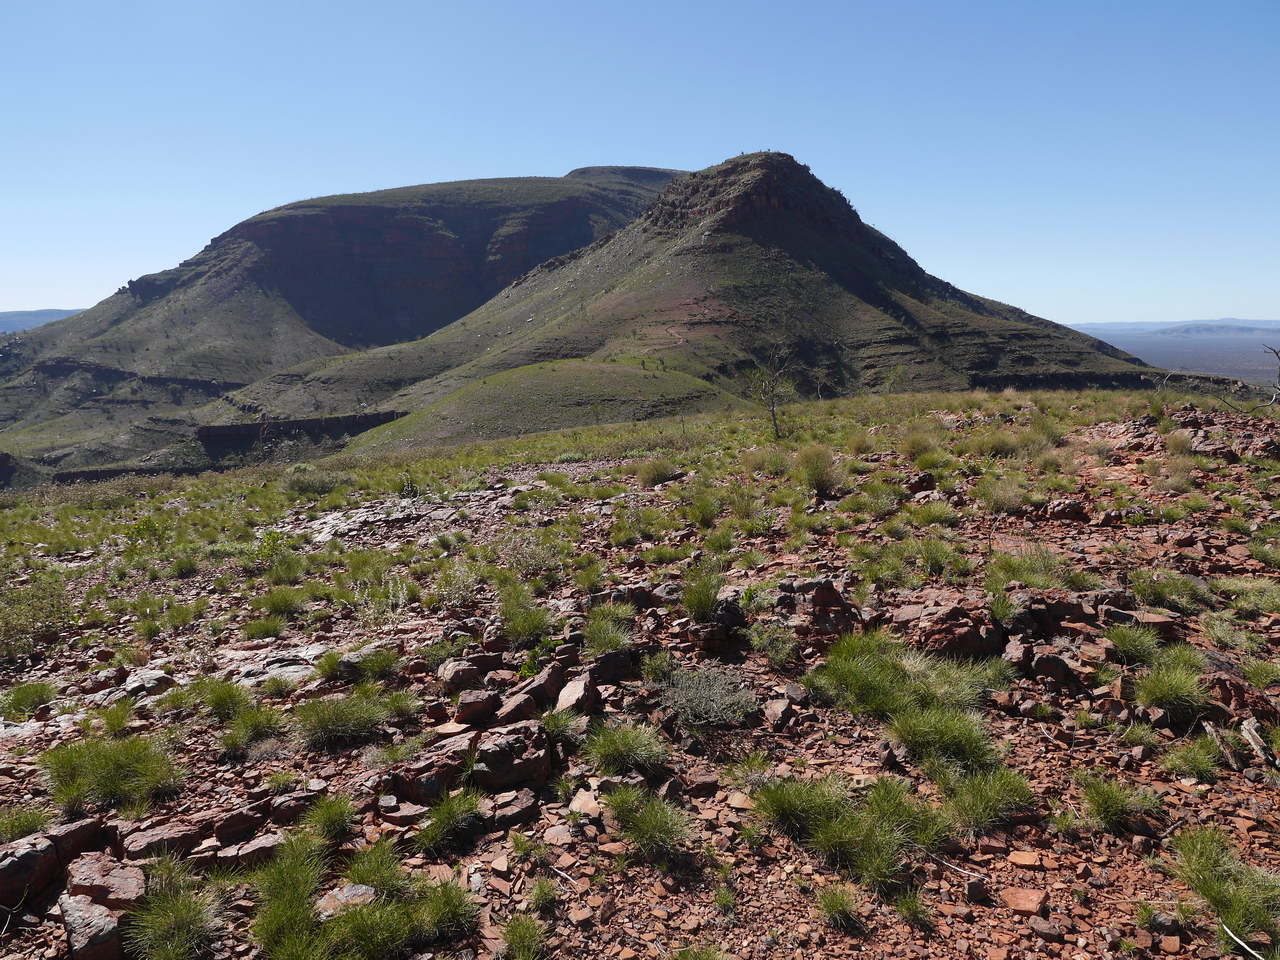
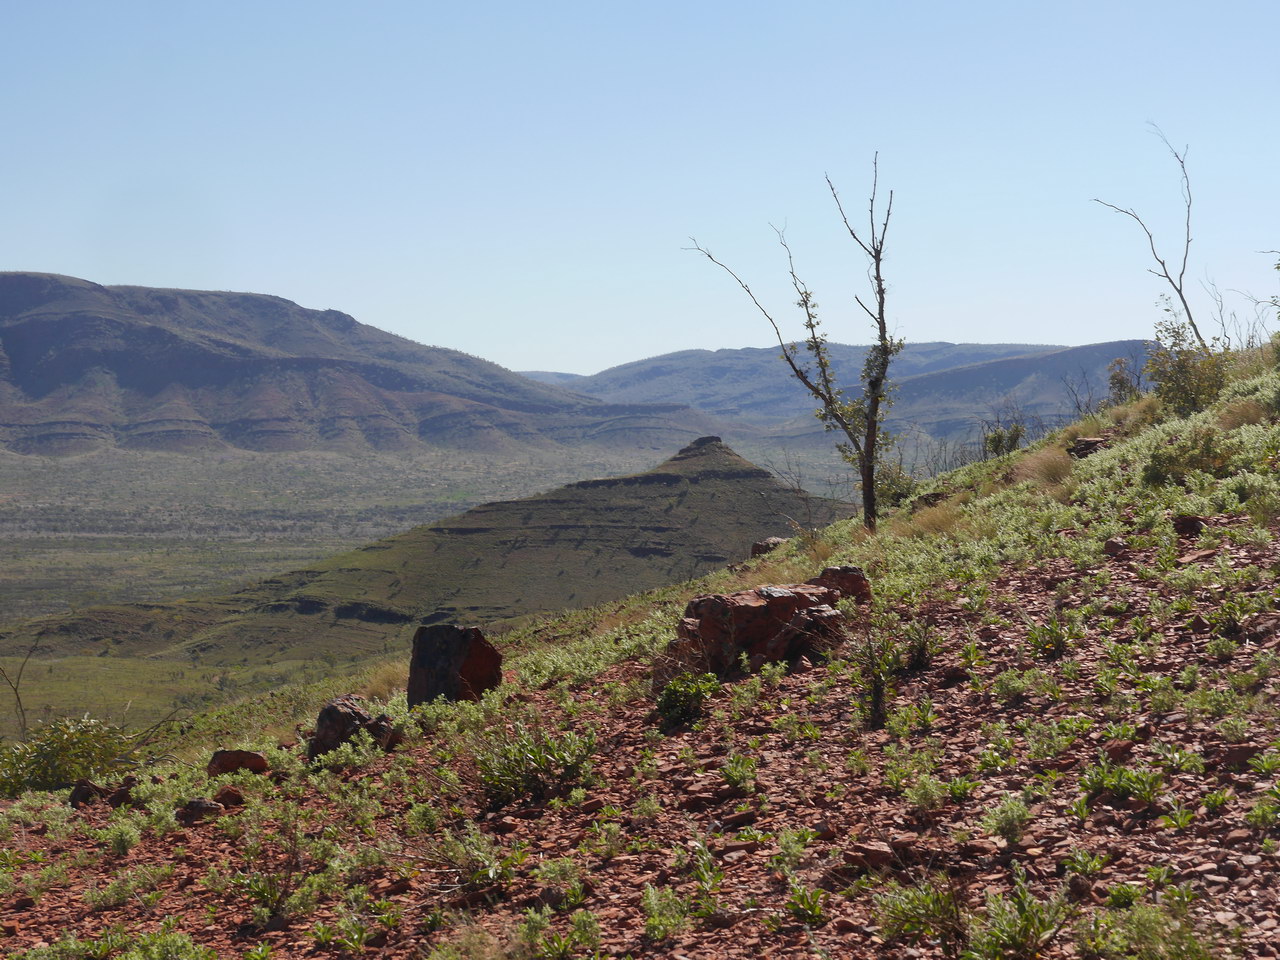
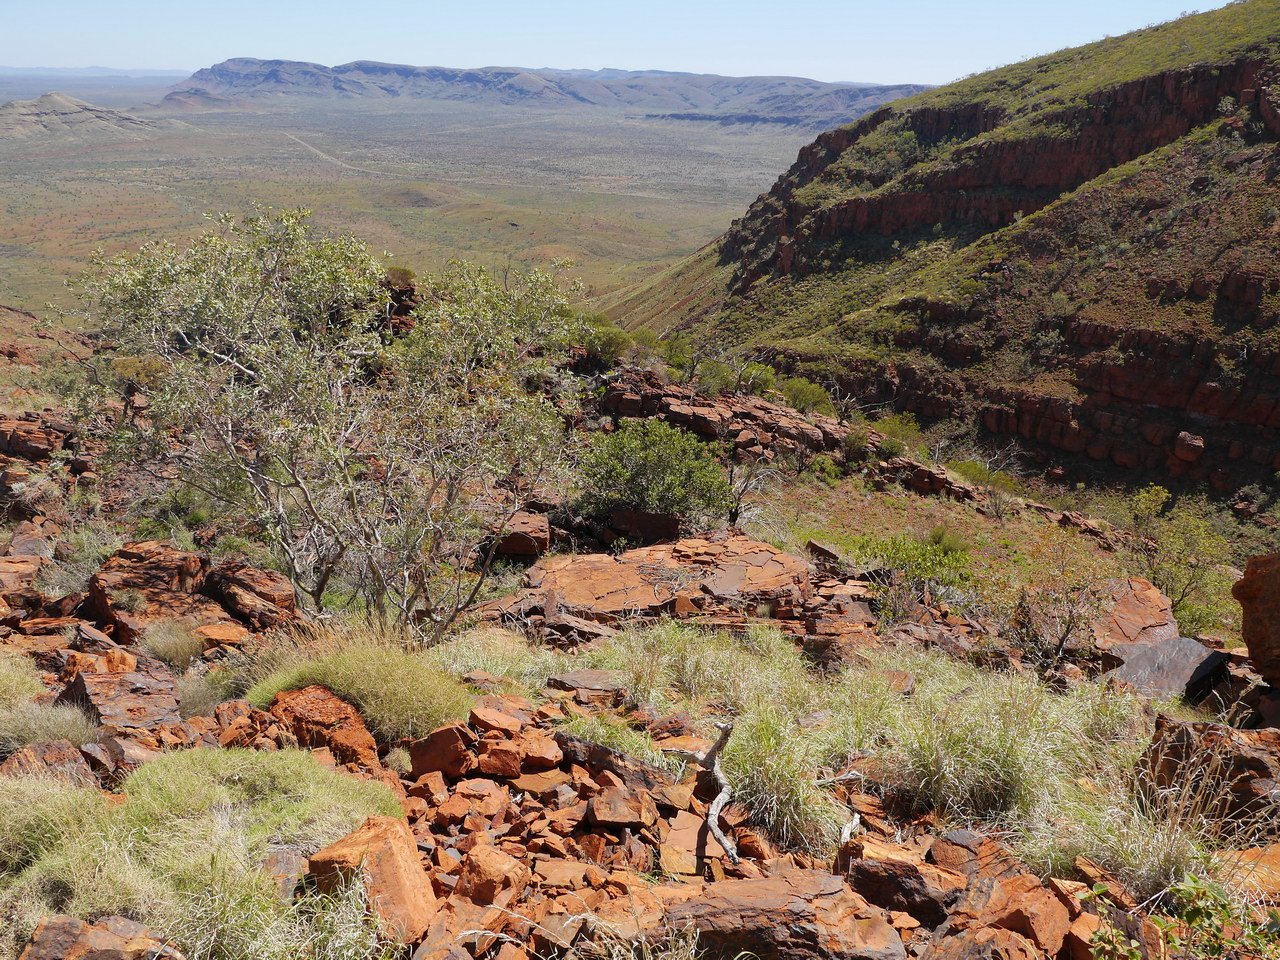
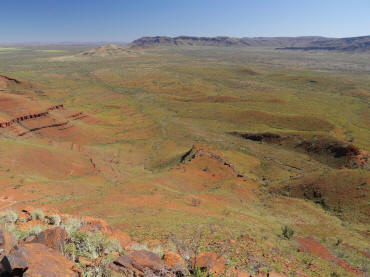
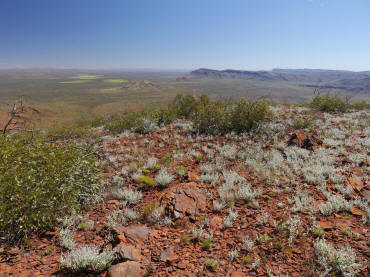
| View of Karijini NP |
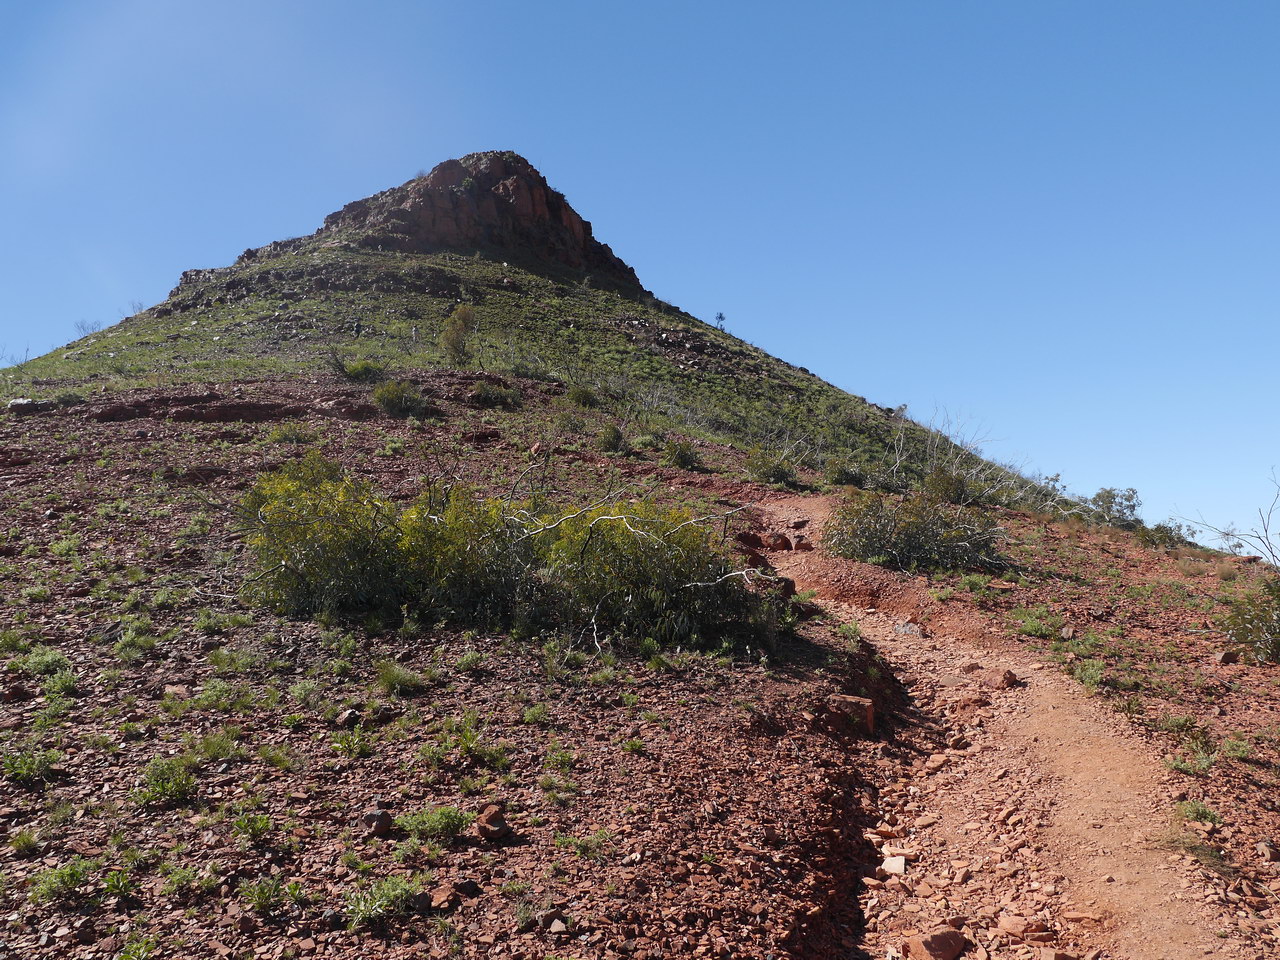
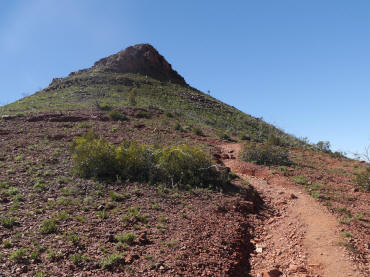
The peak, still a fiar way
away |
The peak |
 |
 |
 |
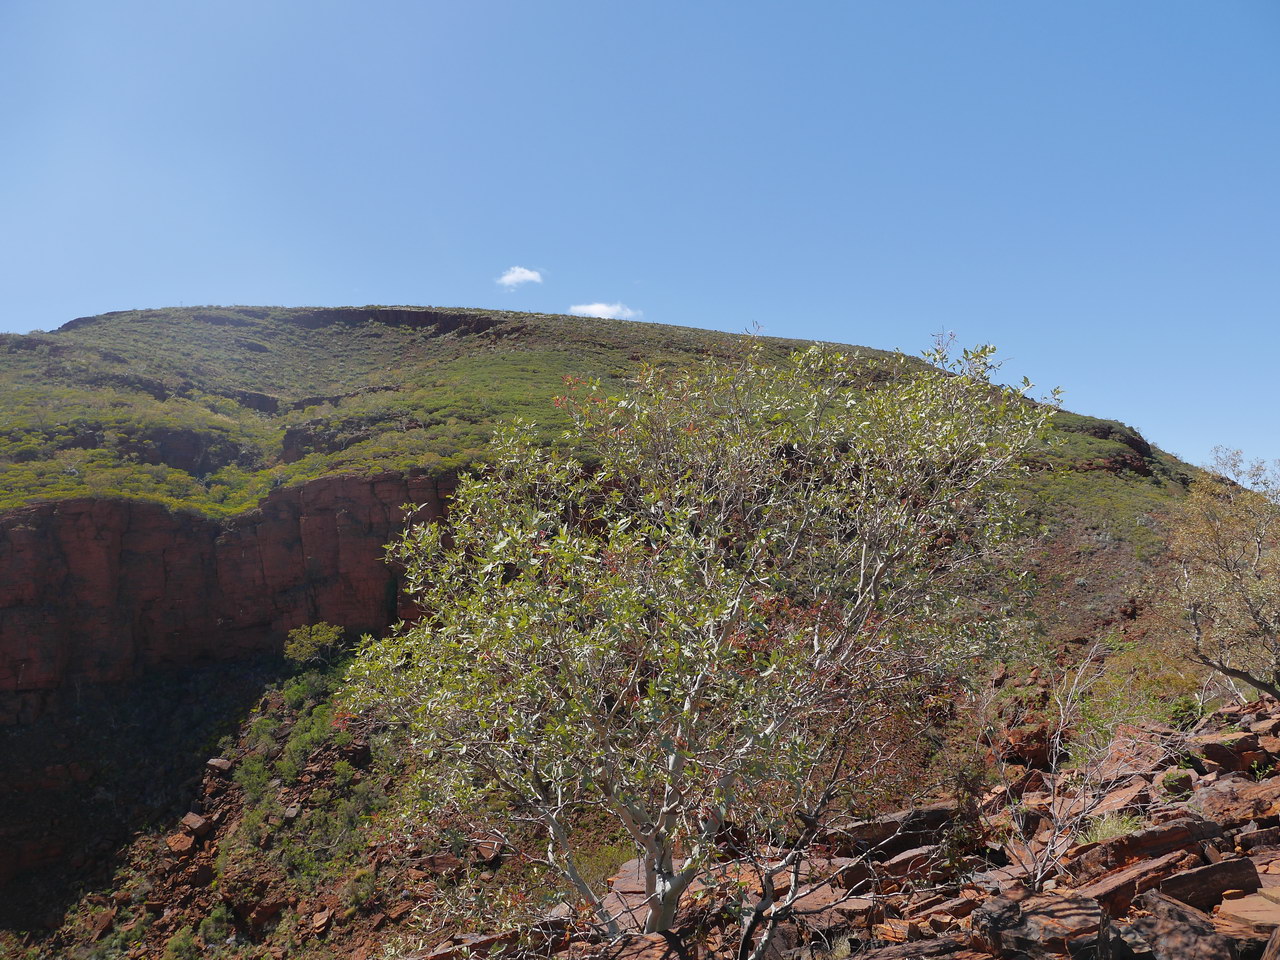
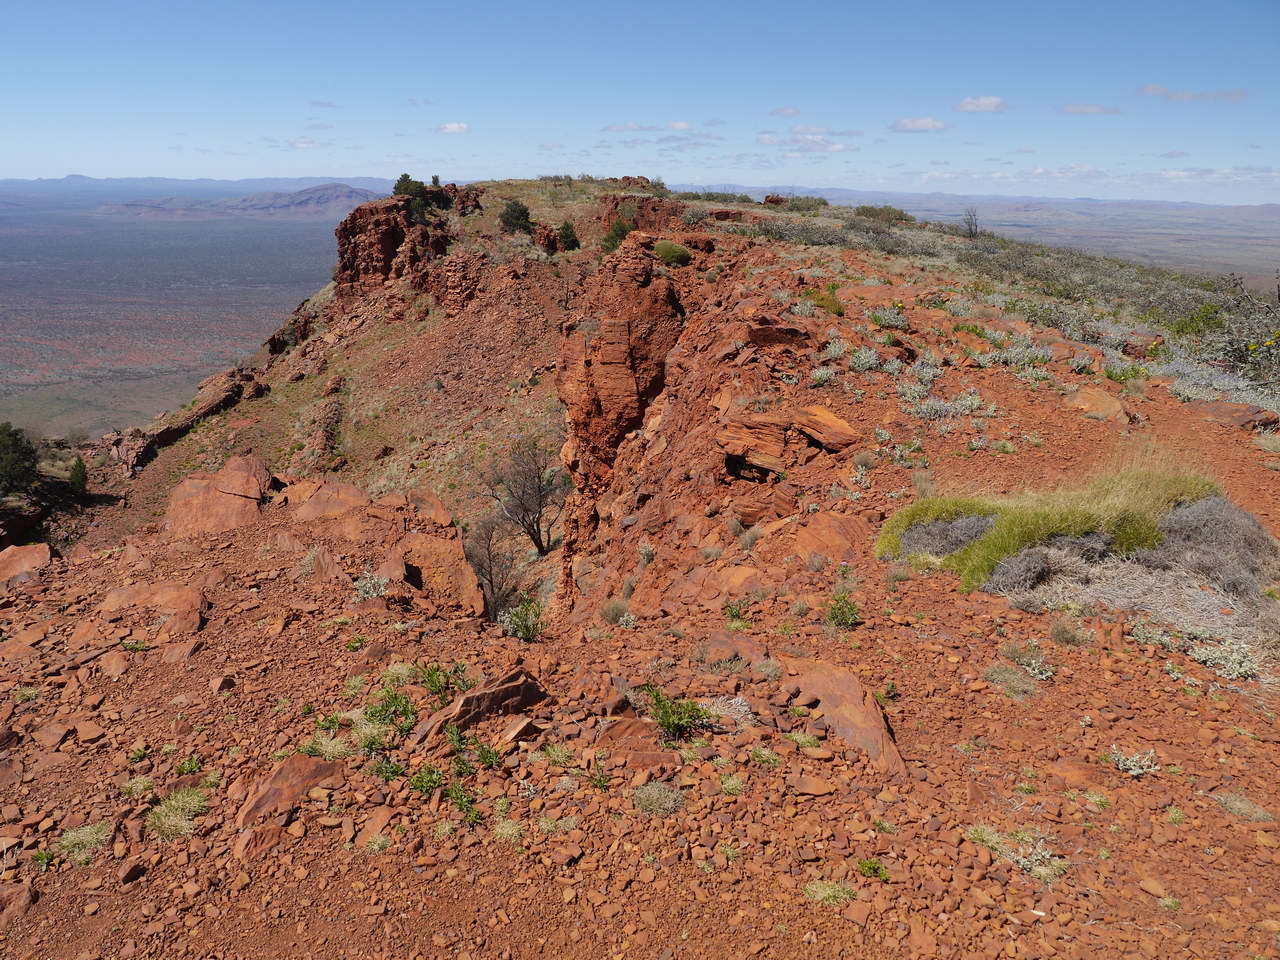
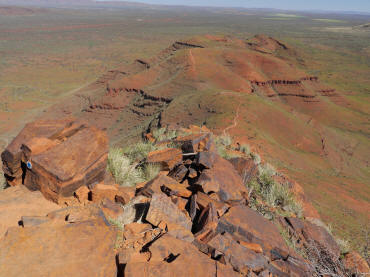
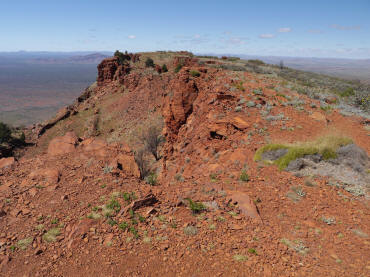
| Track crosses the rocky
outcrop |
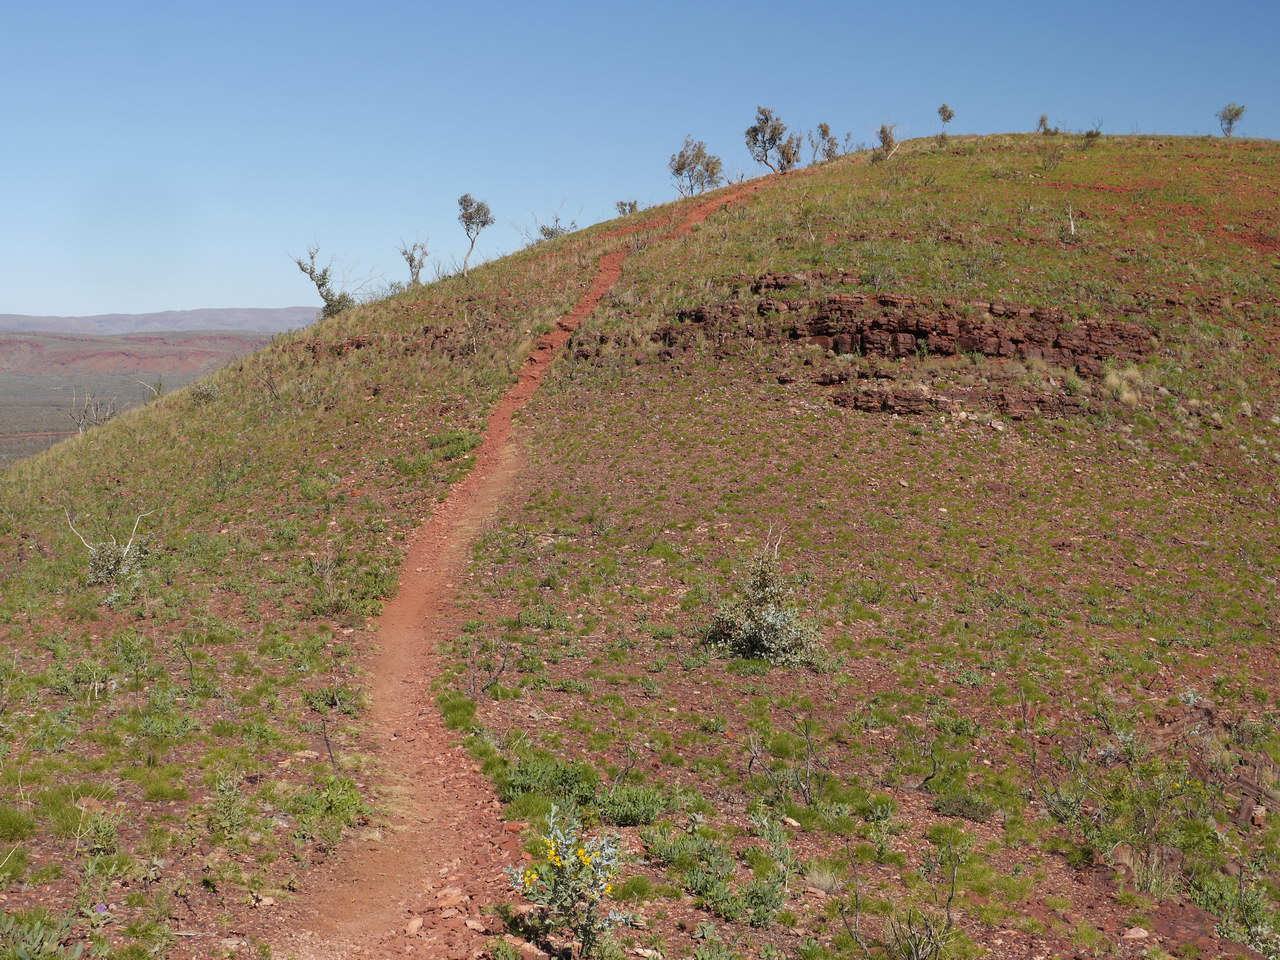
Easy track leading to the
peak |
Easy track leading to the
peak |
 |
 |
 |
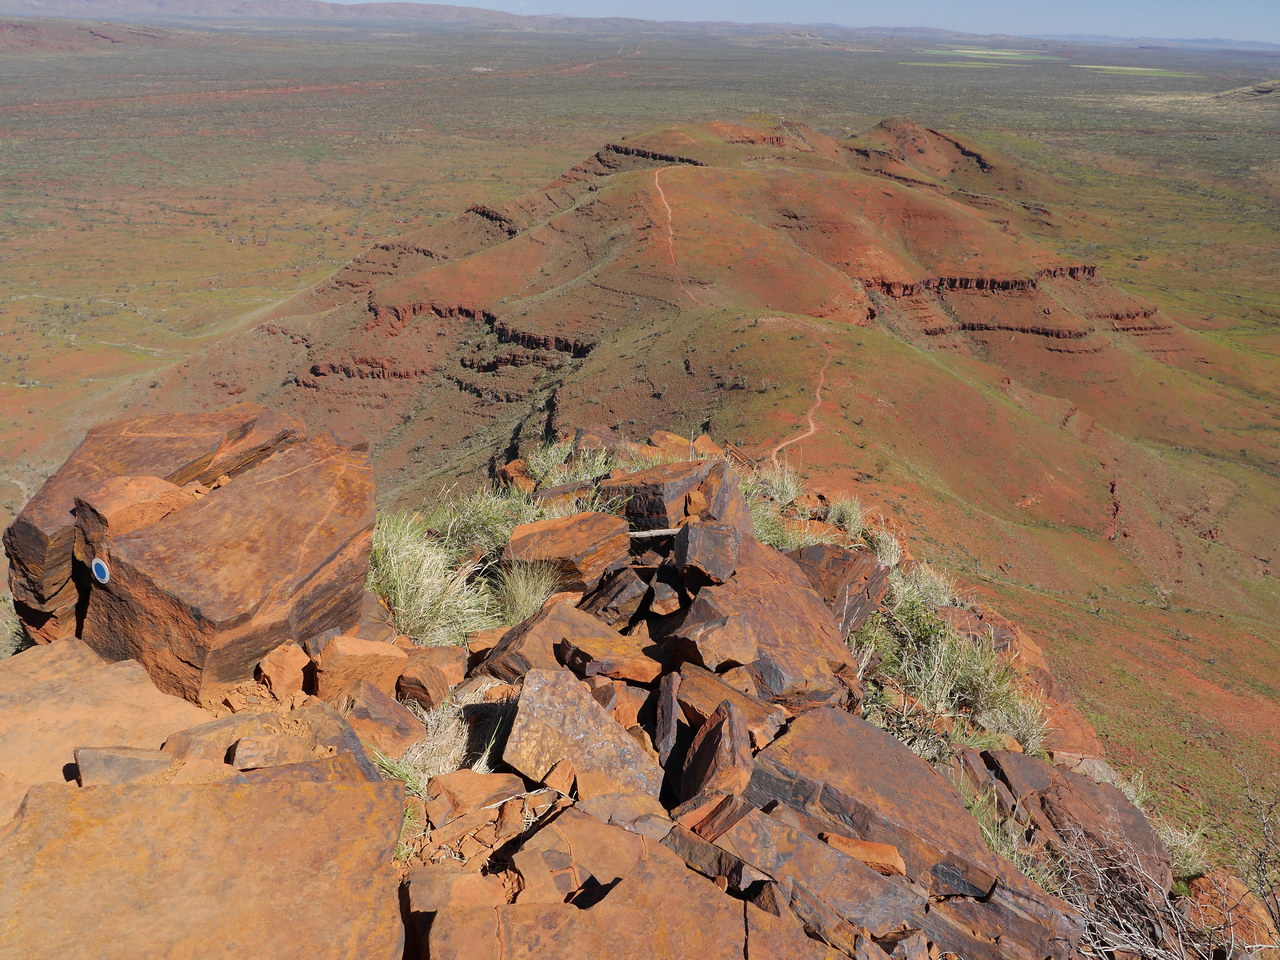
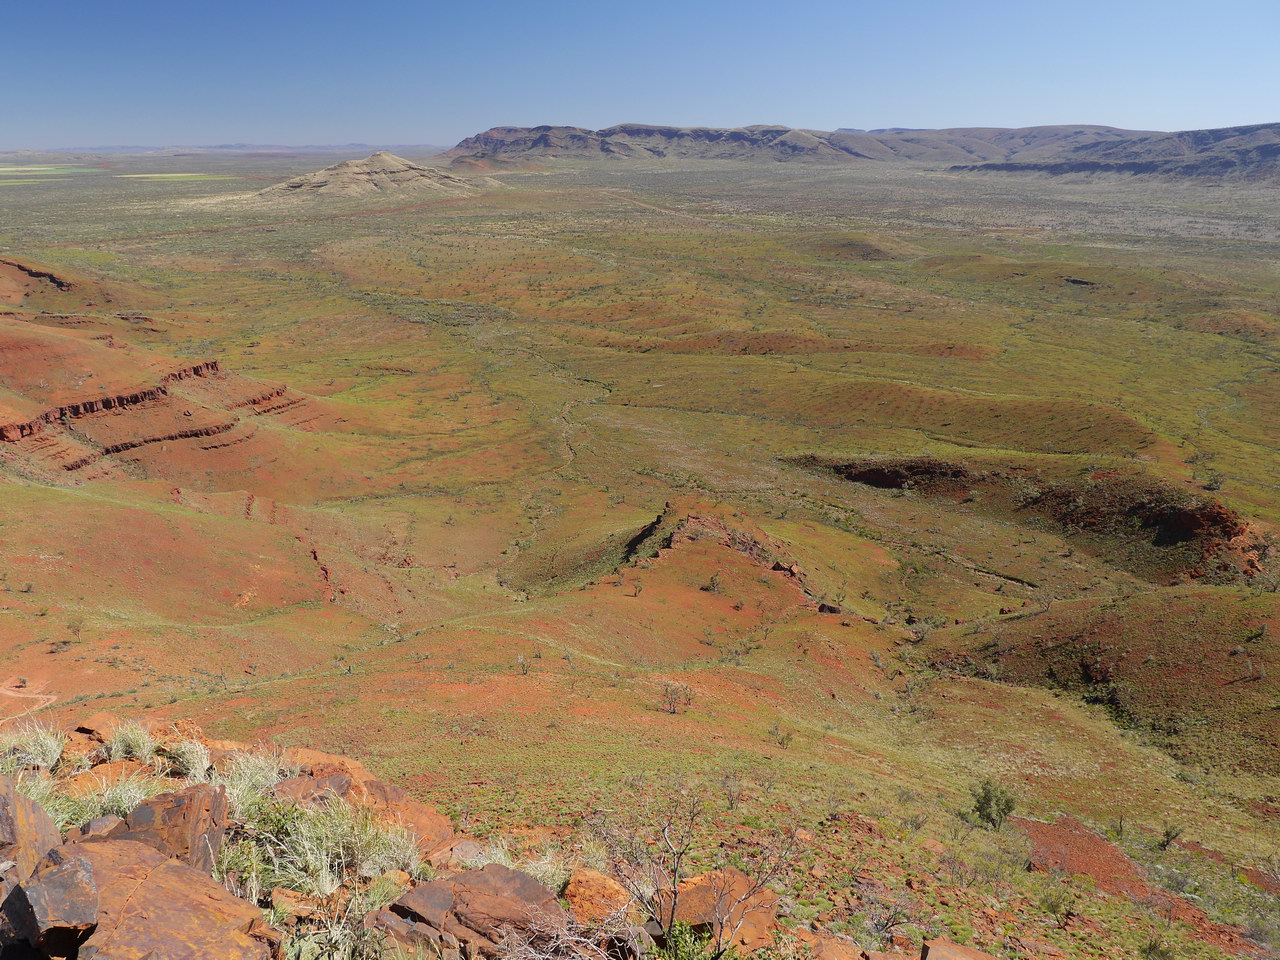
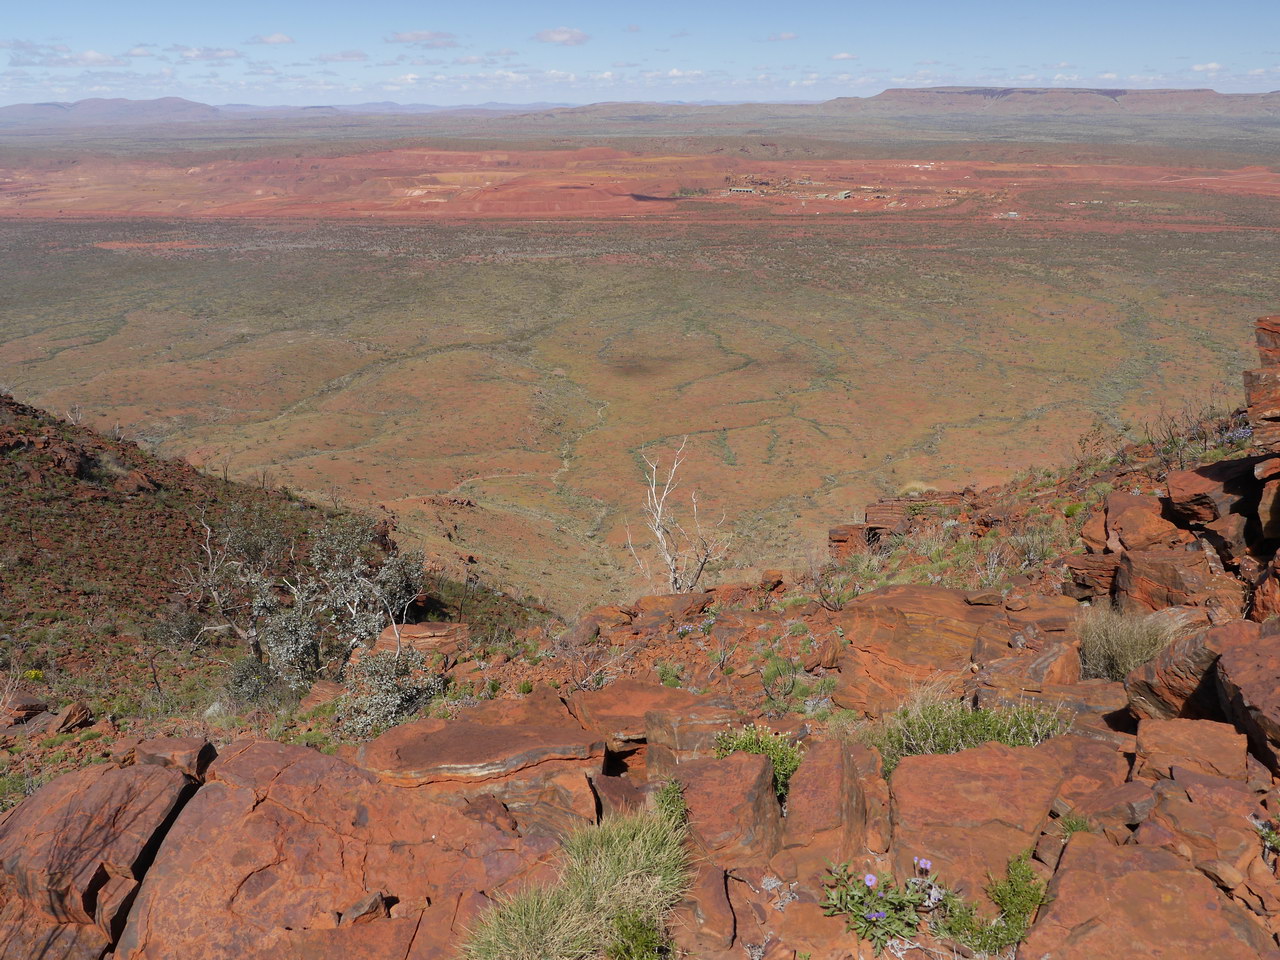
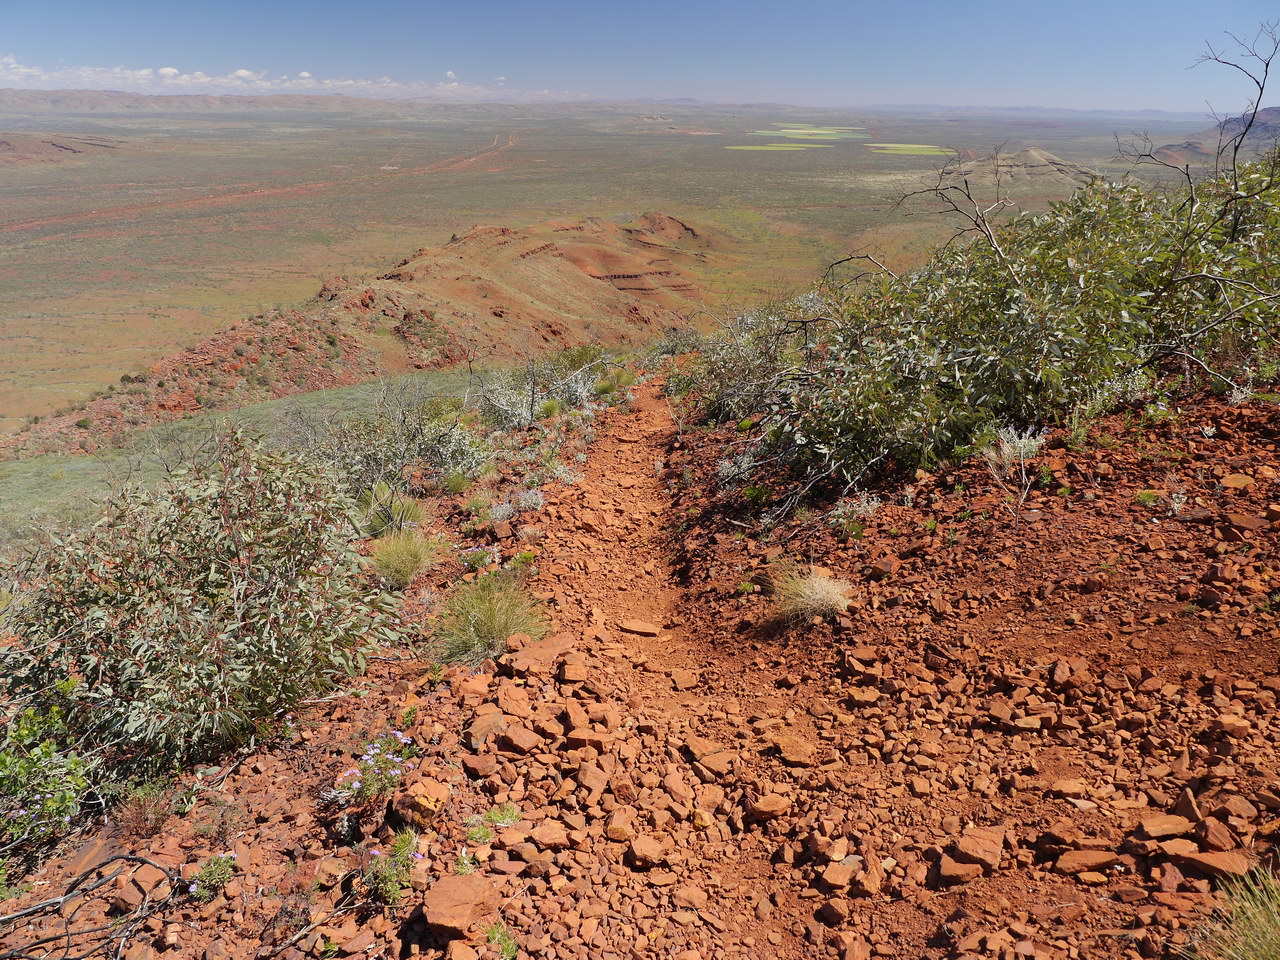
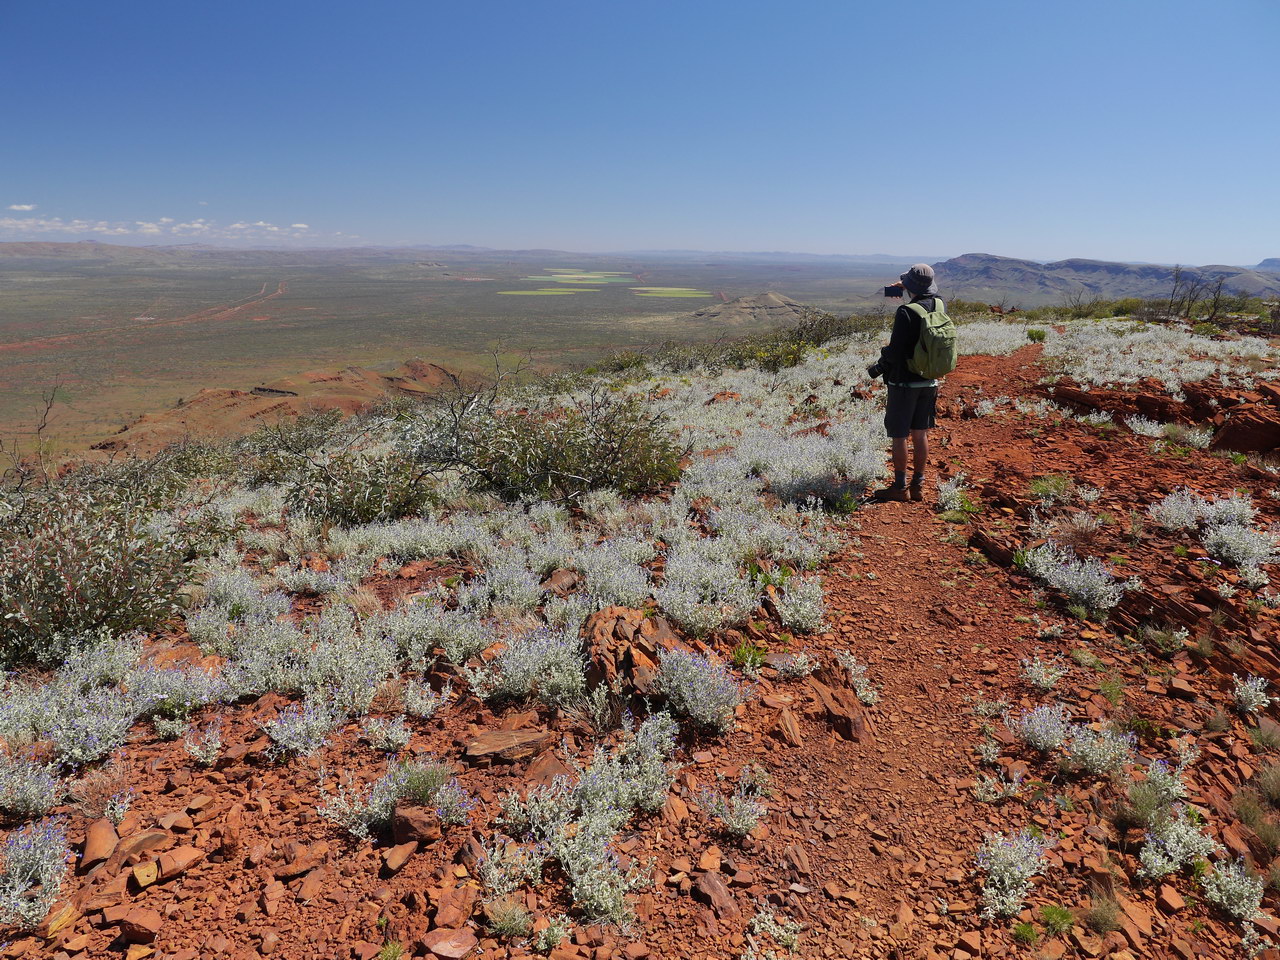
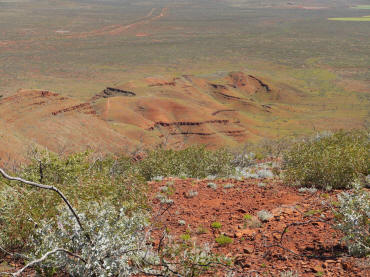
| View from the top, crop
'circles' |
View from the top |
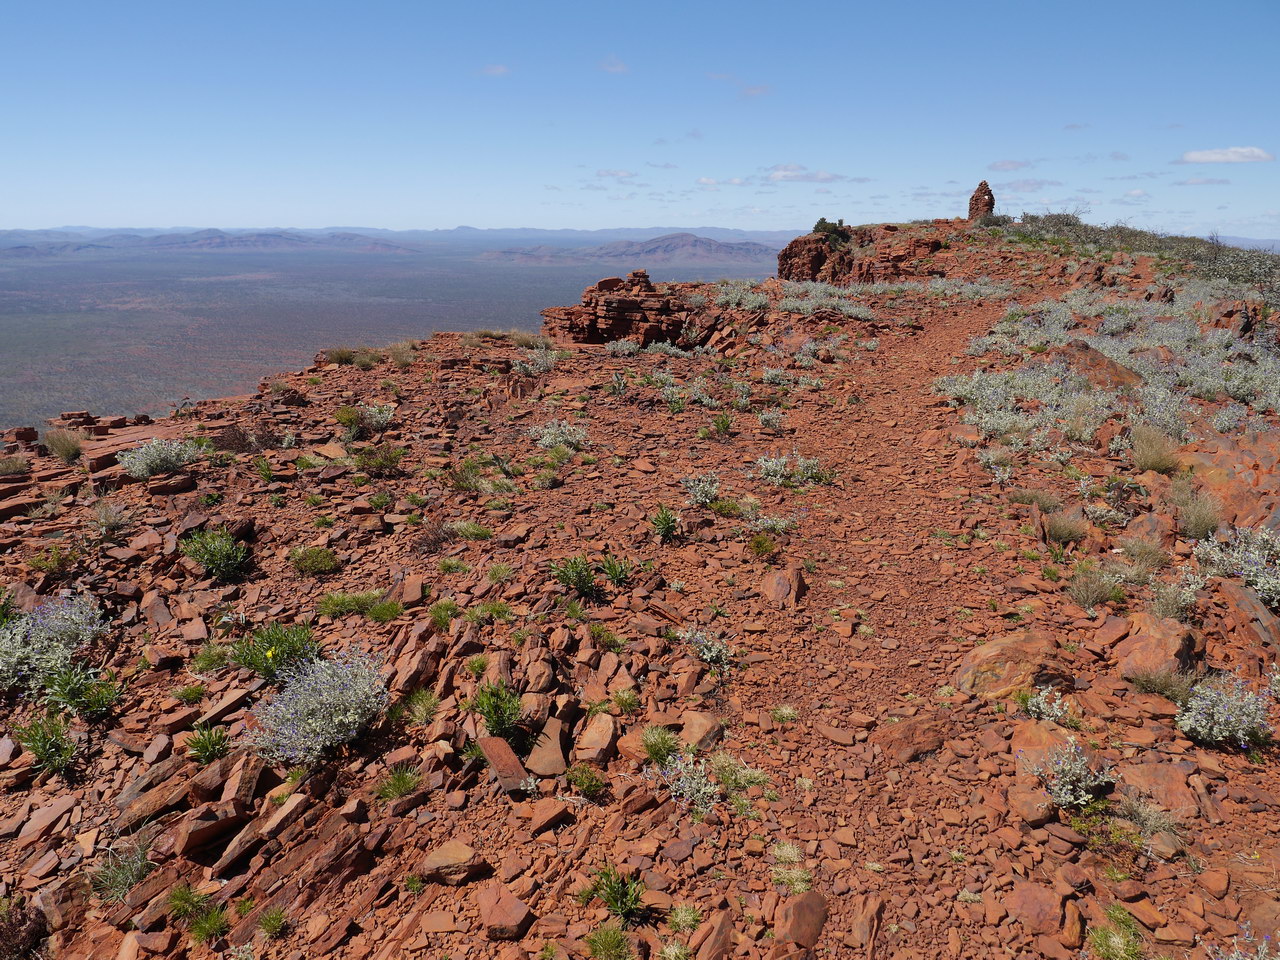
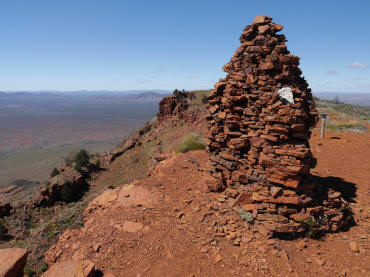
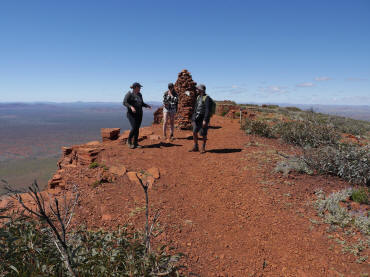
The cairn at the top |
 |
 |
 |
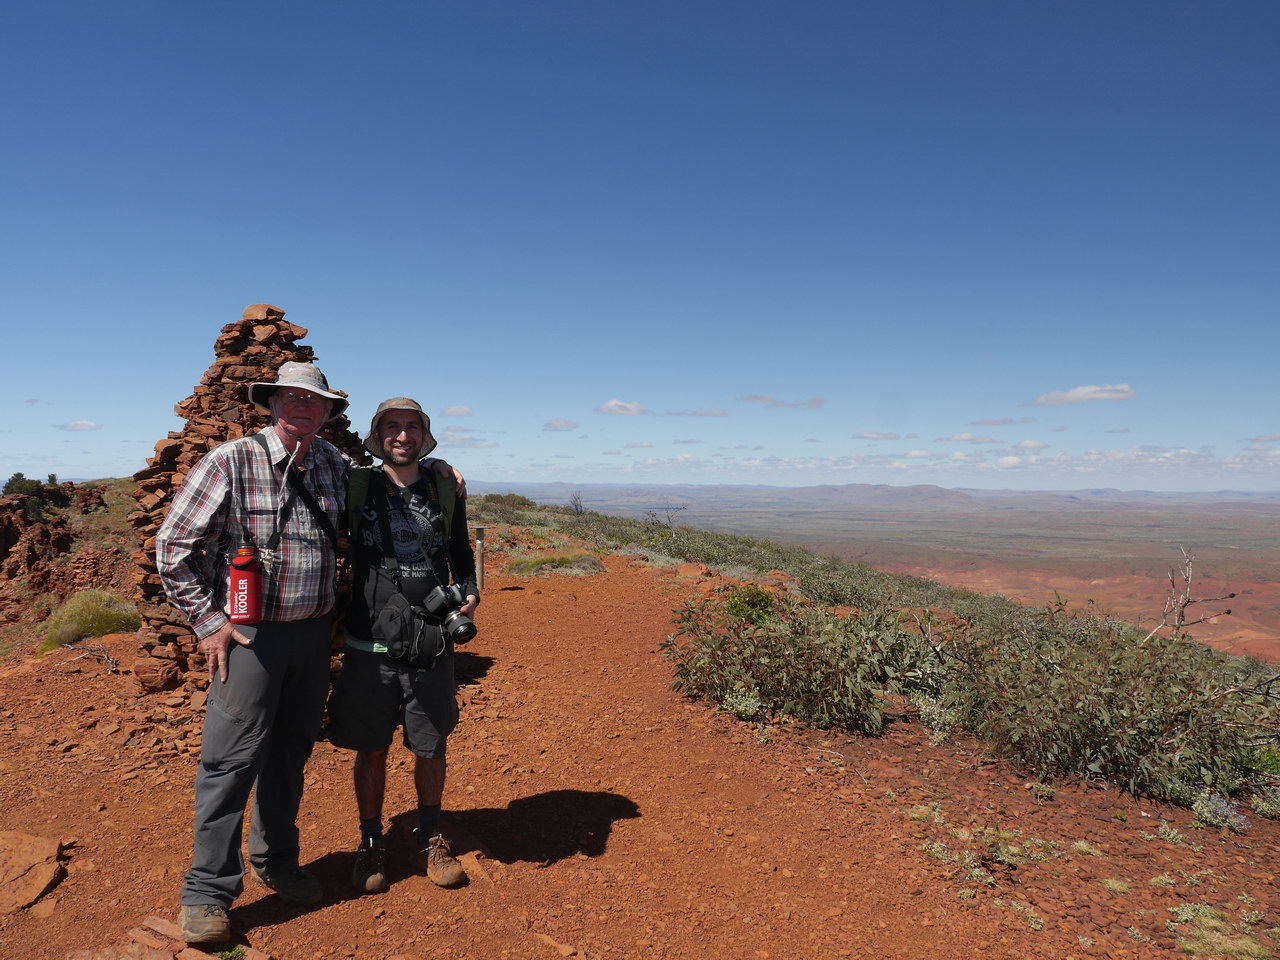
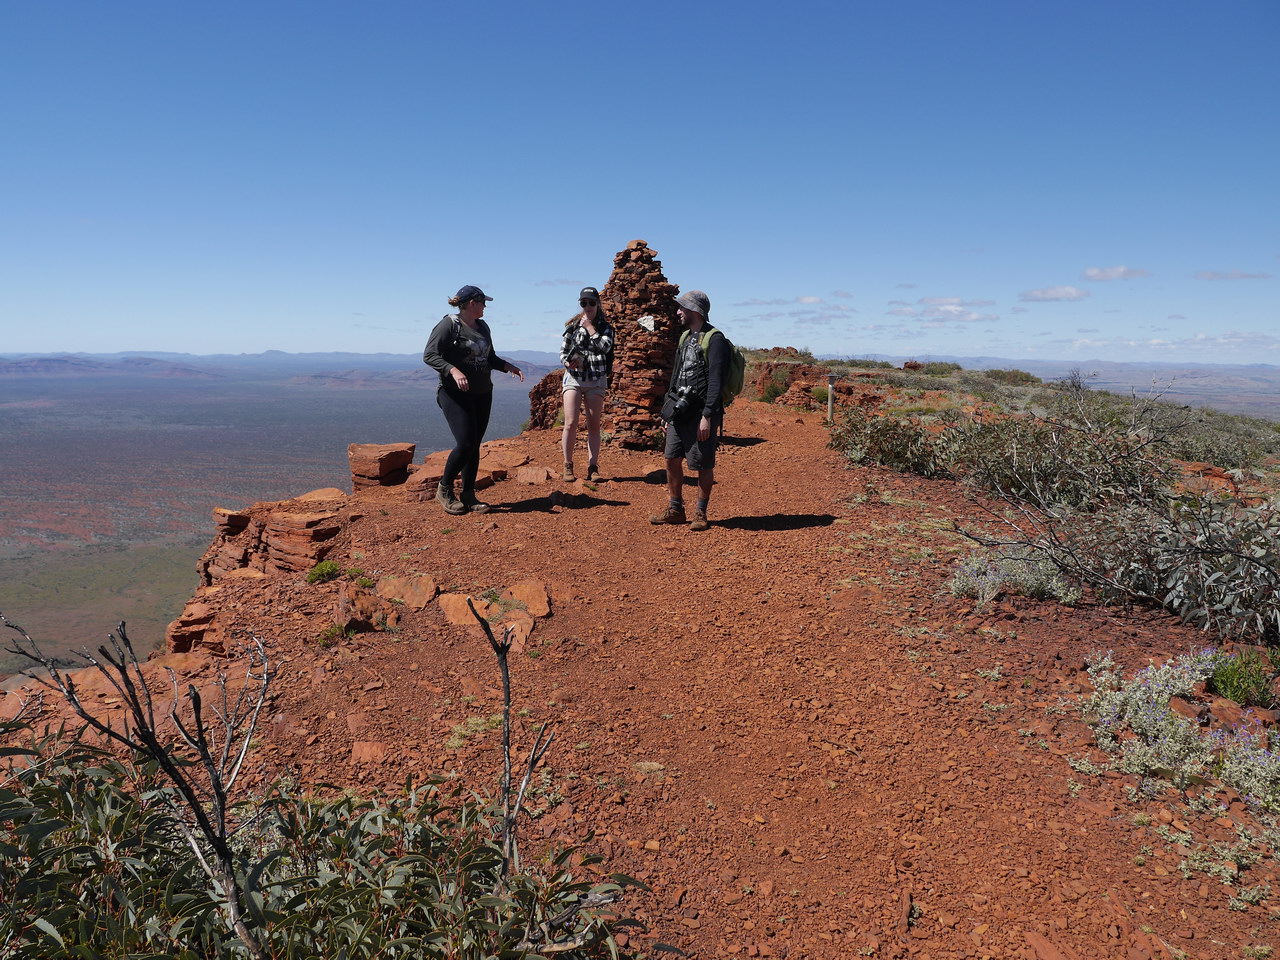
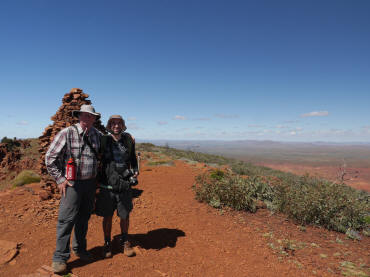
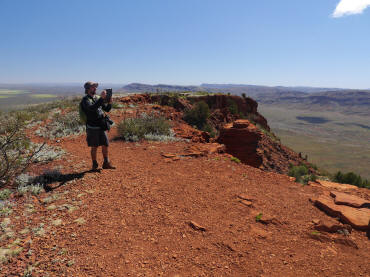
| Not a selfie, another
walker voluntered to take a photo of us |
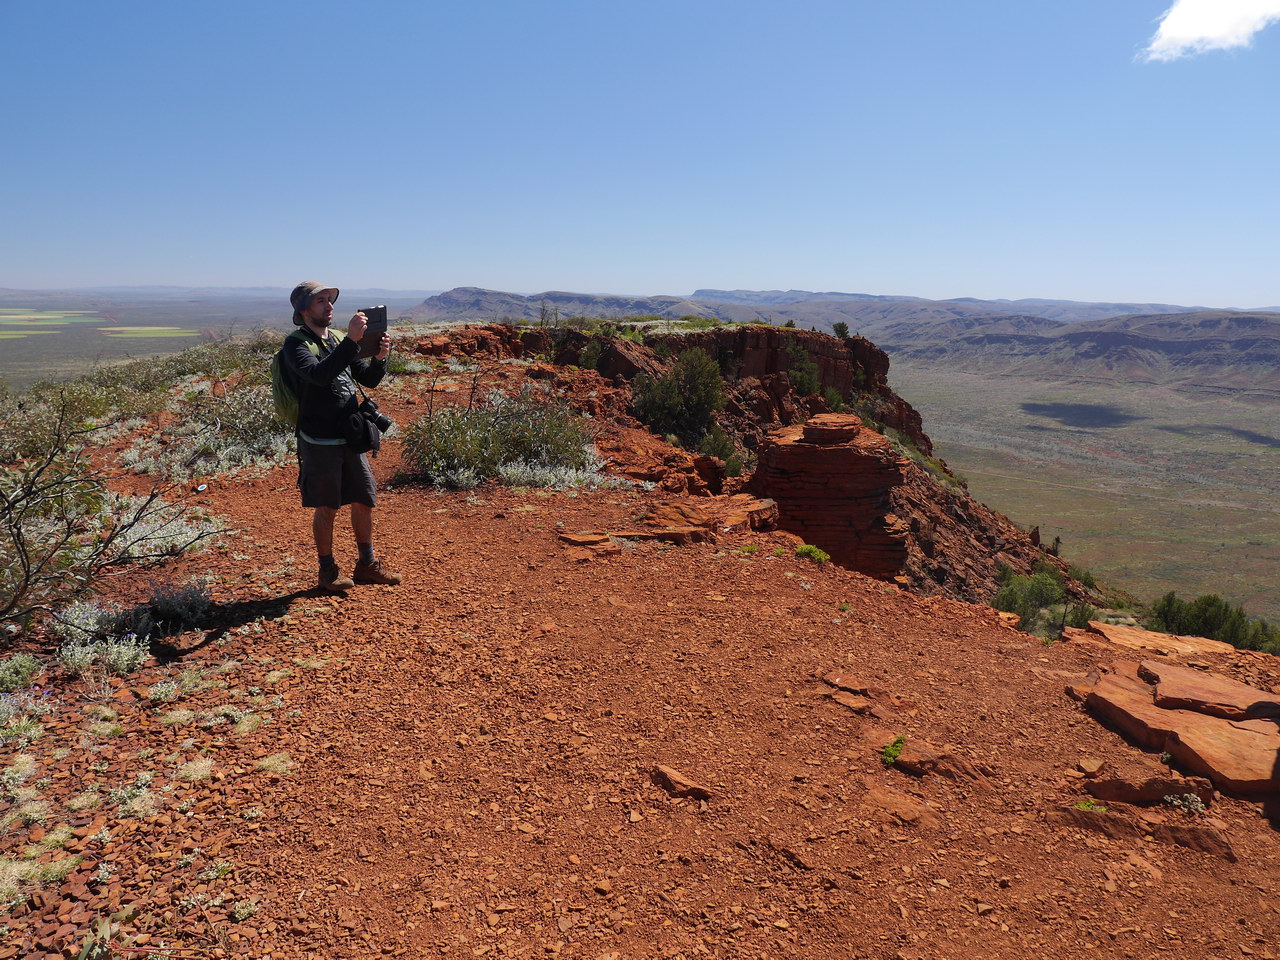
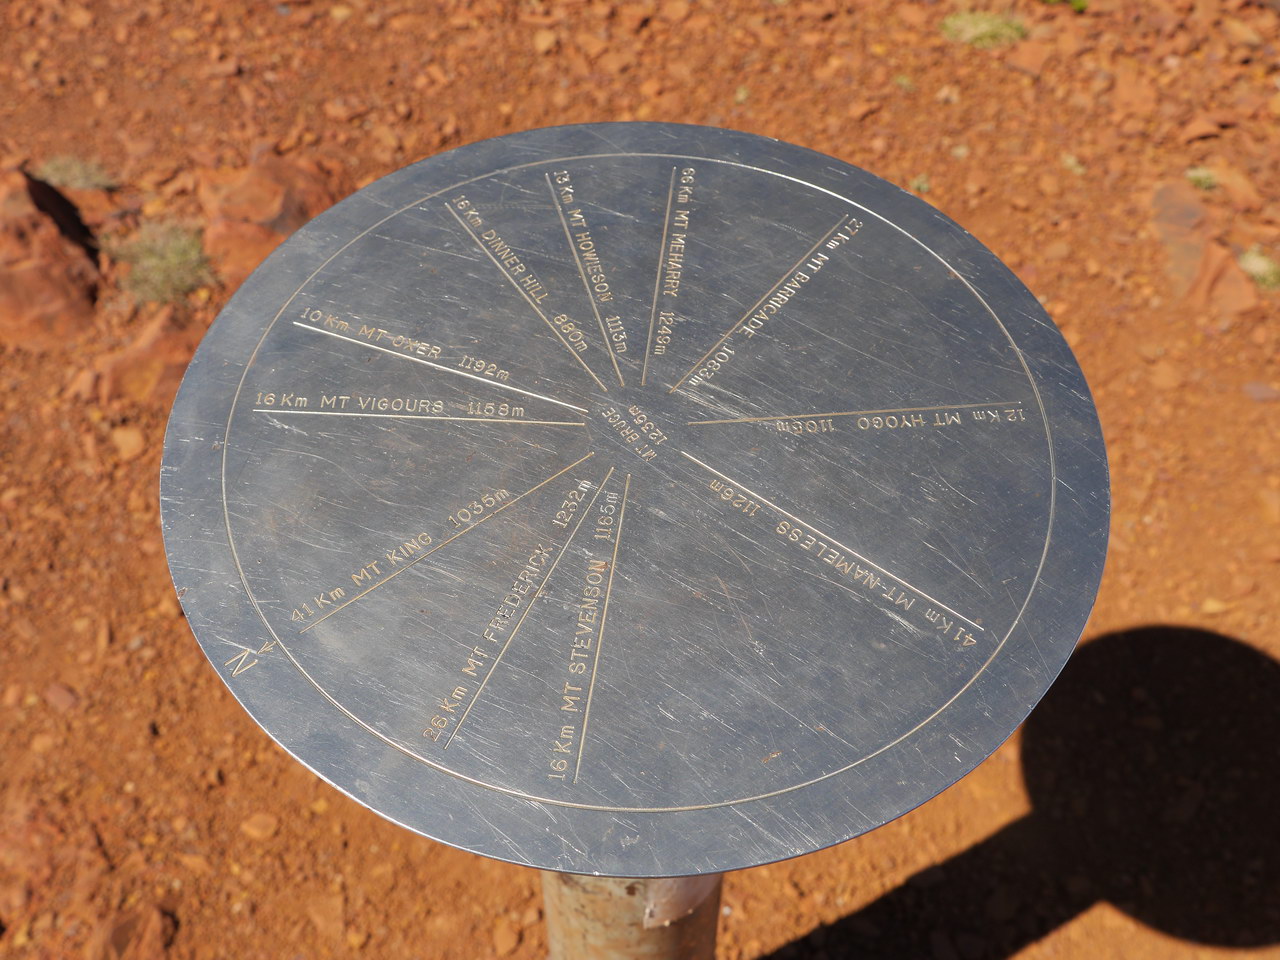
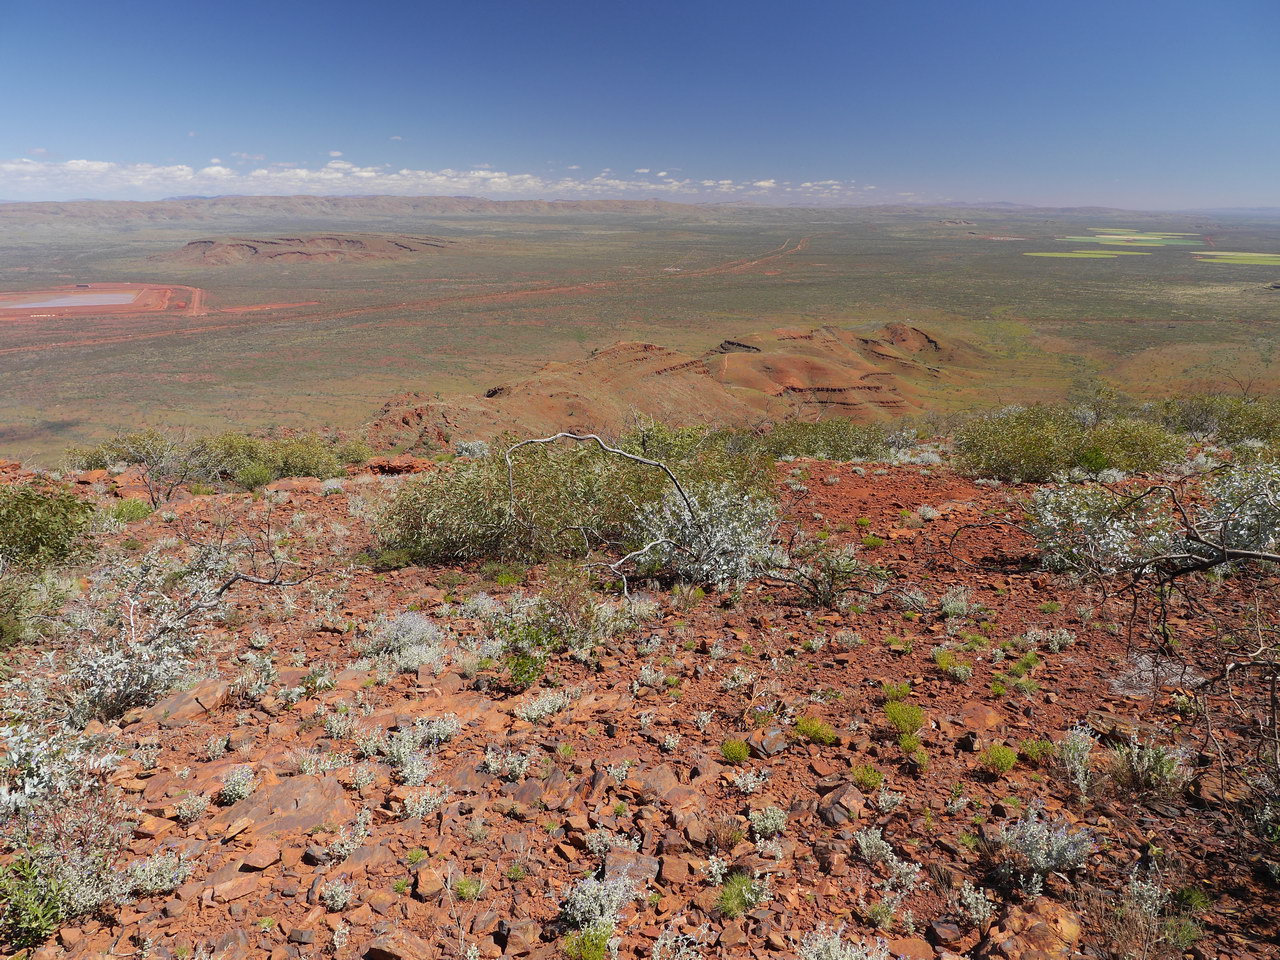
360 degree views |
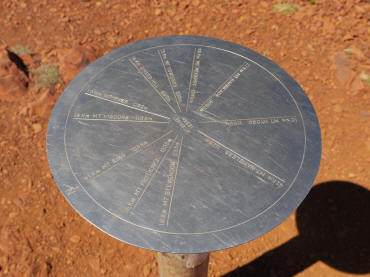
Landmark dial |
 |
 |
 |
| 360 degree views |
360 degree views |
Other walkers are
Geocaching |
 |
 |
 |
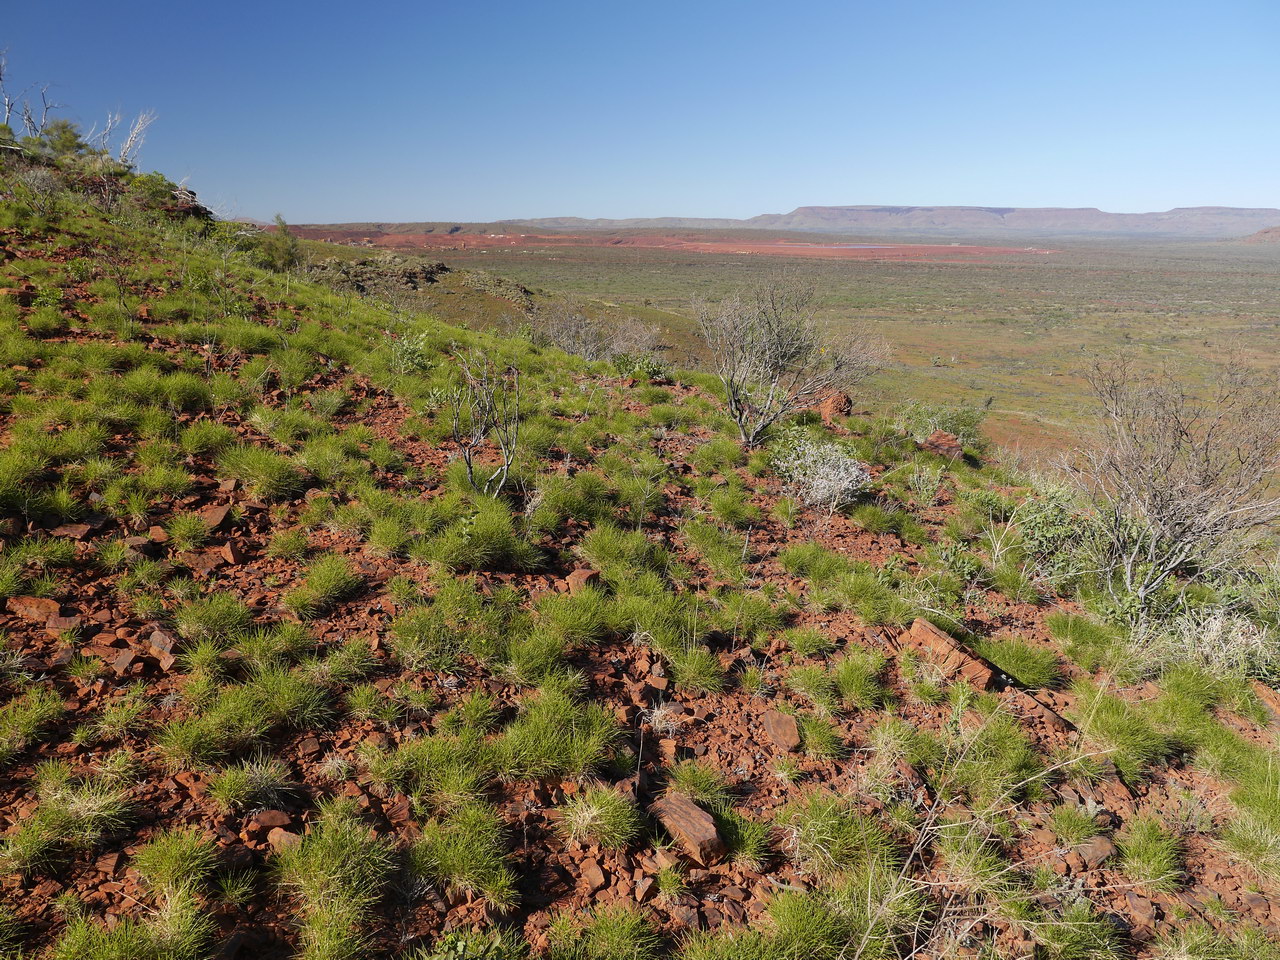
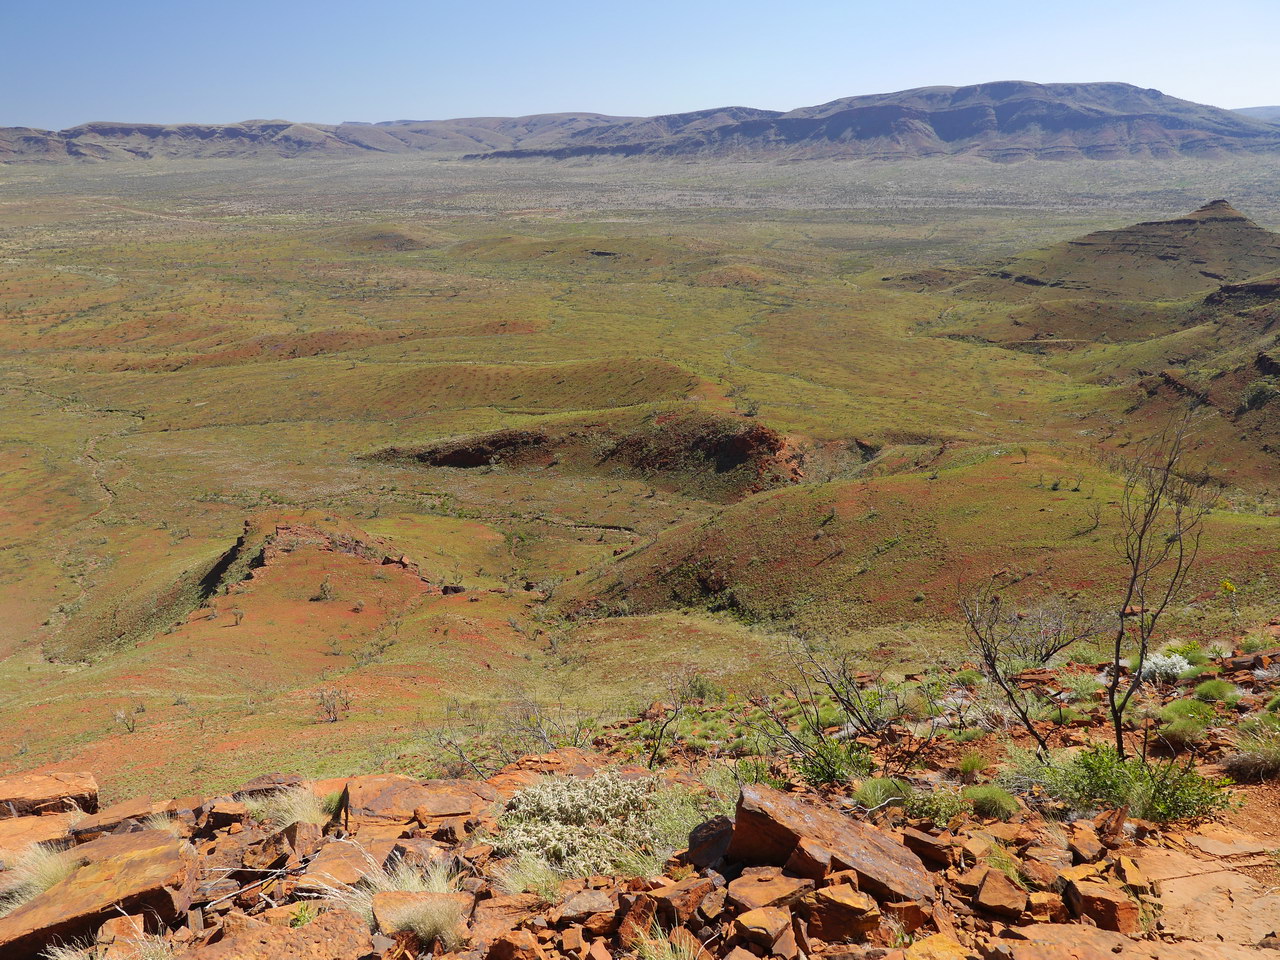
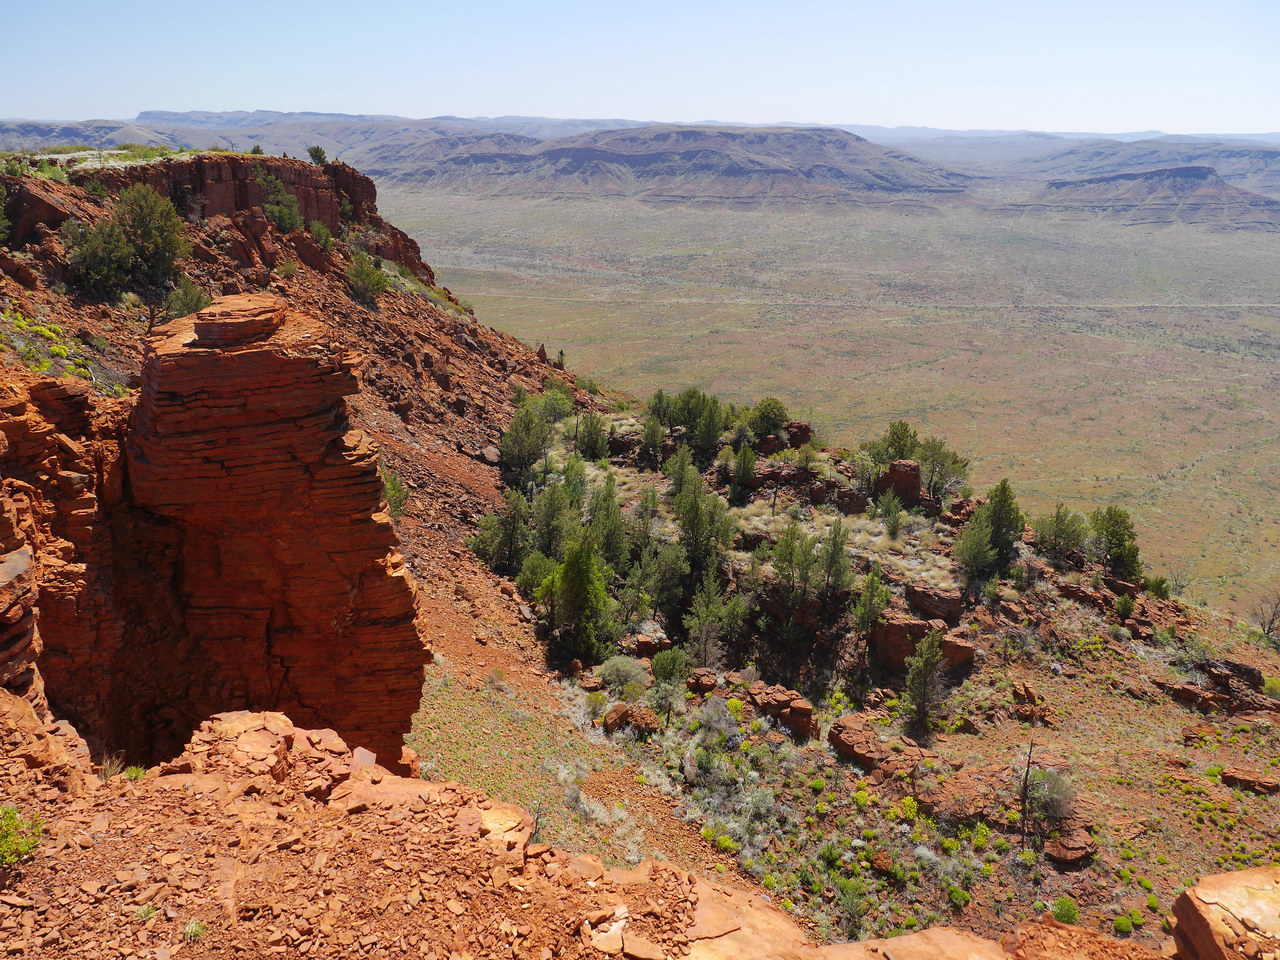
| 360 degree views |
360 degree views |
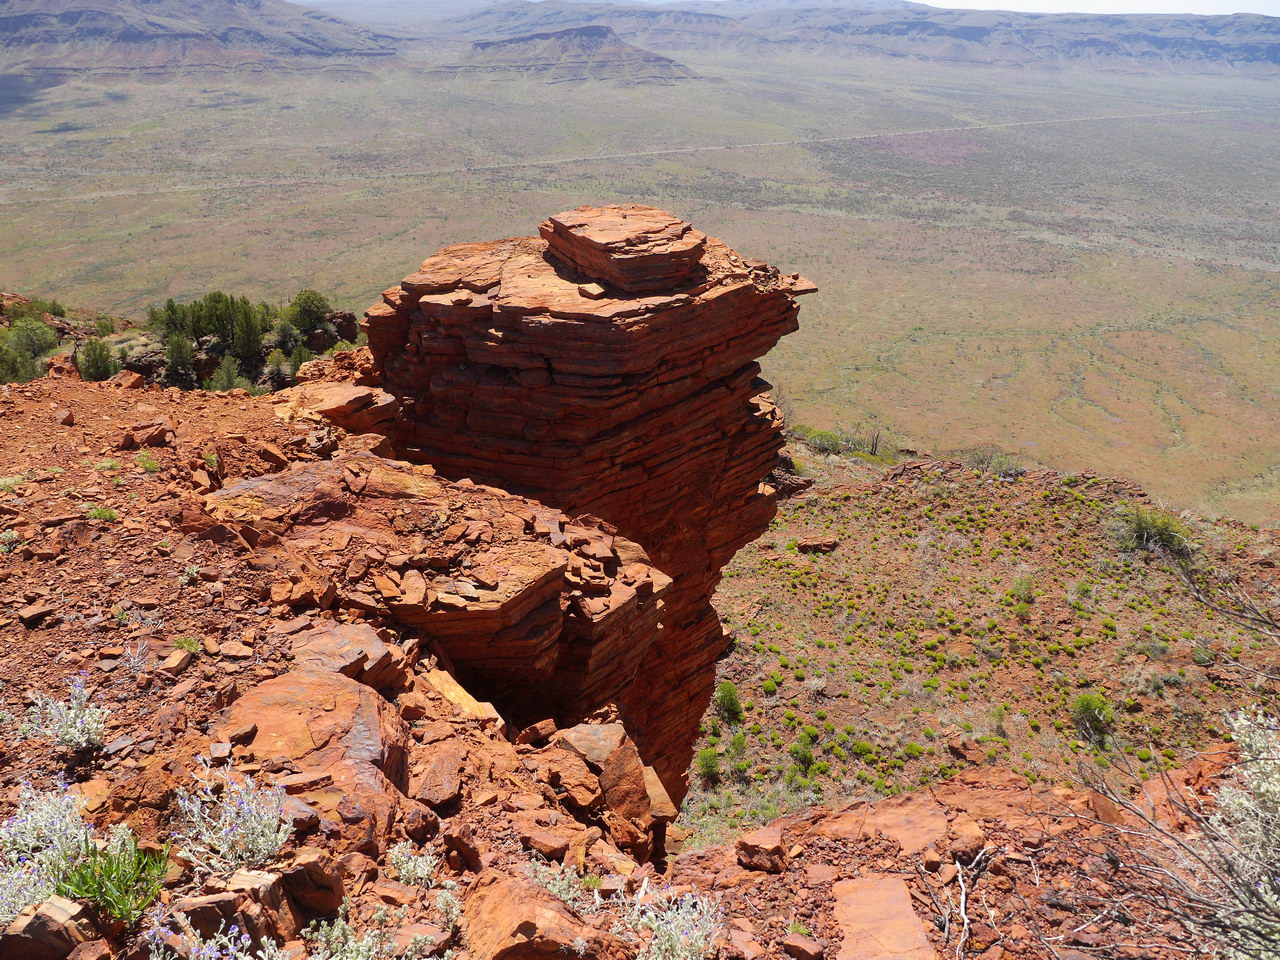
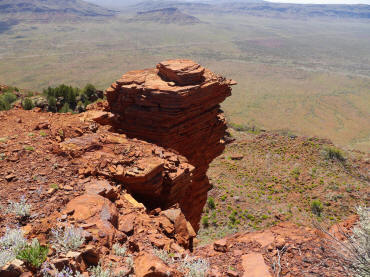
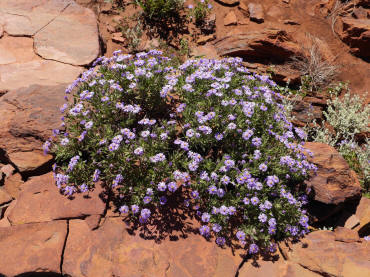
So dry and harsh, yet
beautiful |
 |
 |
 |
| 360 degree views |
360 degree views |
360 degree views |
 |
 |
 |
| Returning via the same
track we took to get to the summit |
Returning via the same
track we took to get to the summit |
Returning via the same
track we took to get to the summit |