


|
Abercrombie
Karst Conservation Reserve Abercrombie Caves |
|
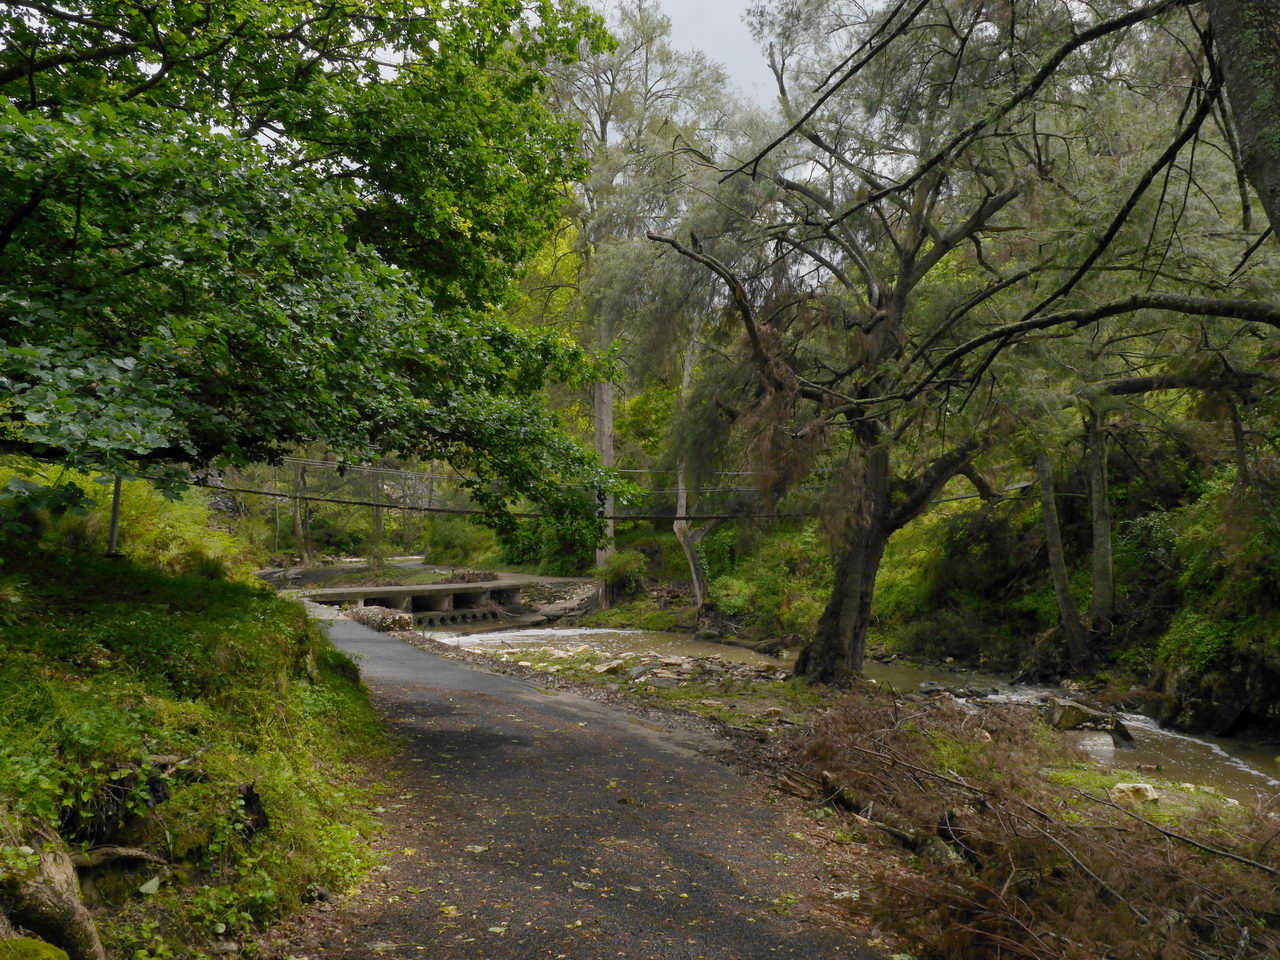
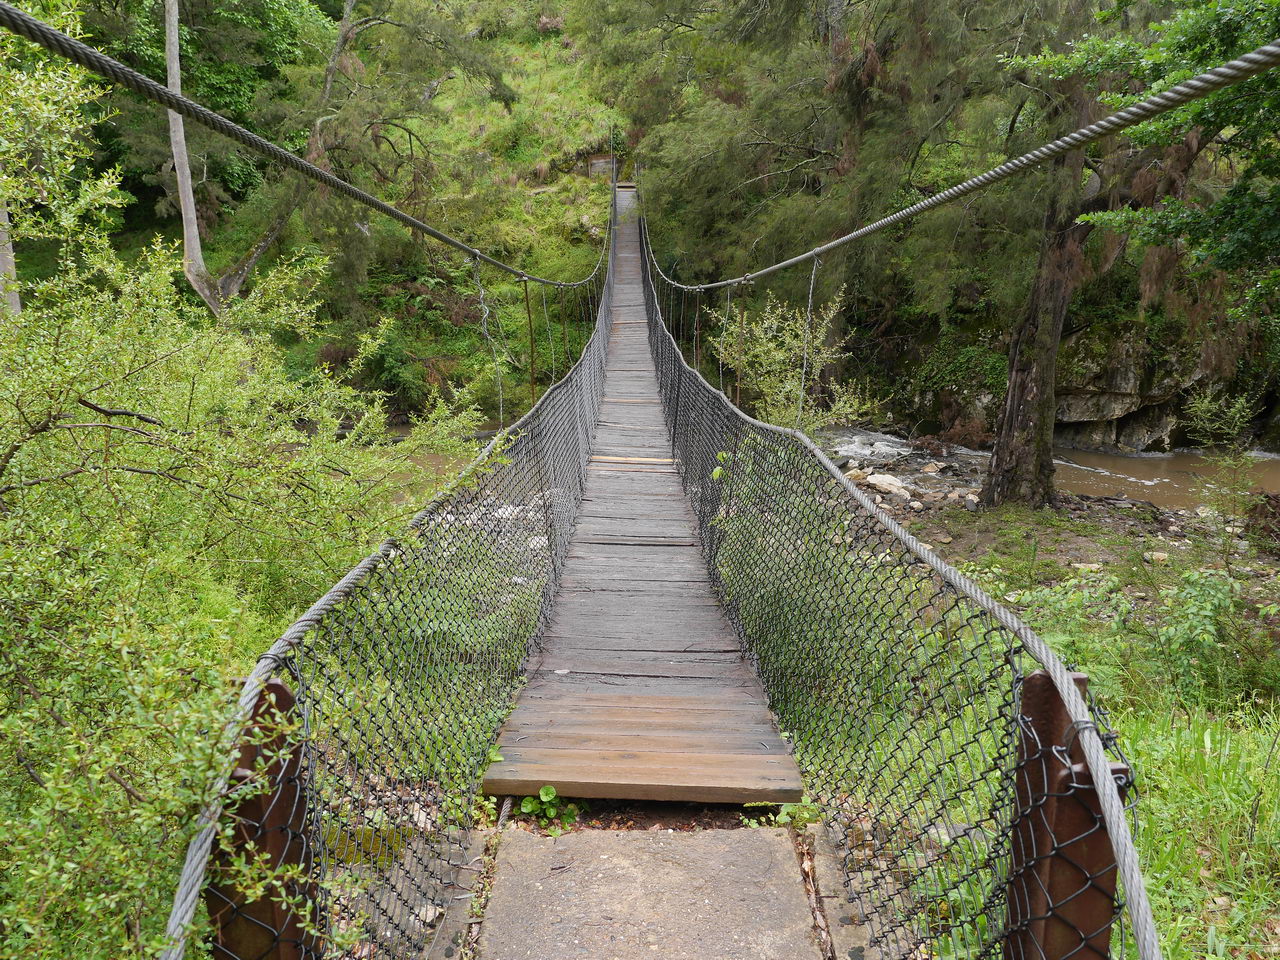
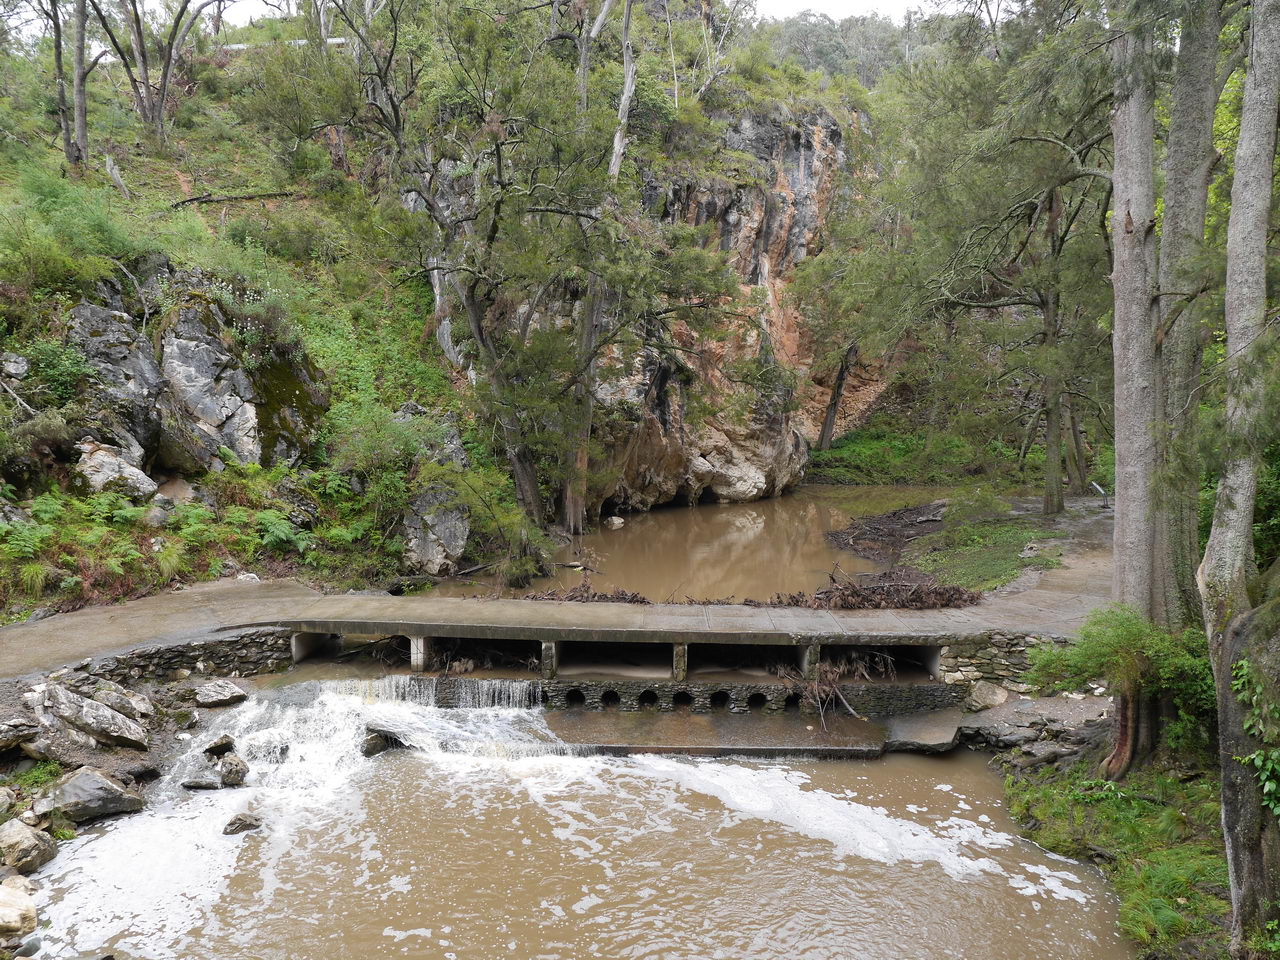
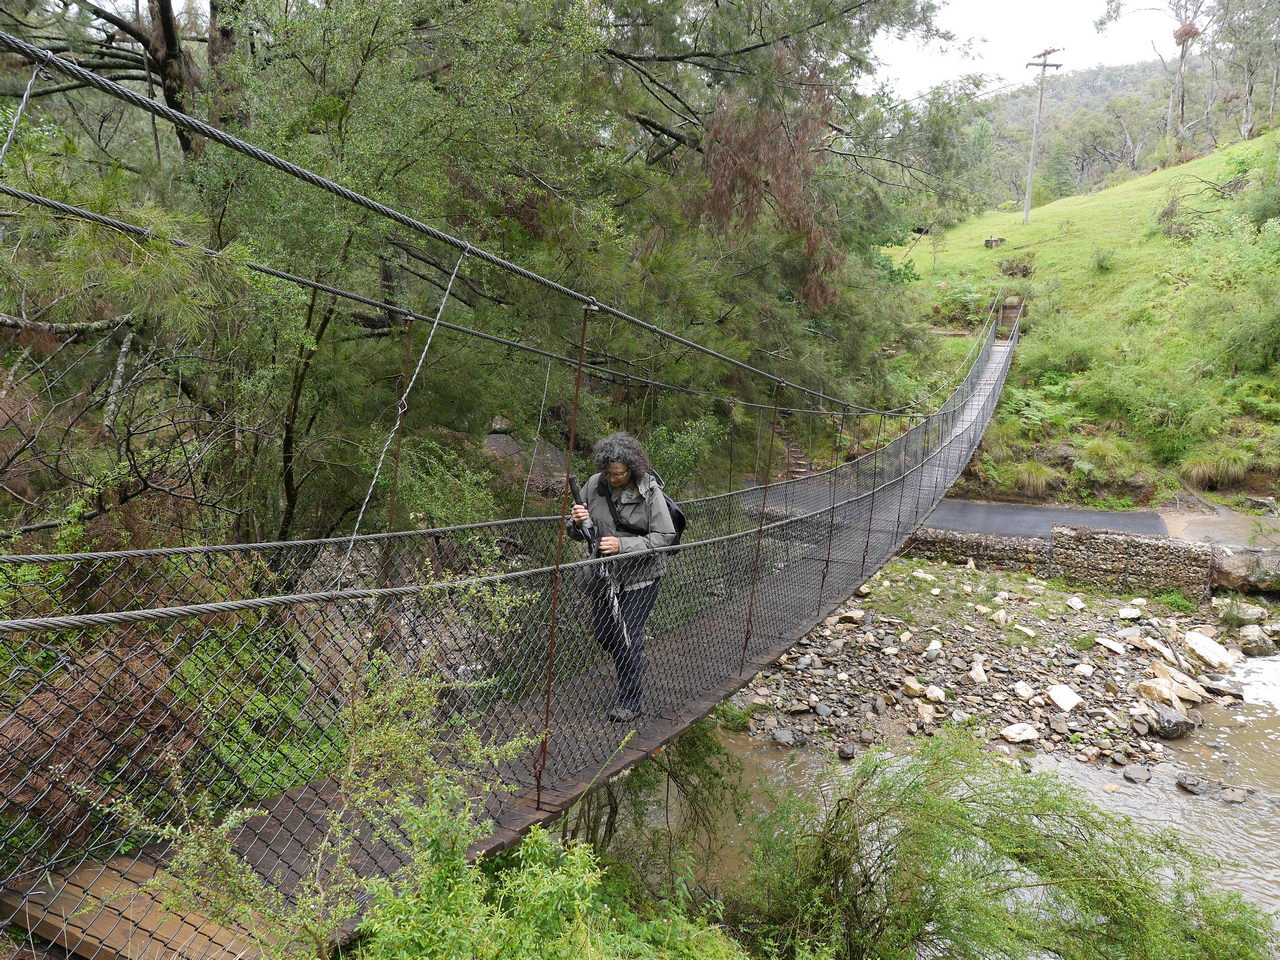
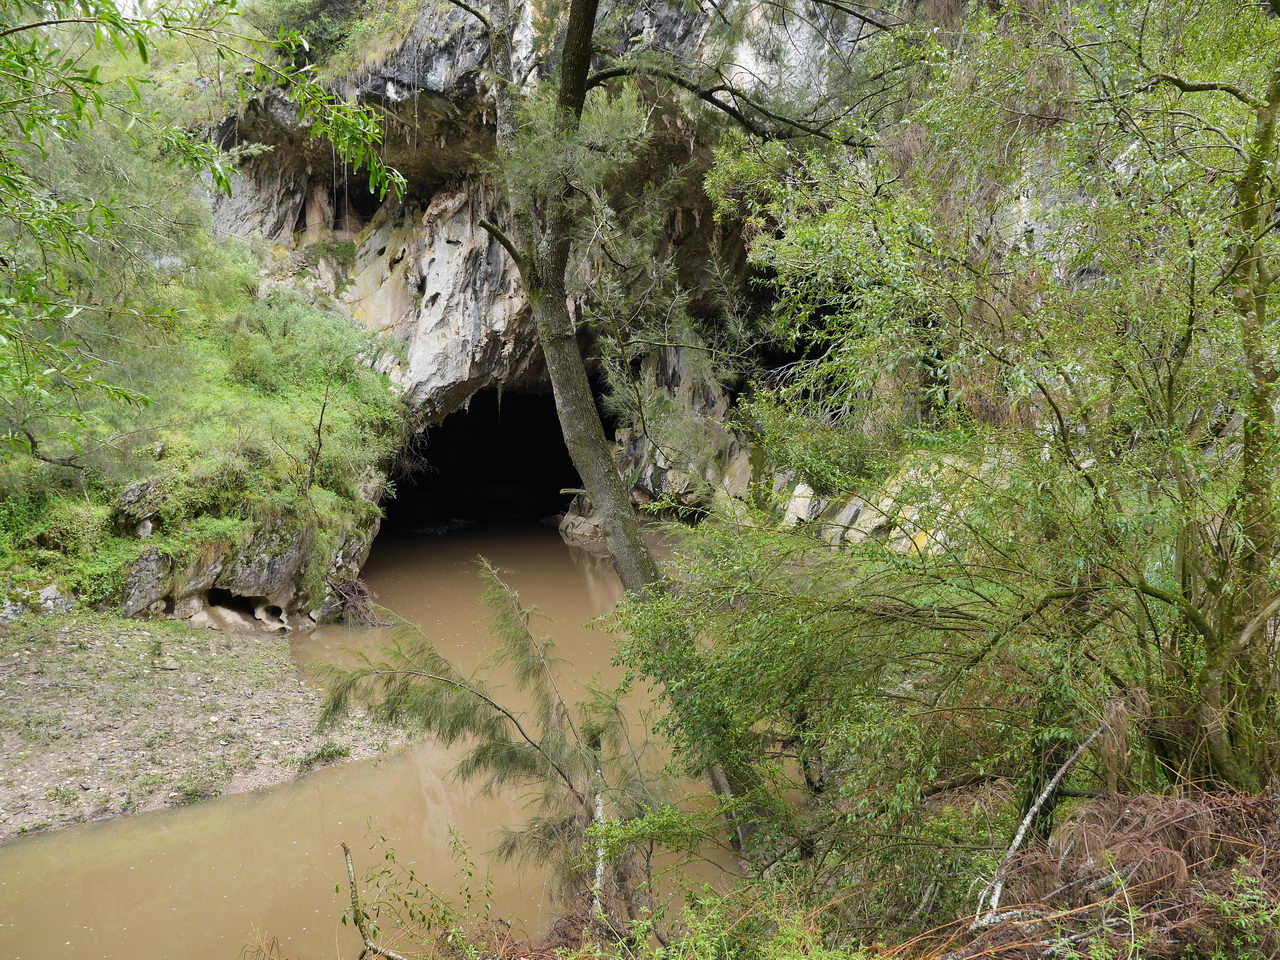
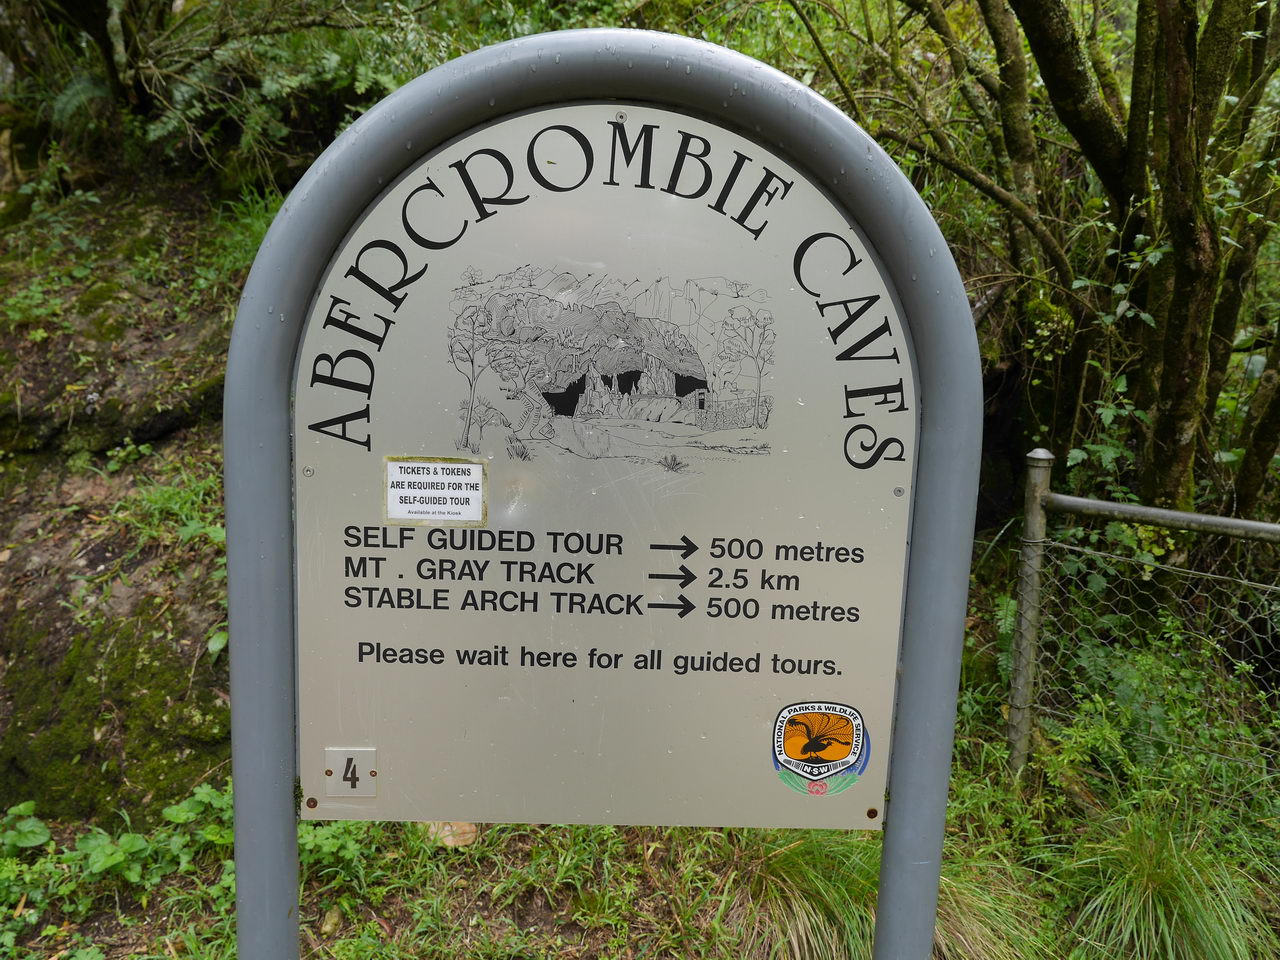
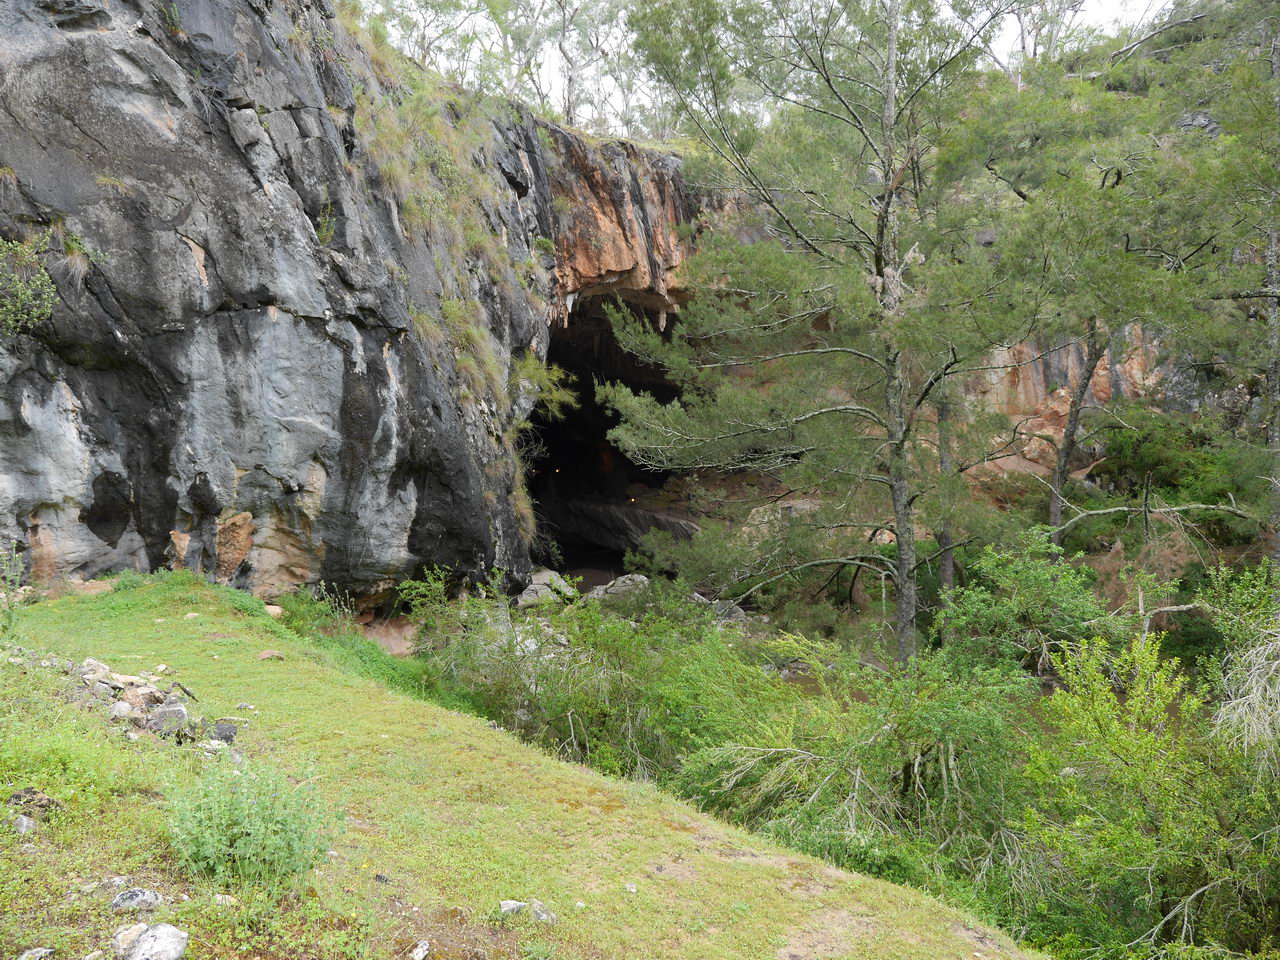
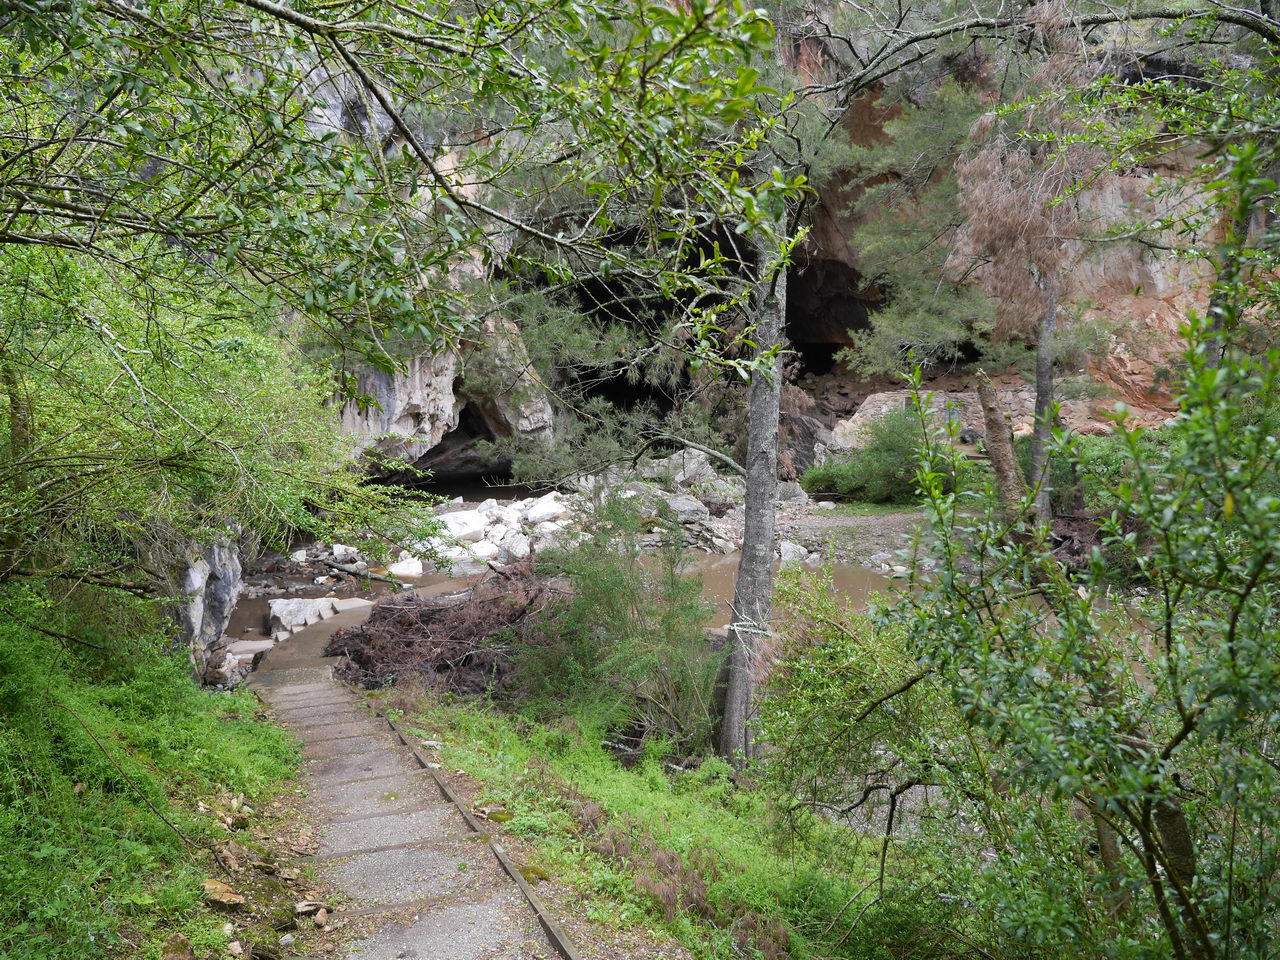
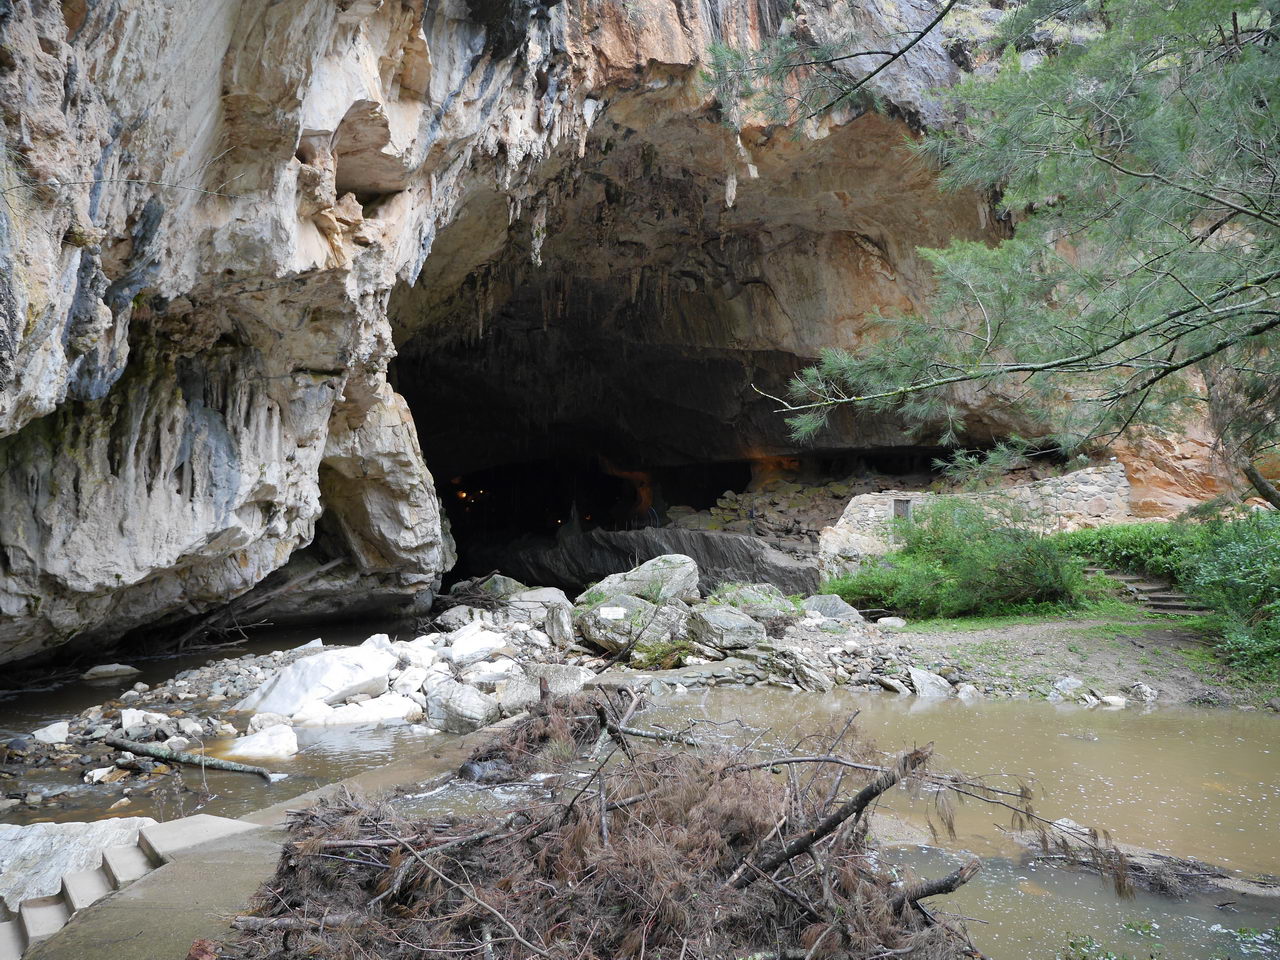
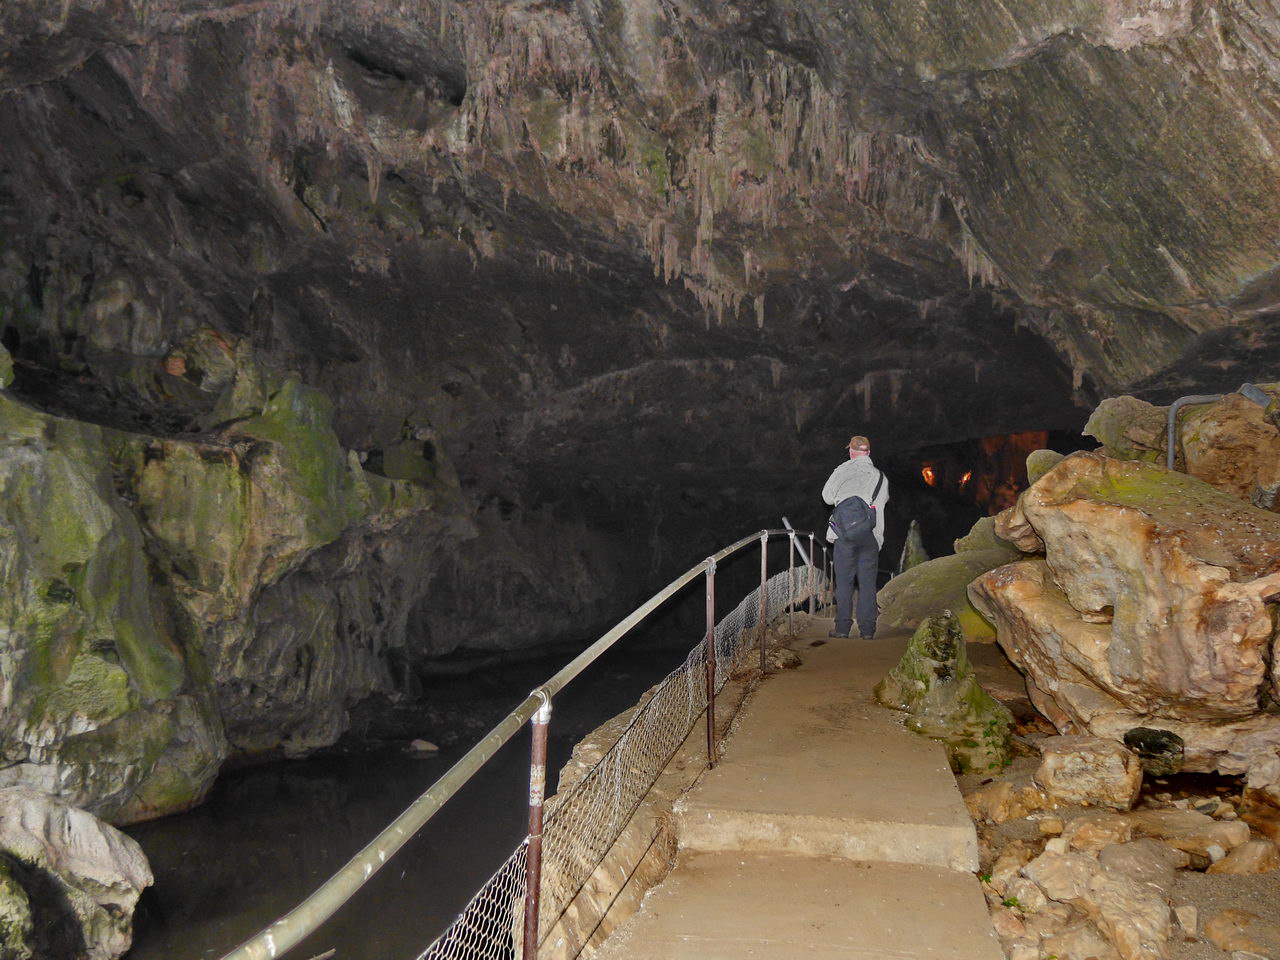
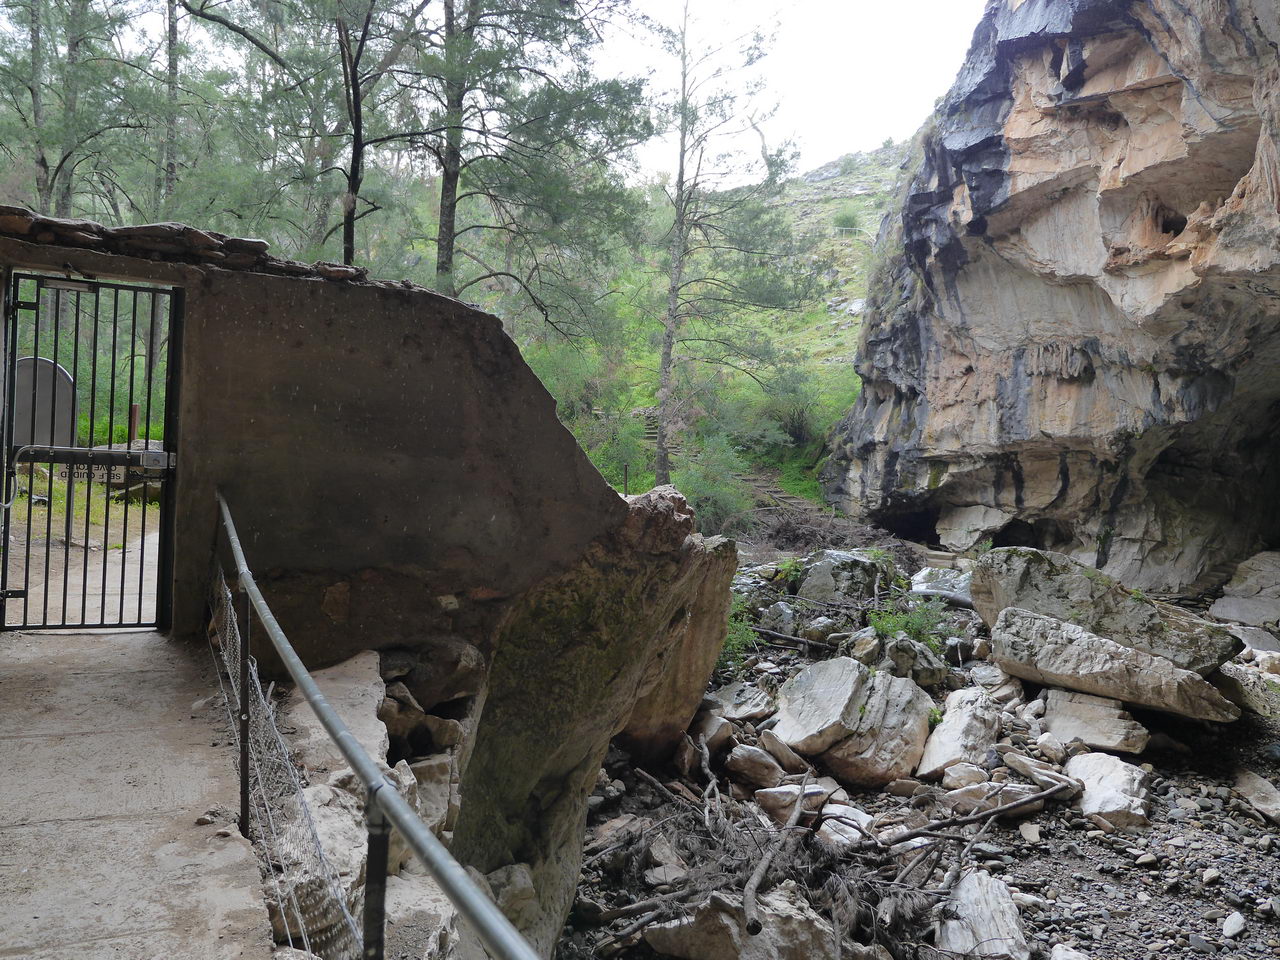
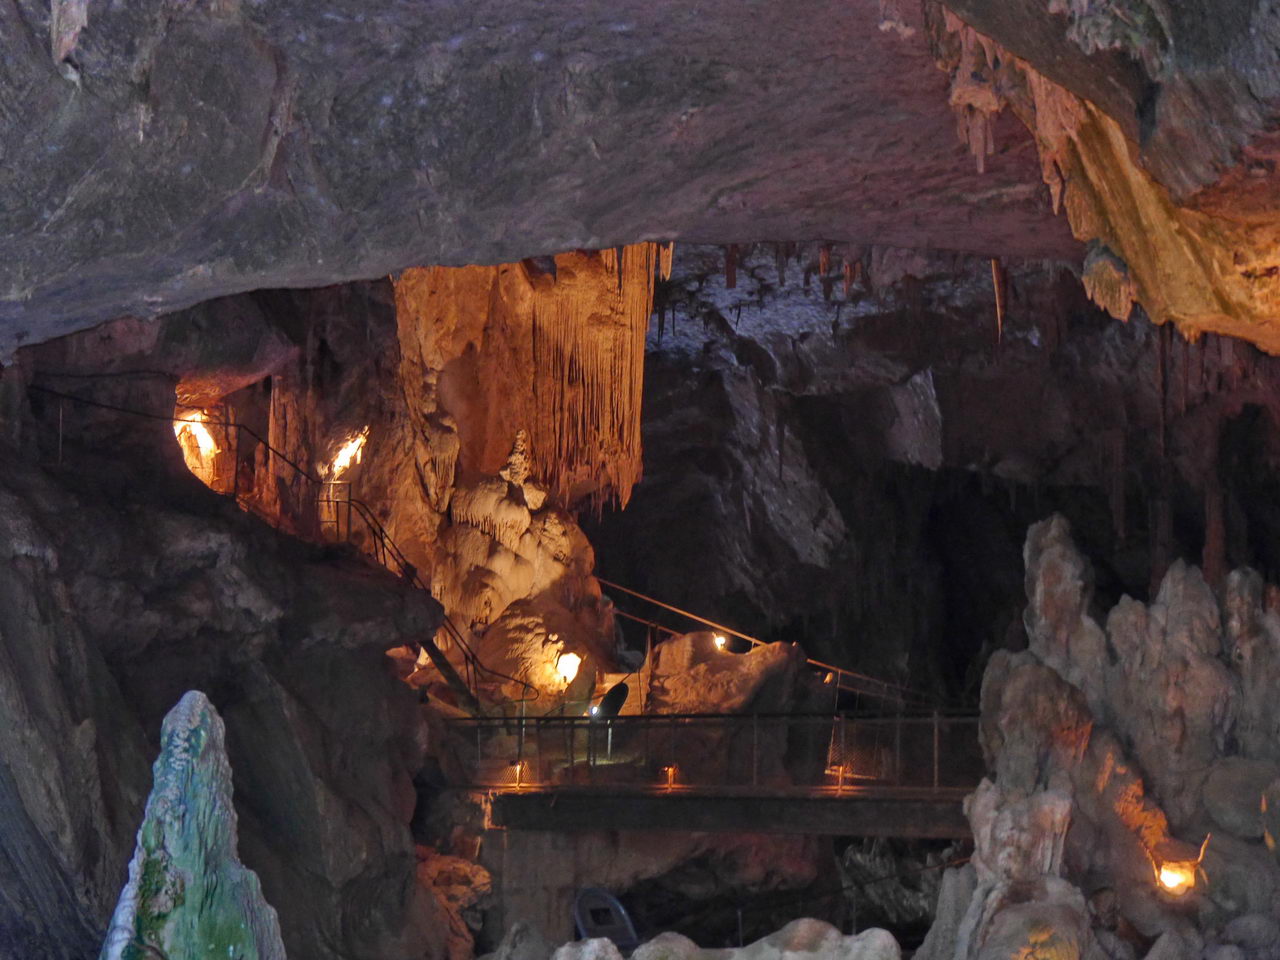
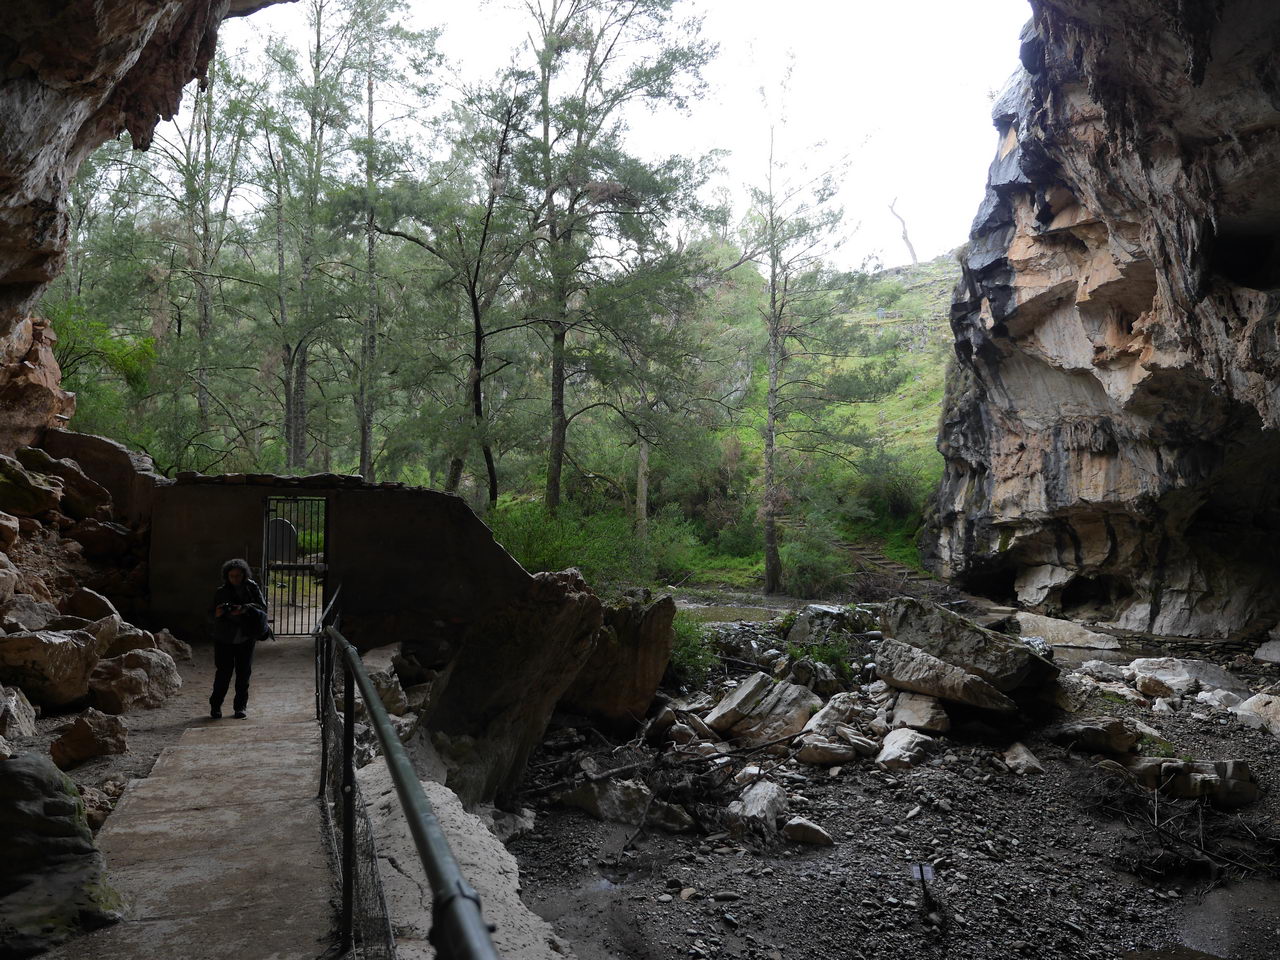
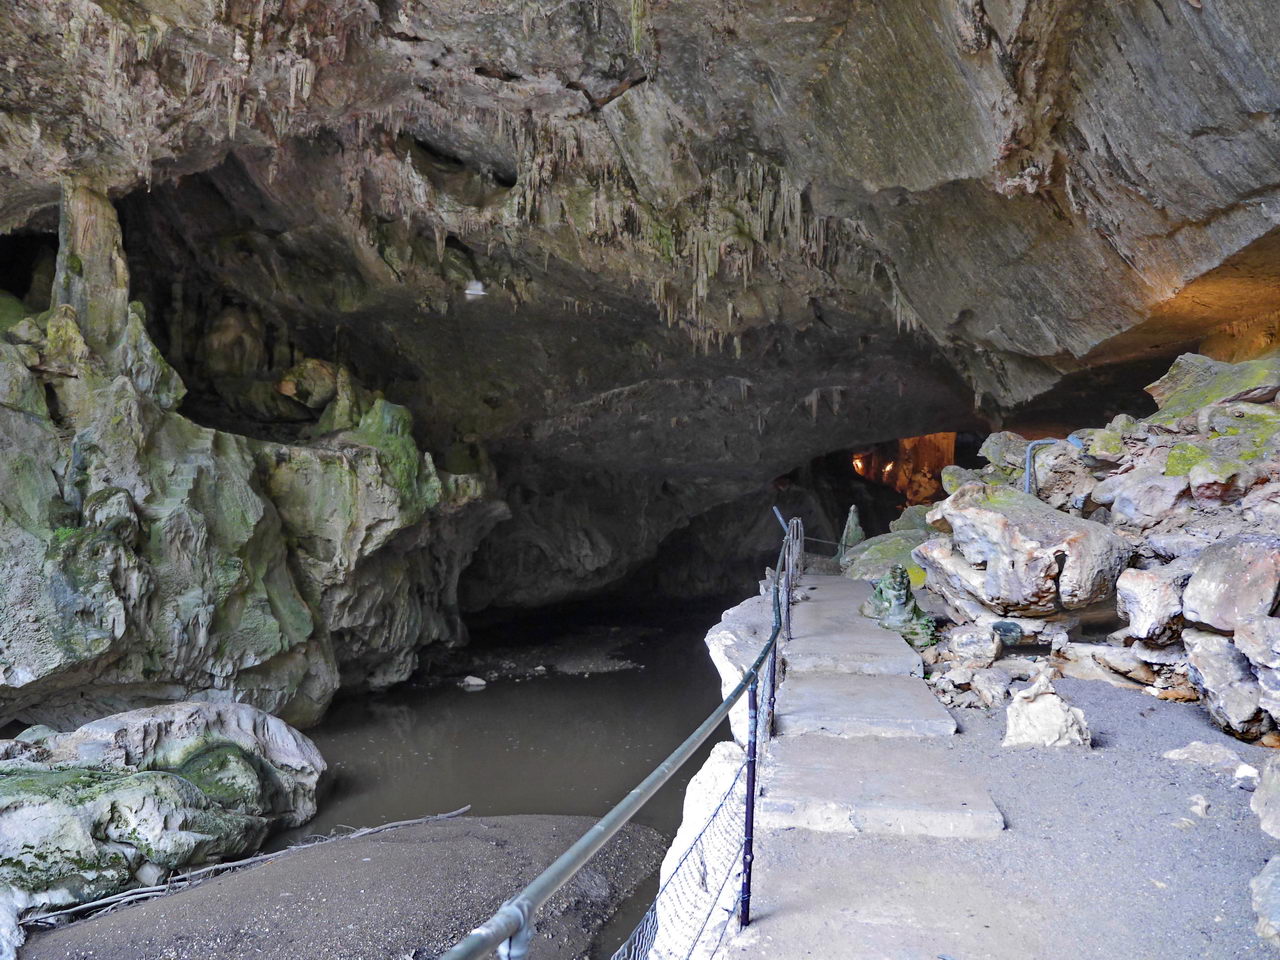
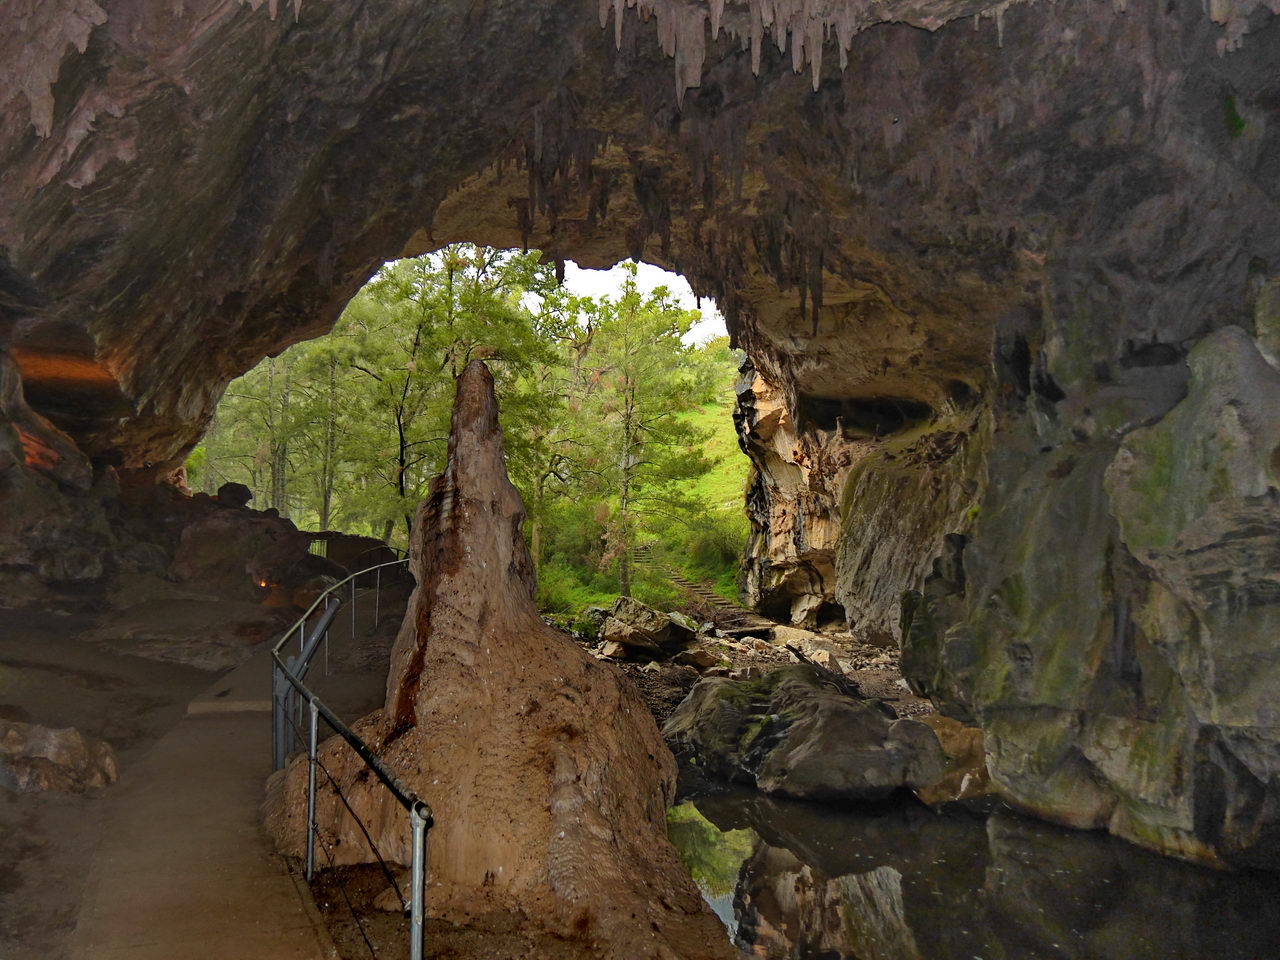
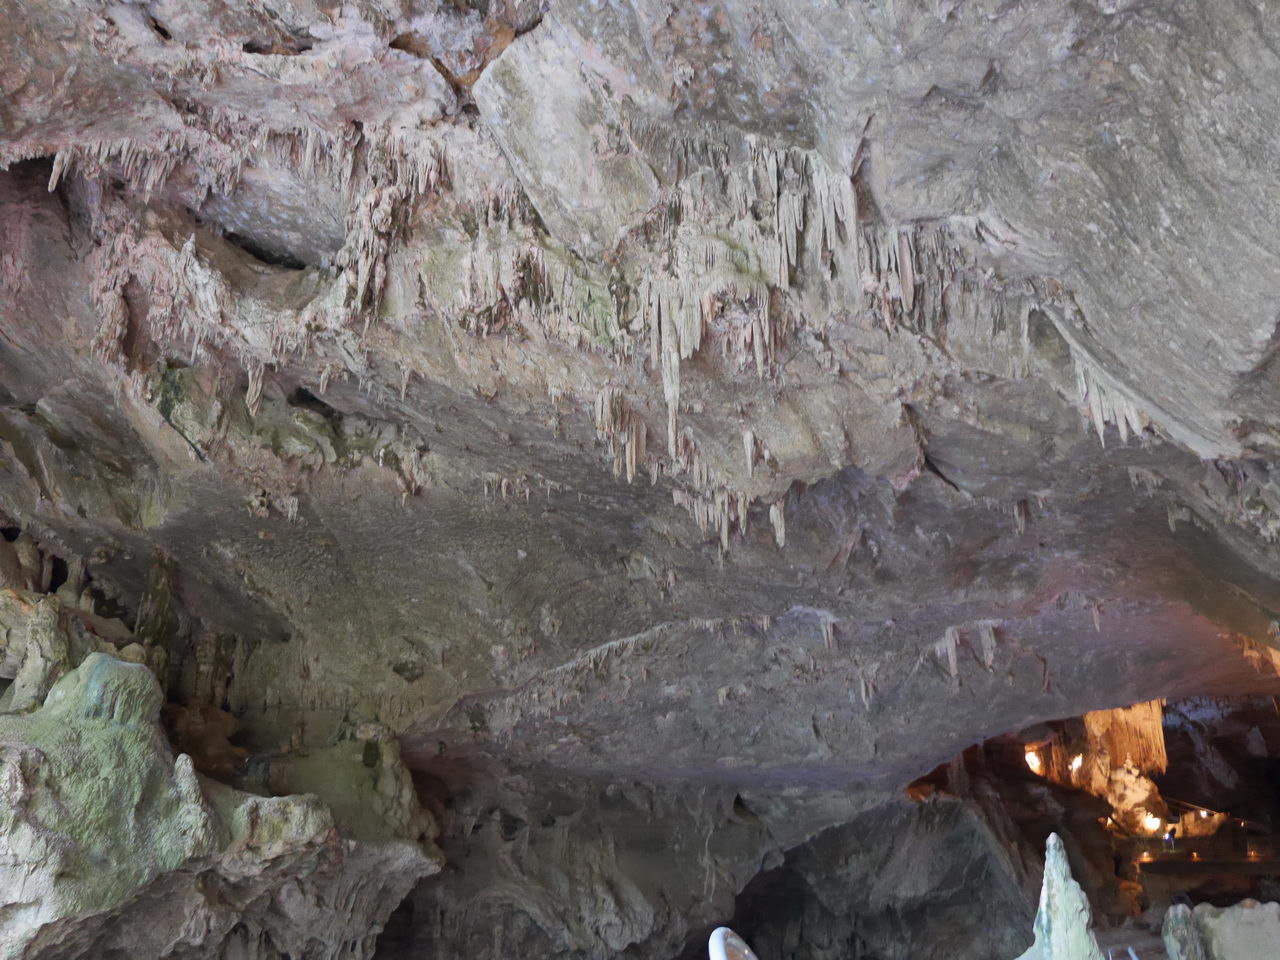
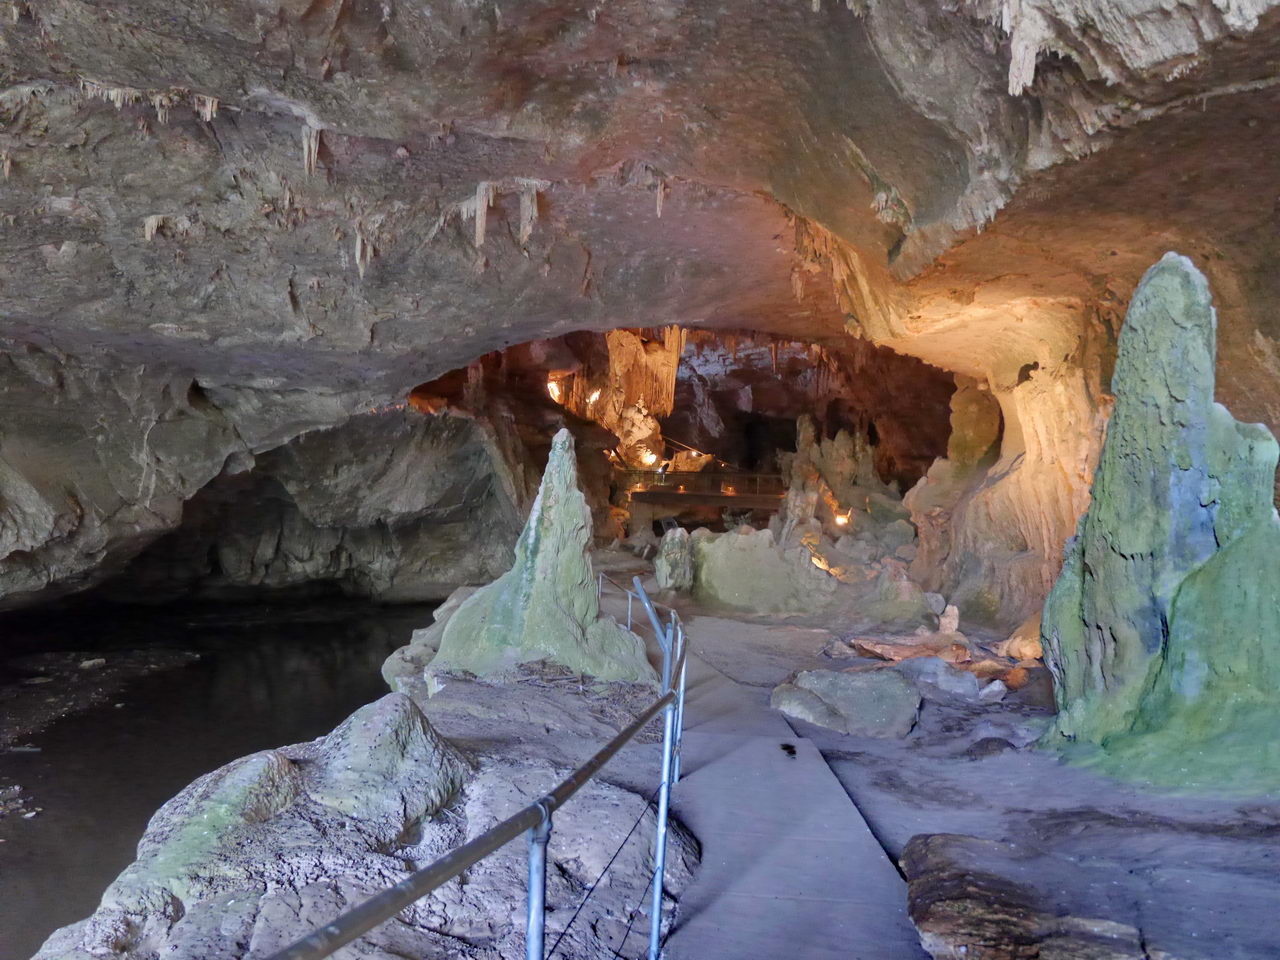
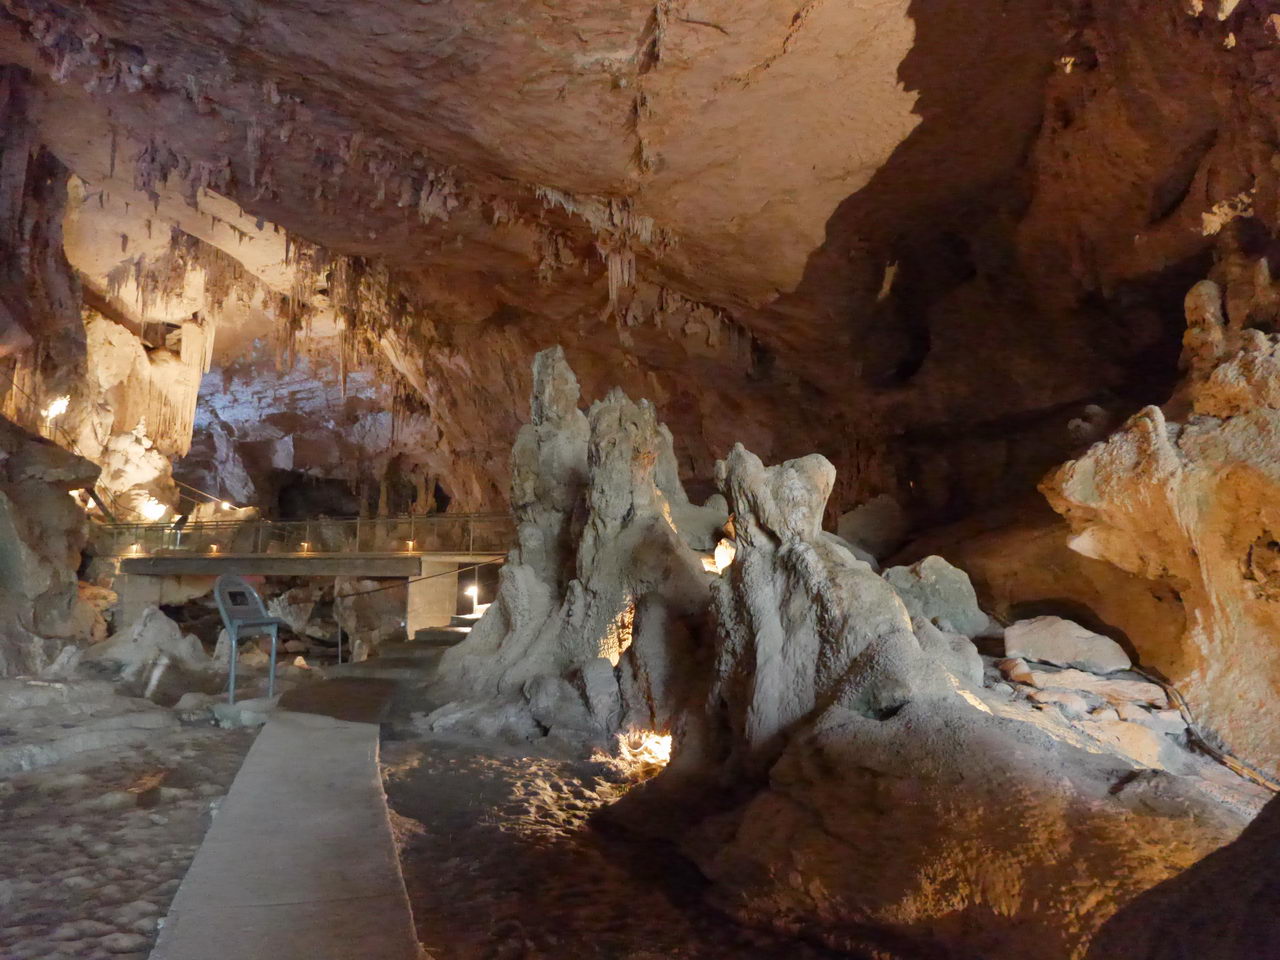
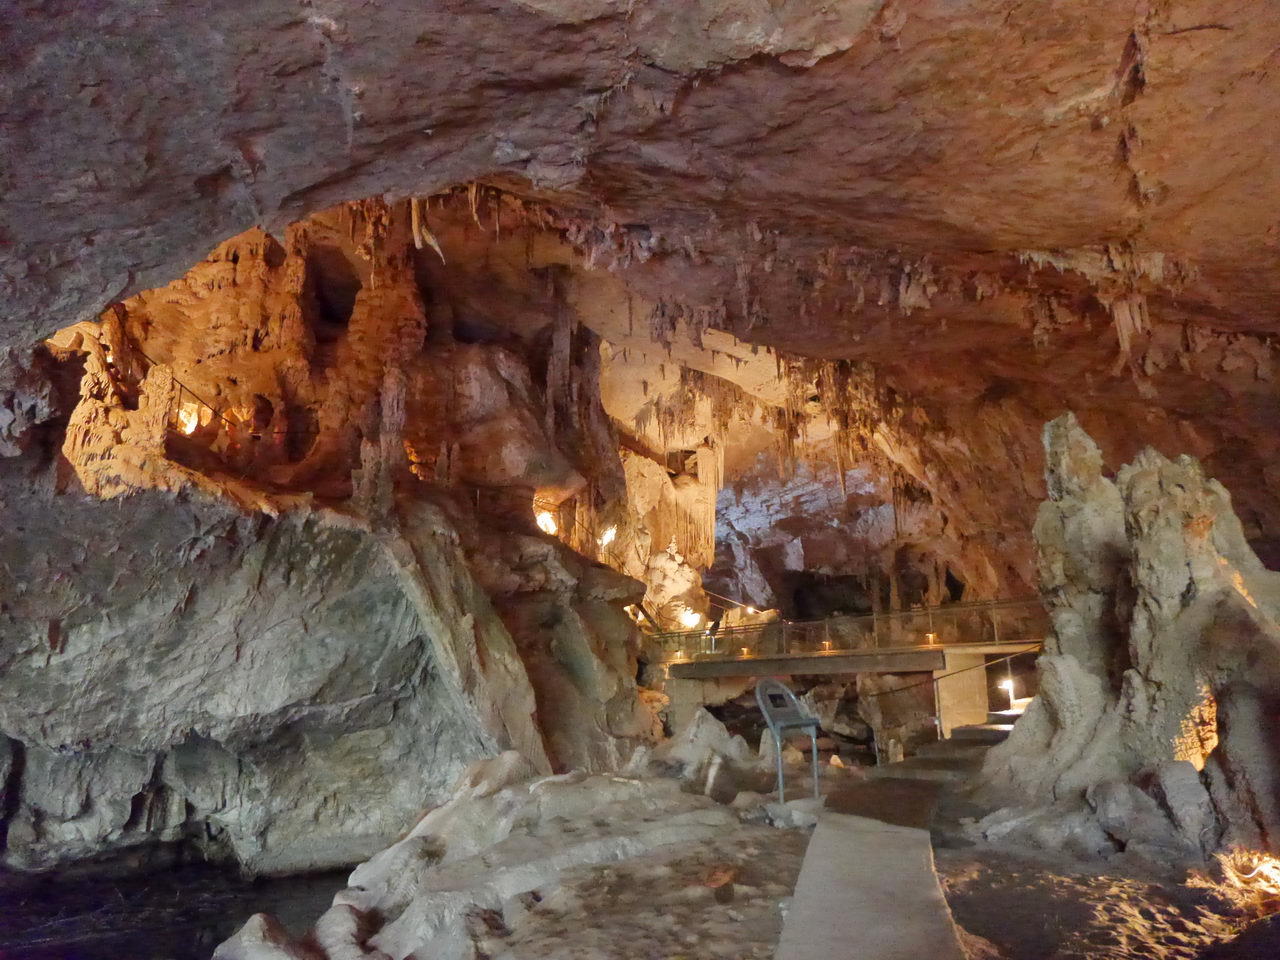
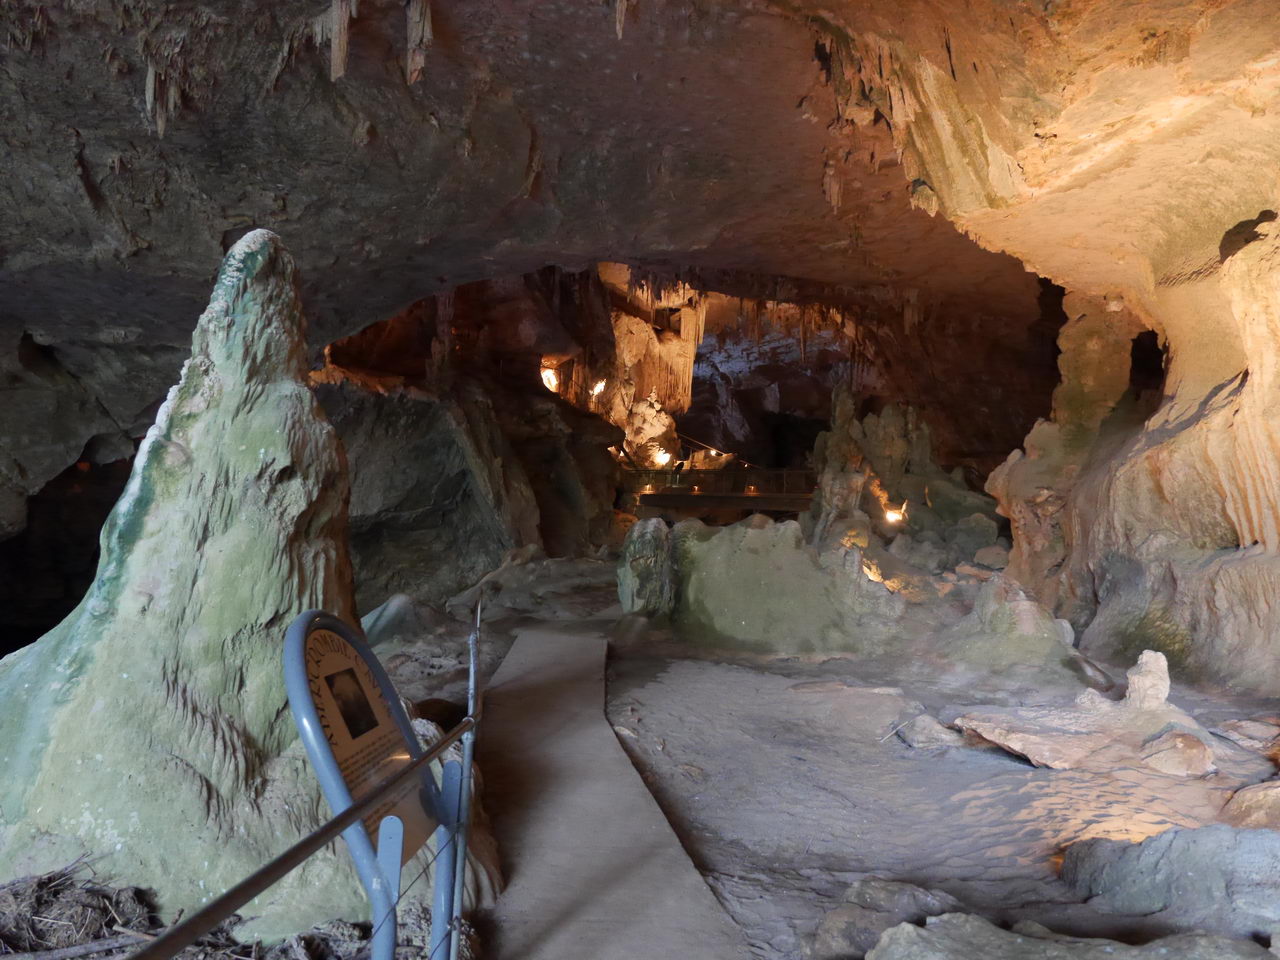
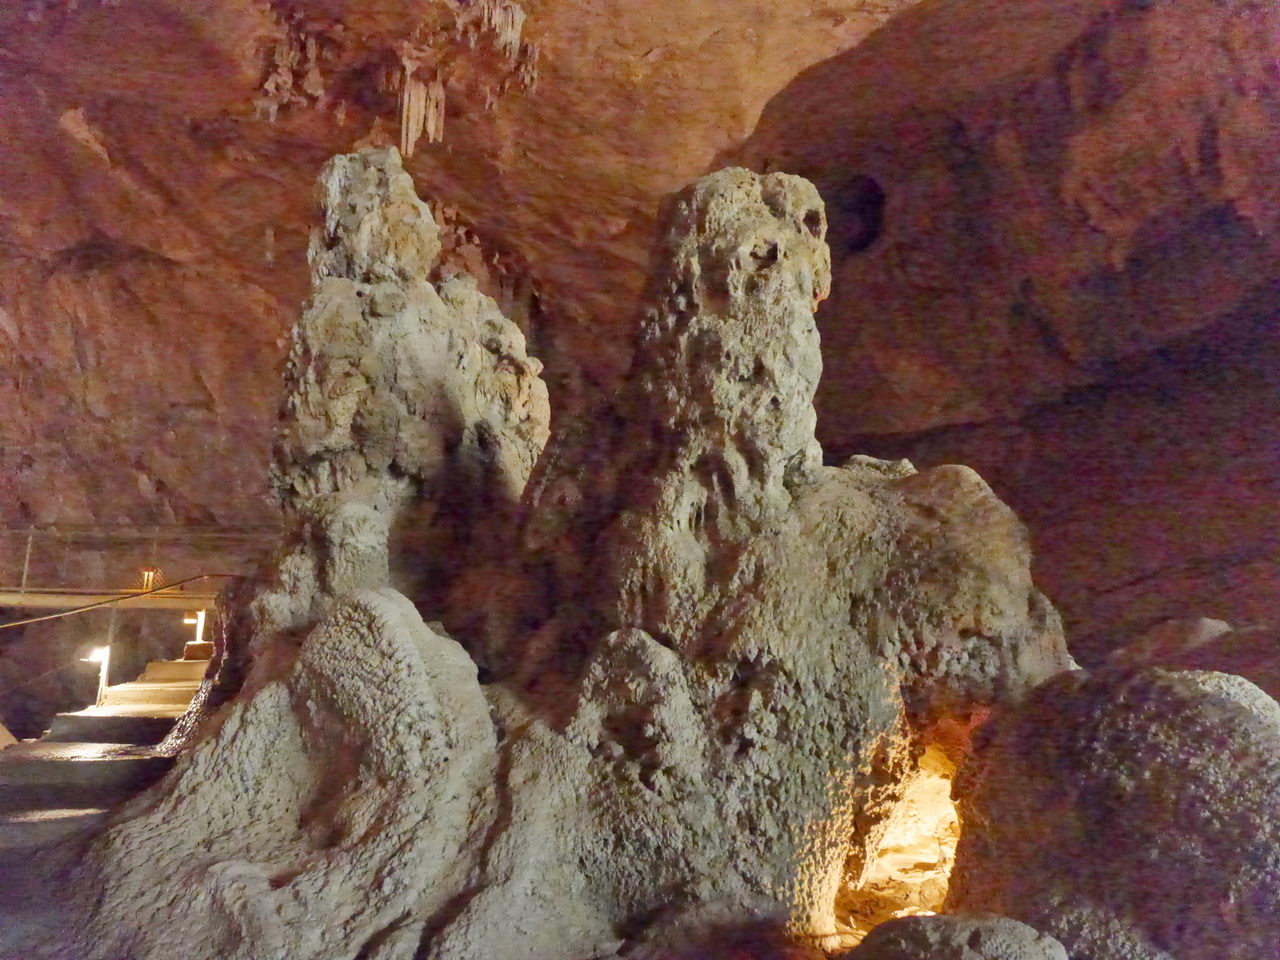
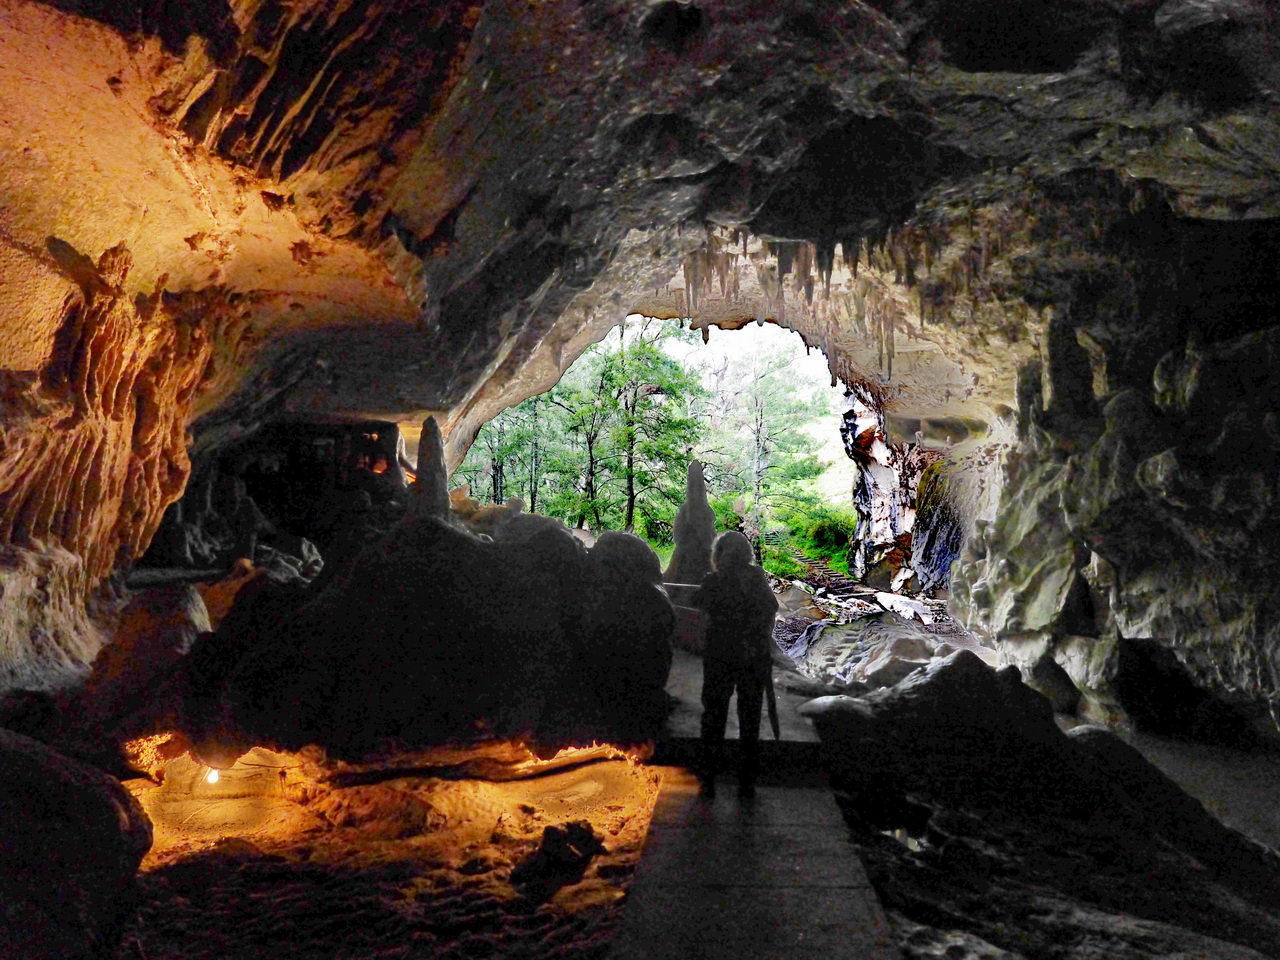
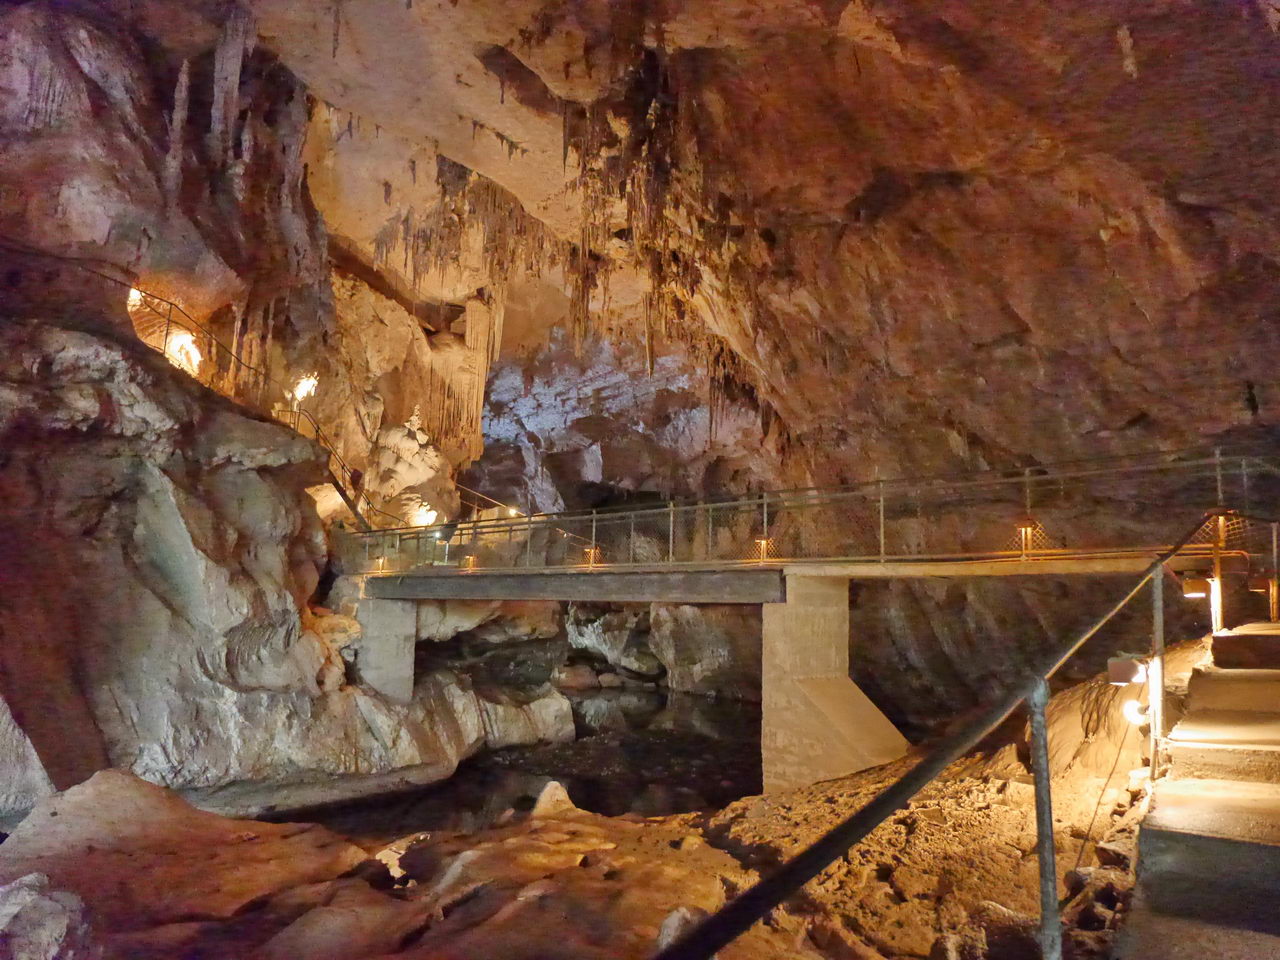
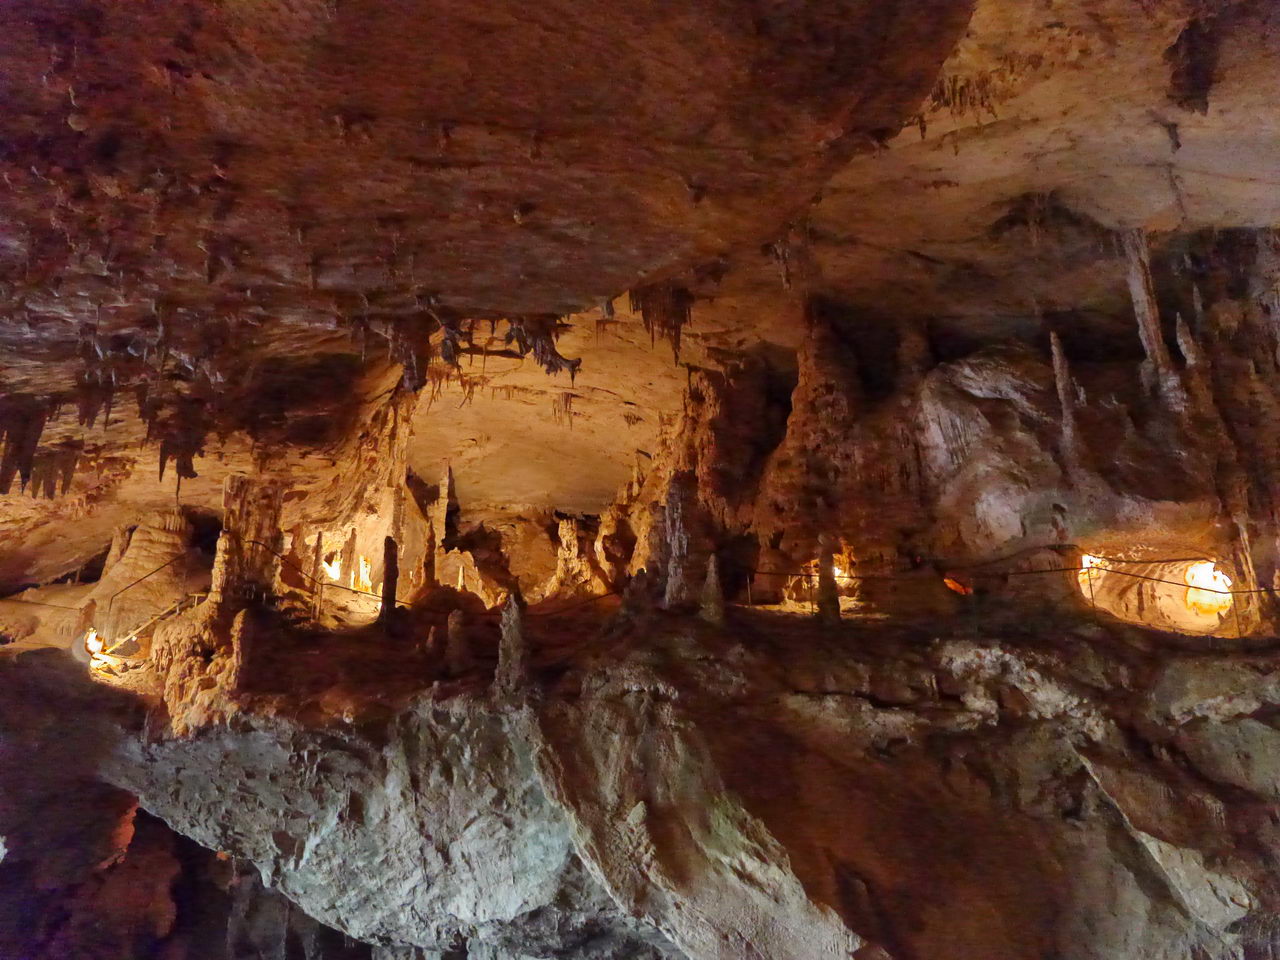
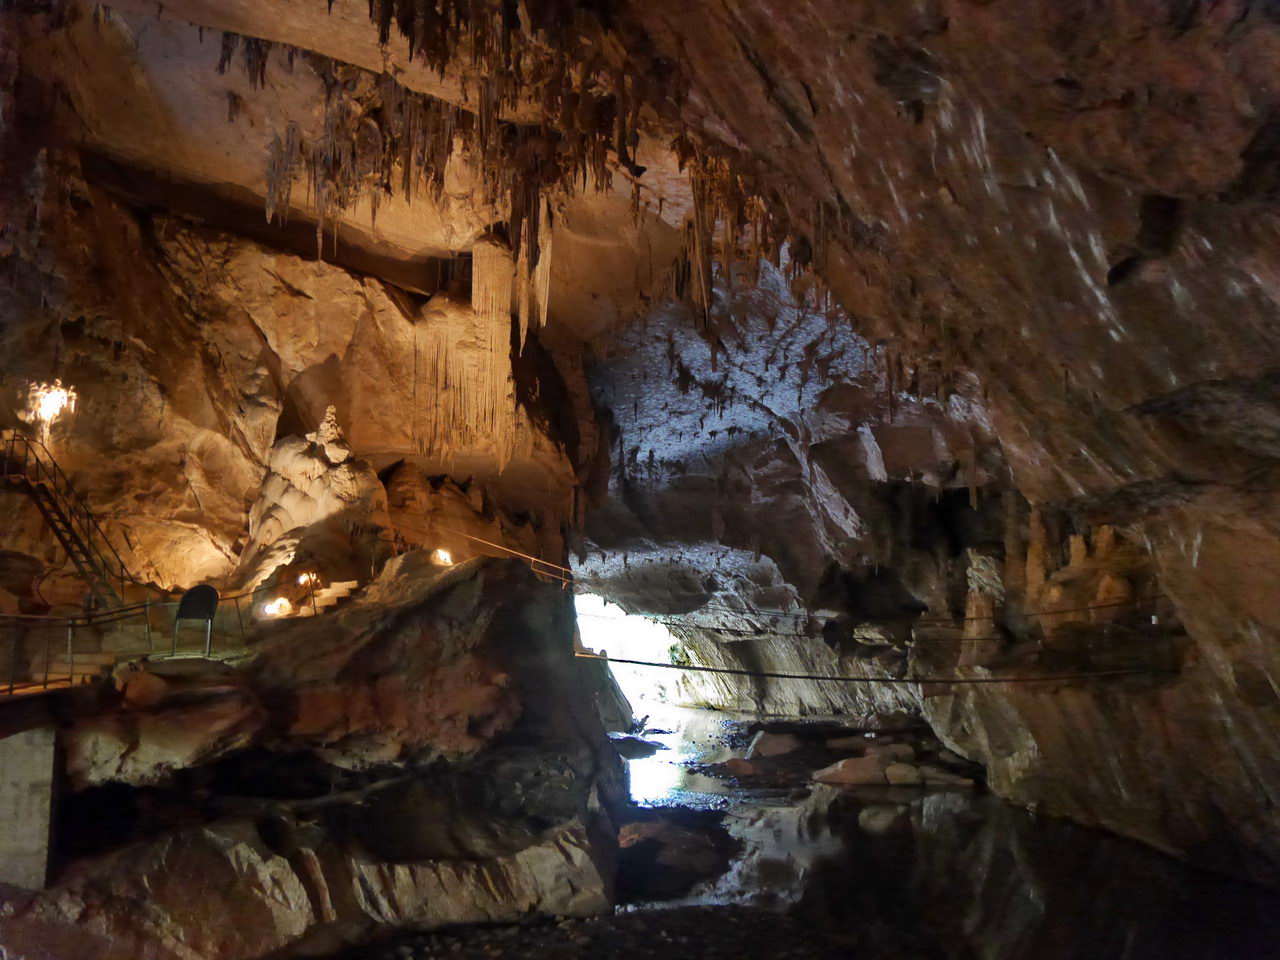
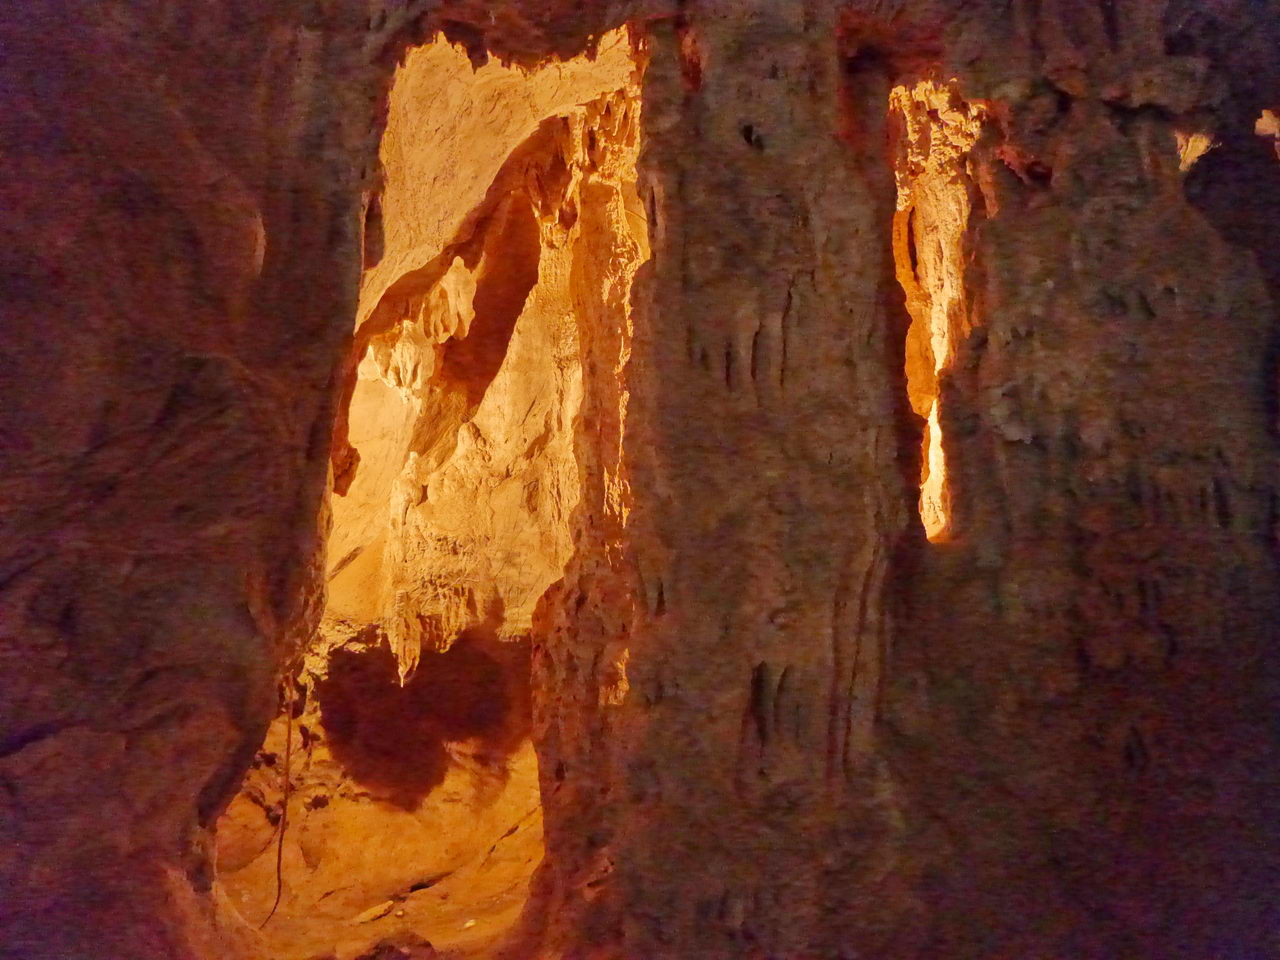
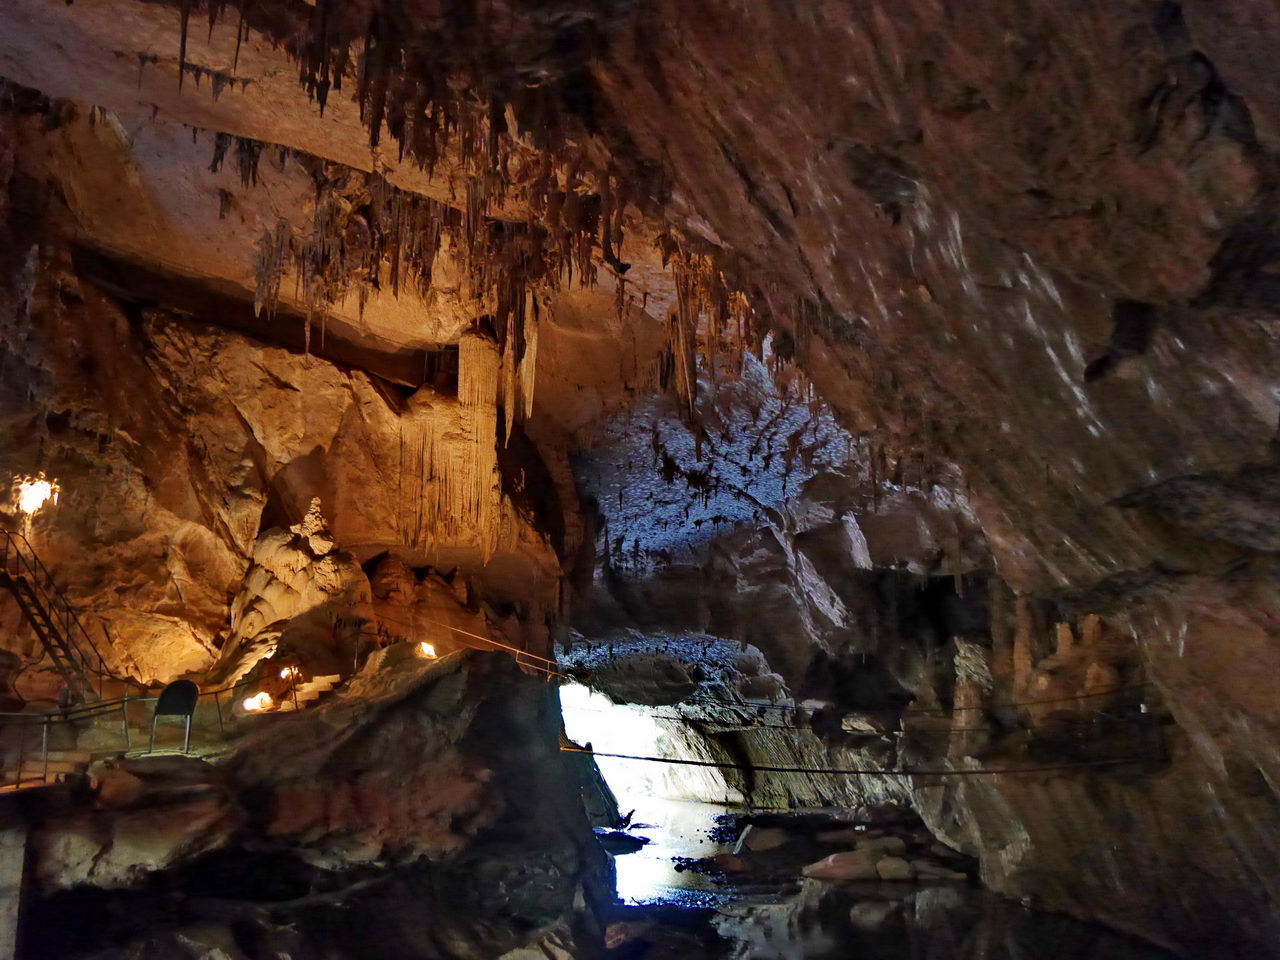
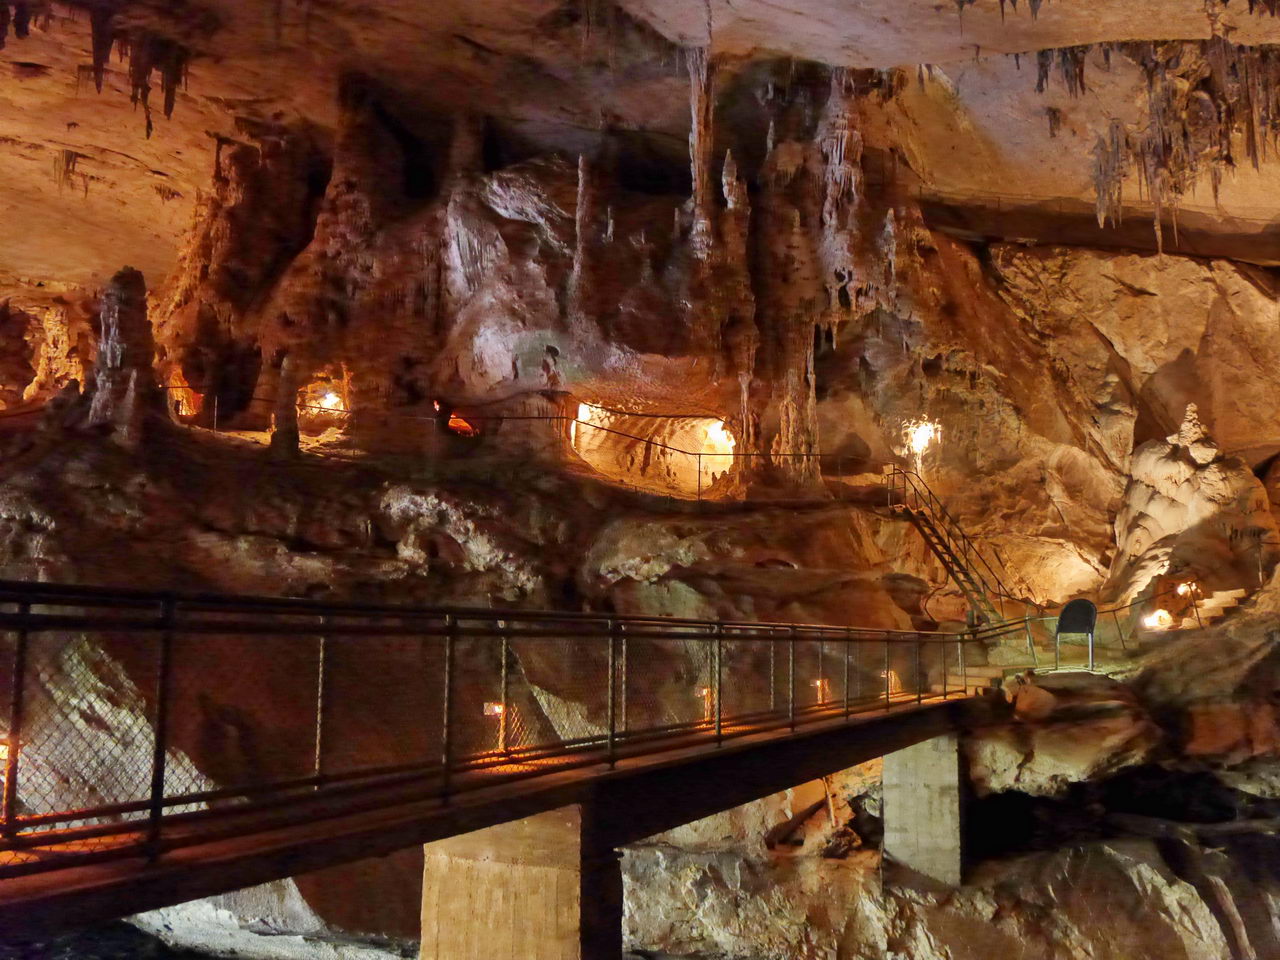
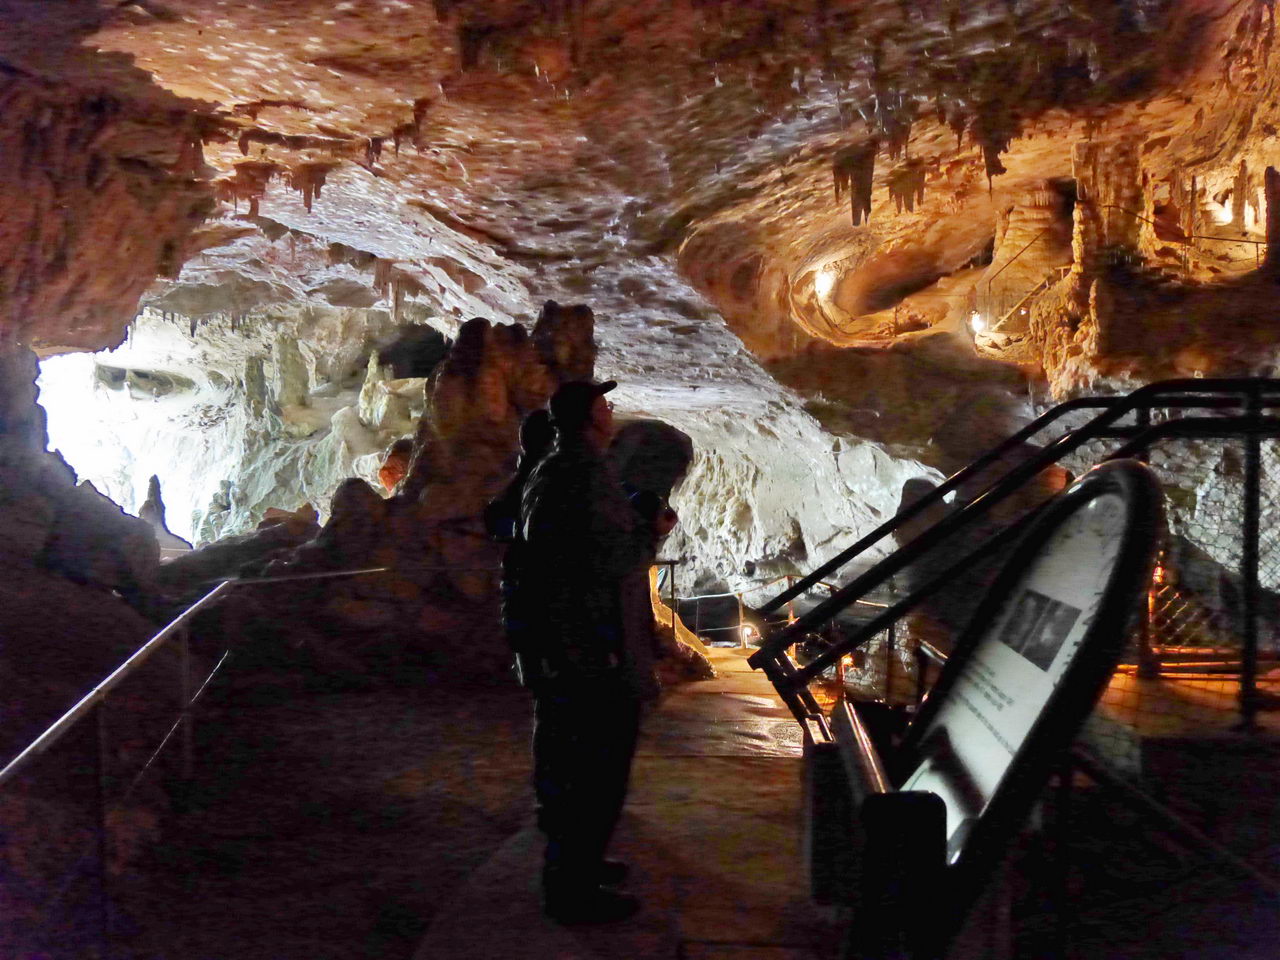
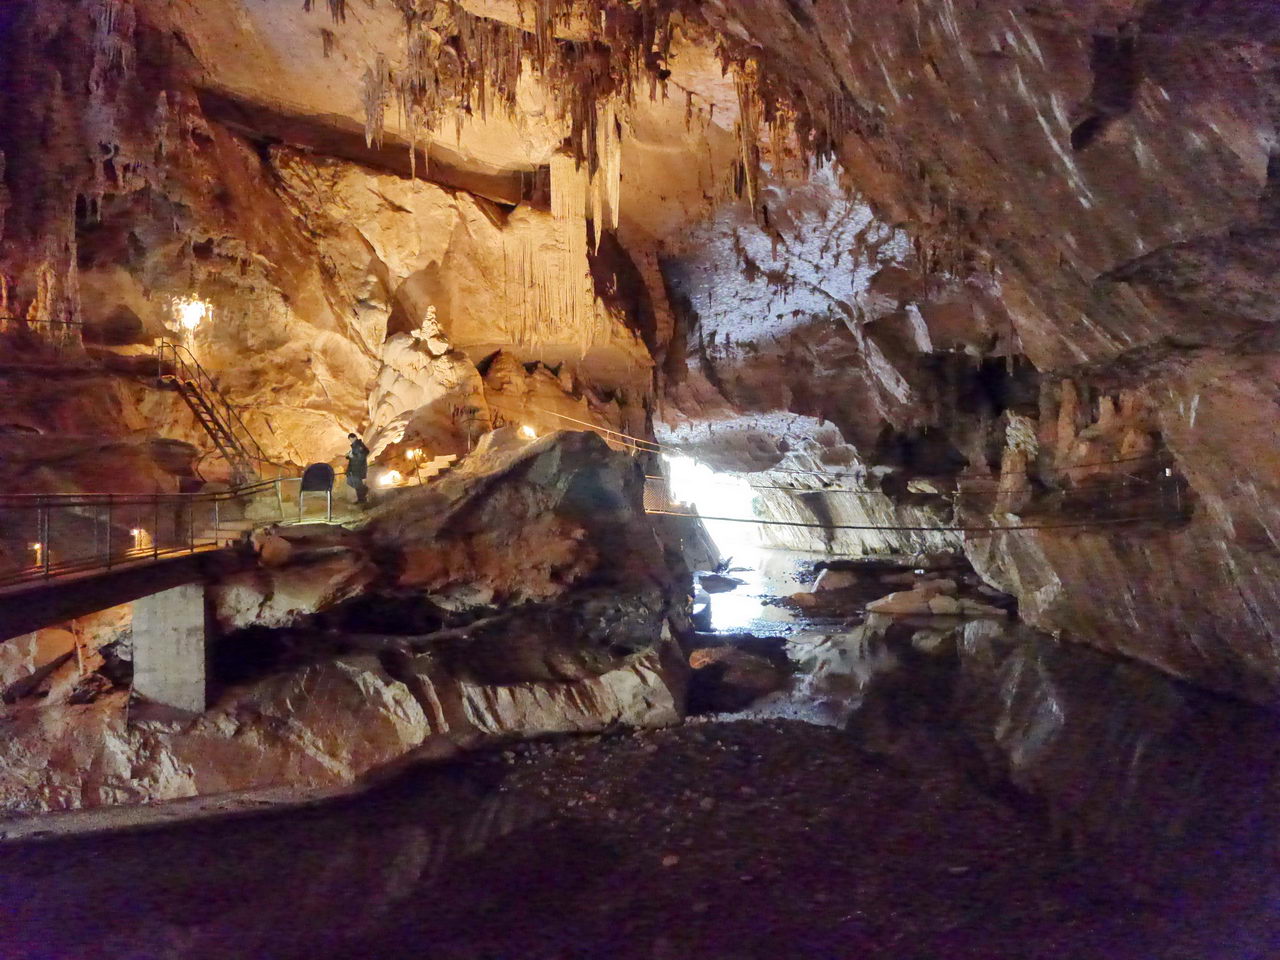
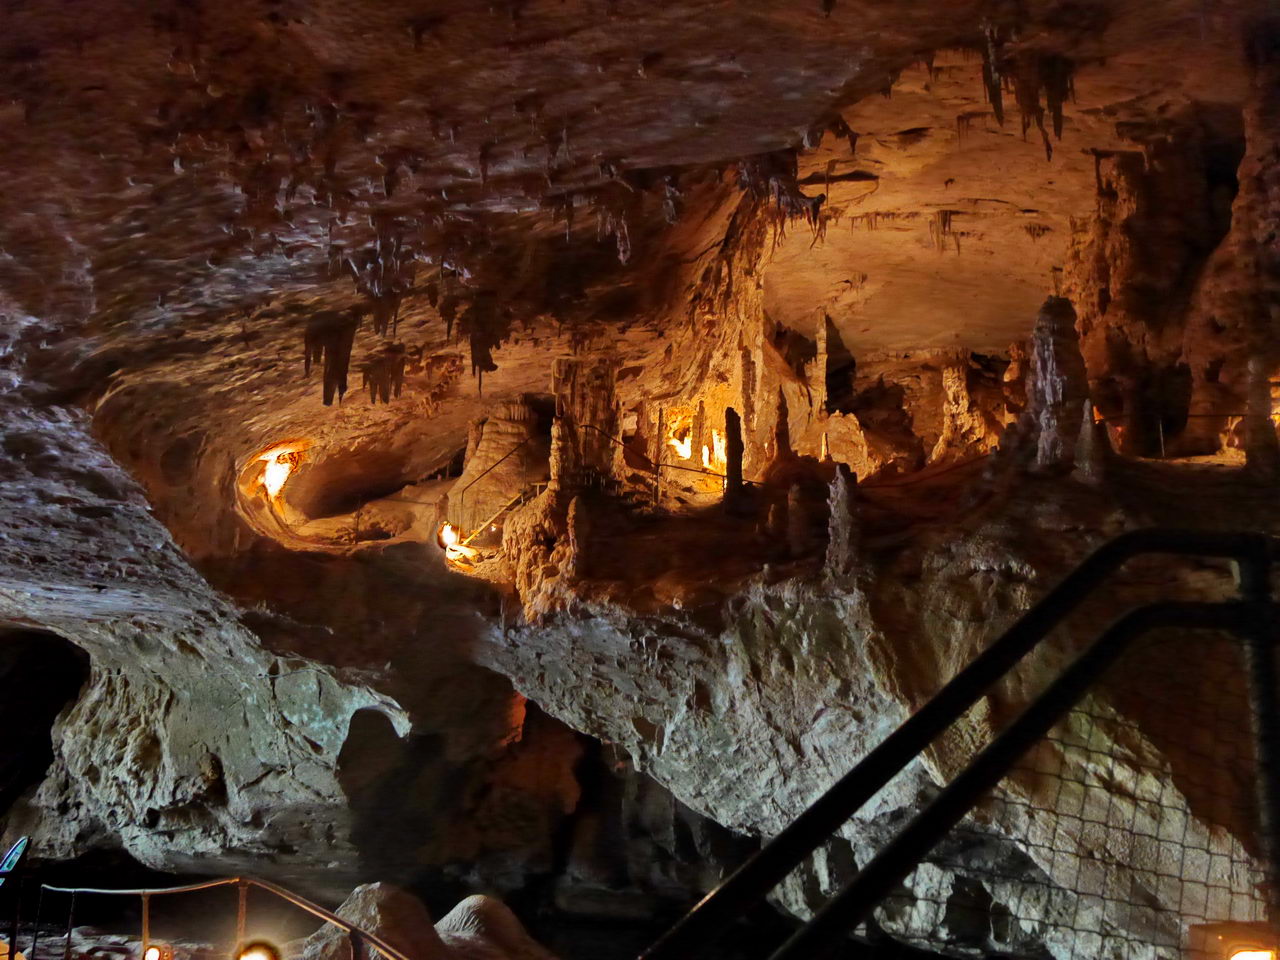
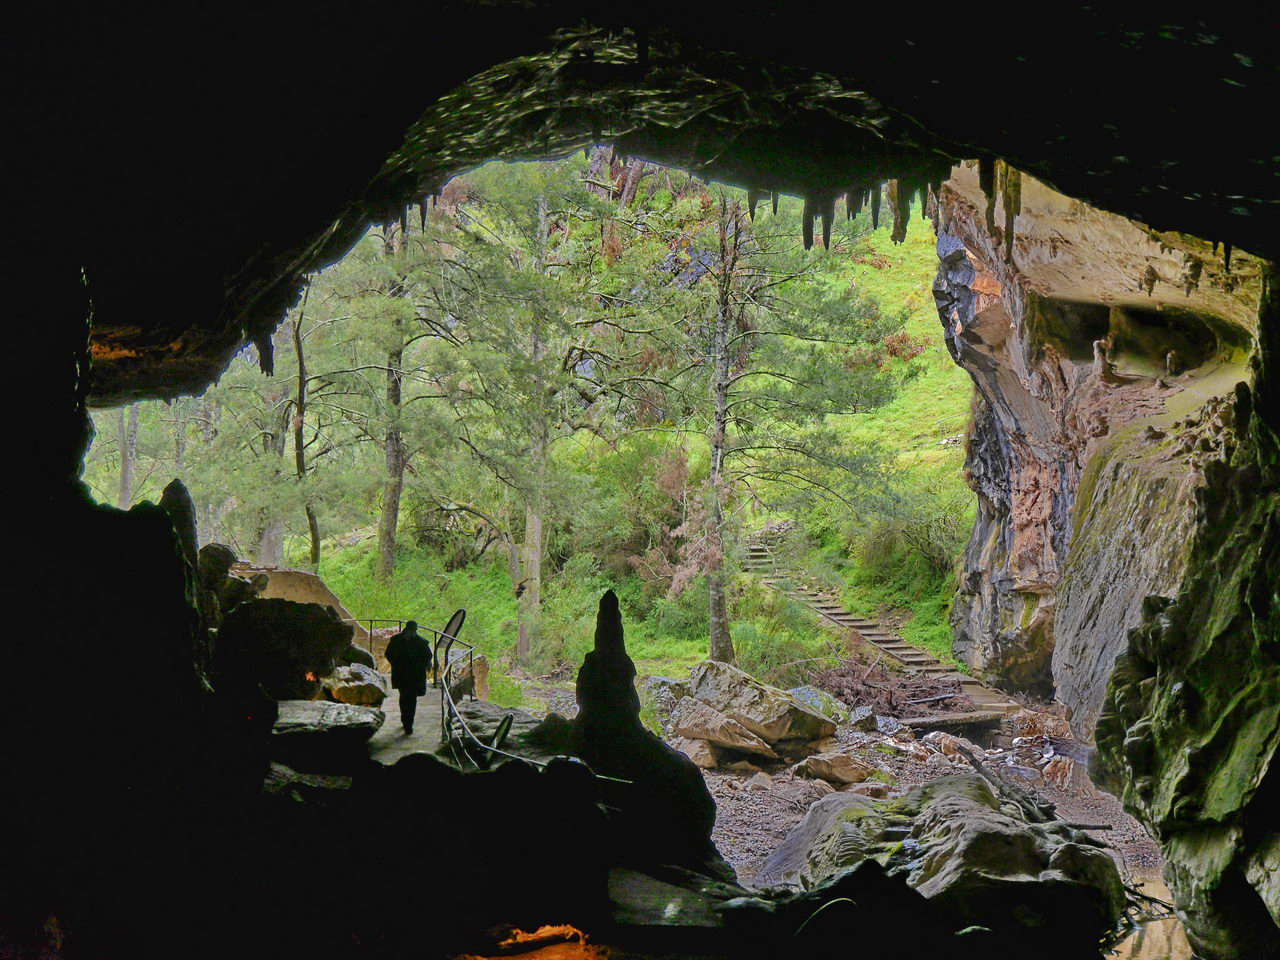
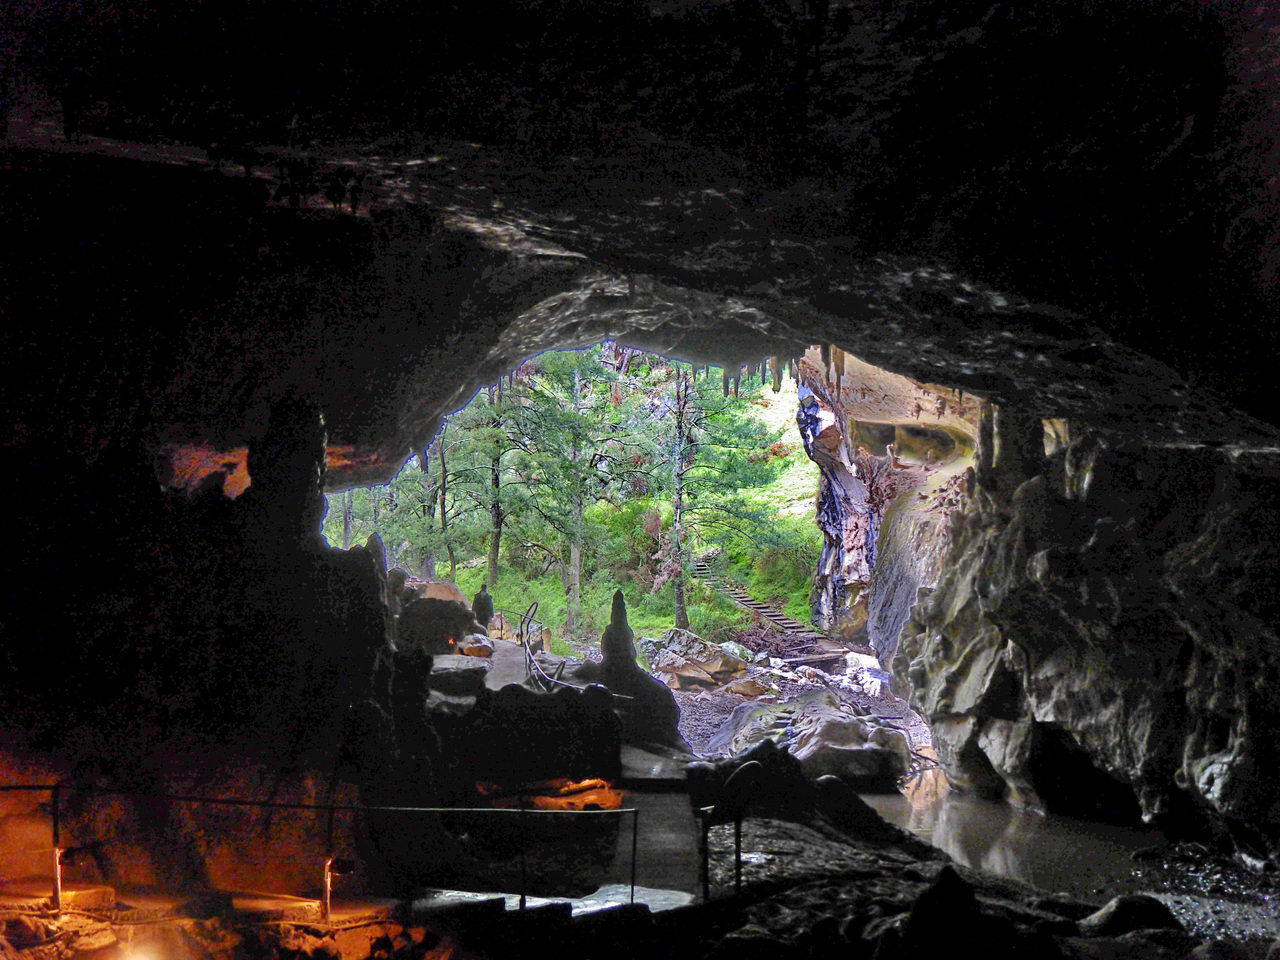
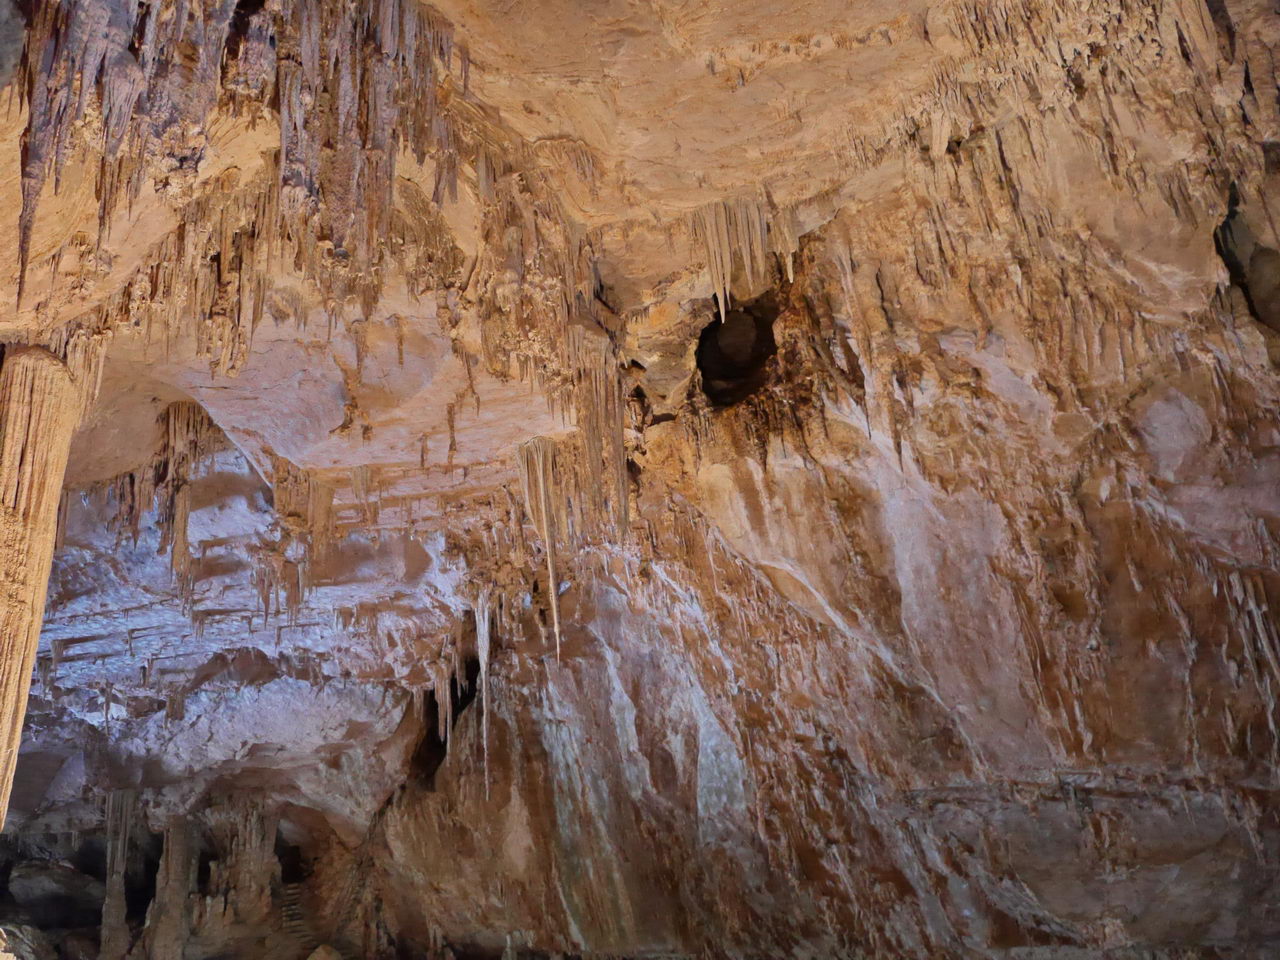
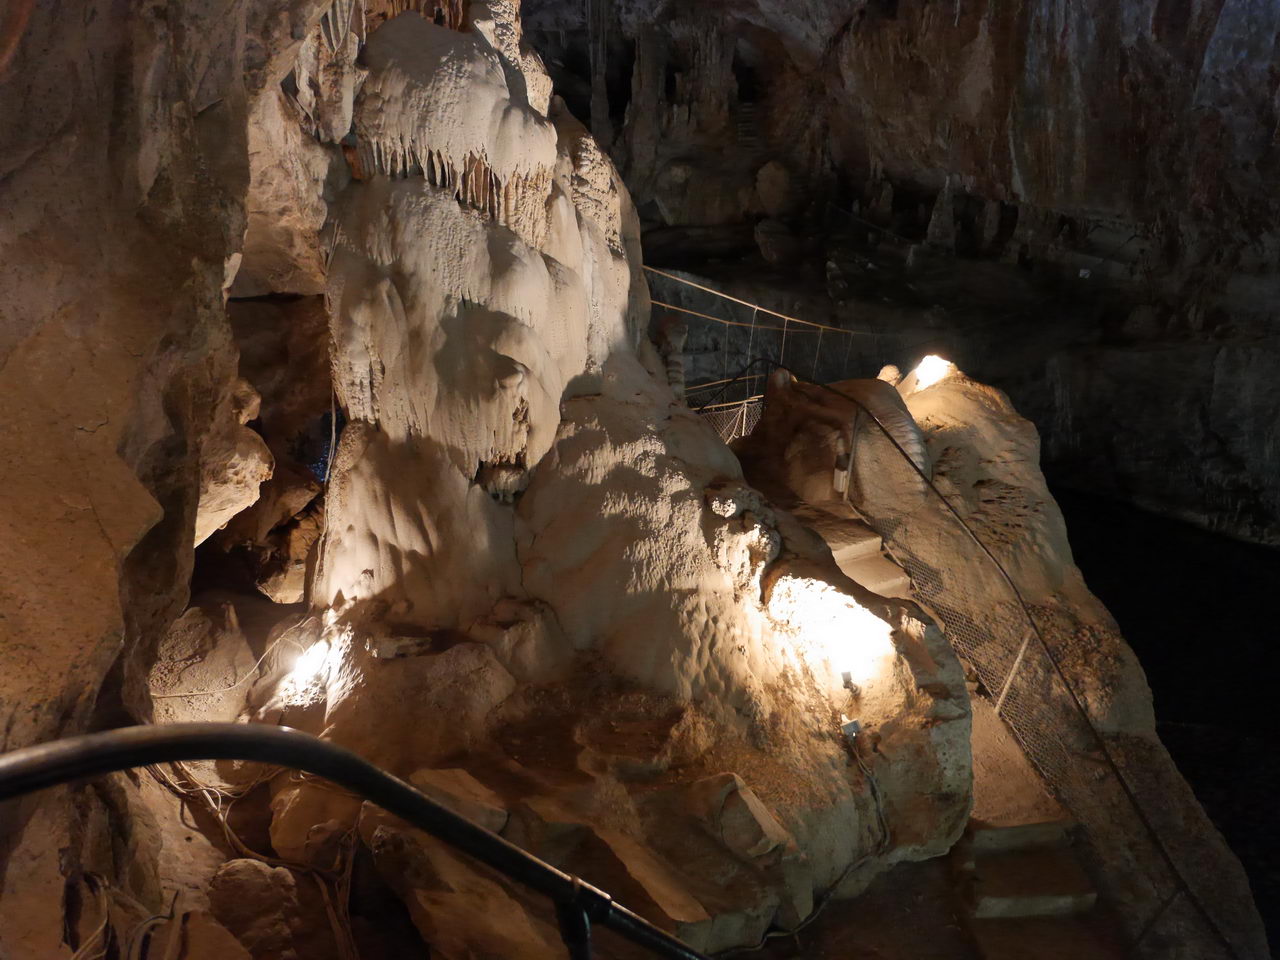
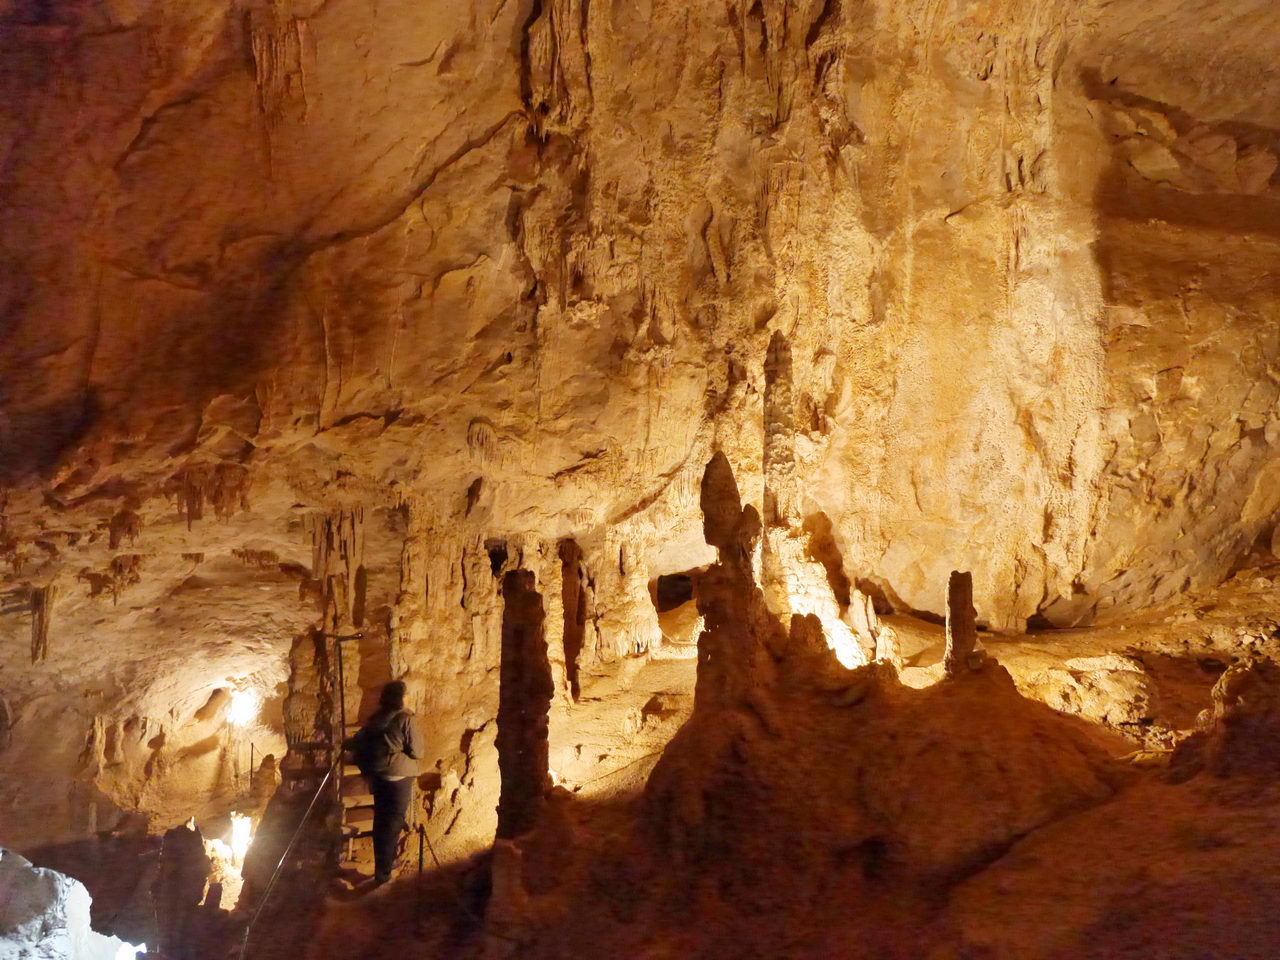
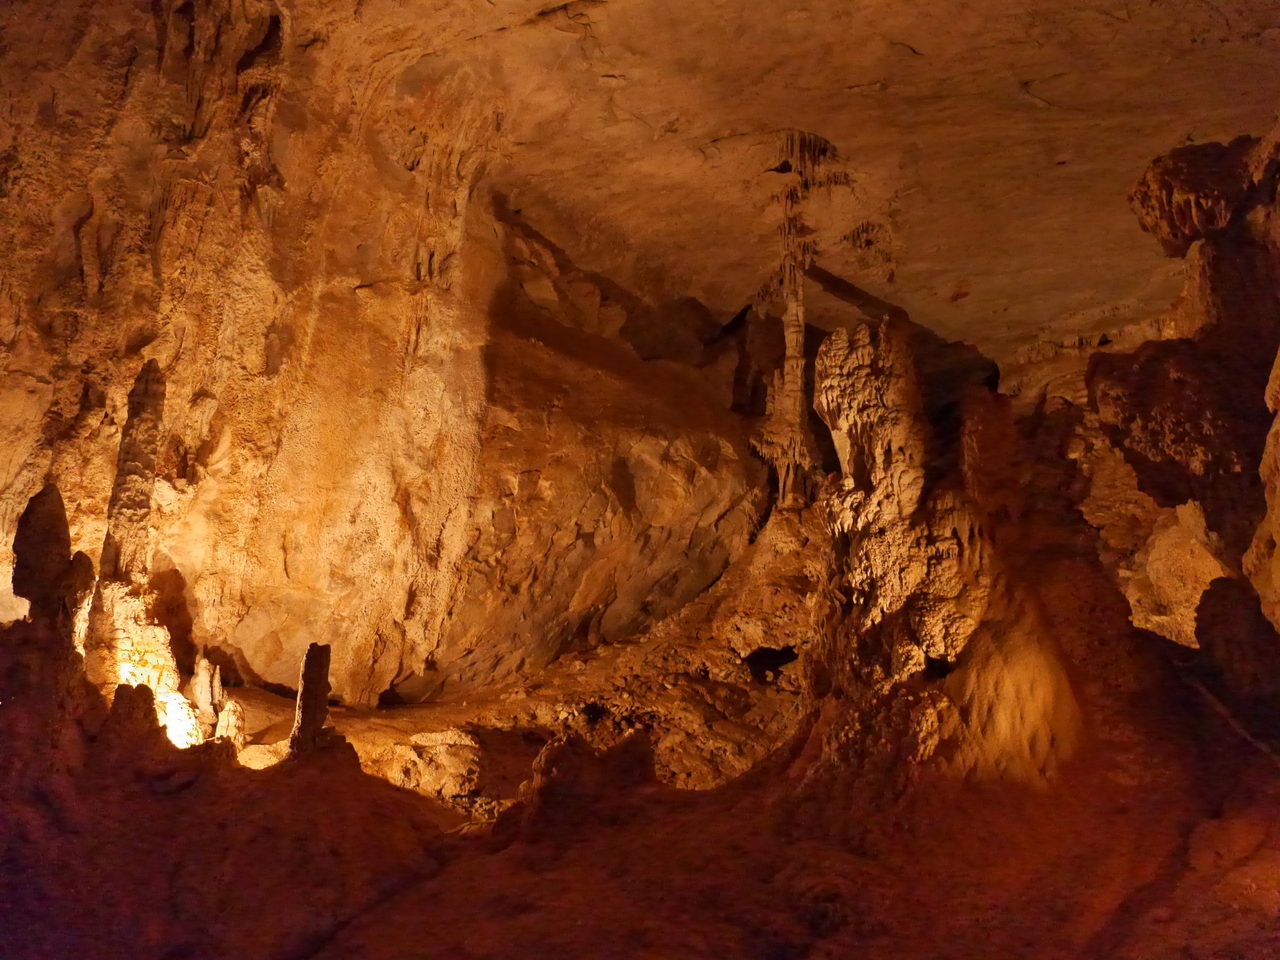
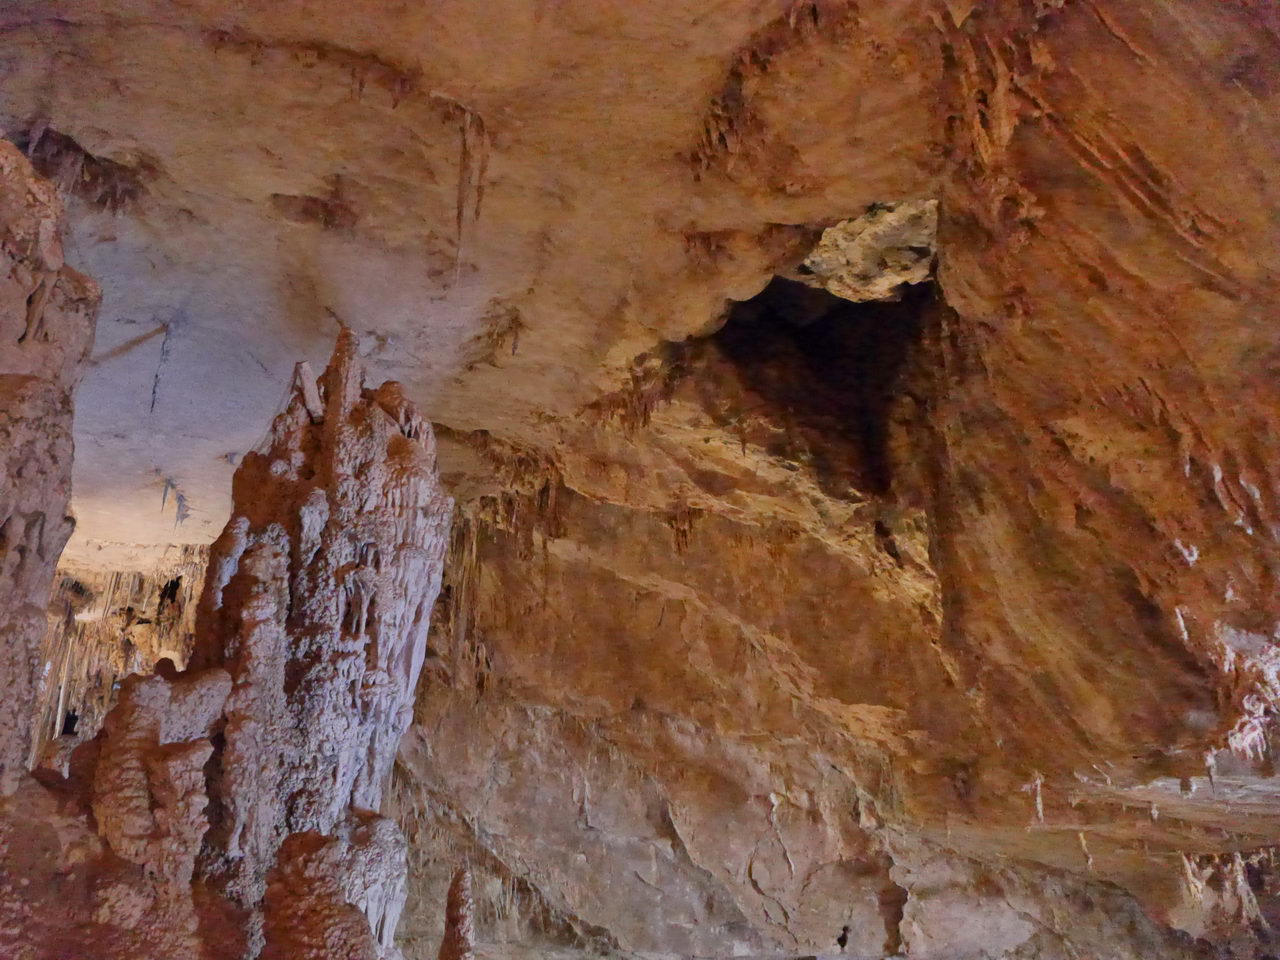
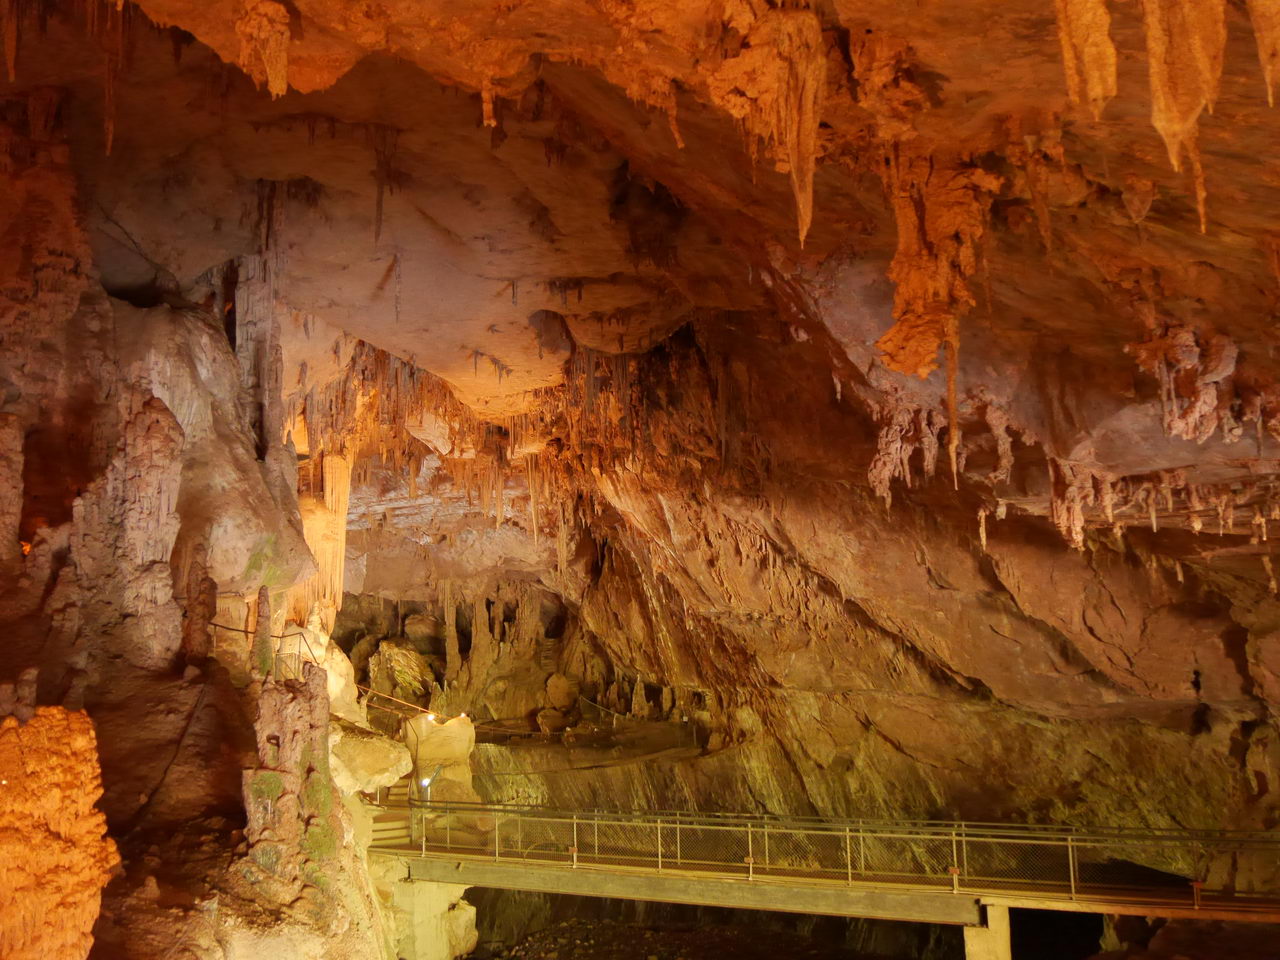
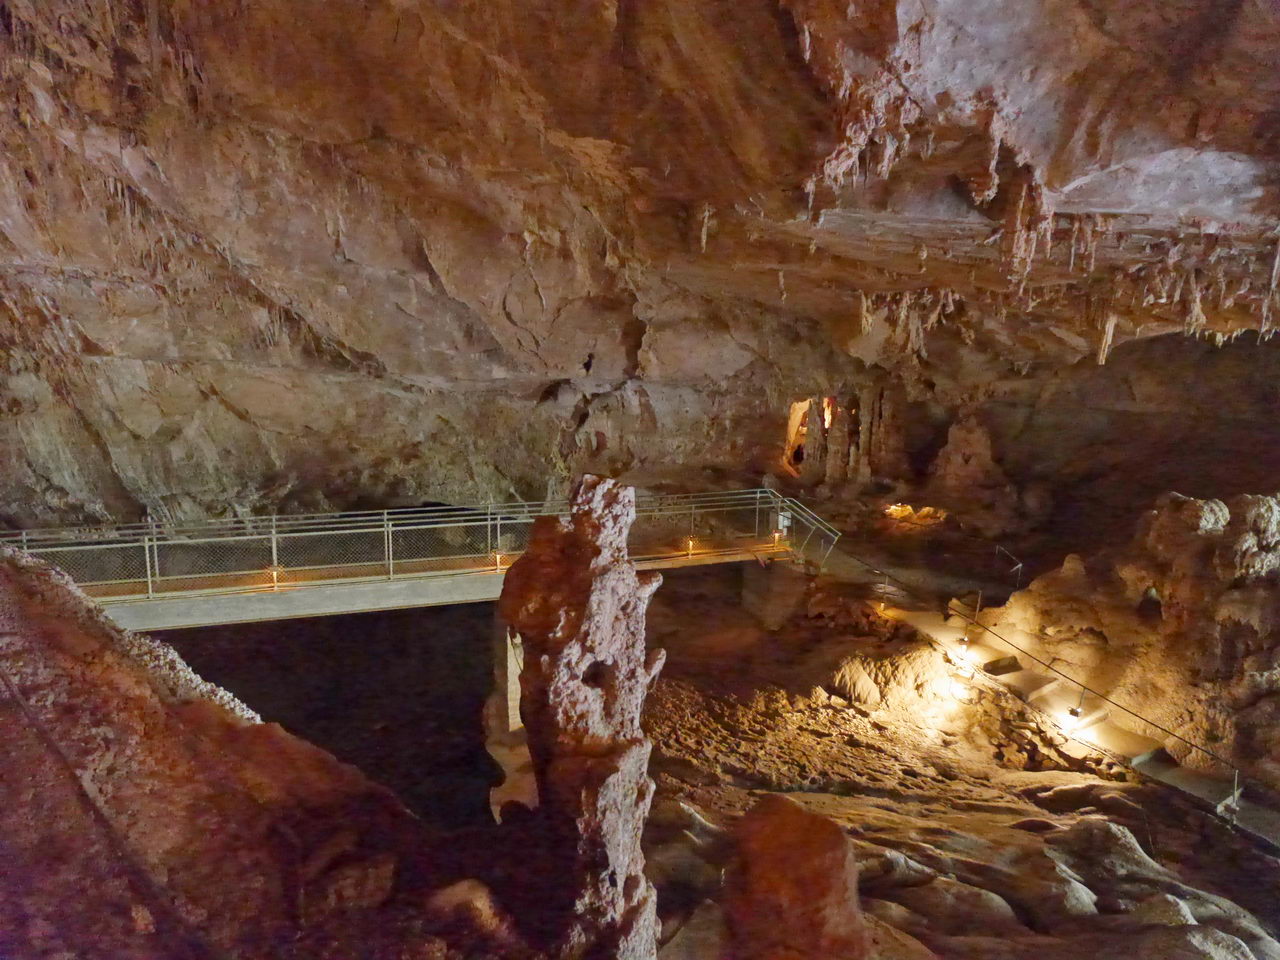
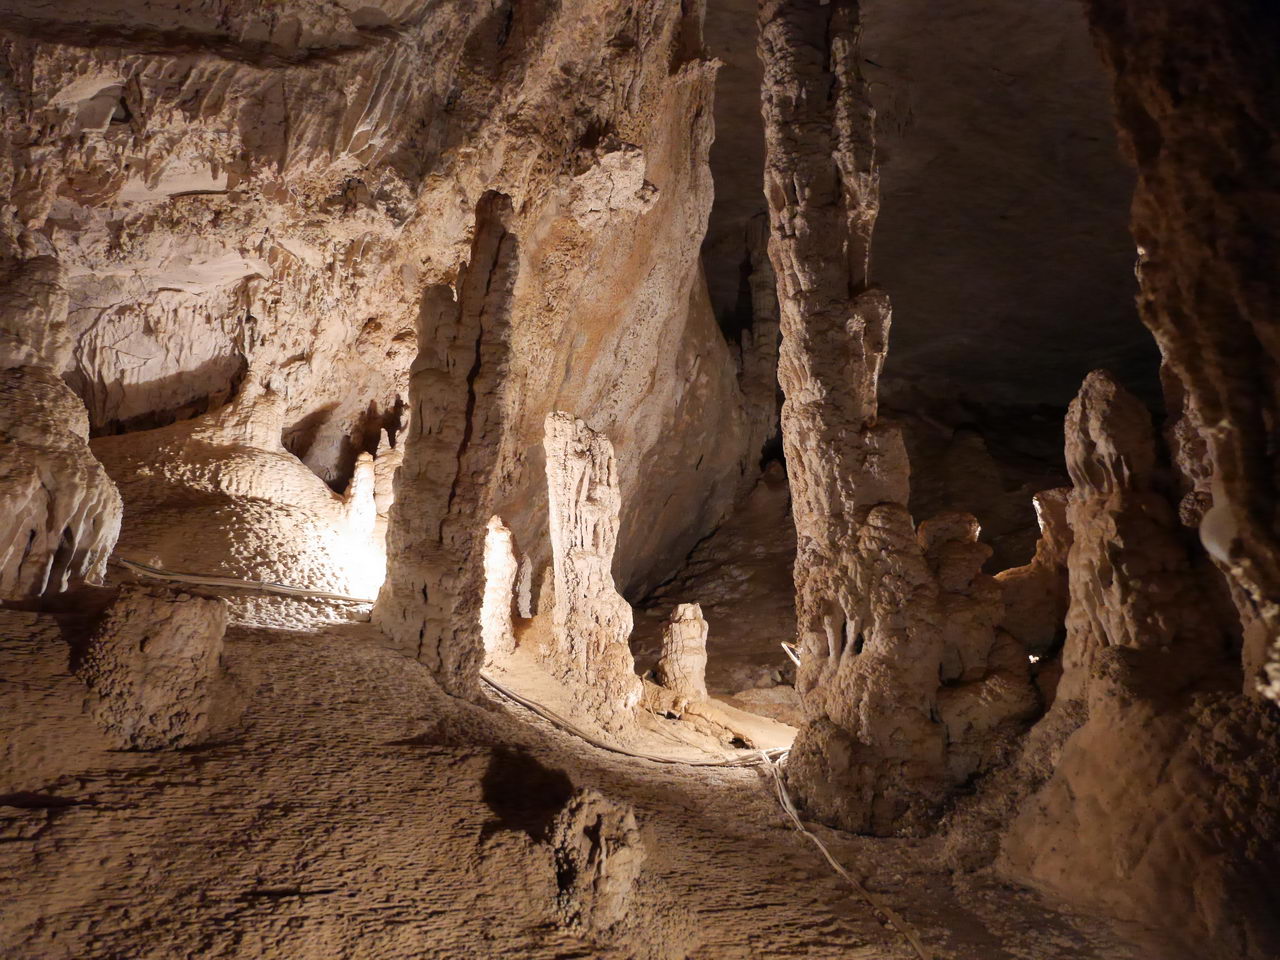
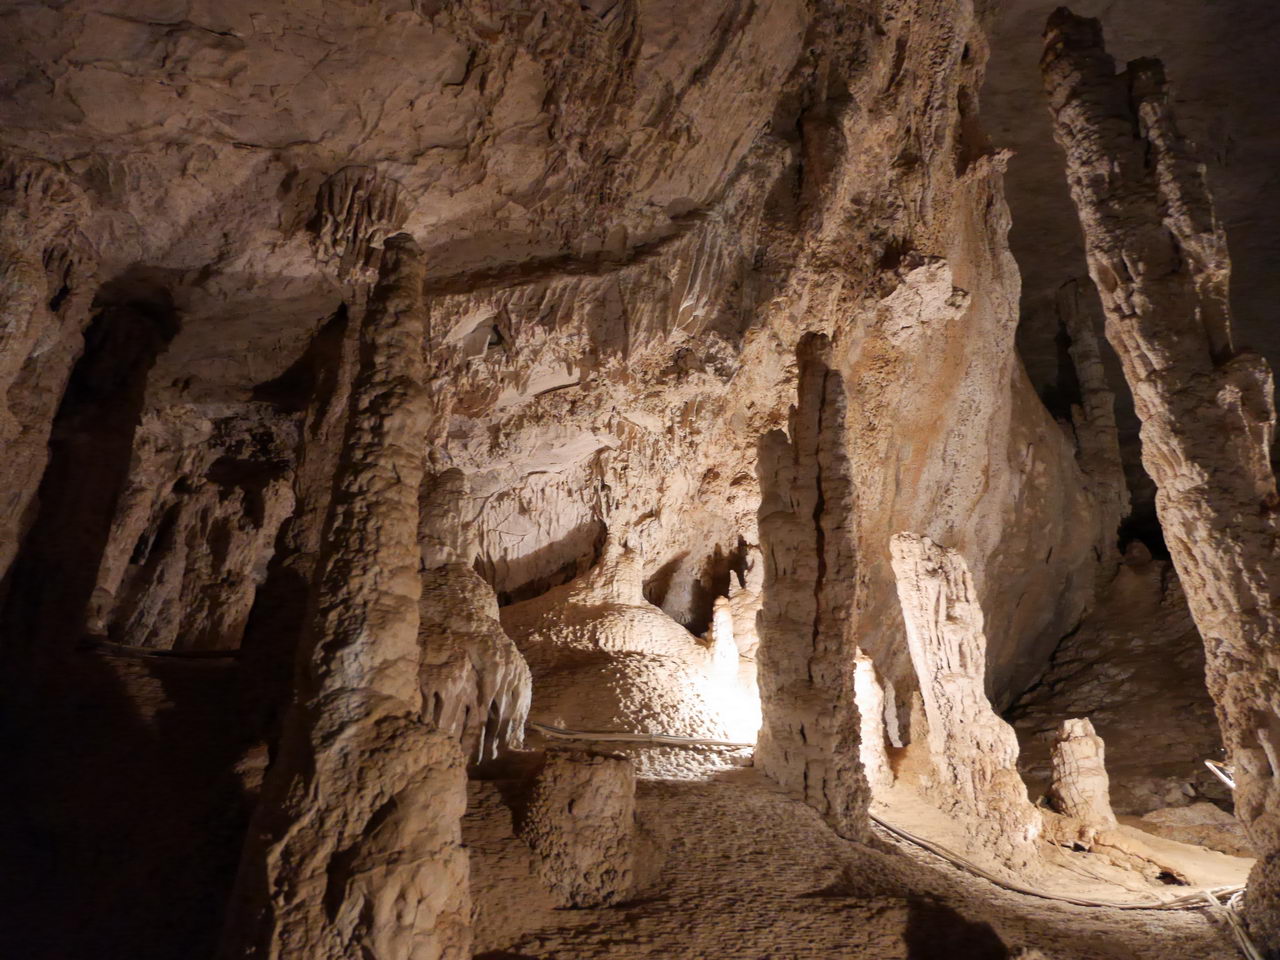
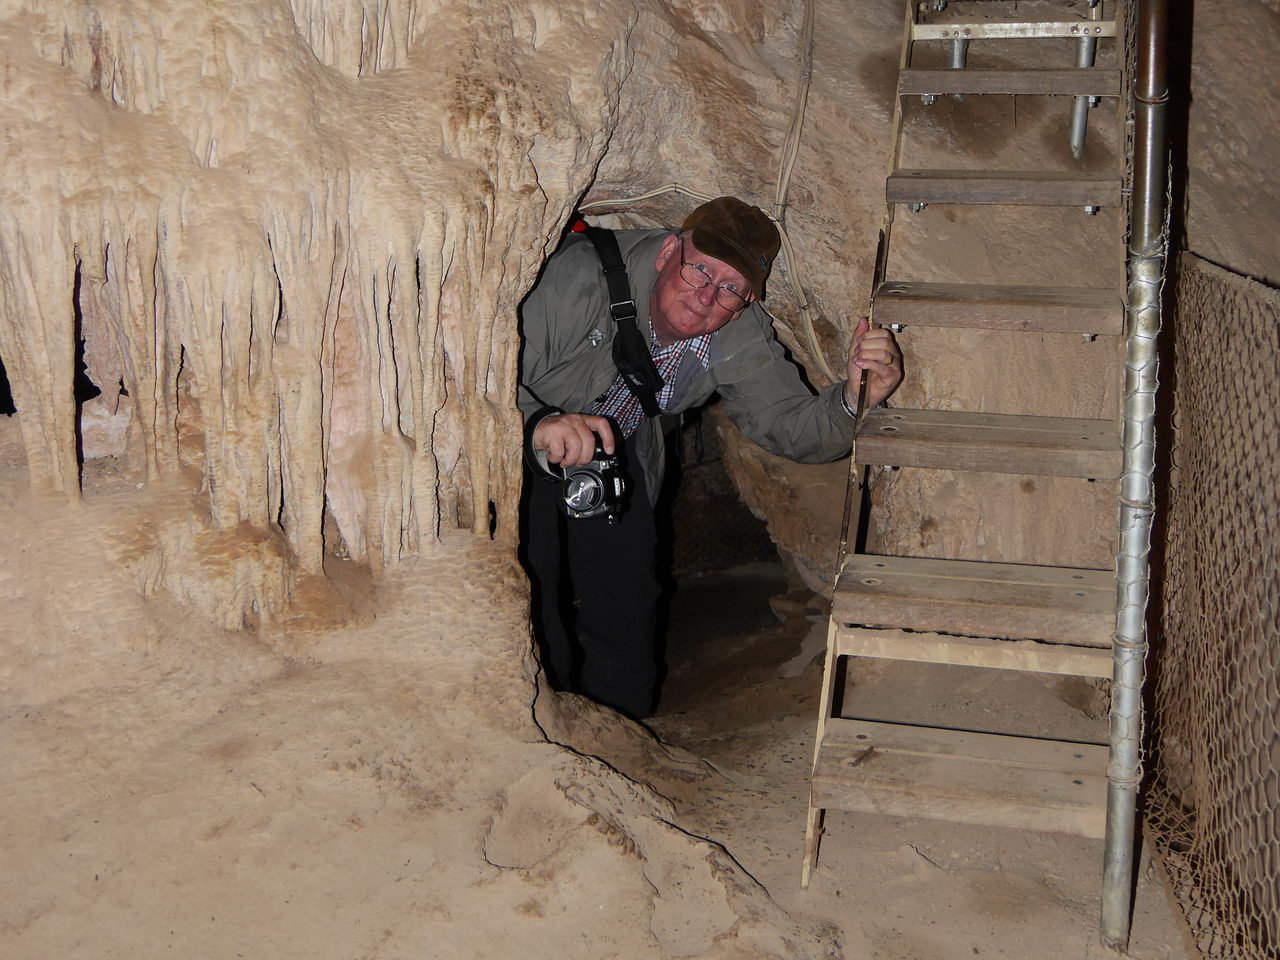
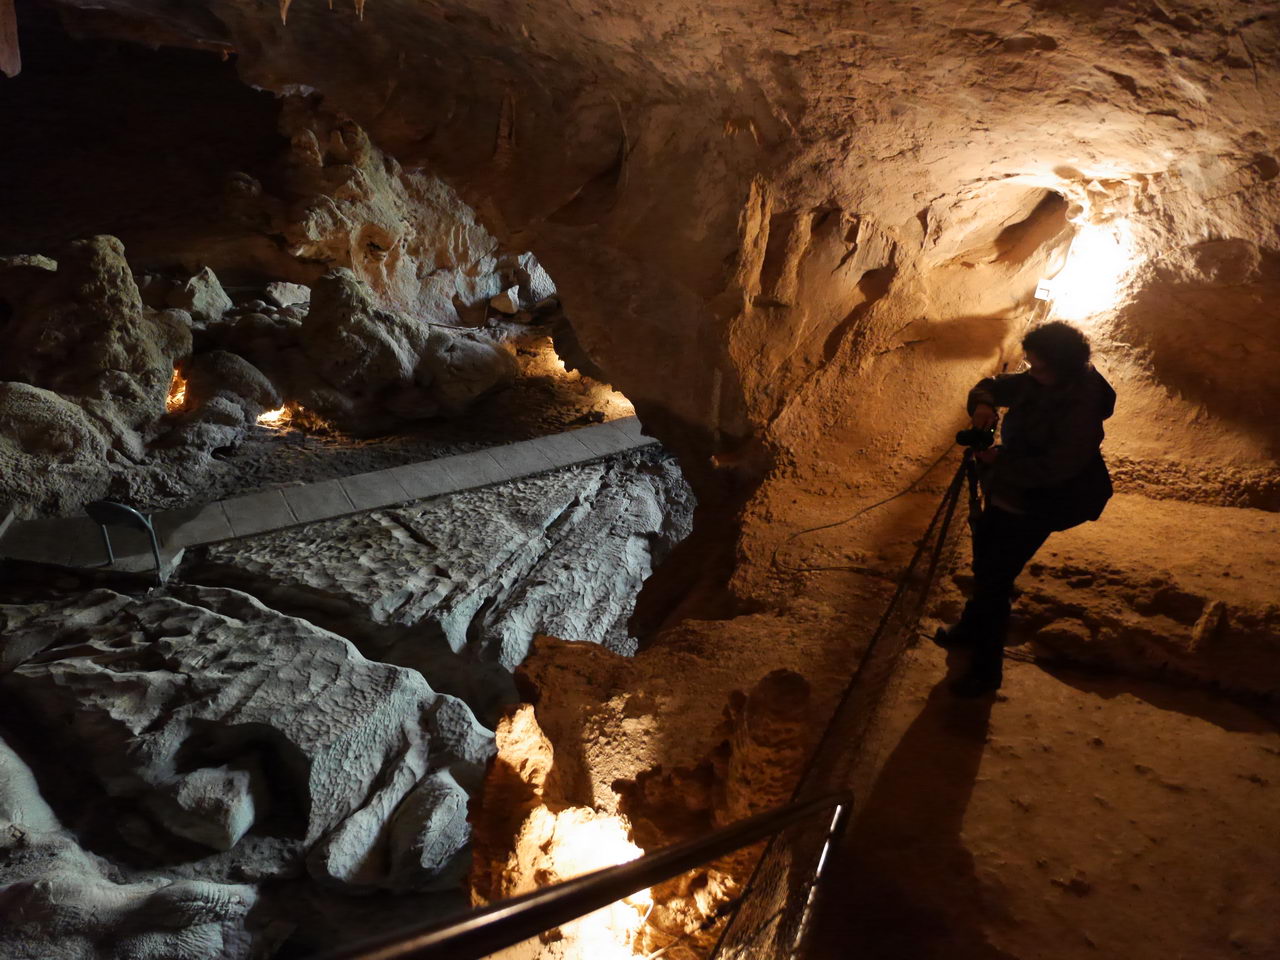
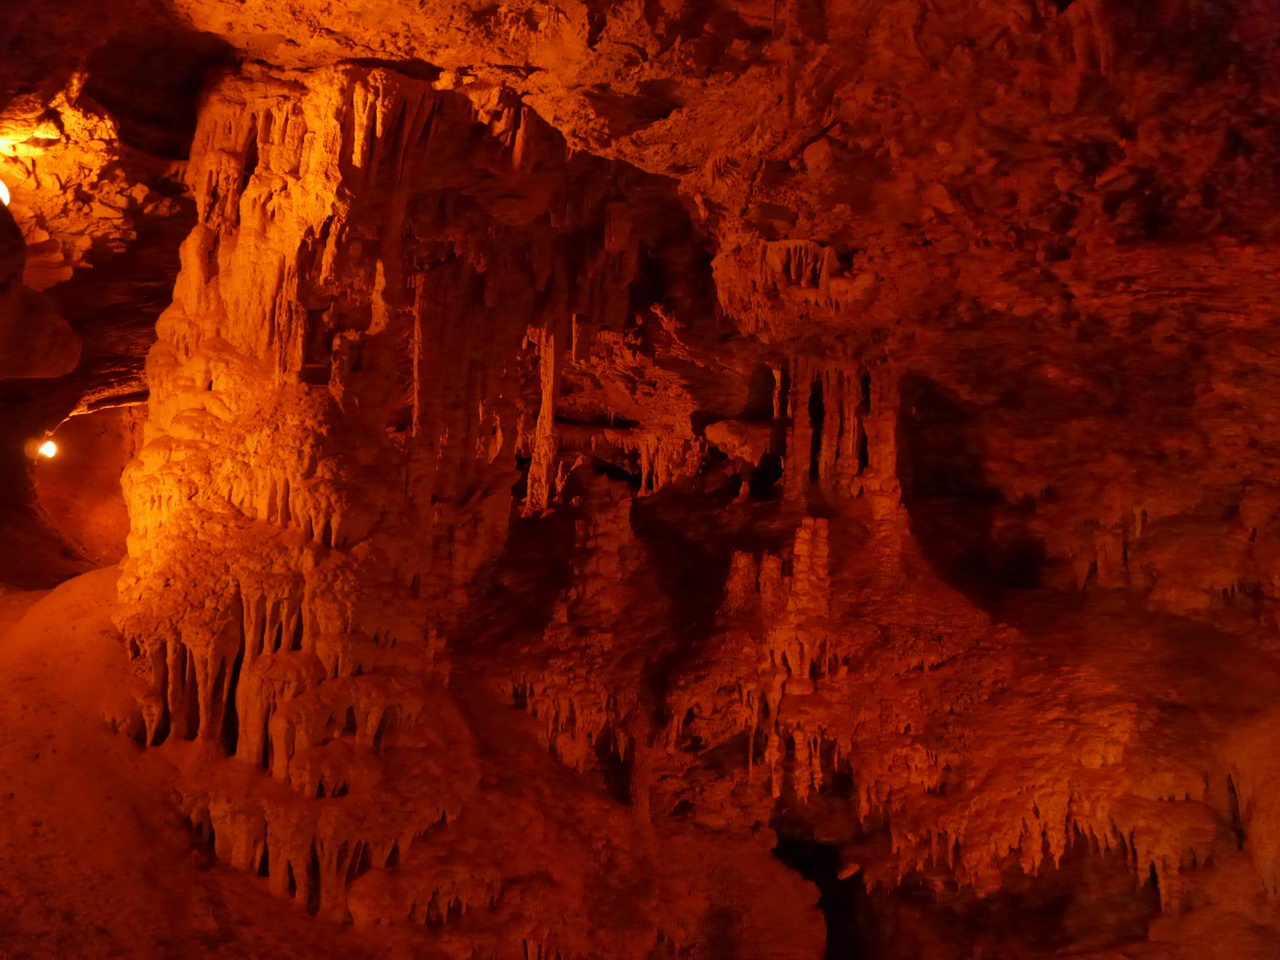
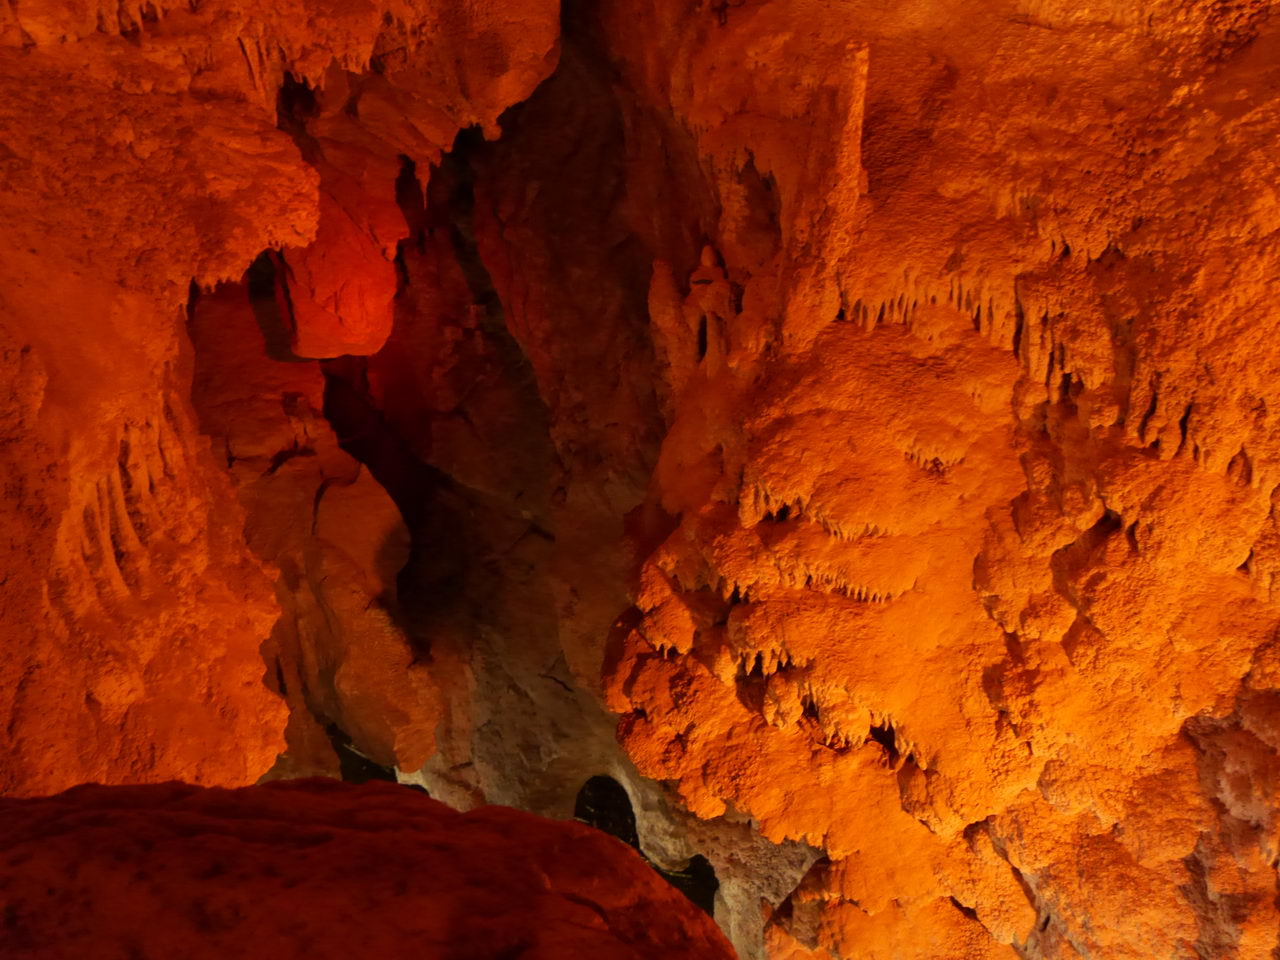
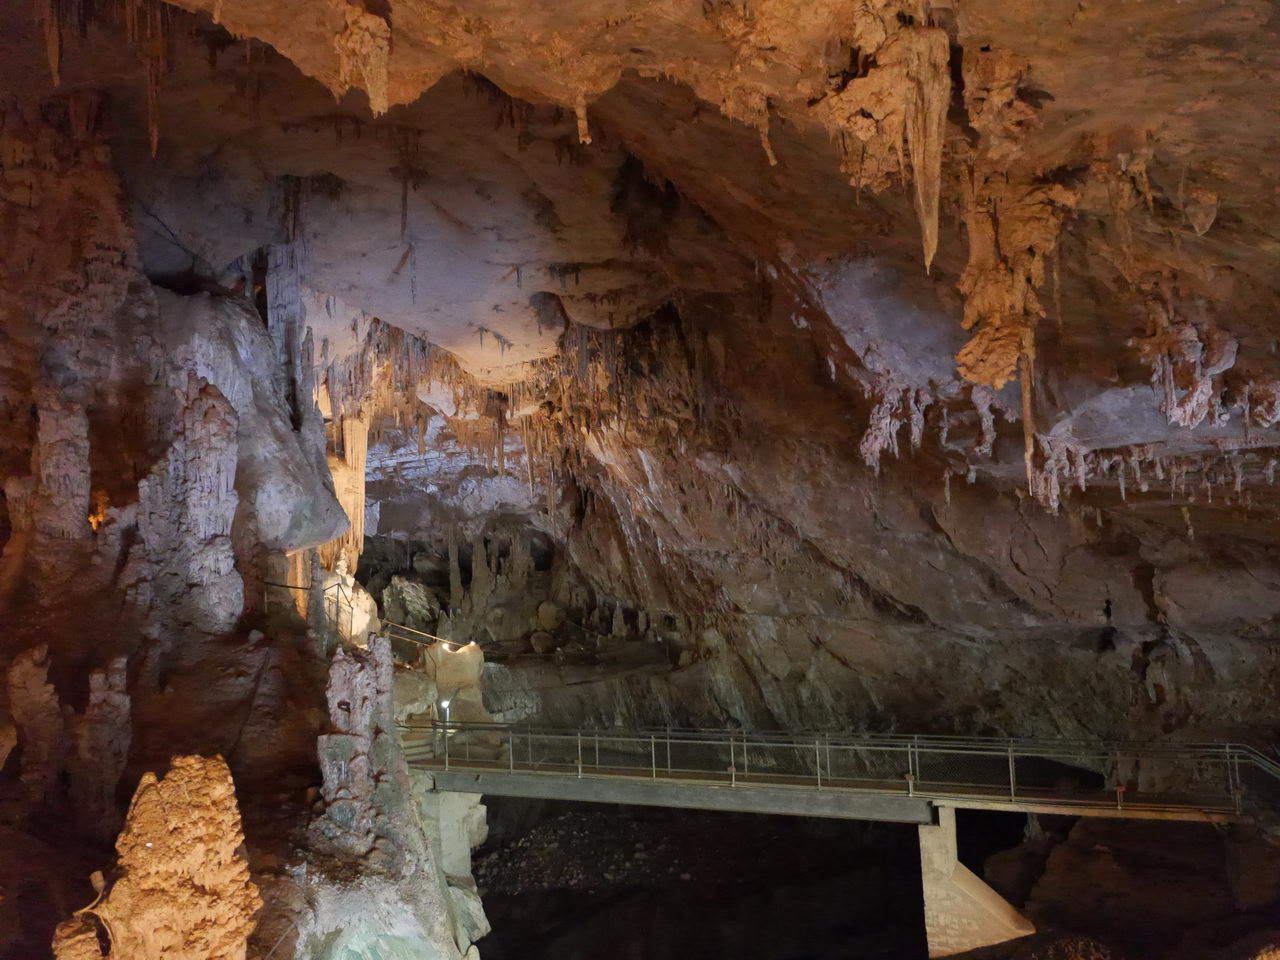
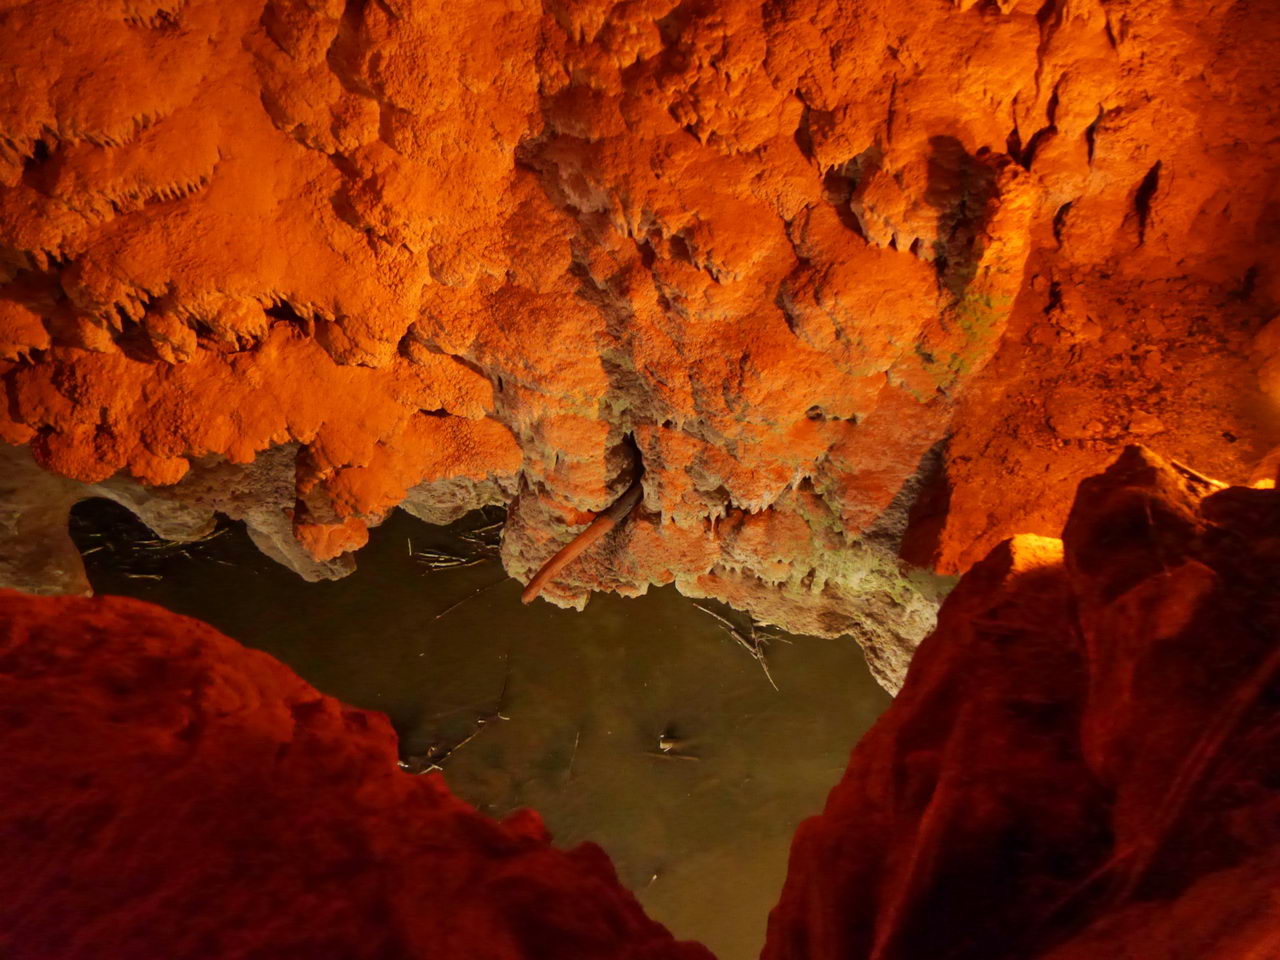
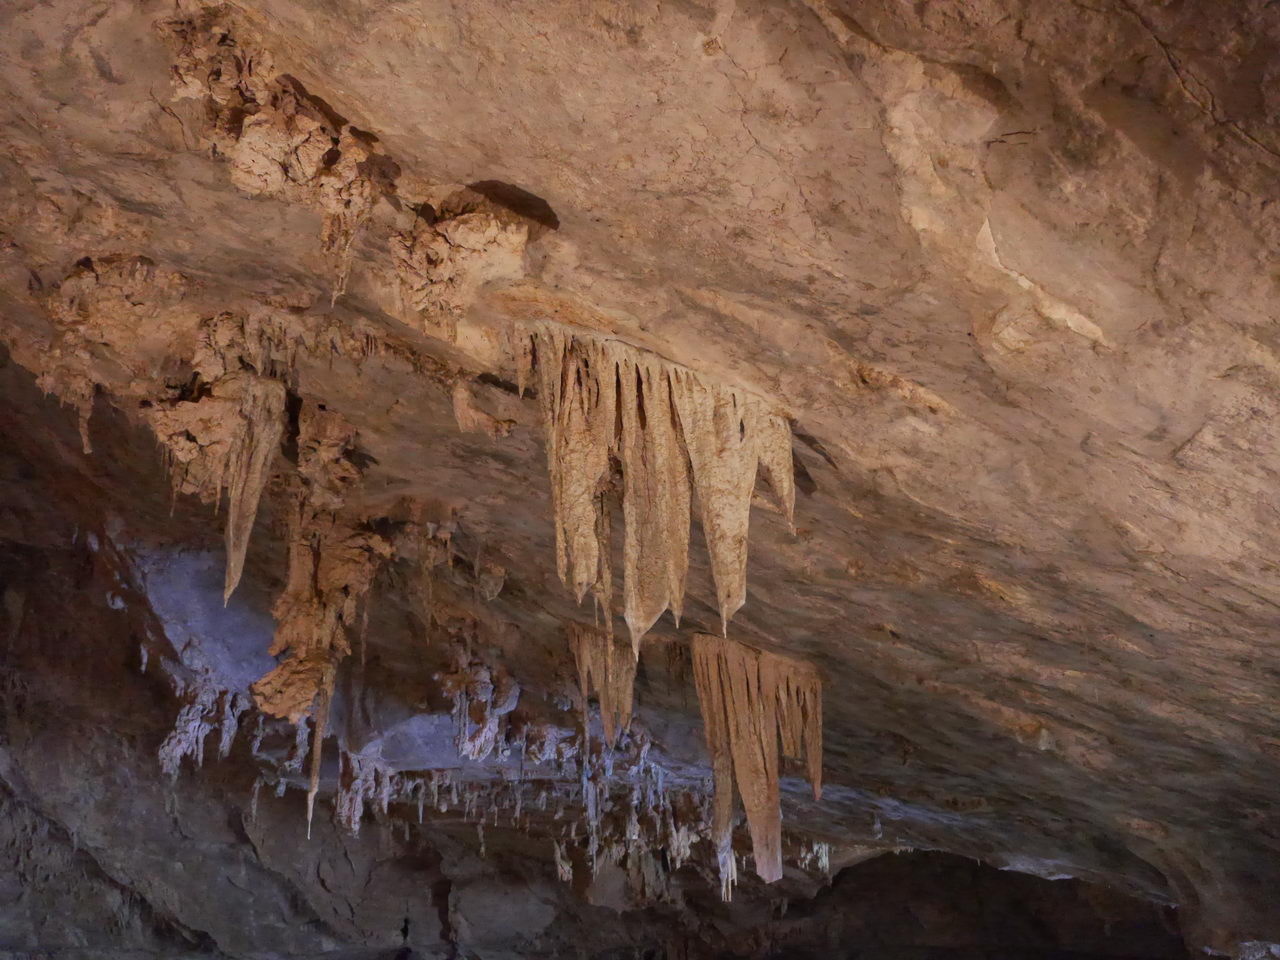
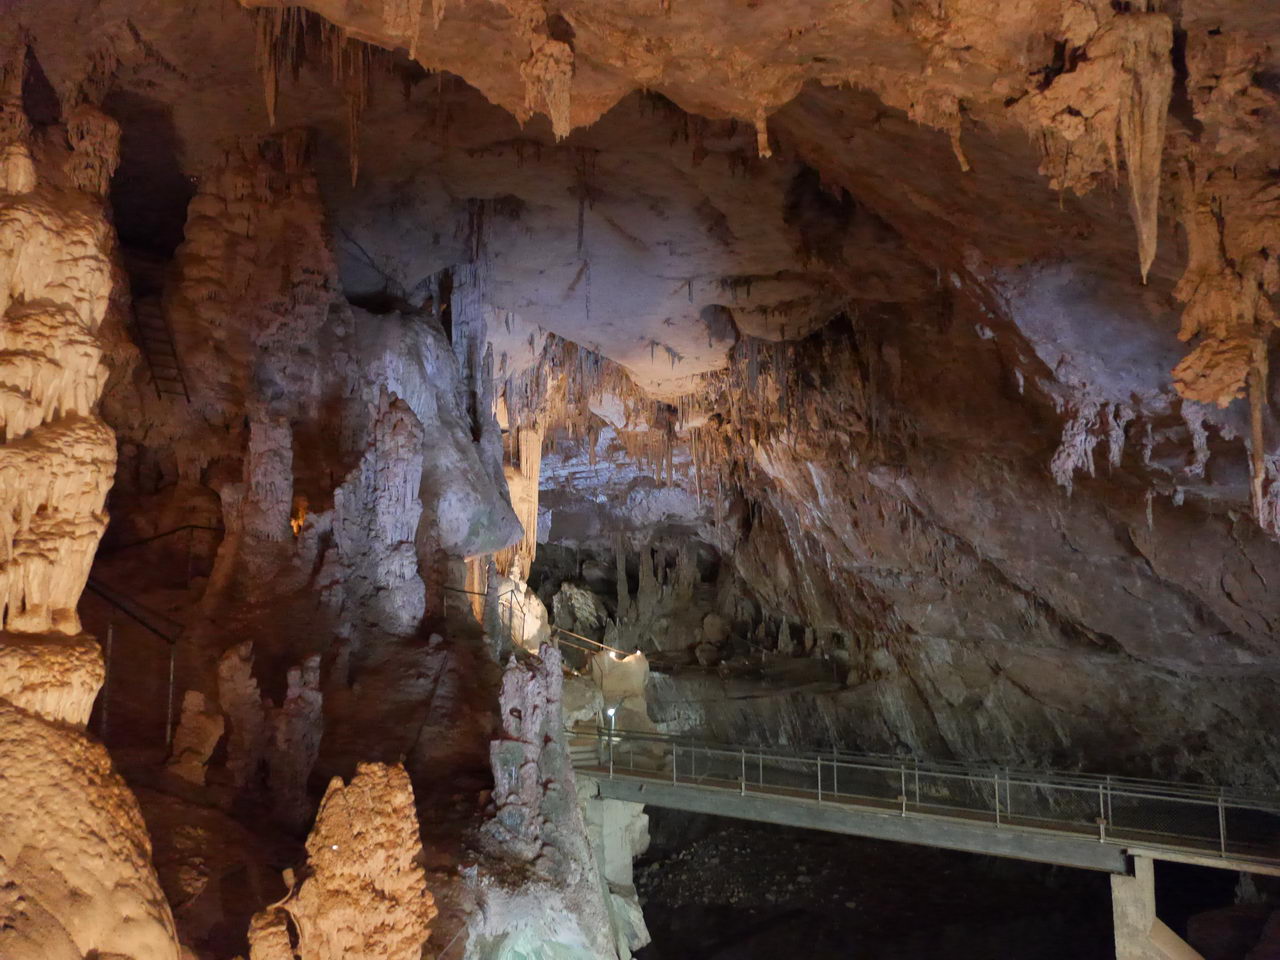
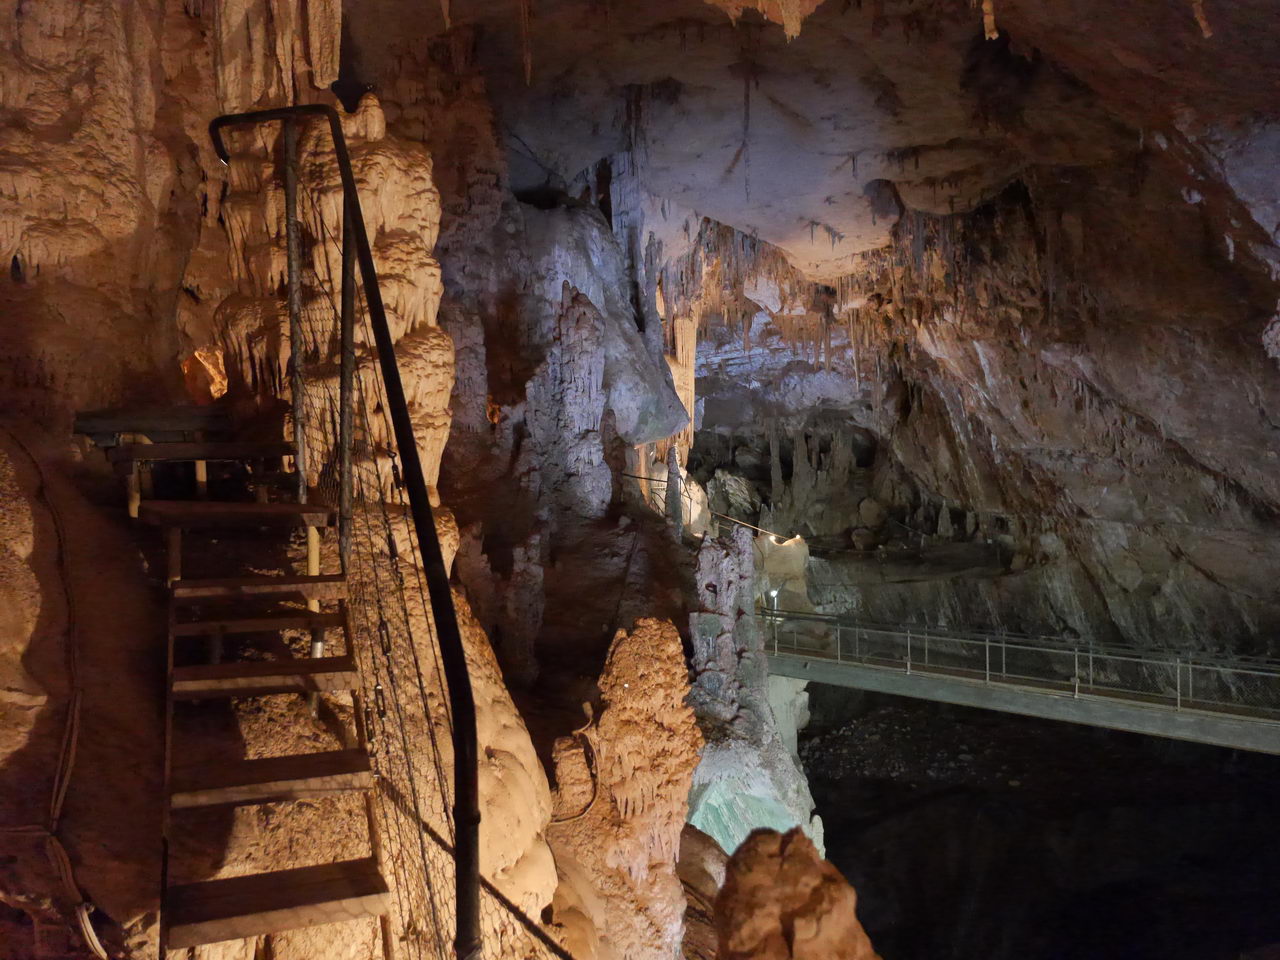
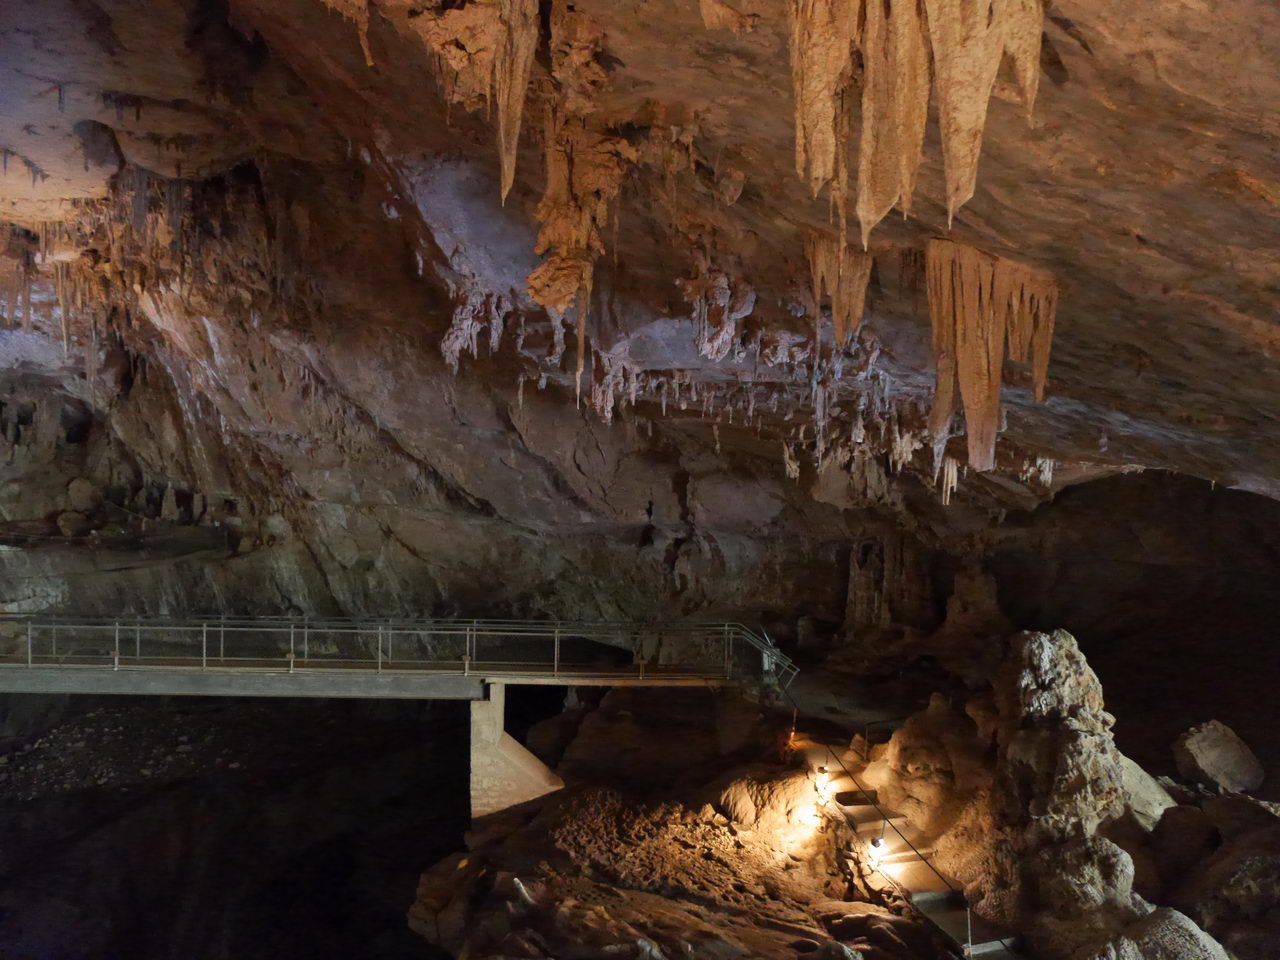
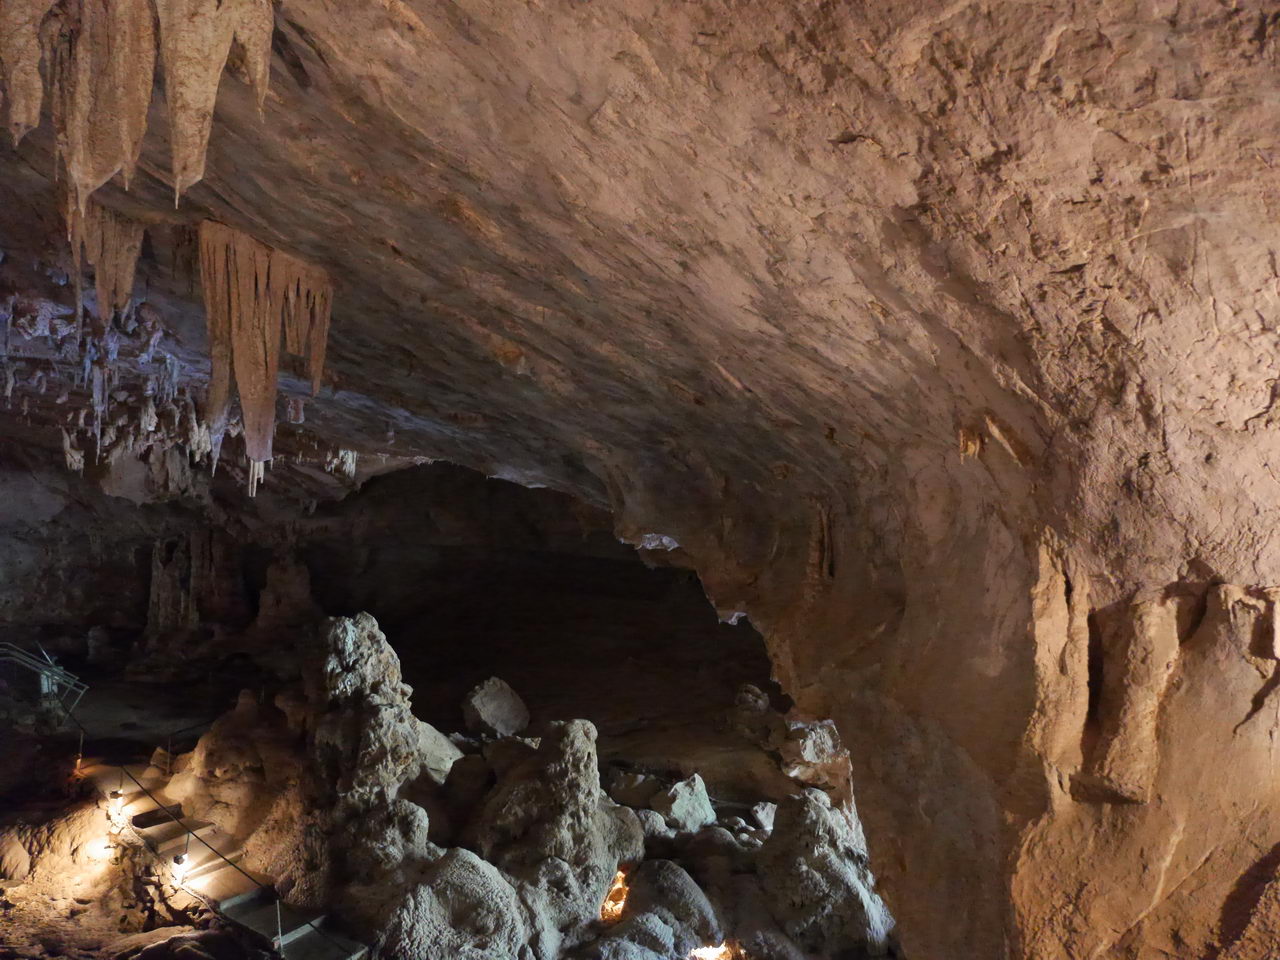
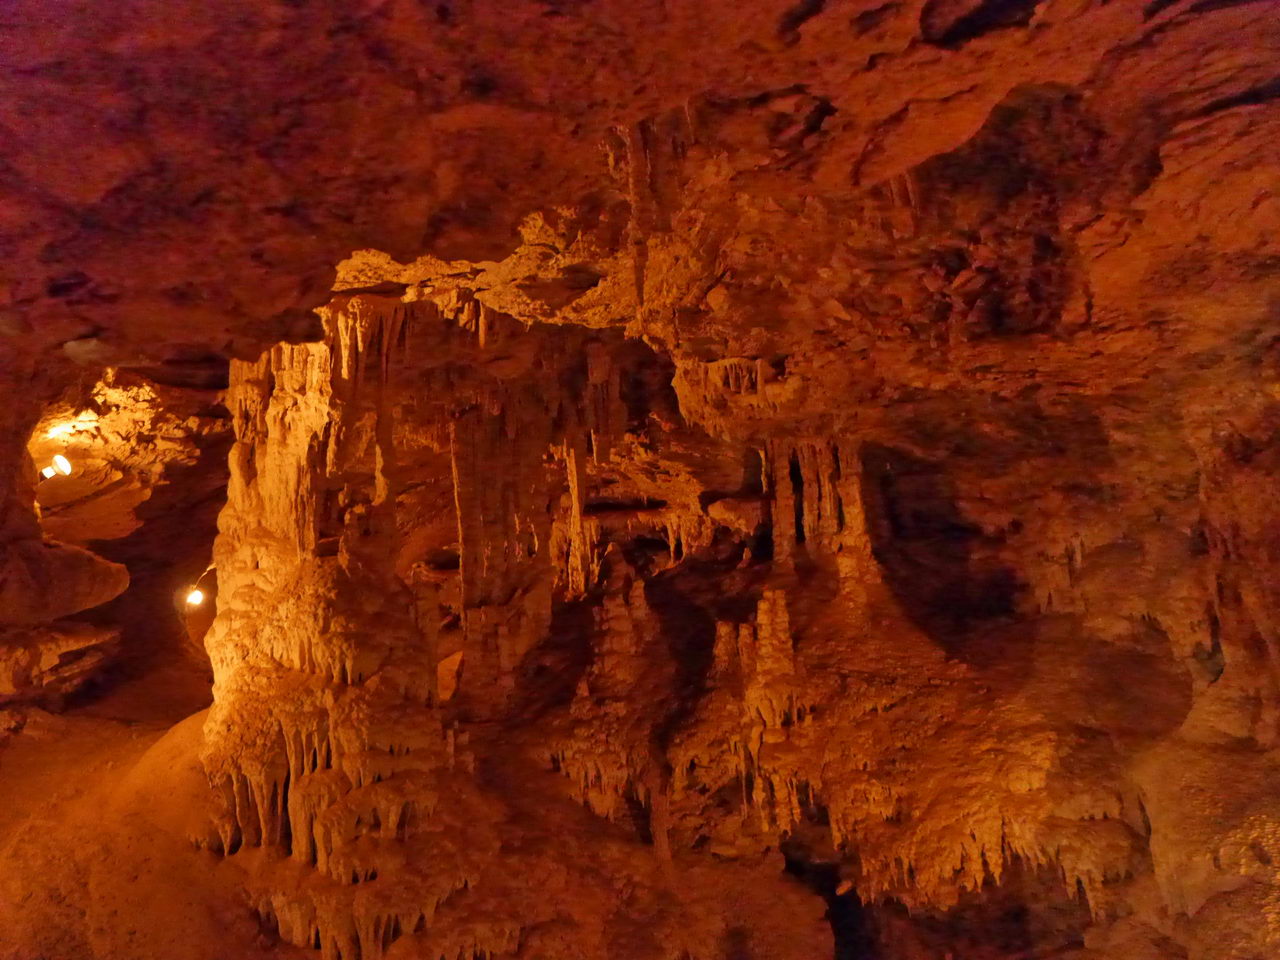
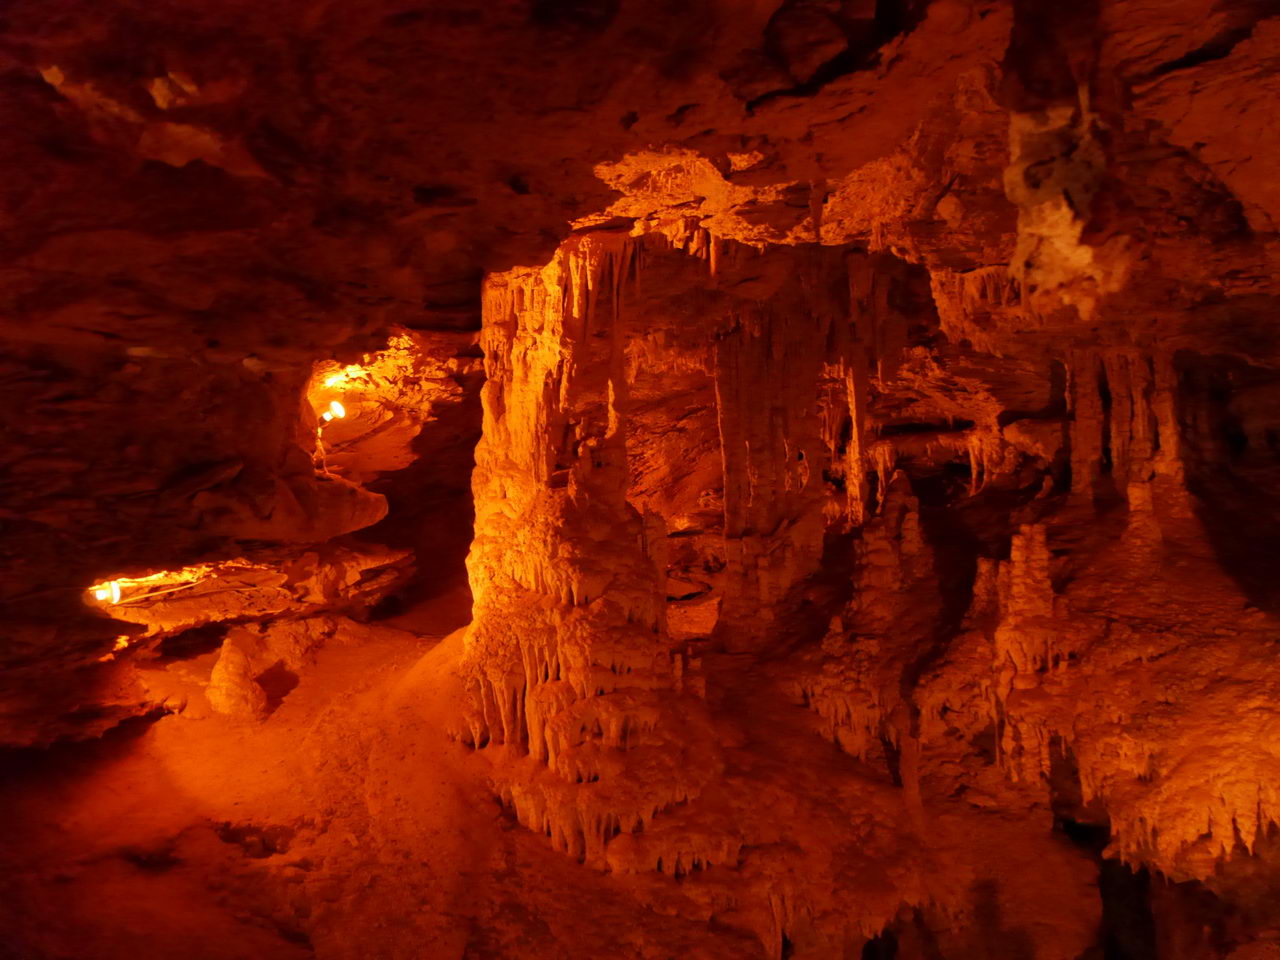
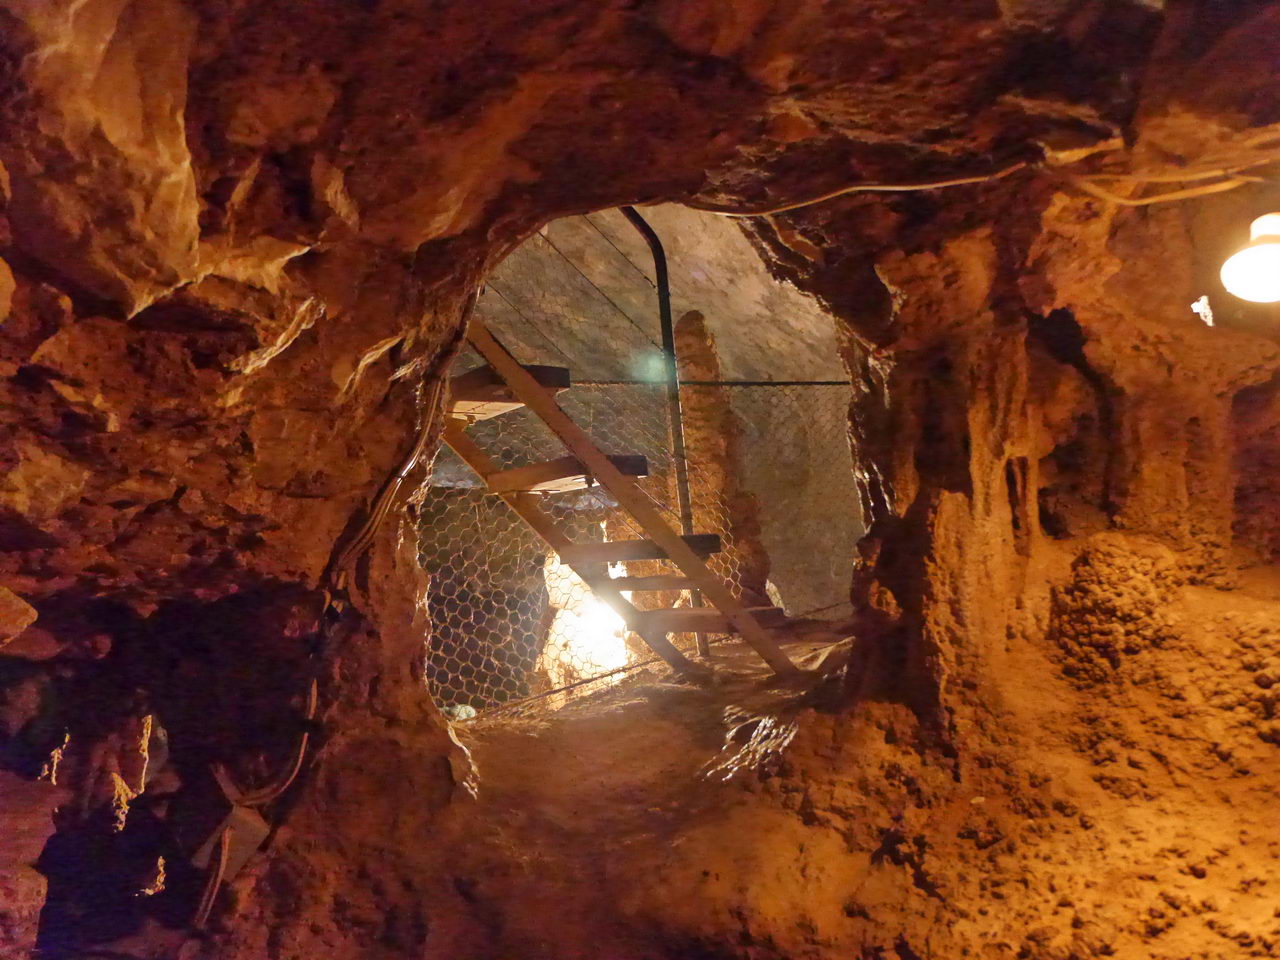
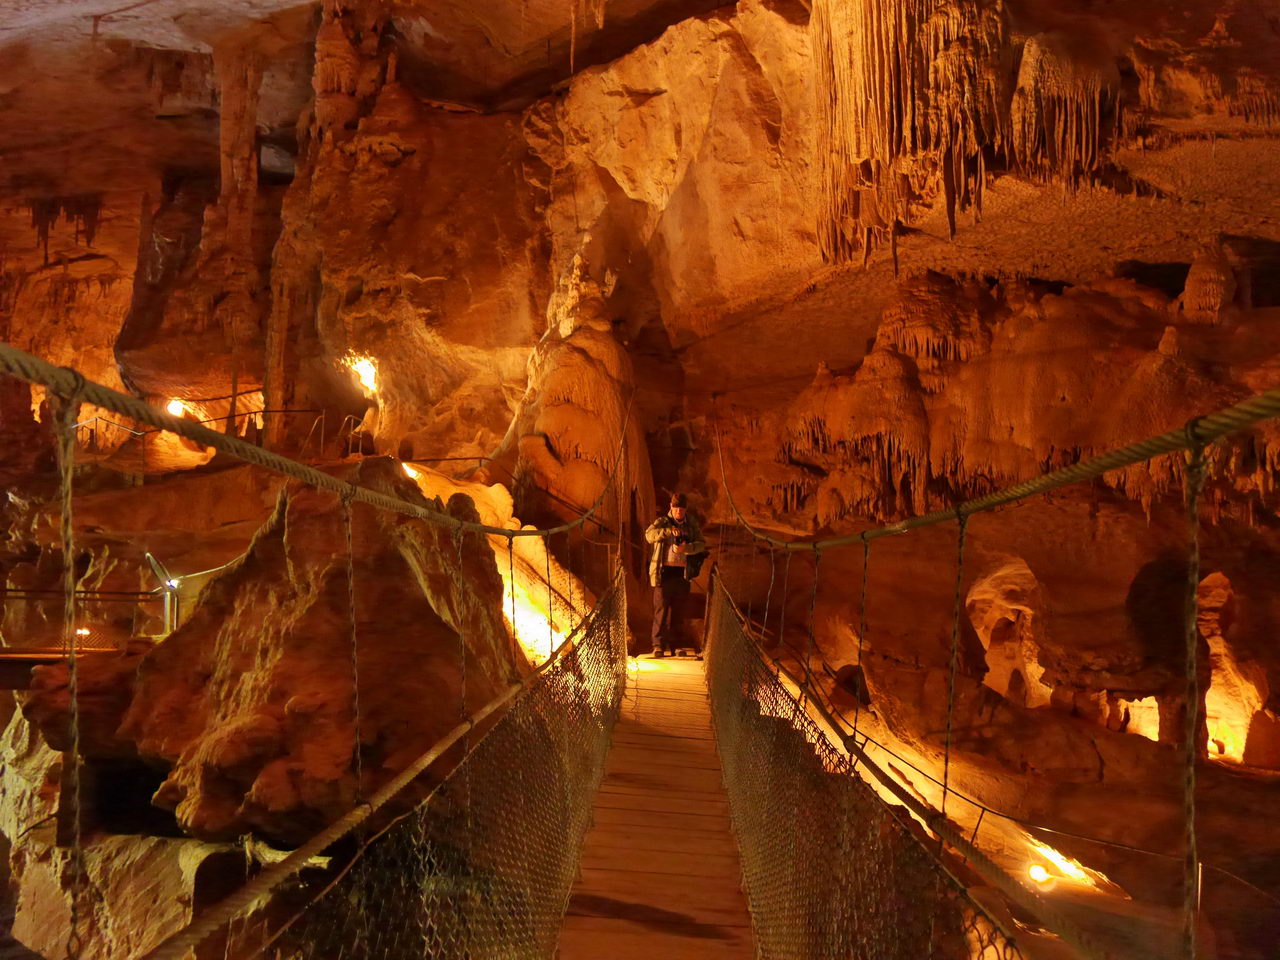
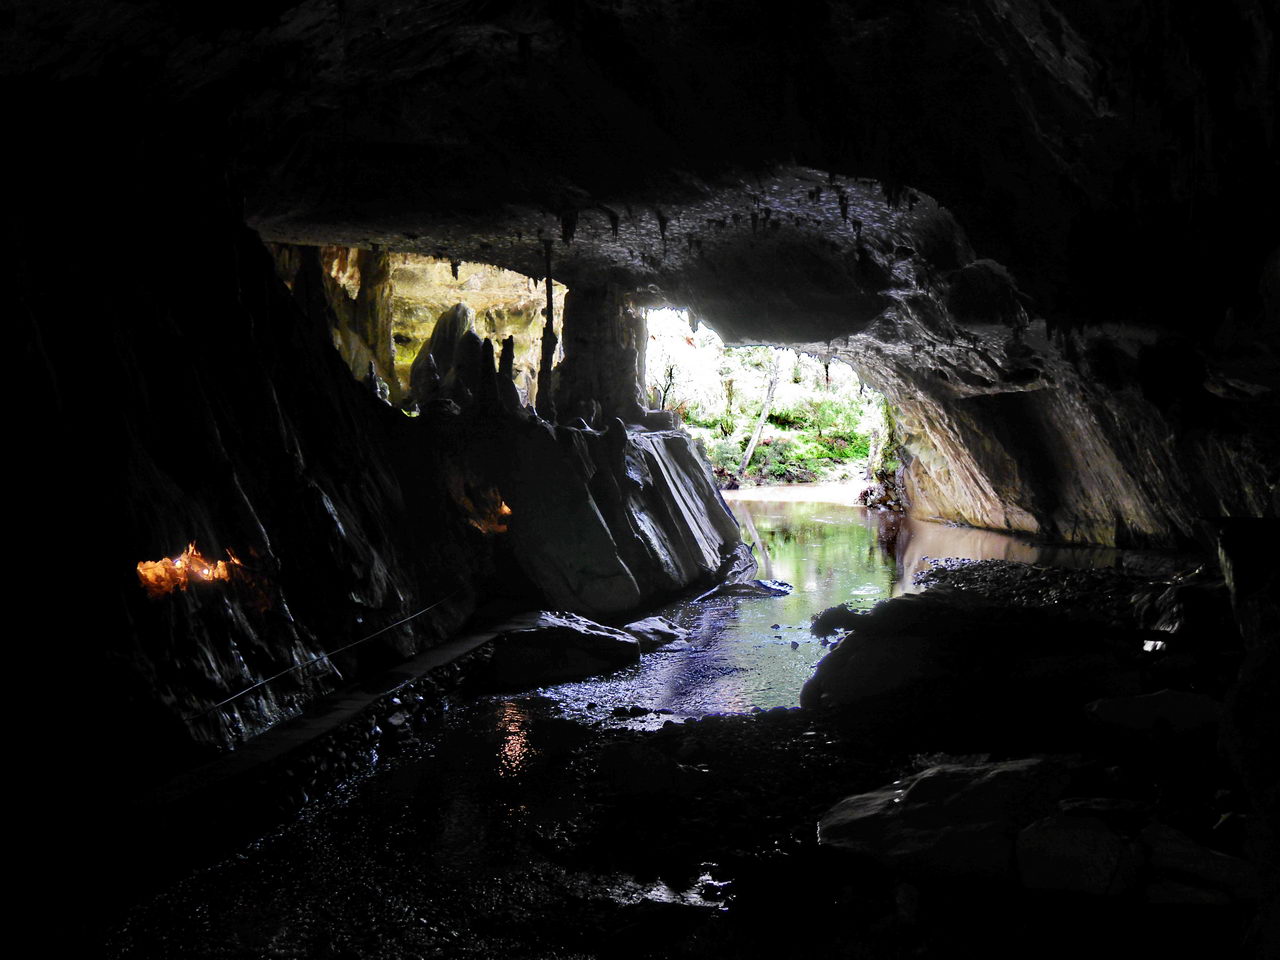
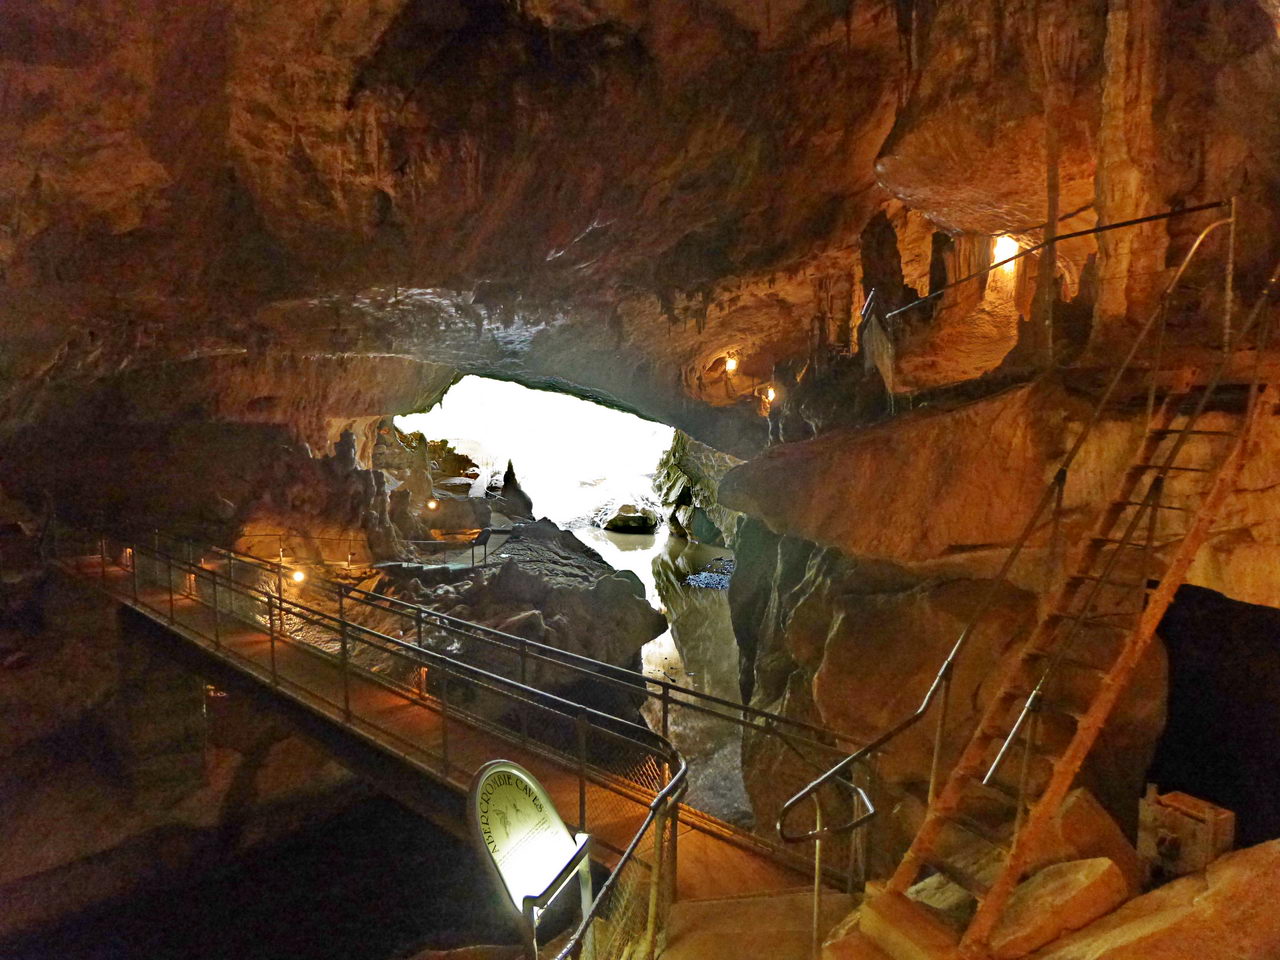
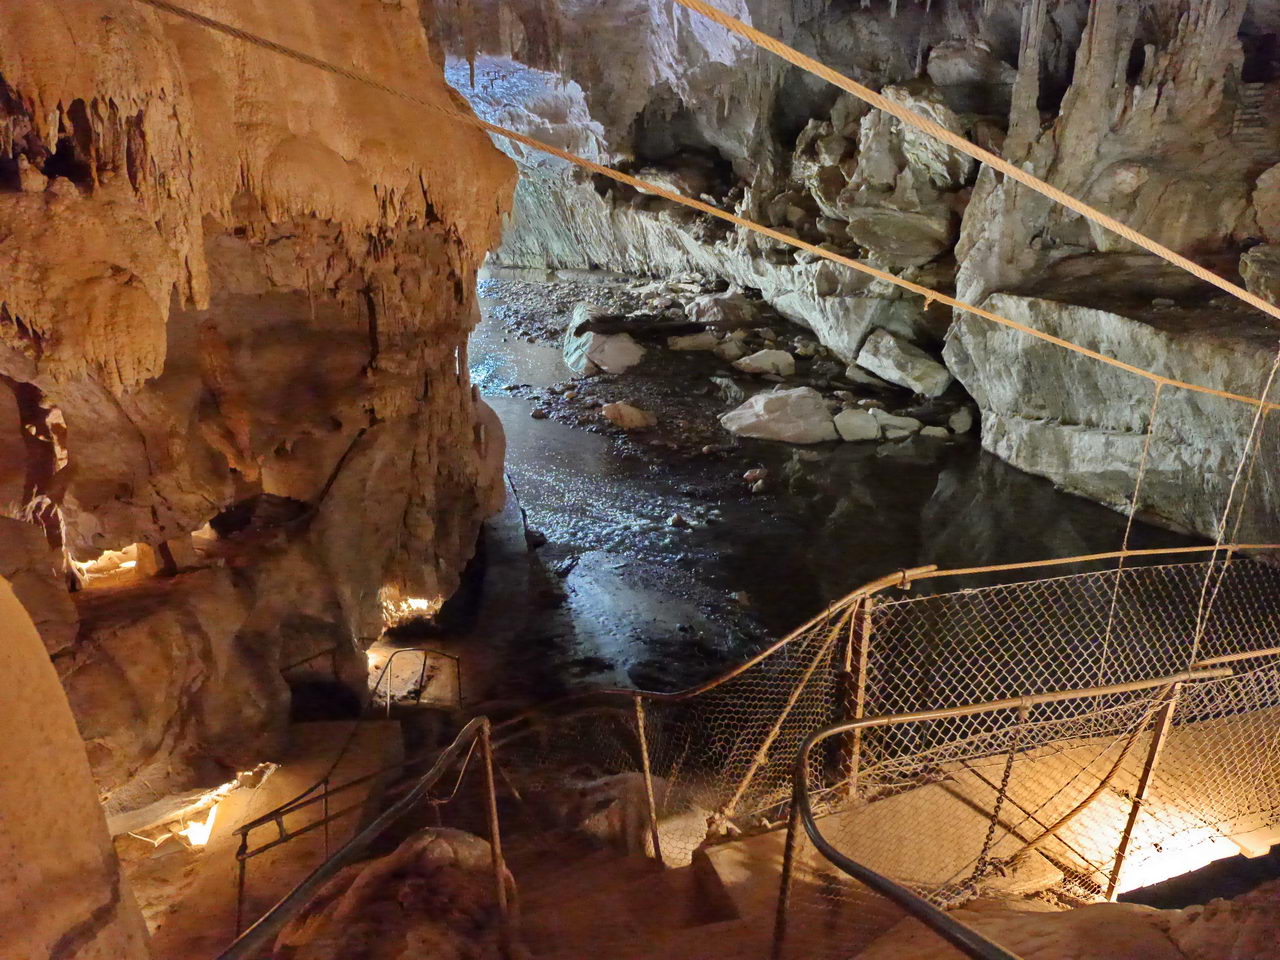
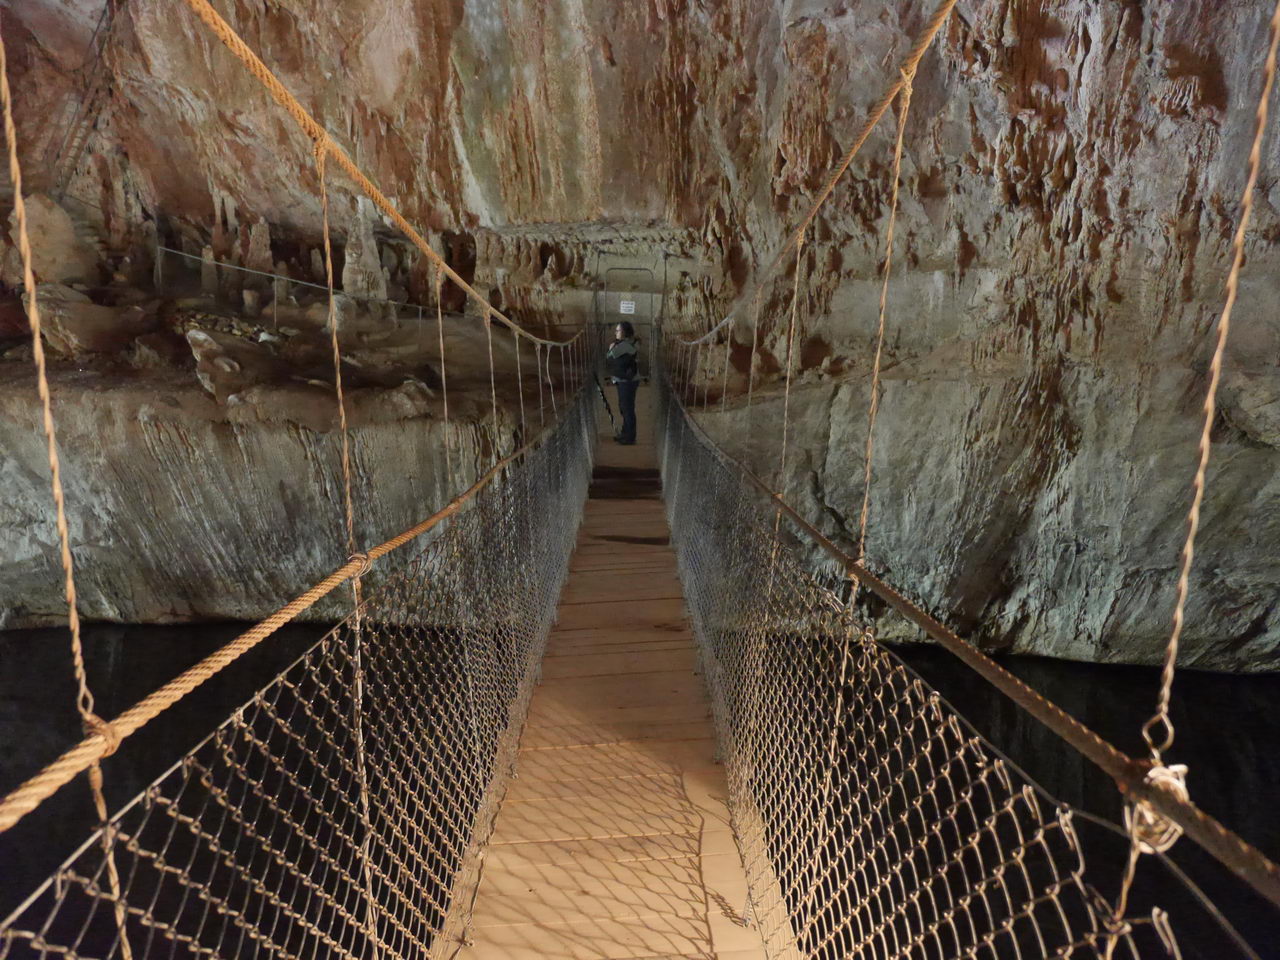
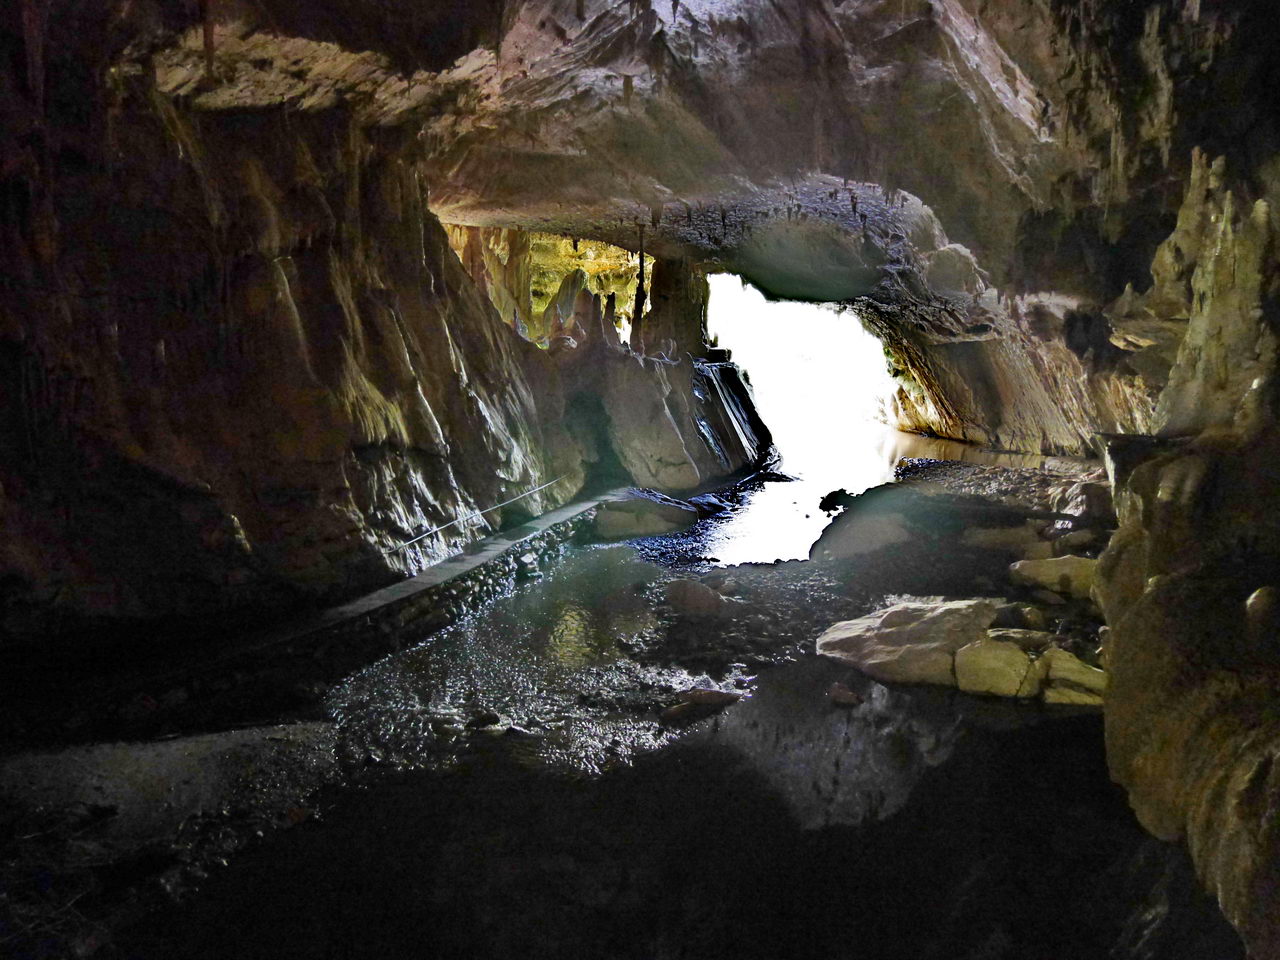
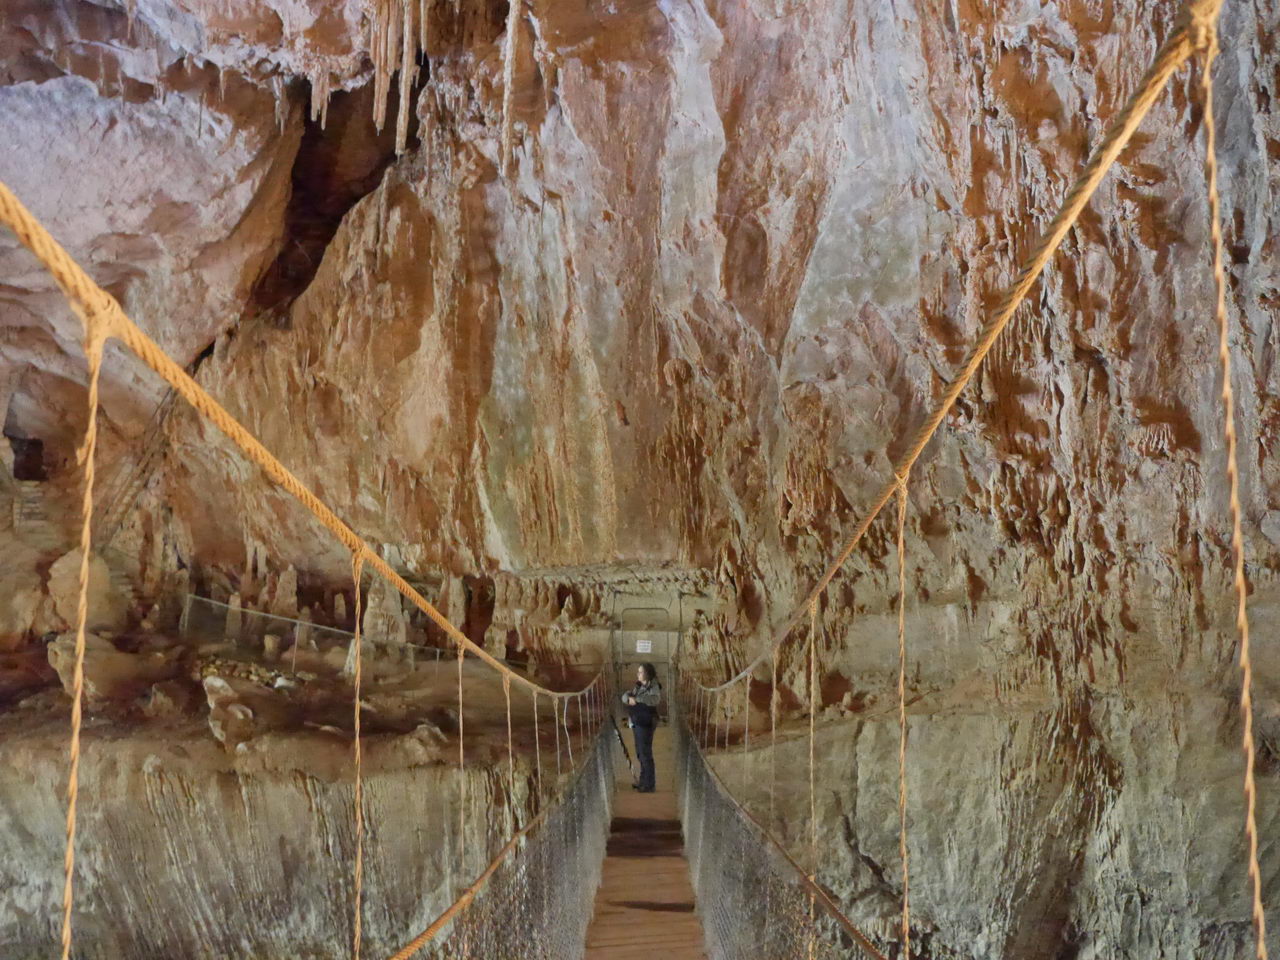
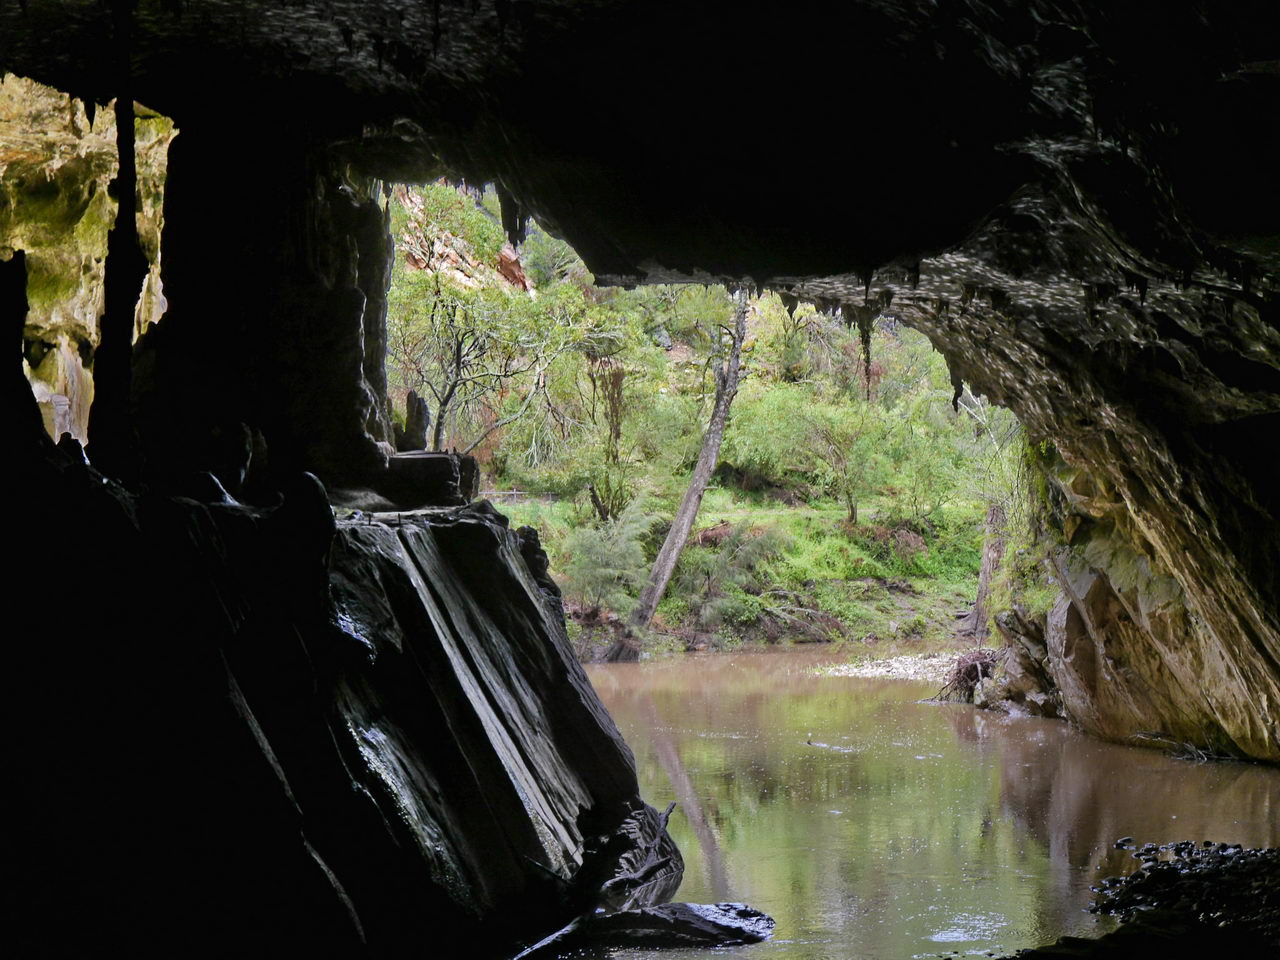
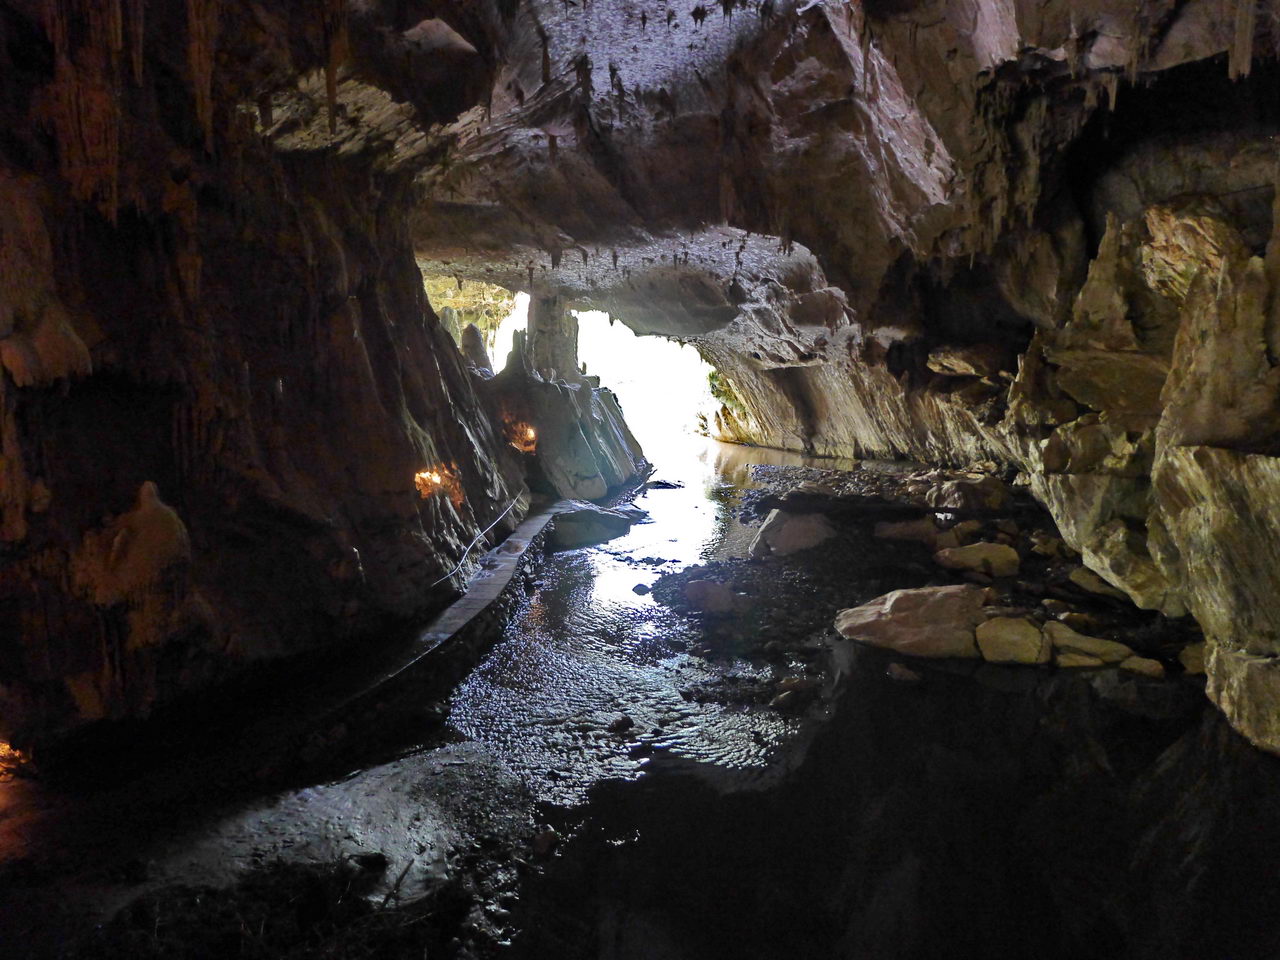
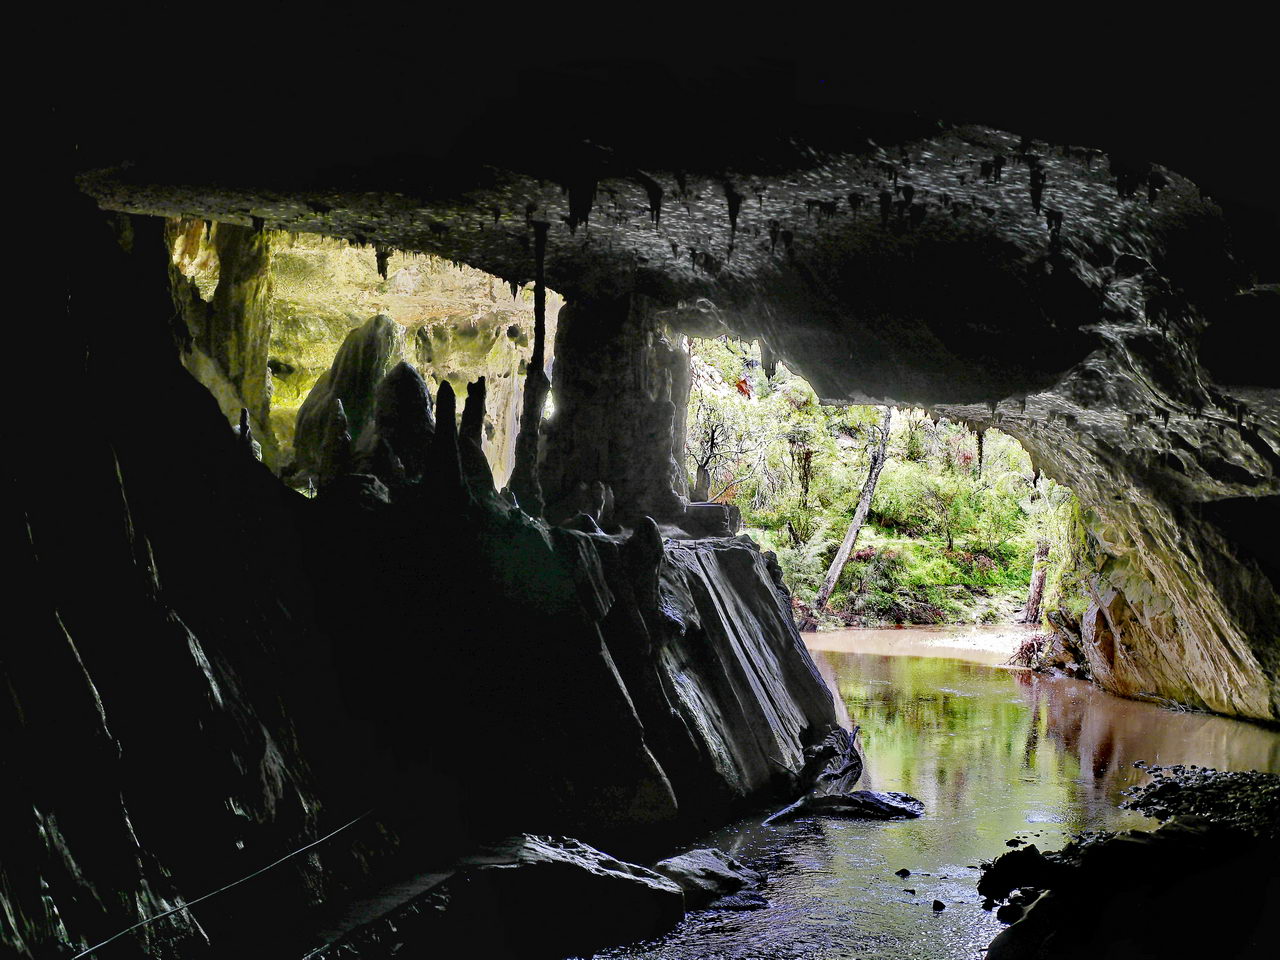
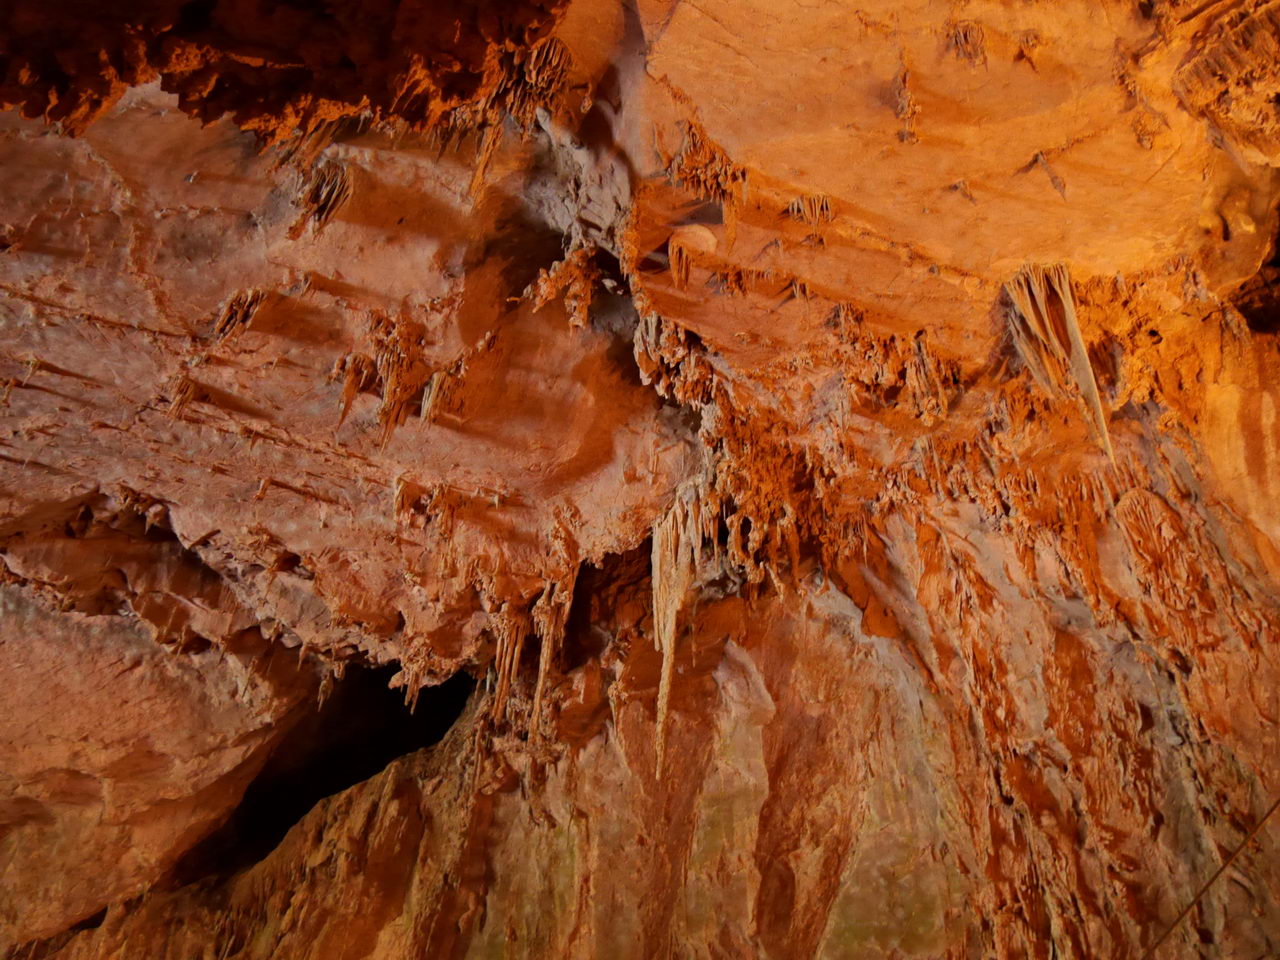
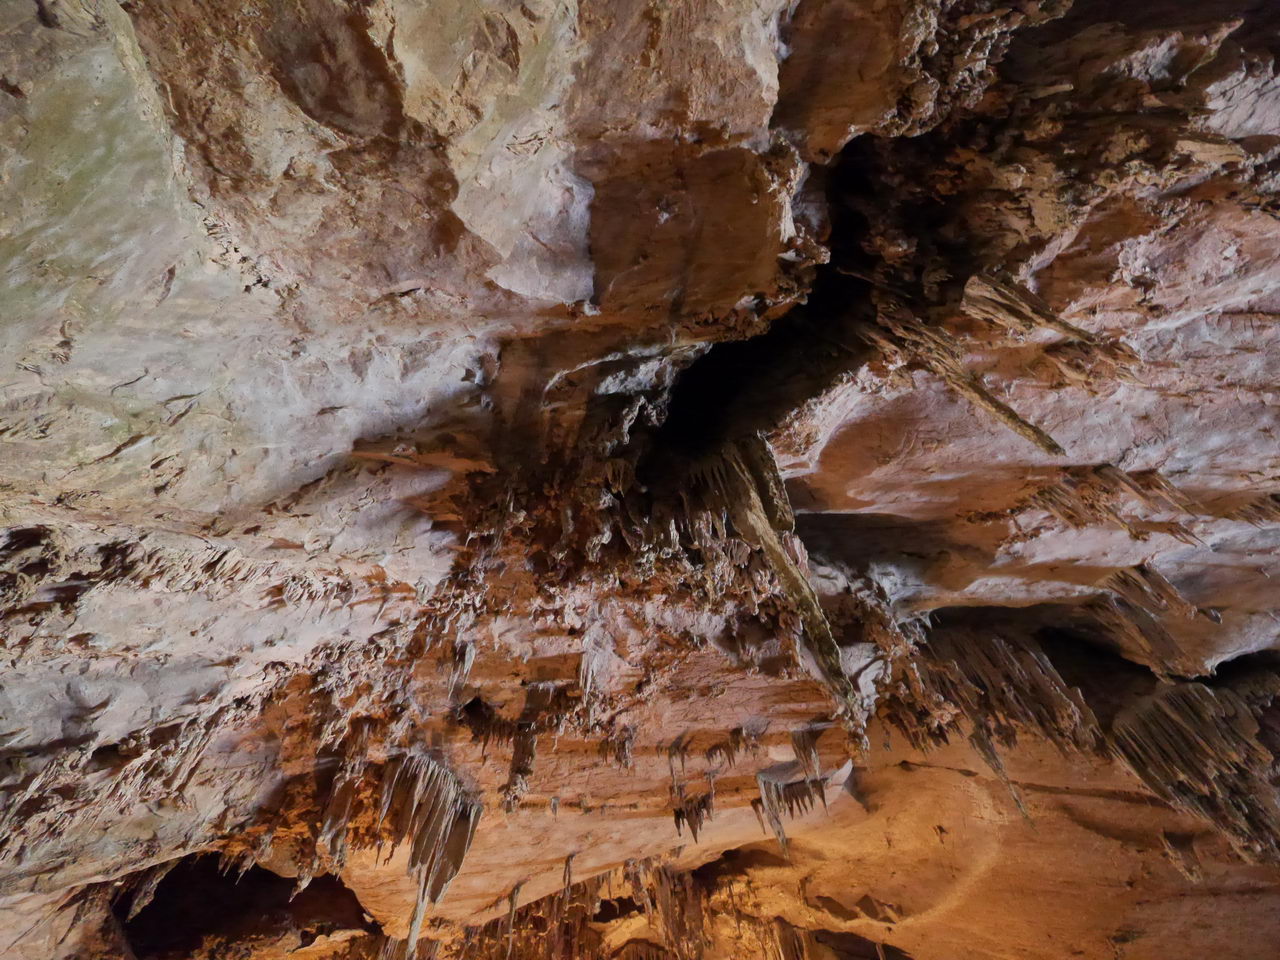
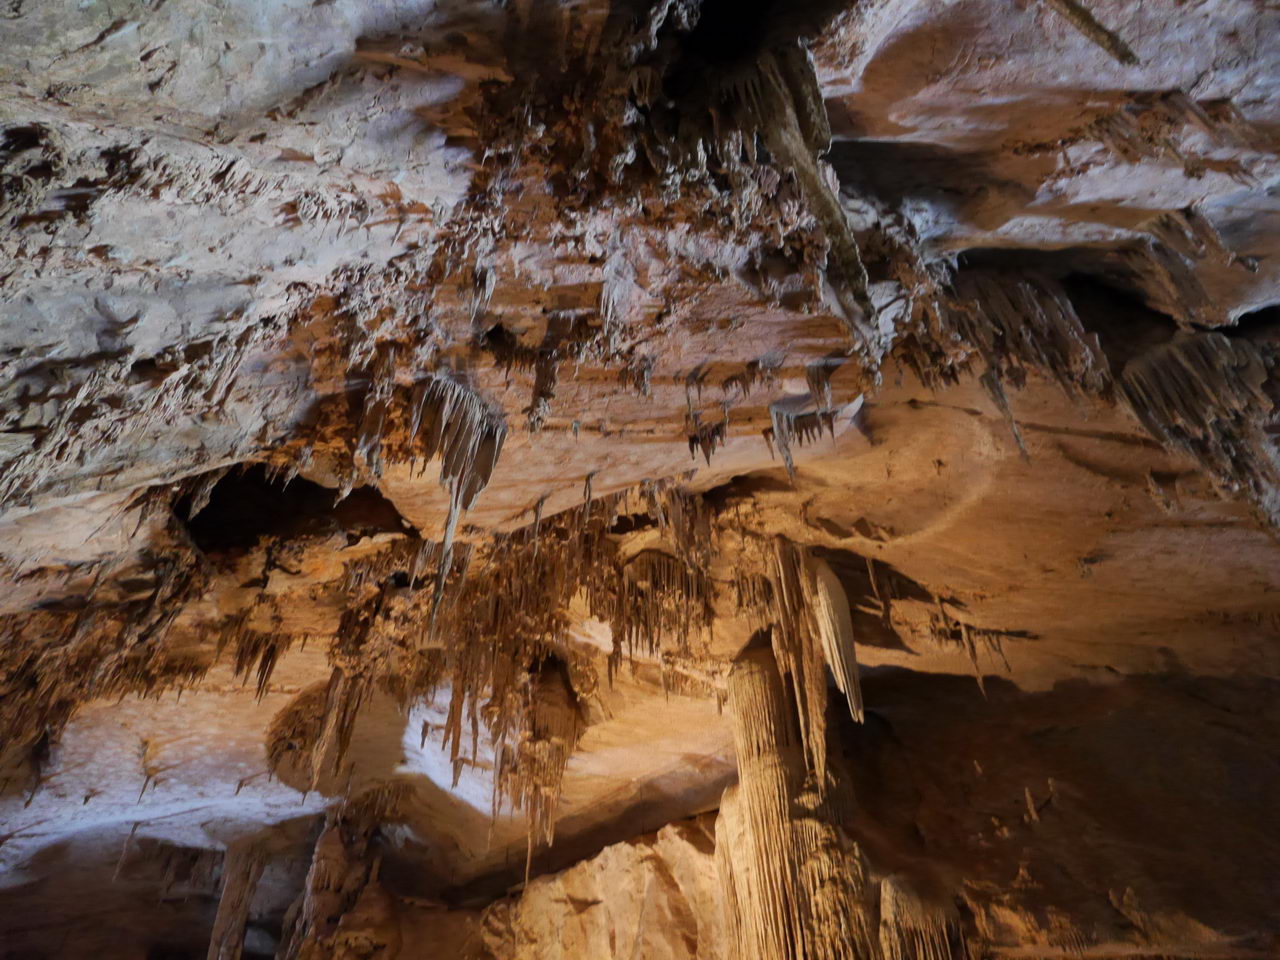
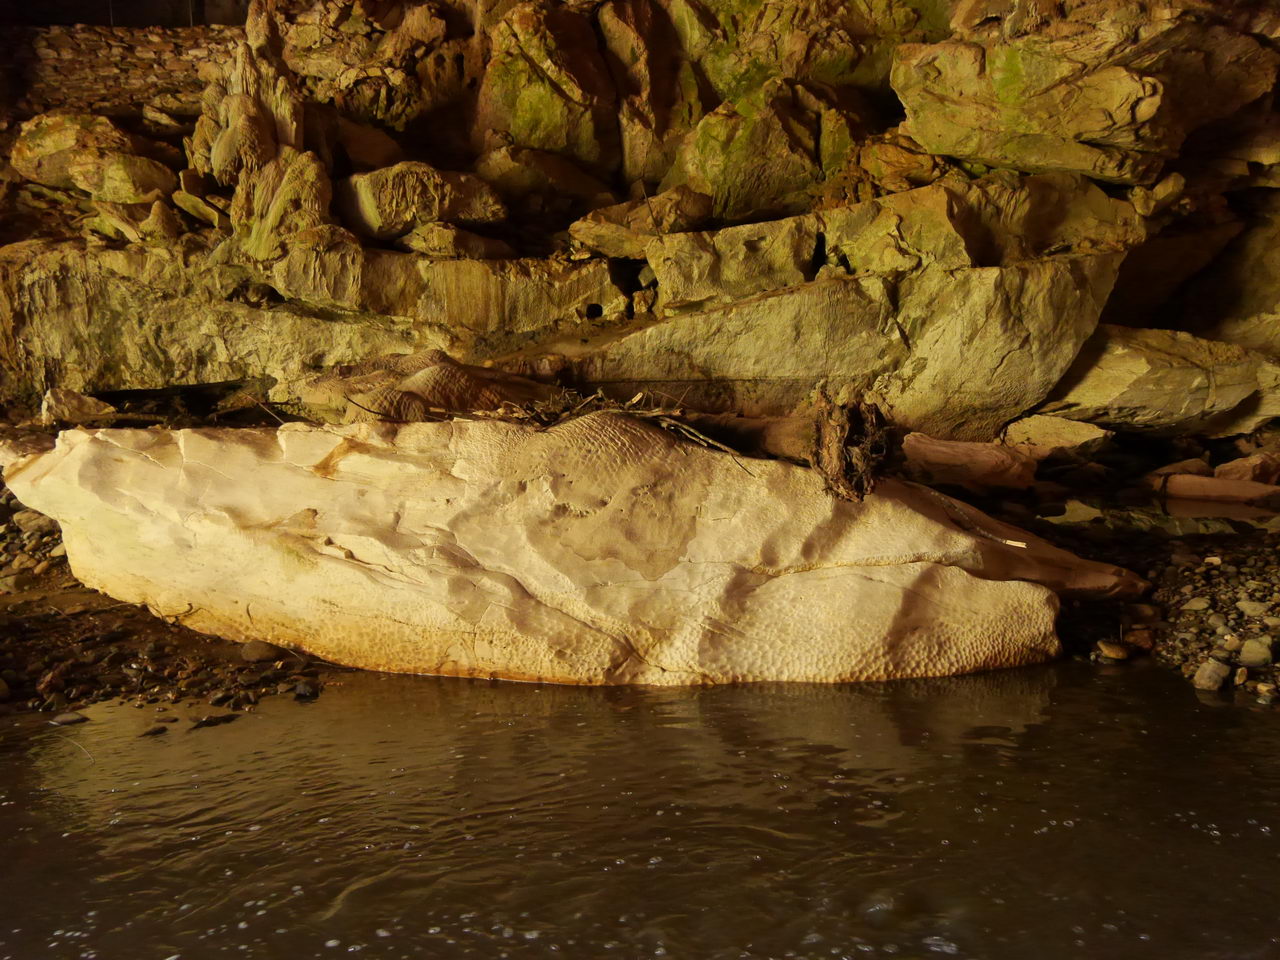
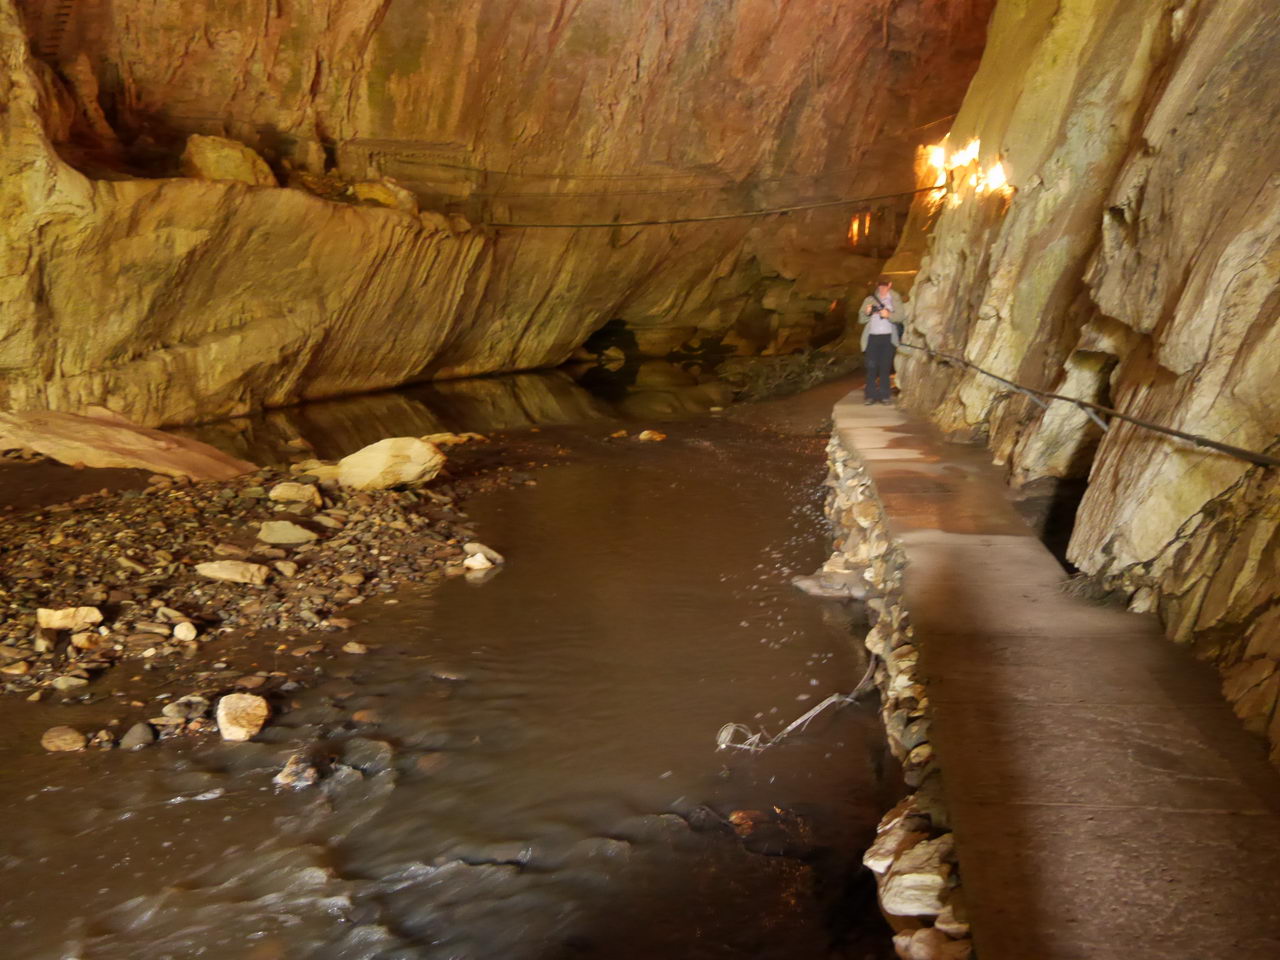
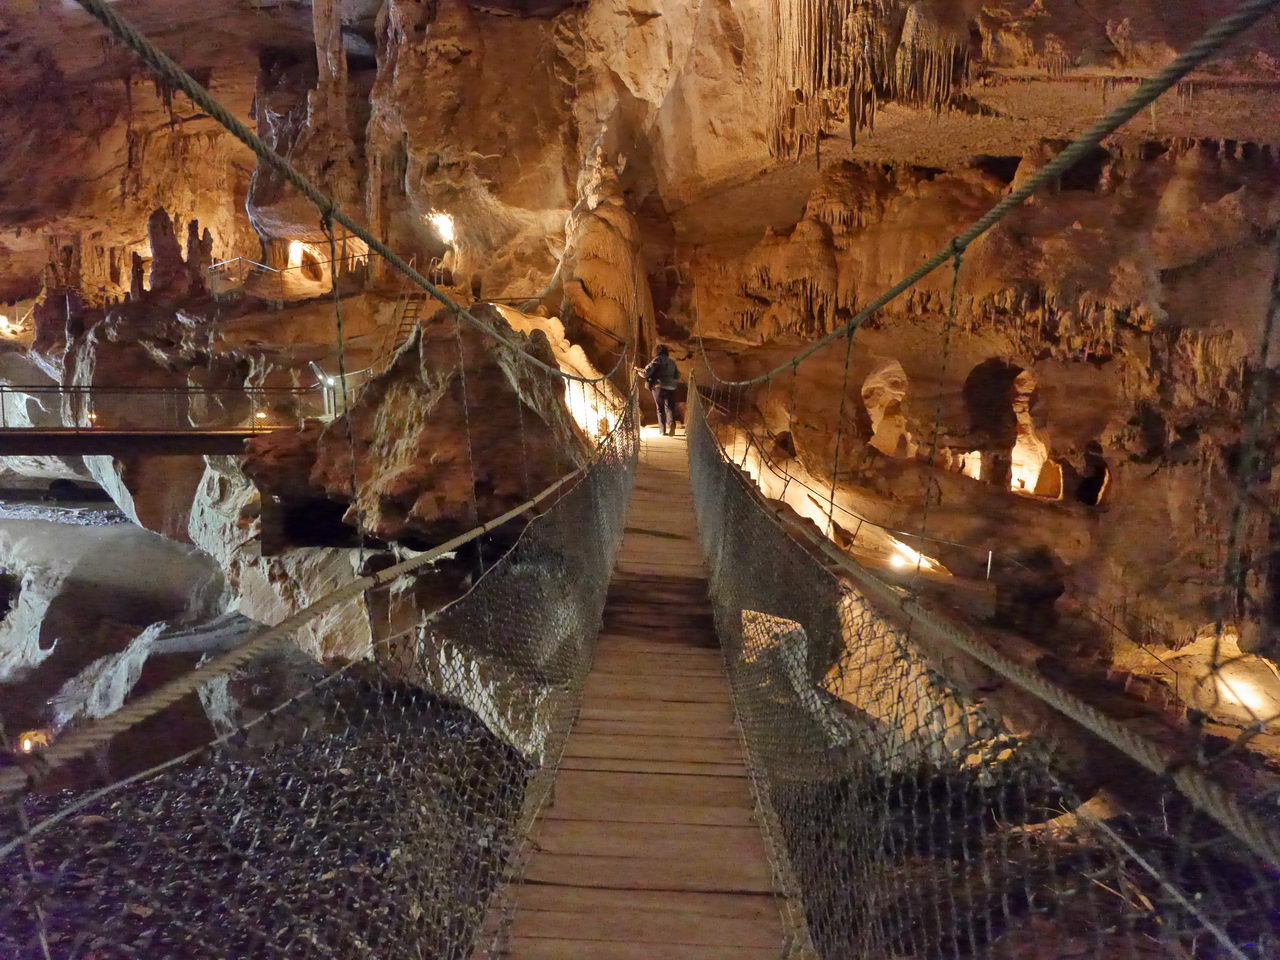
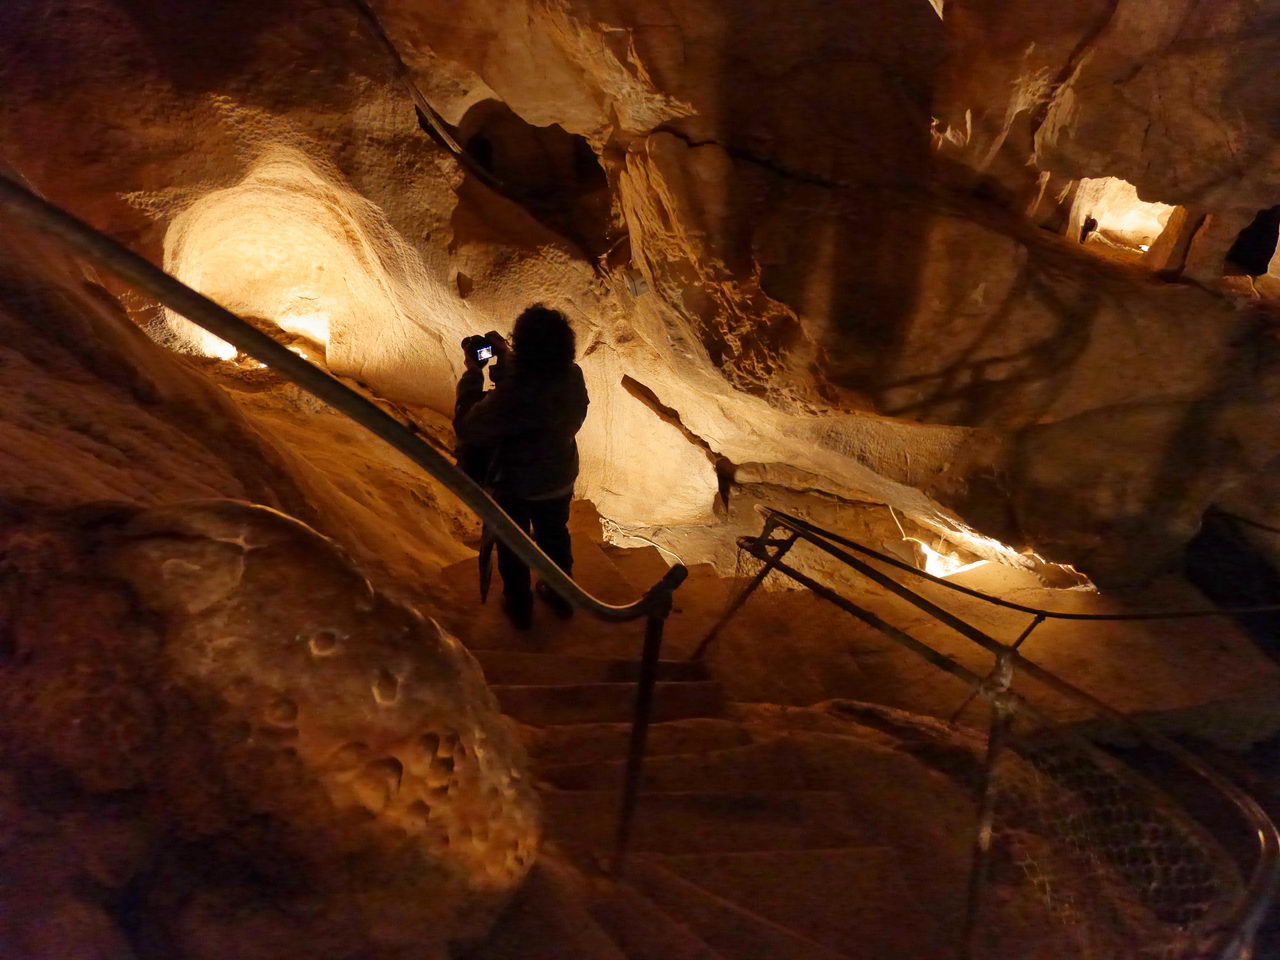
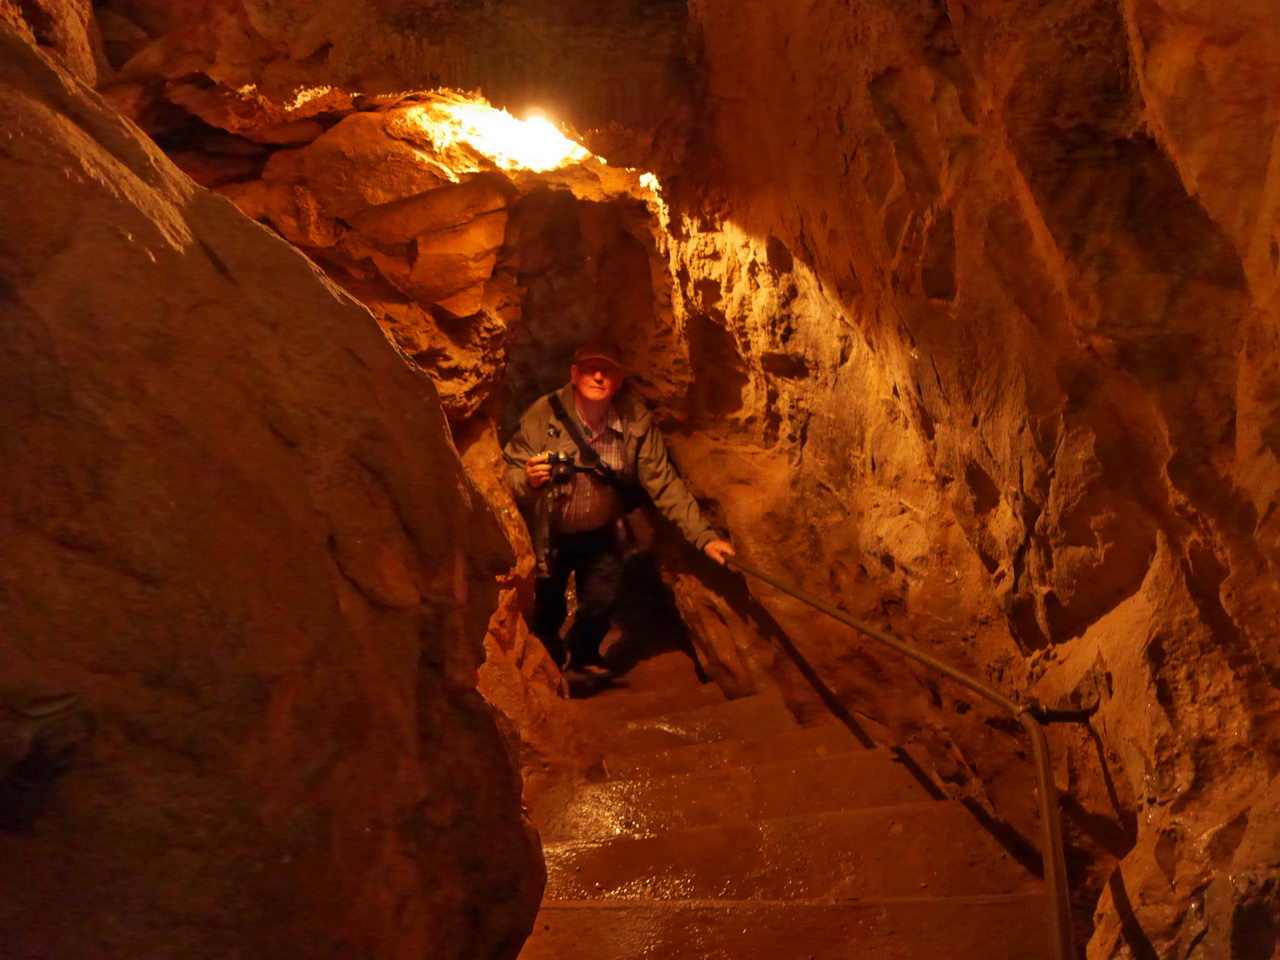
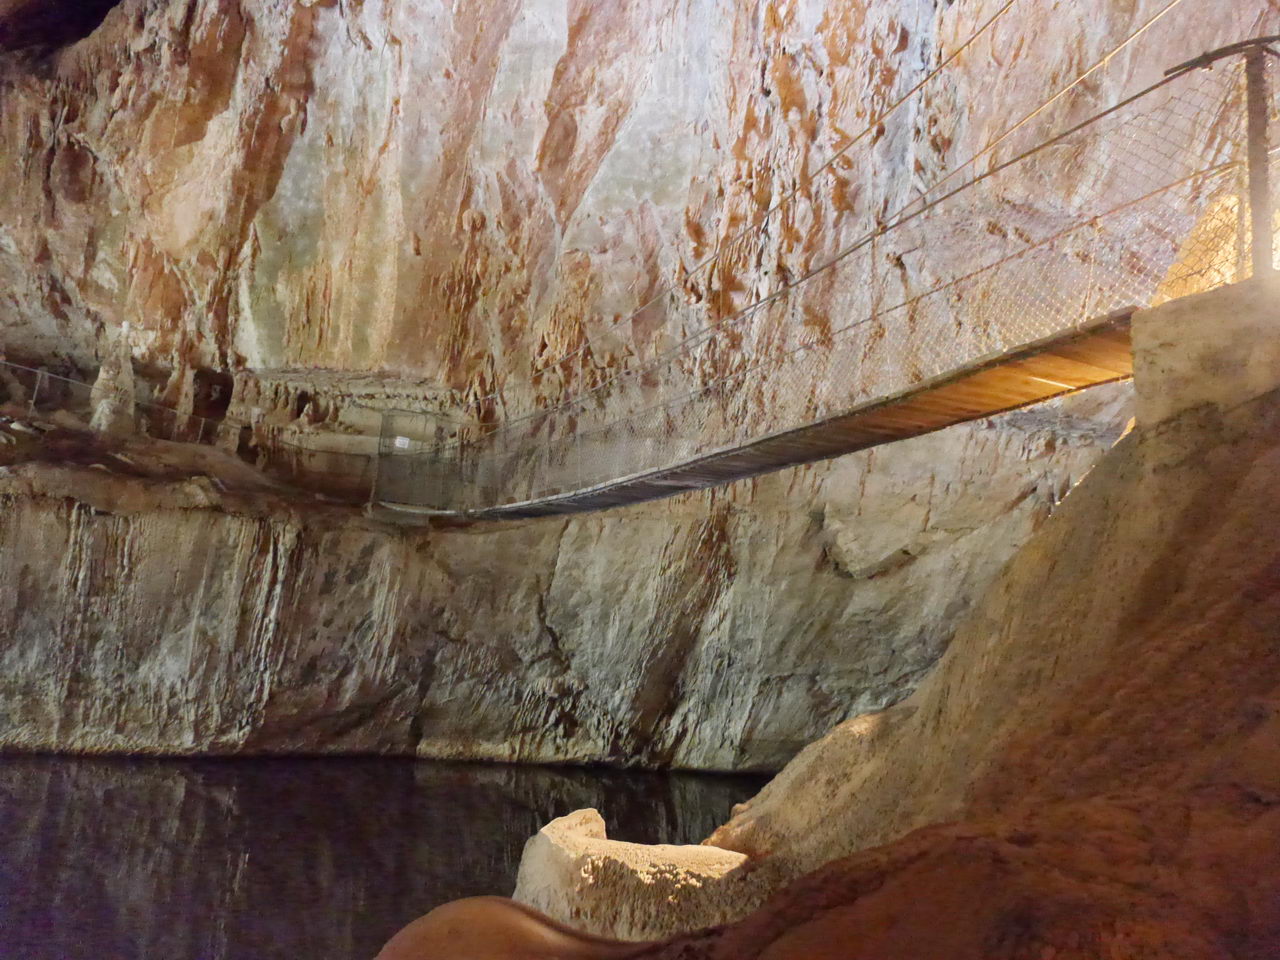
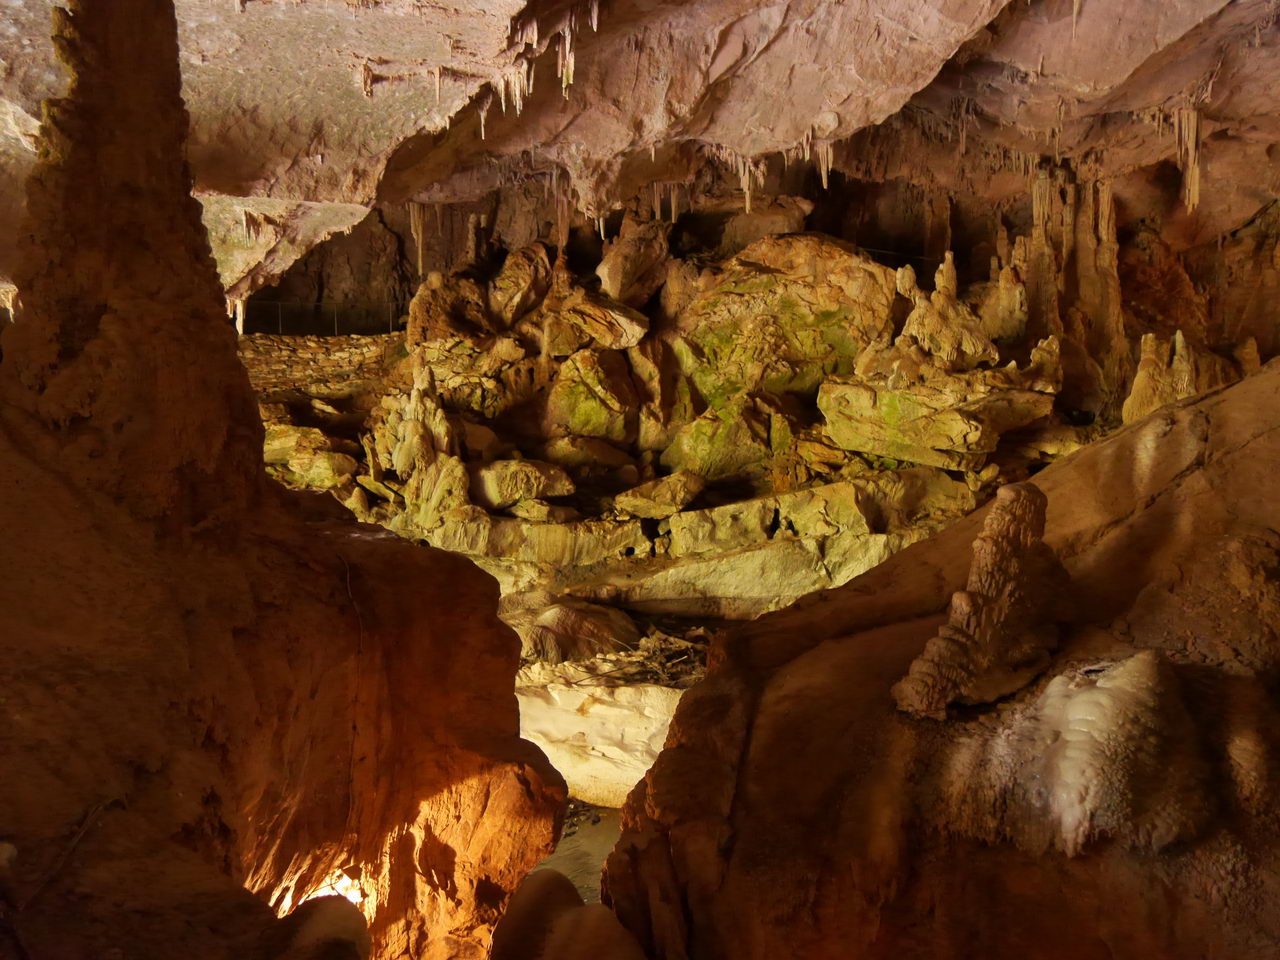
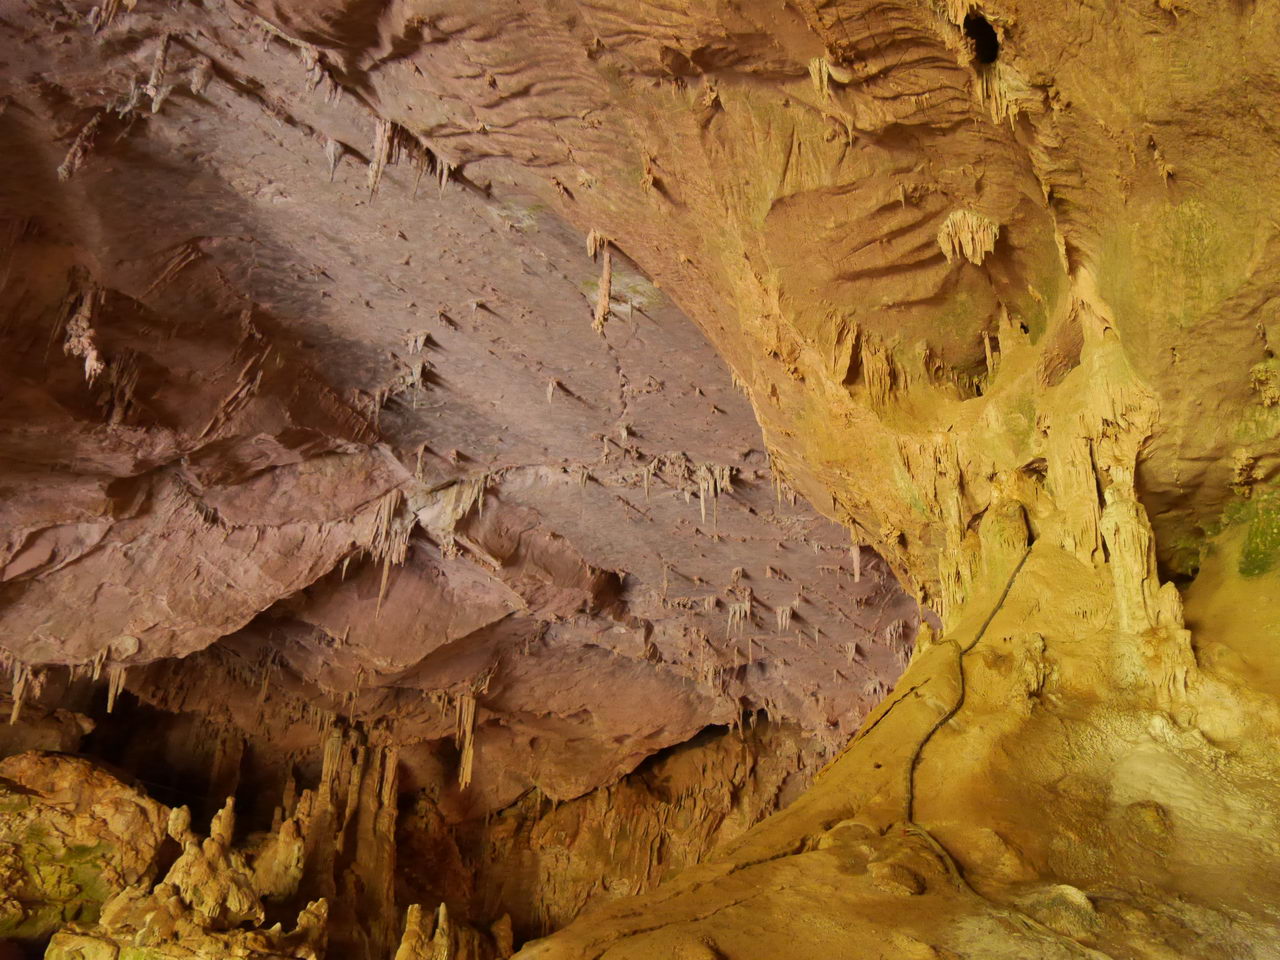
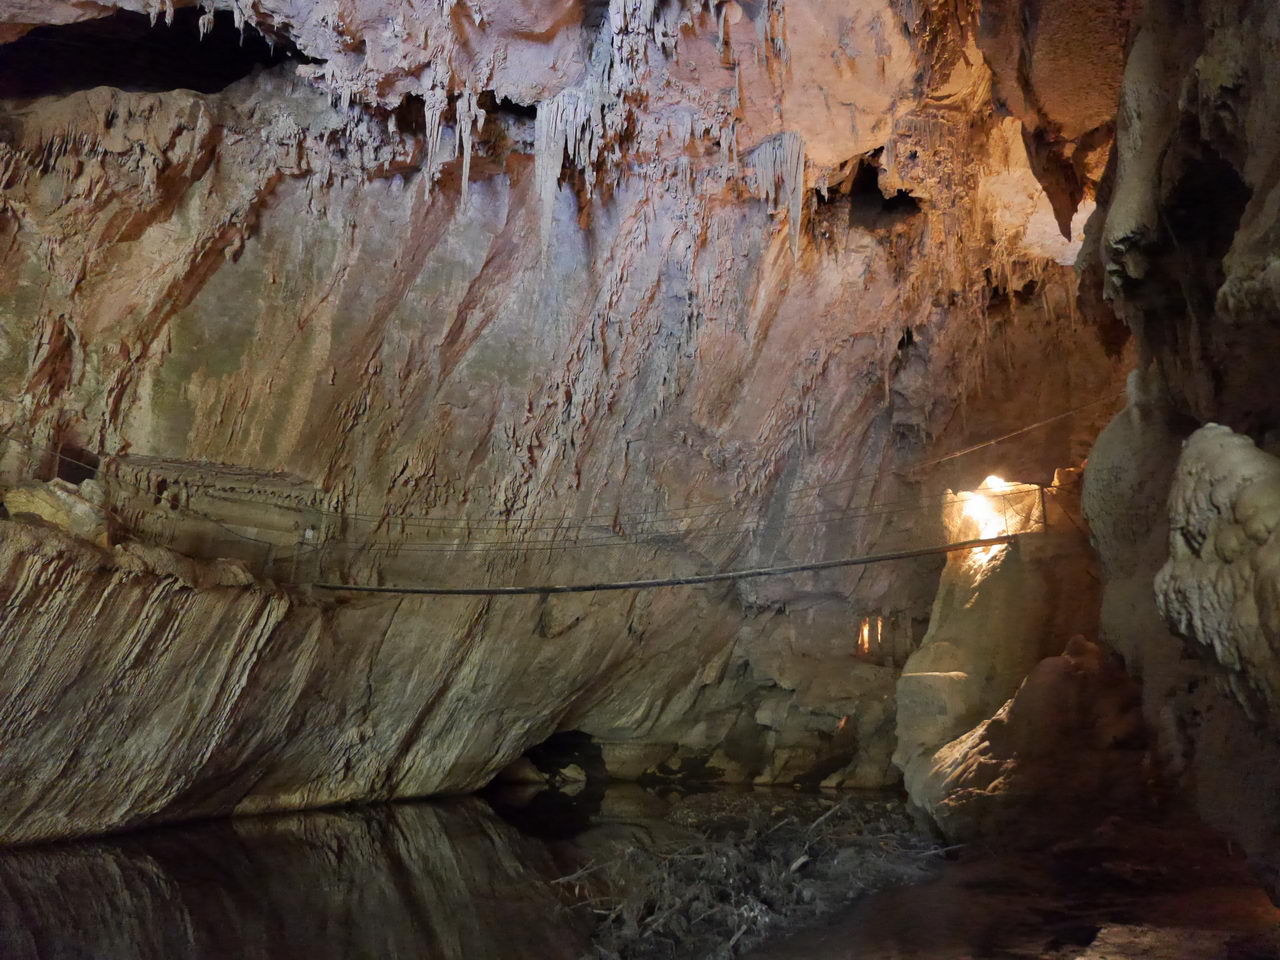
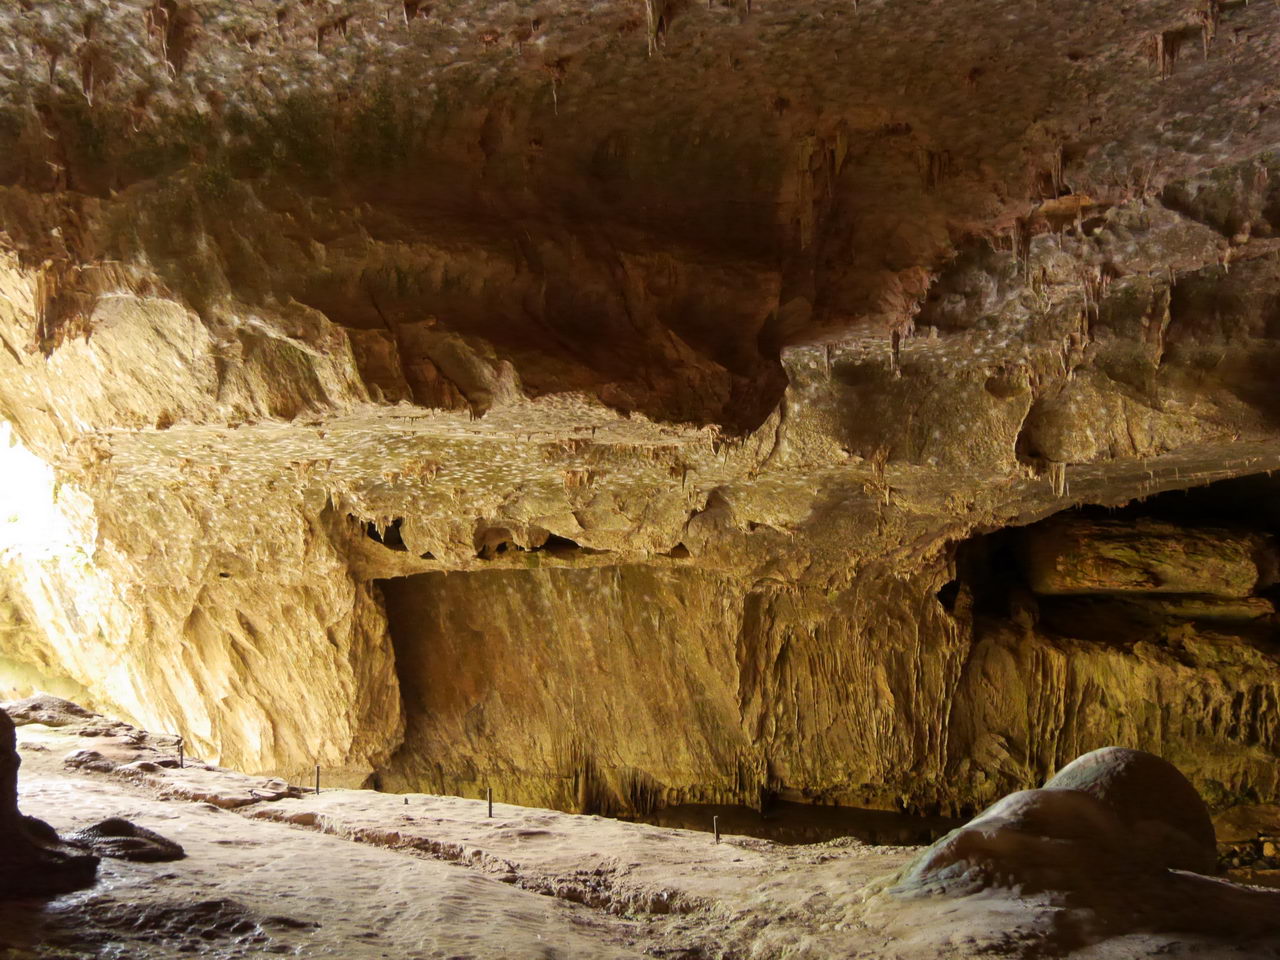
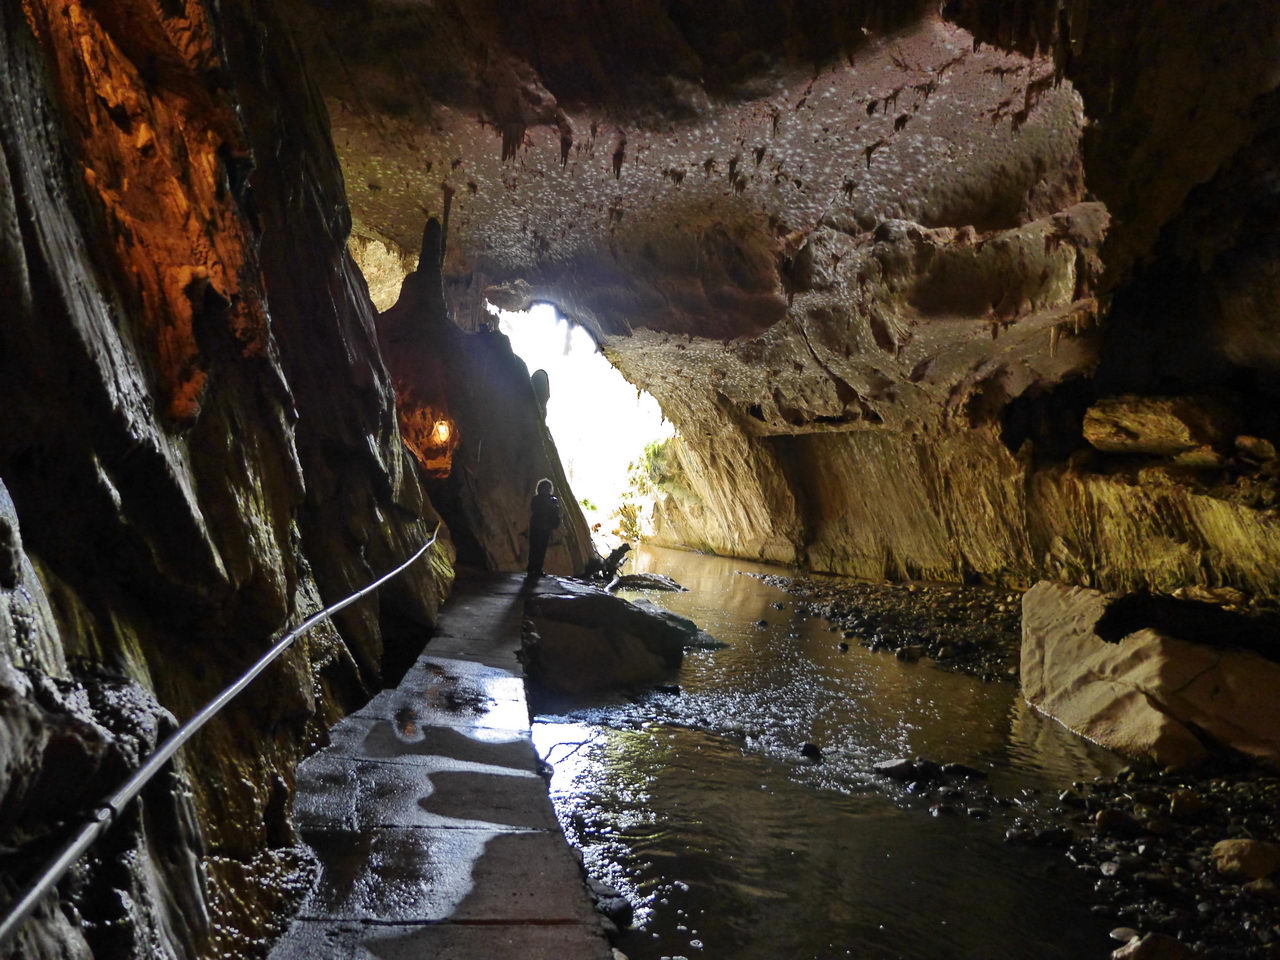
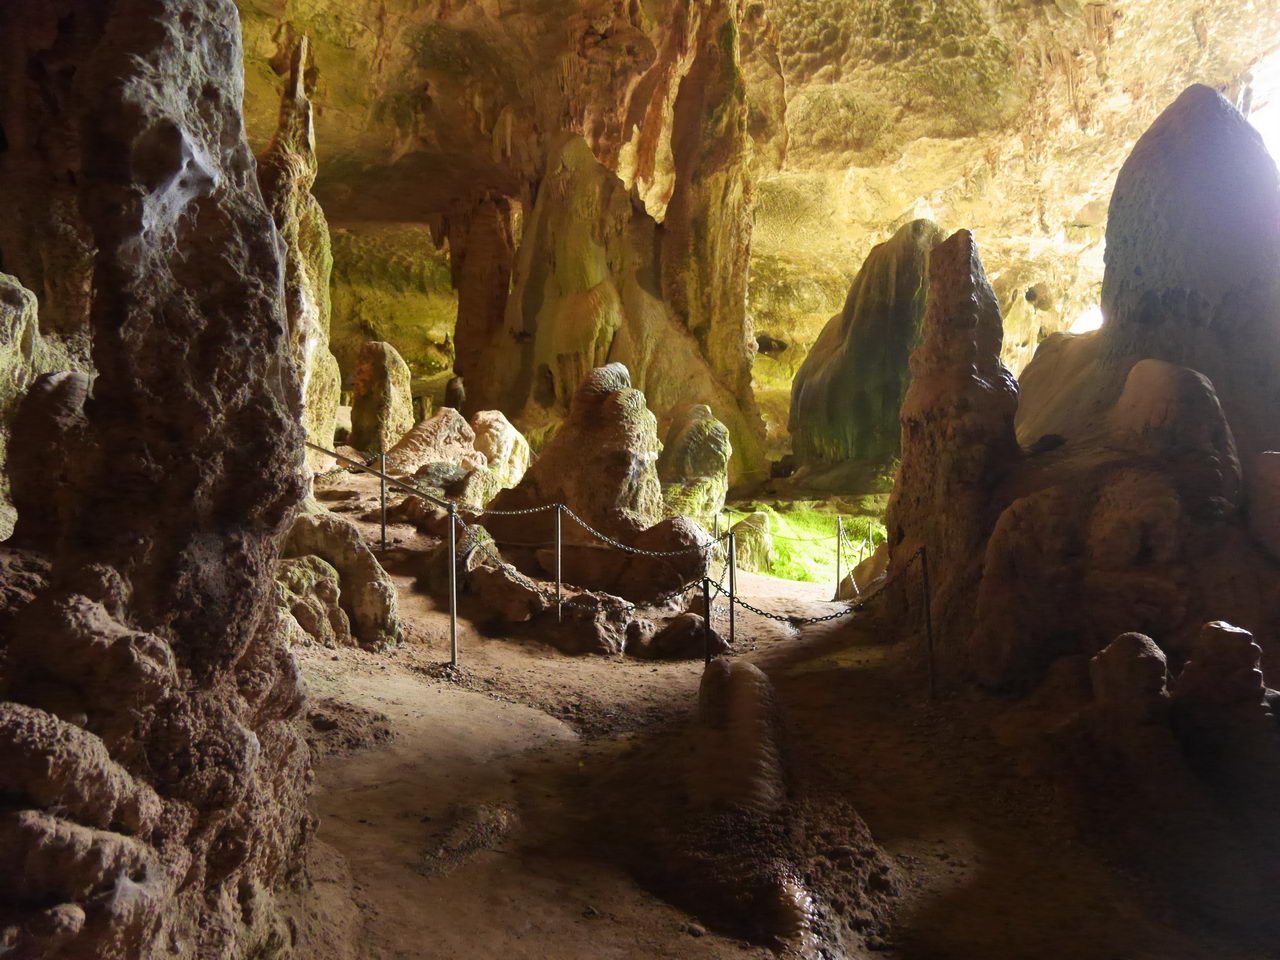
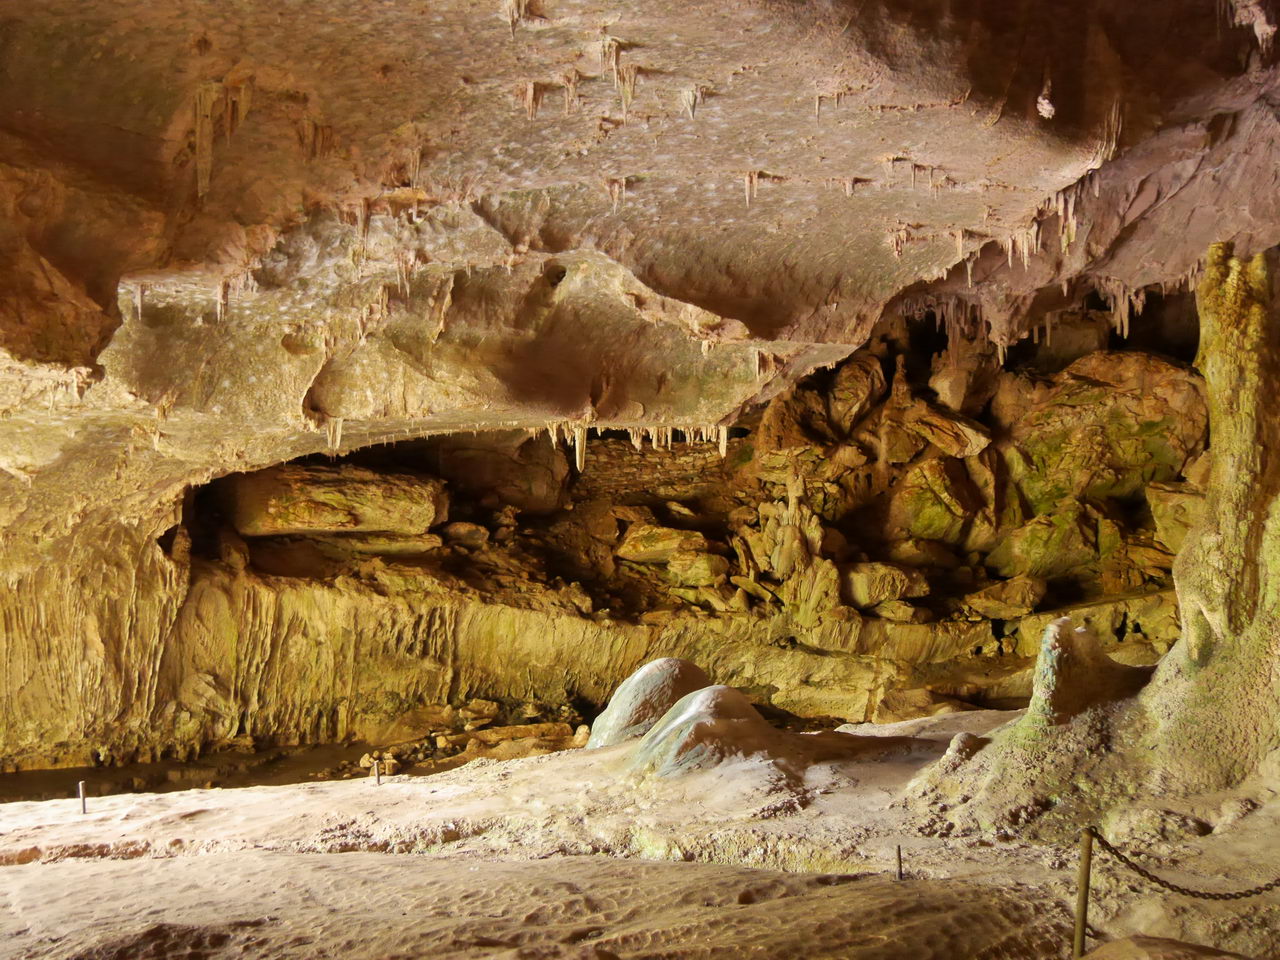
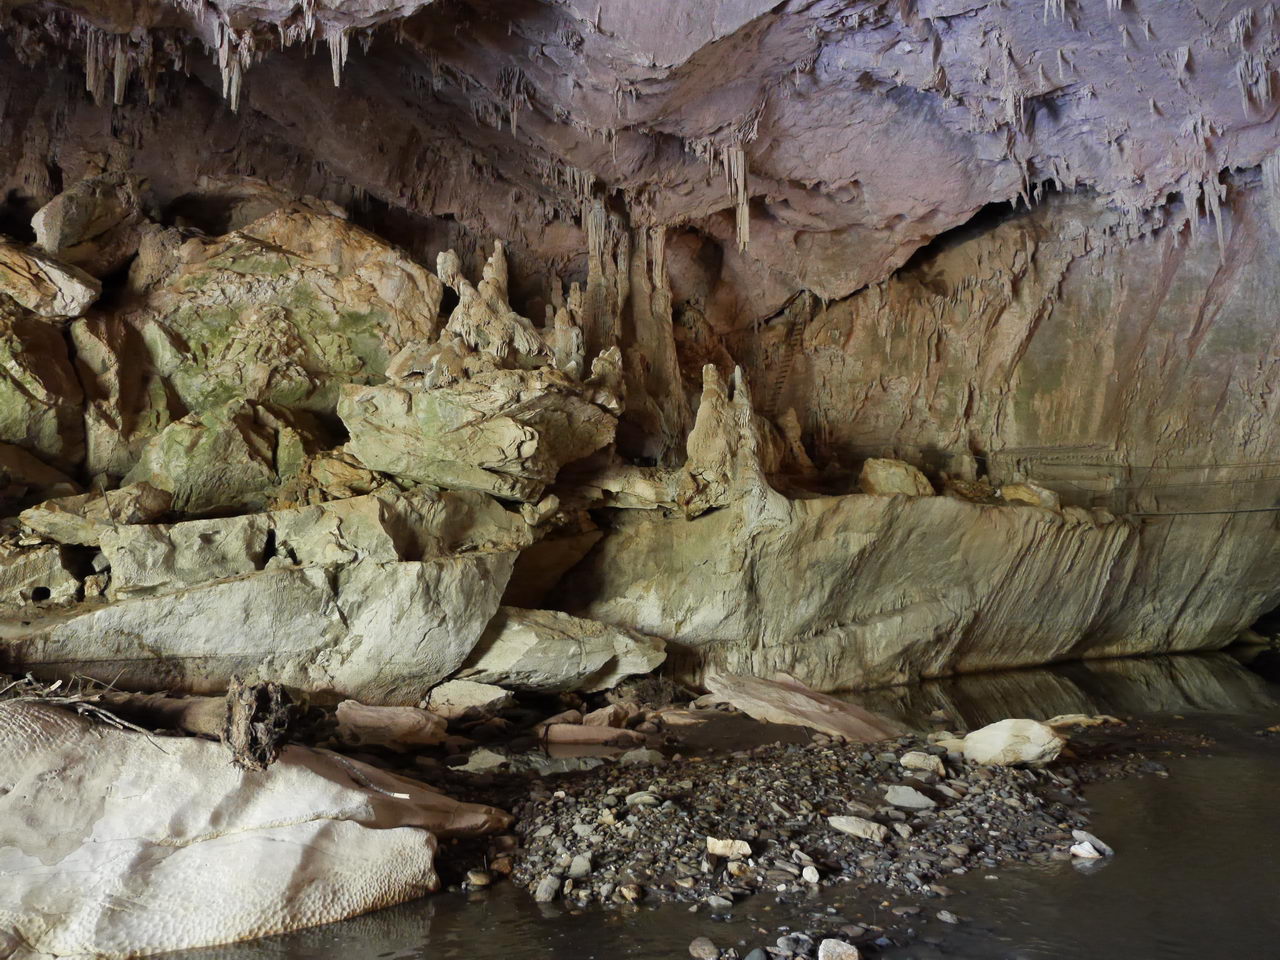
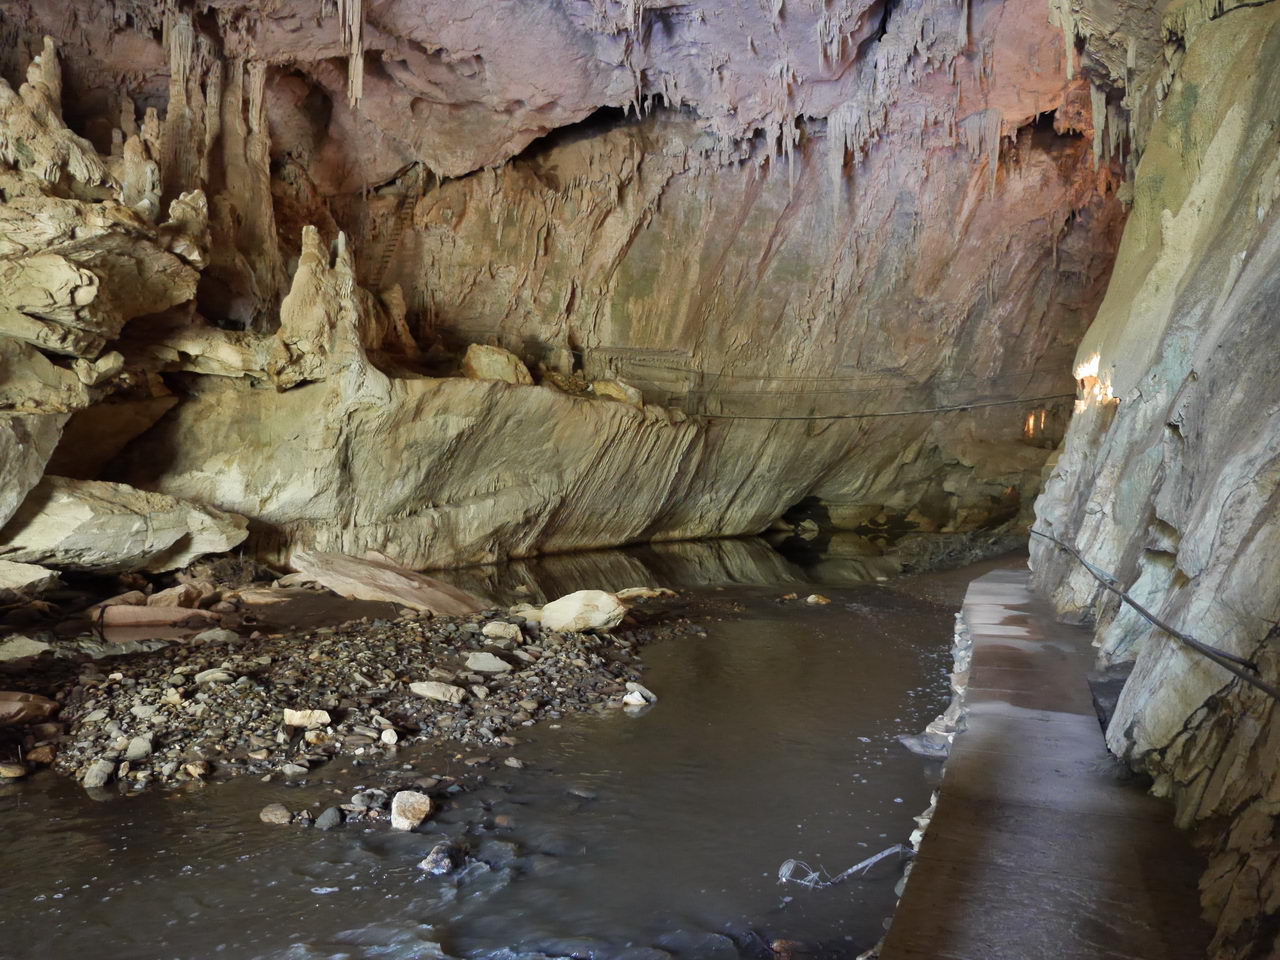
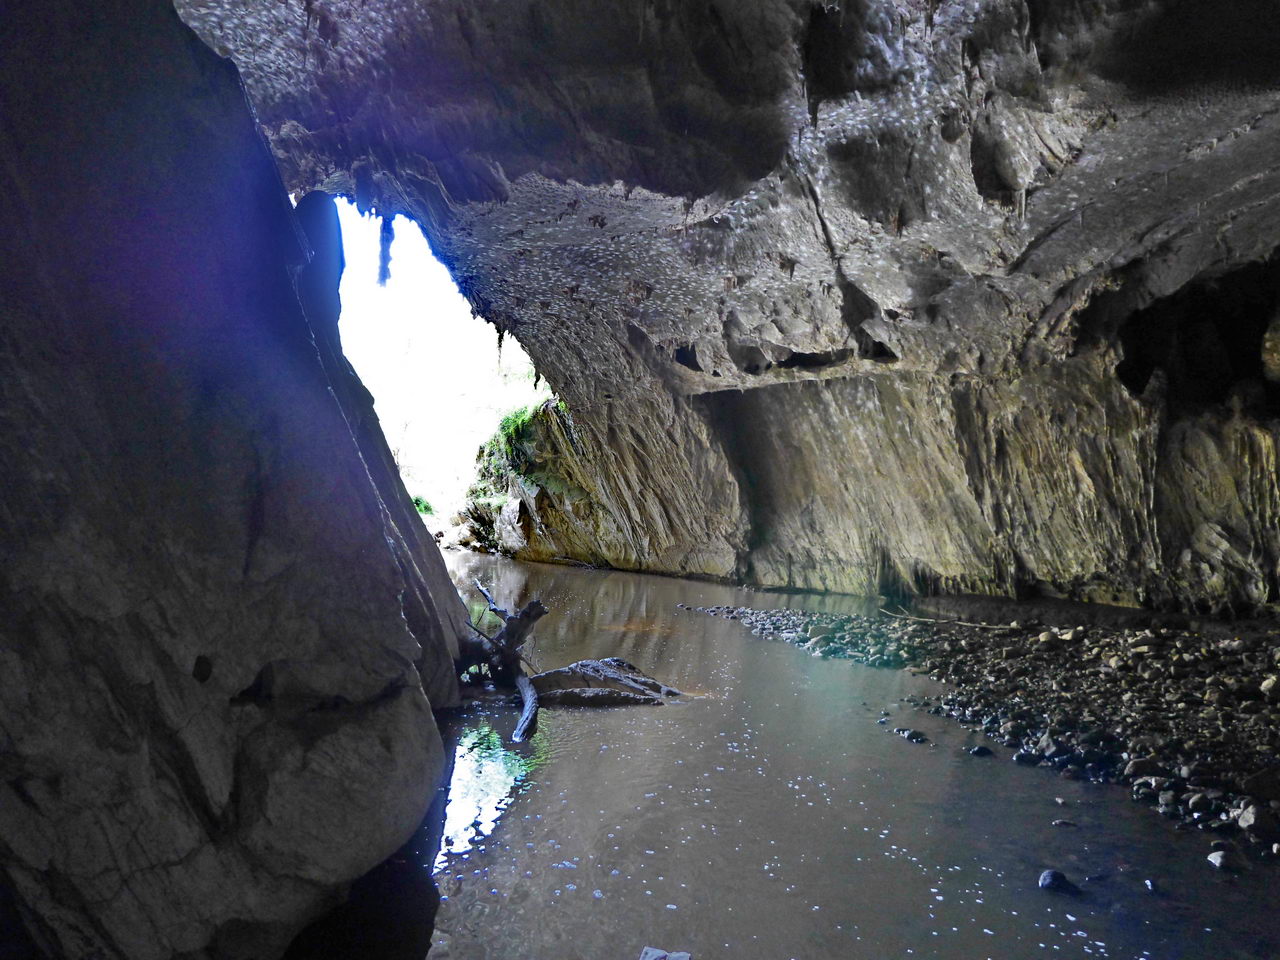
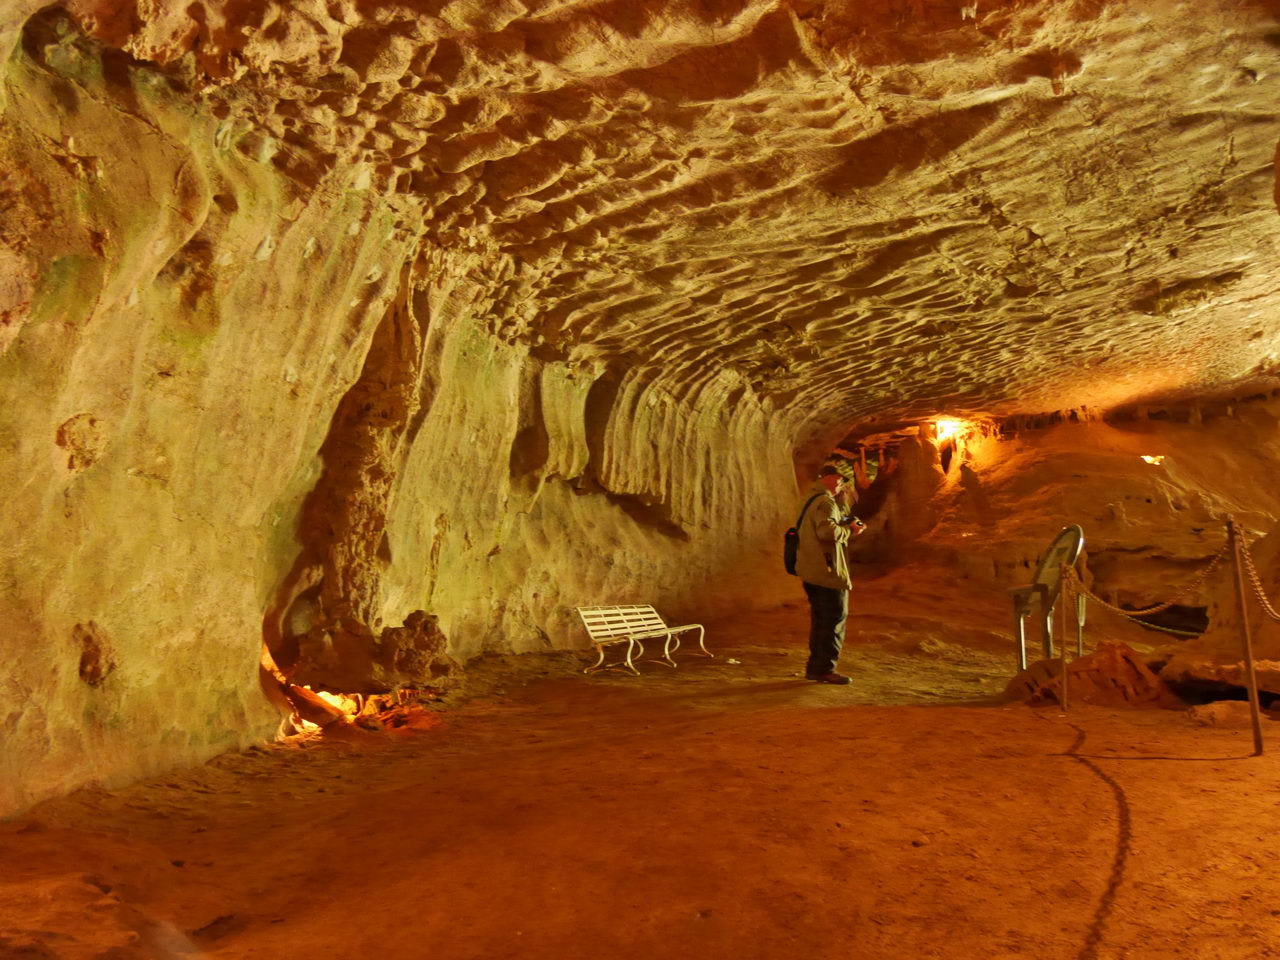
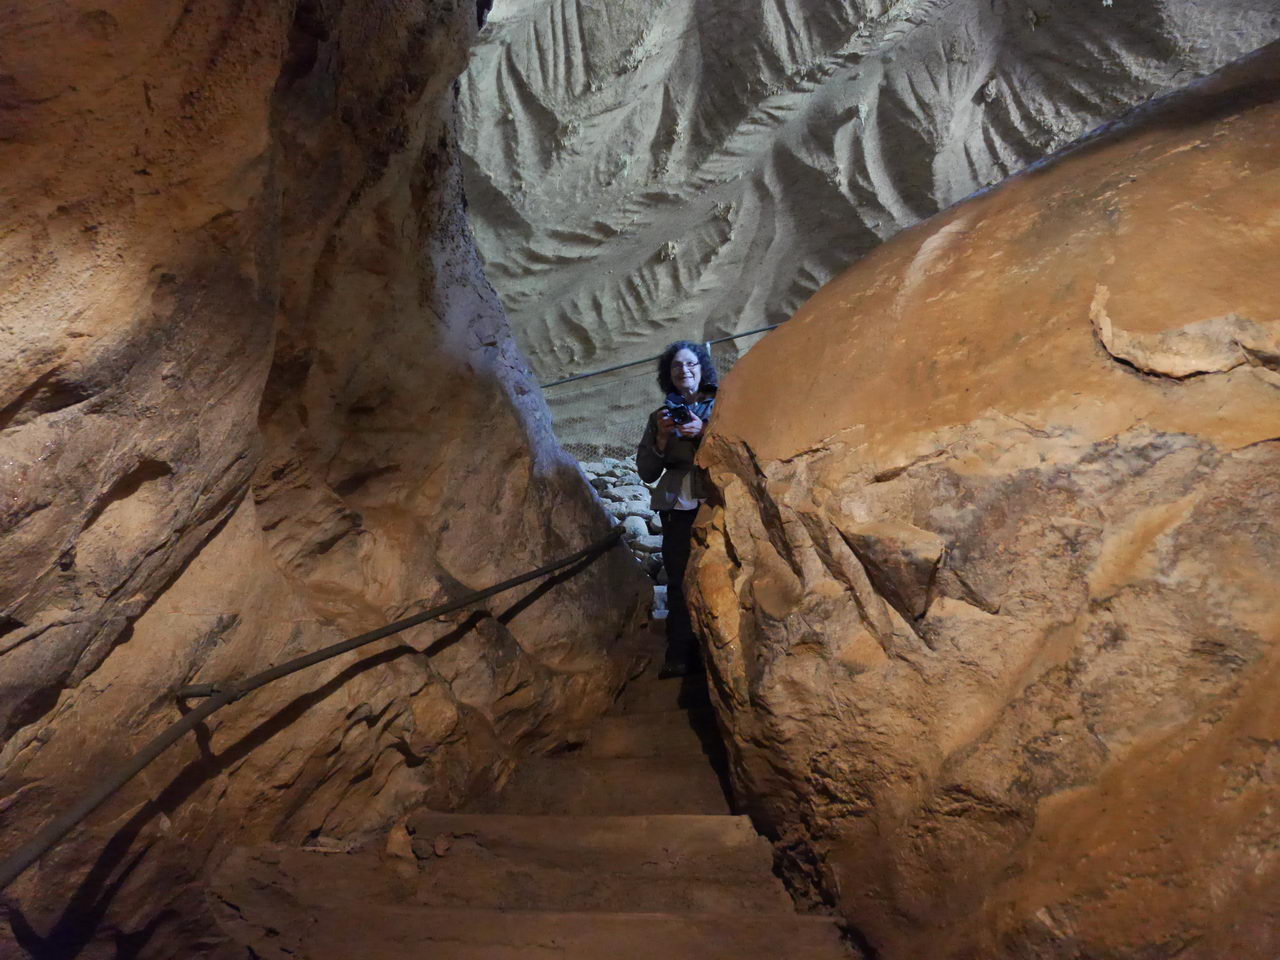
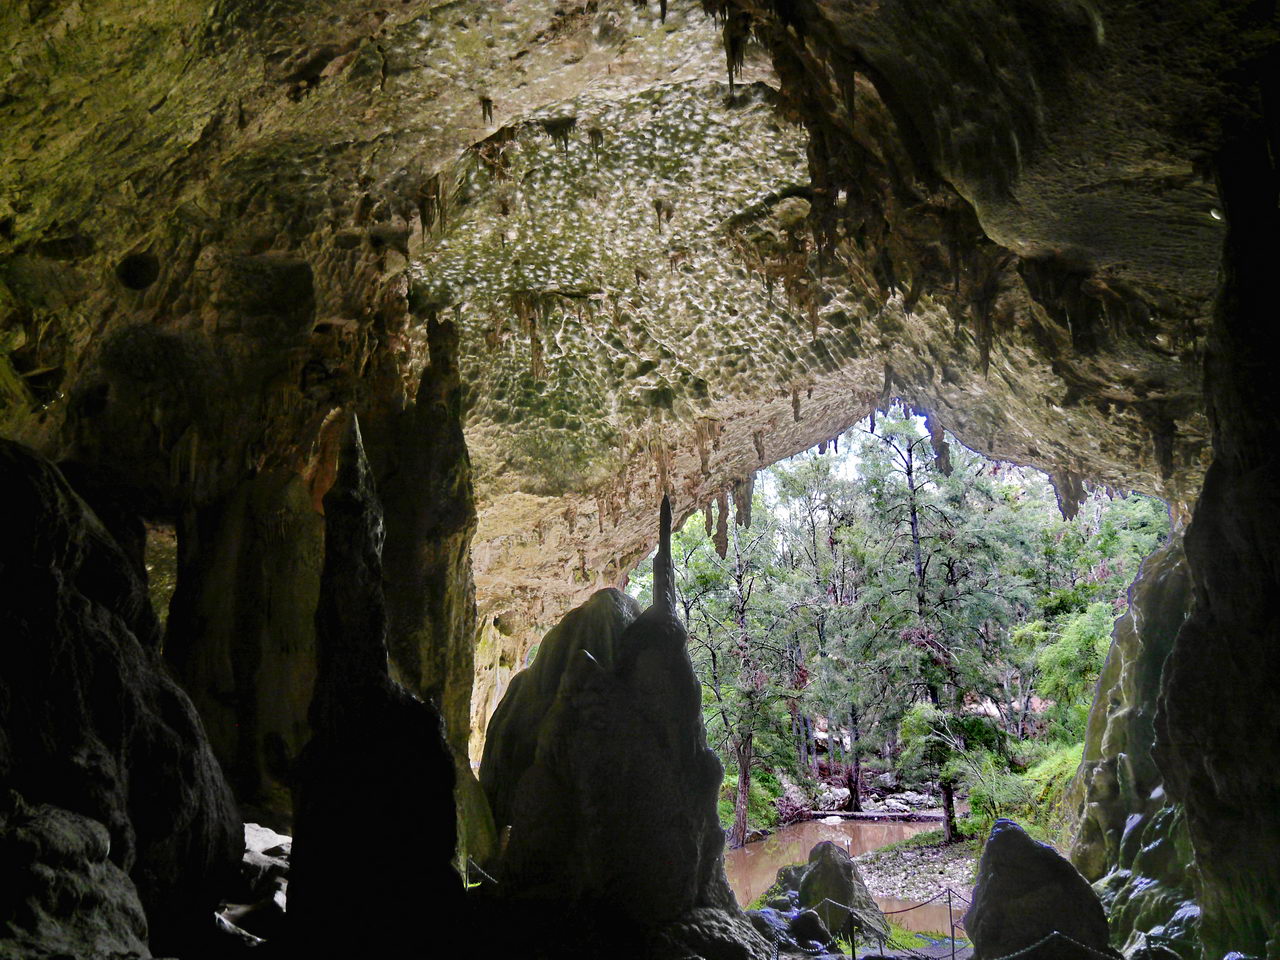
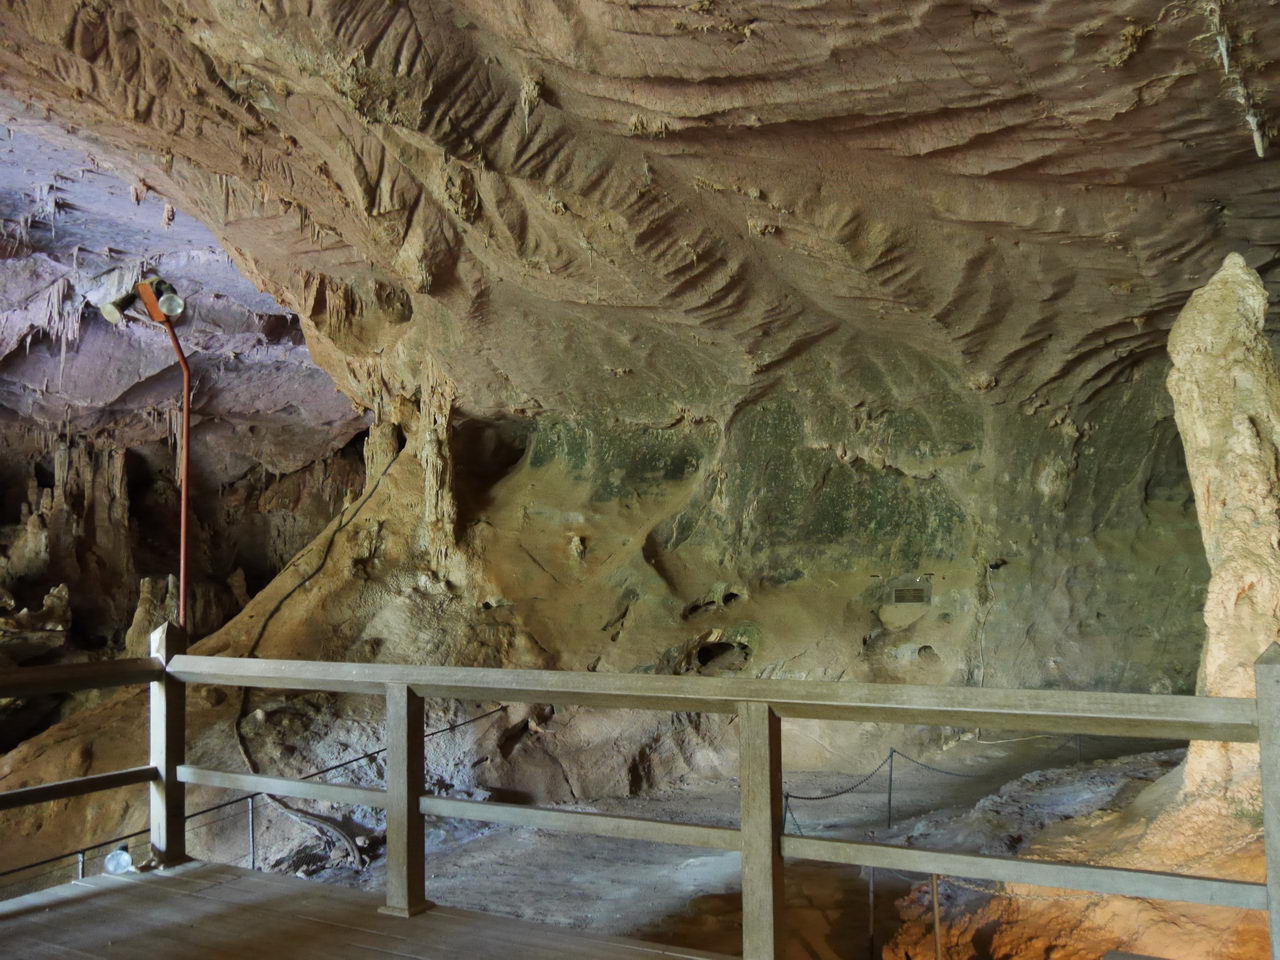
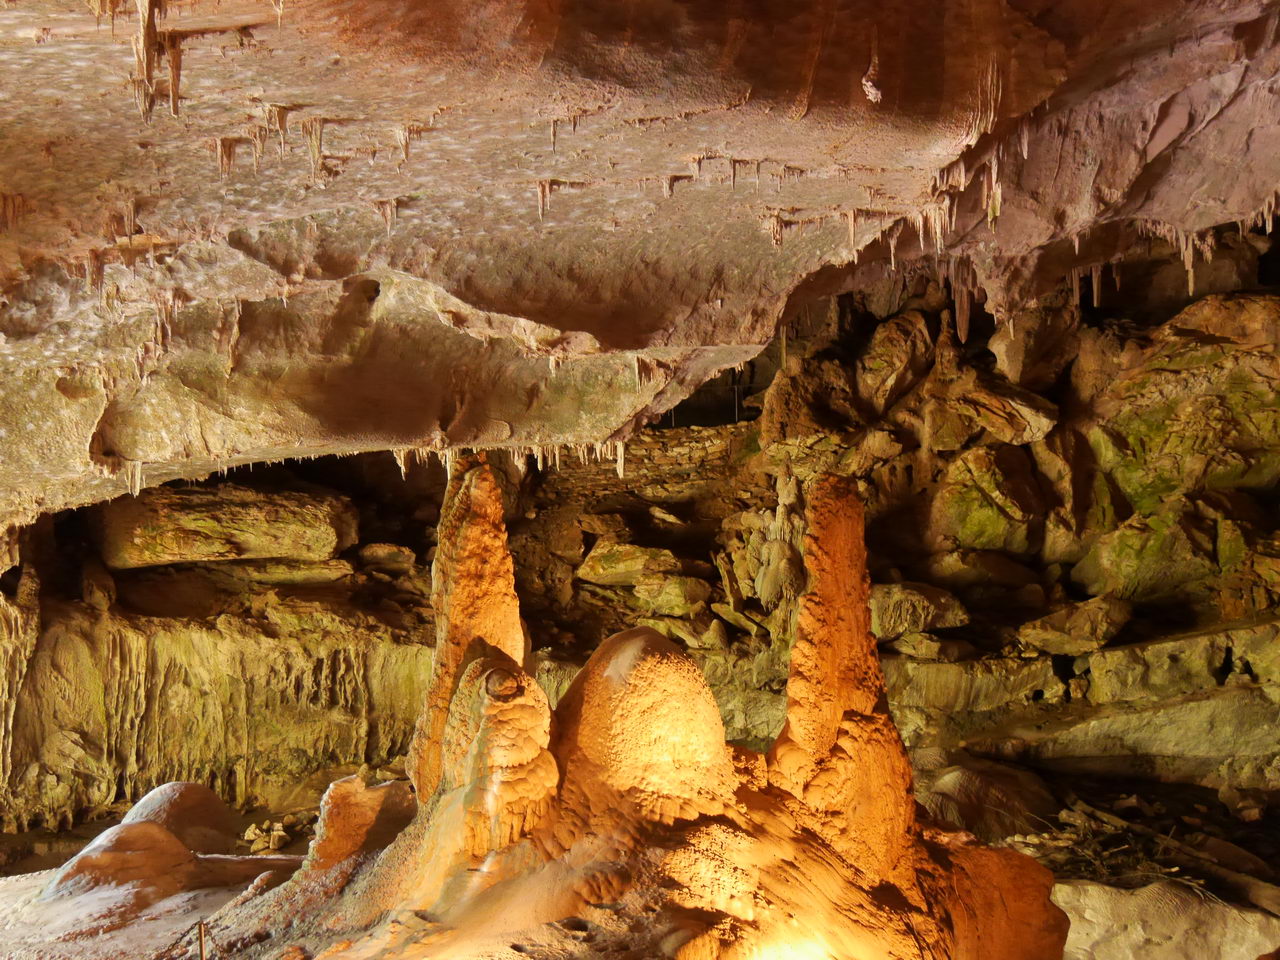
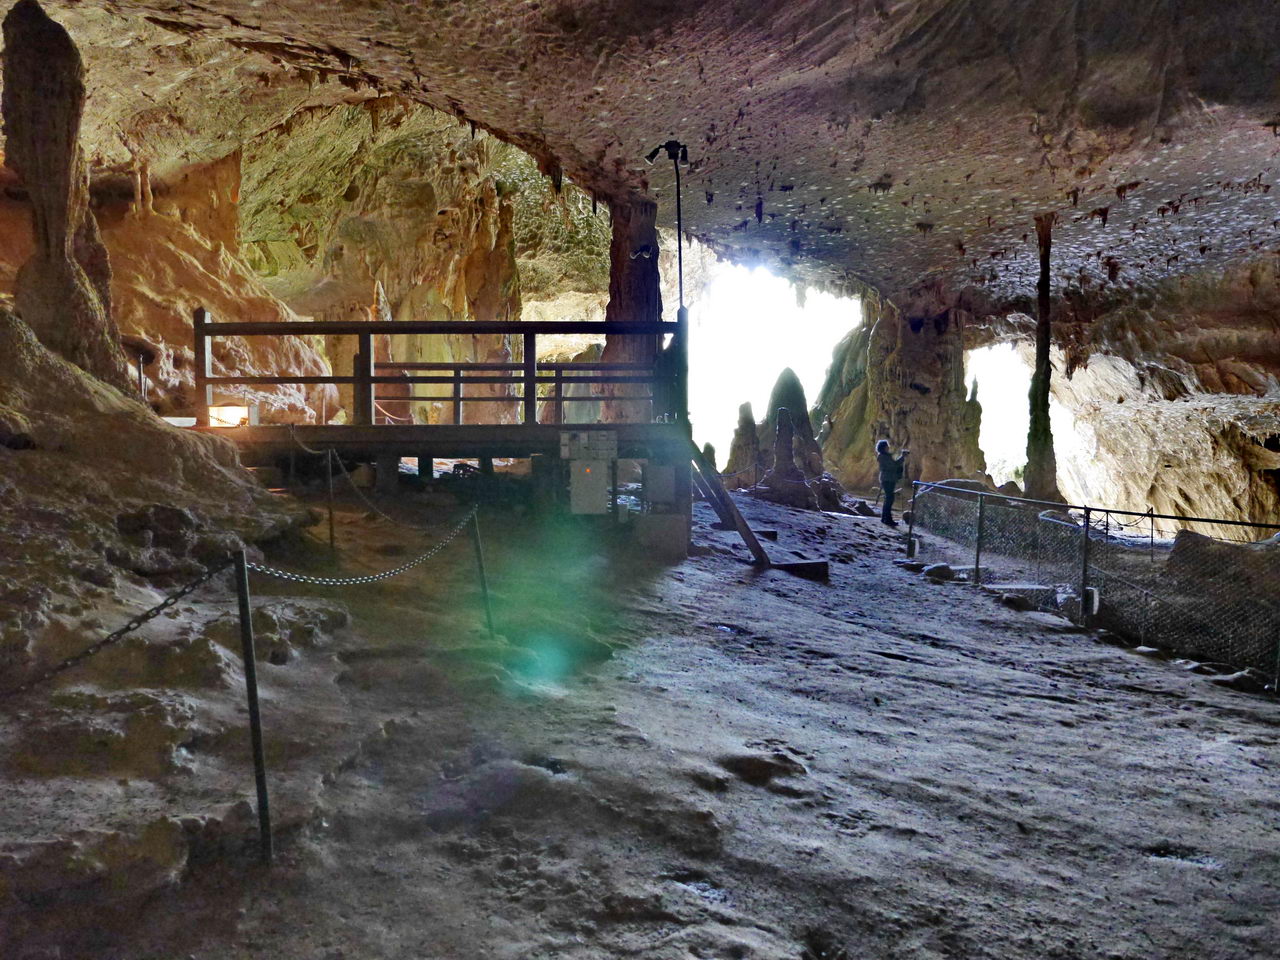
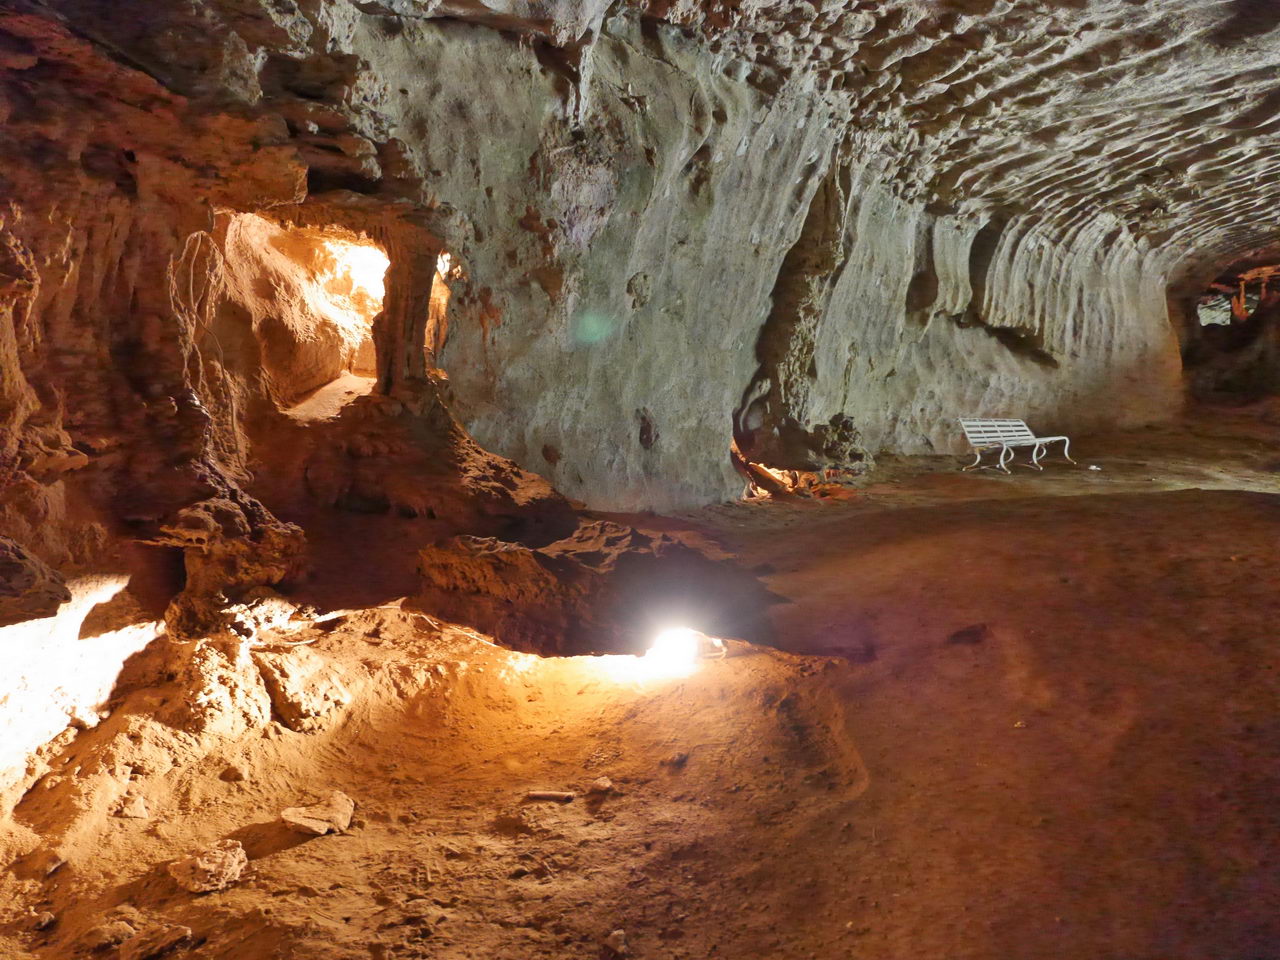
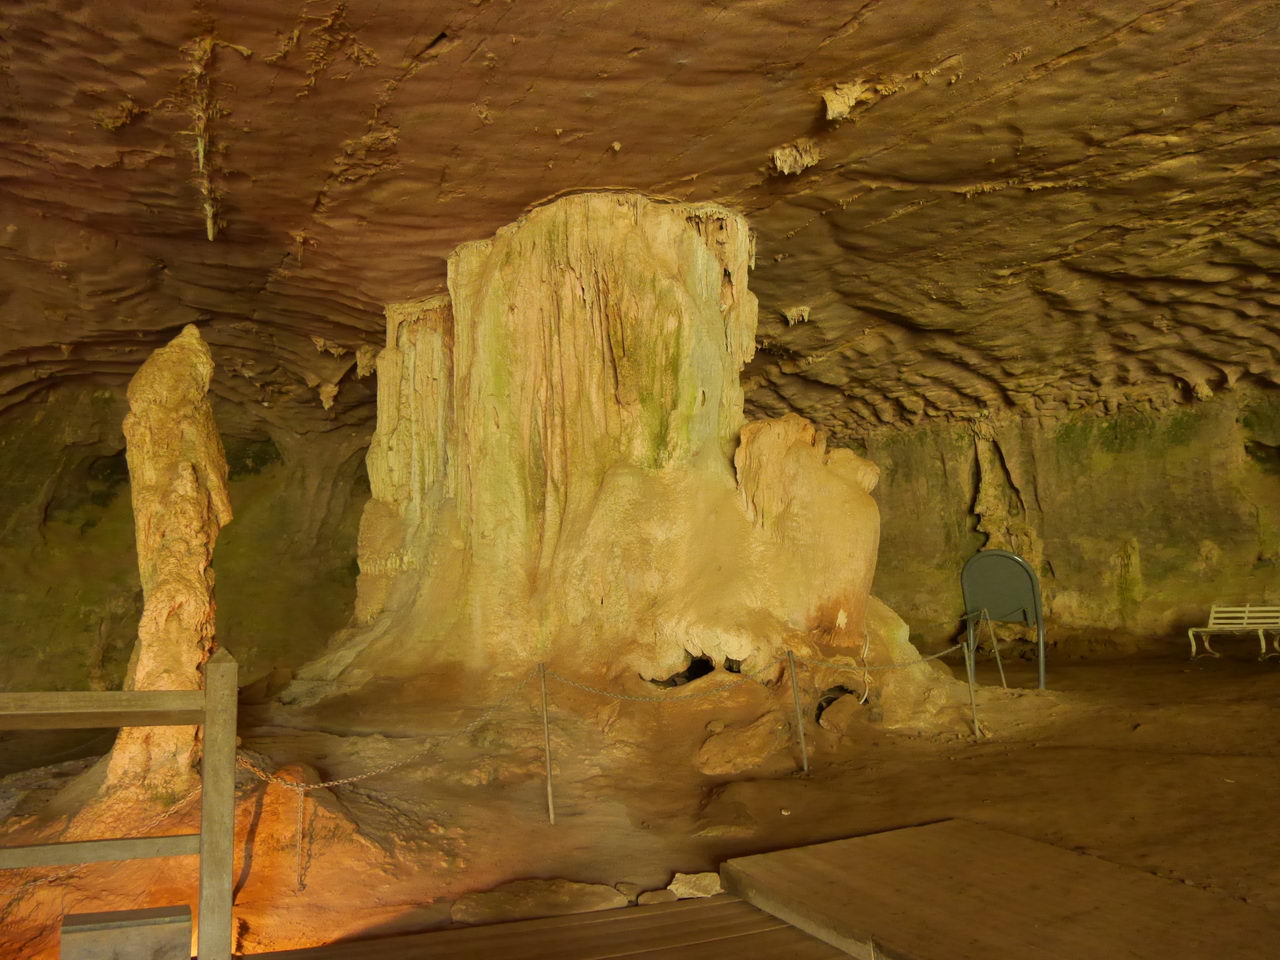
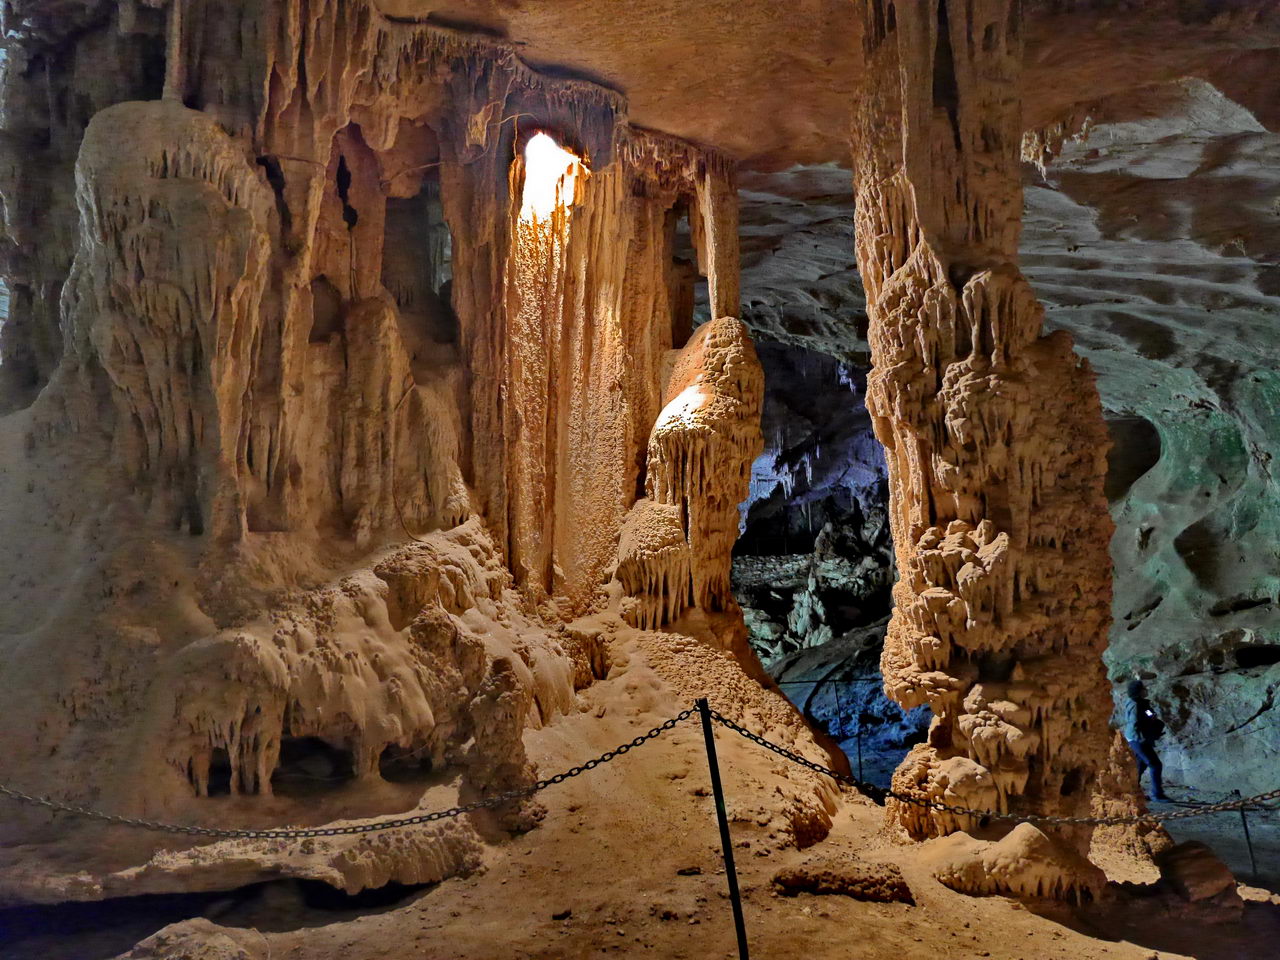
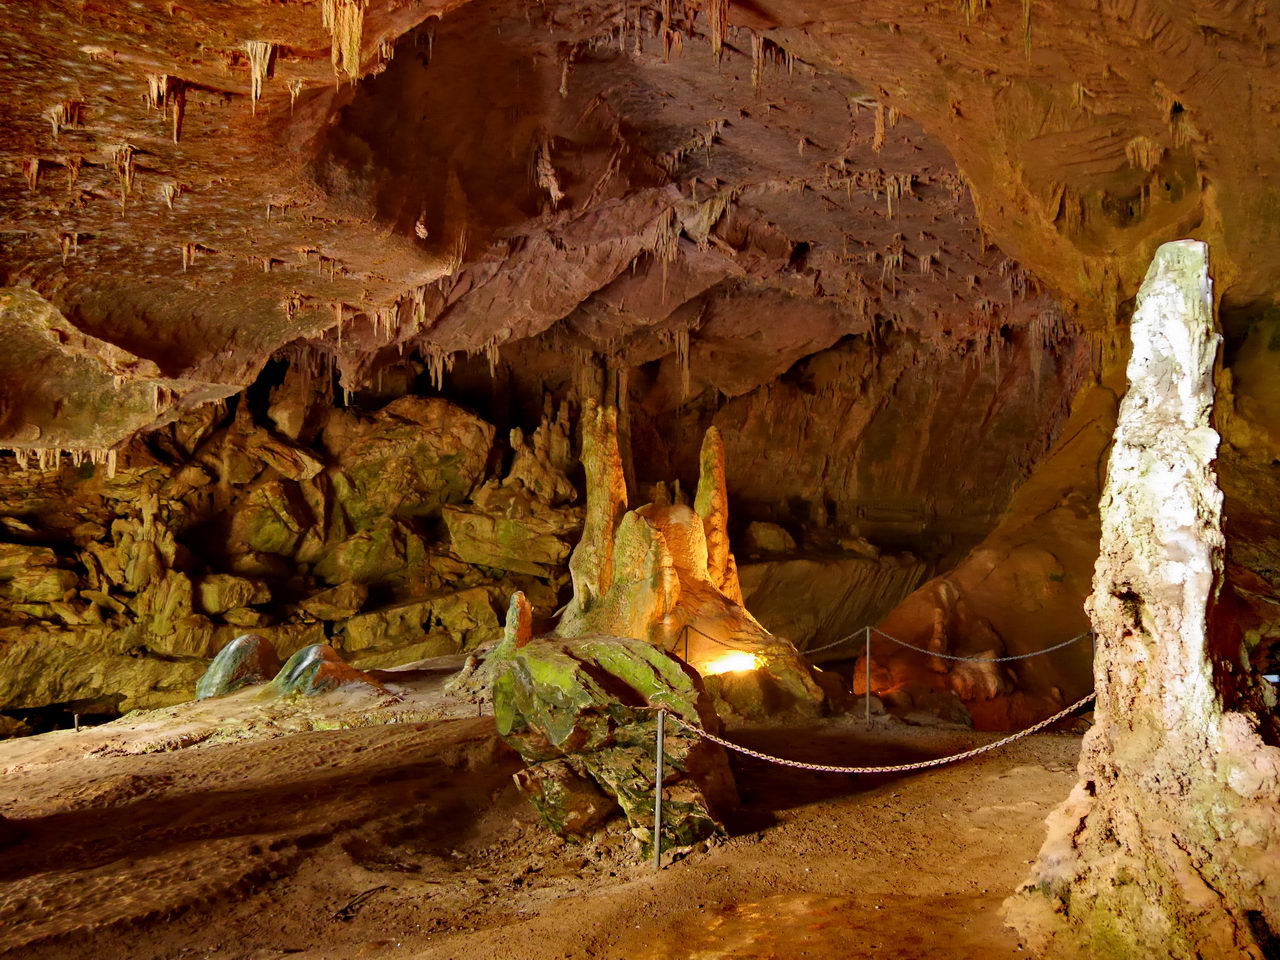
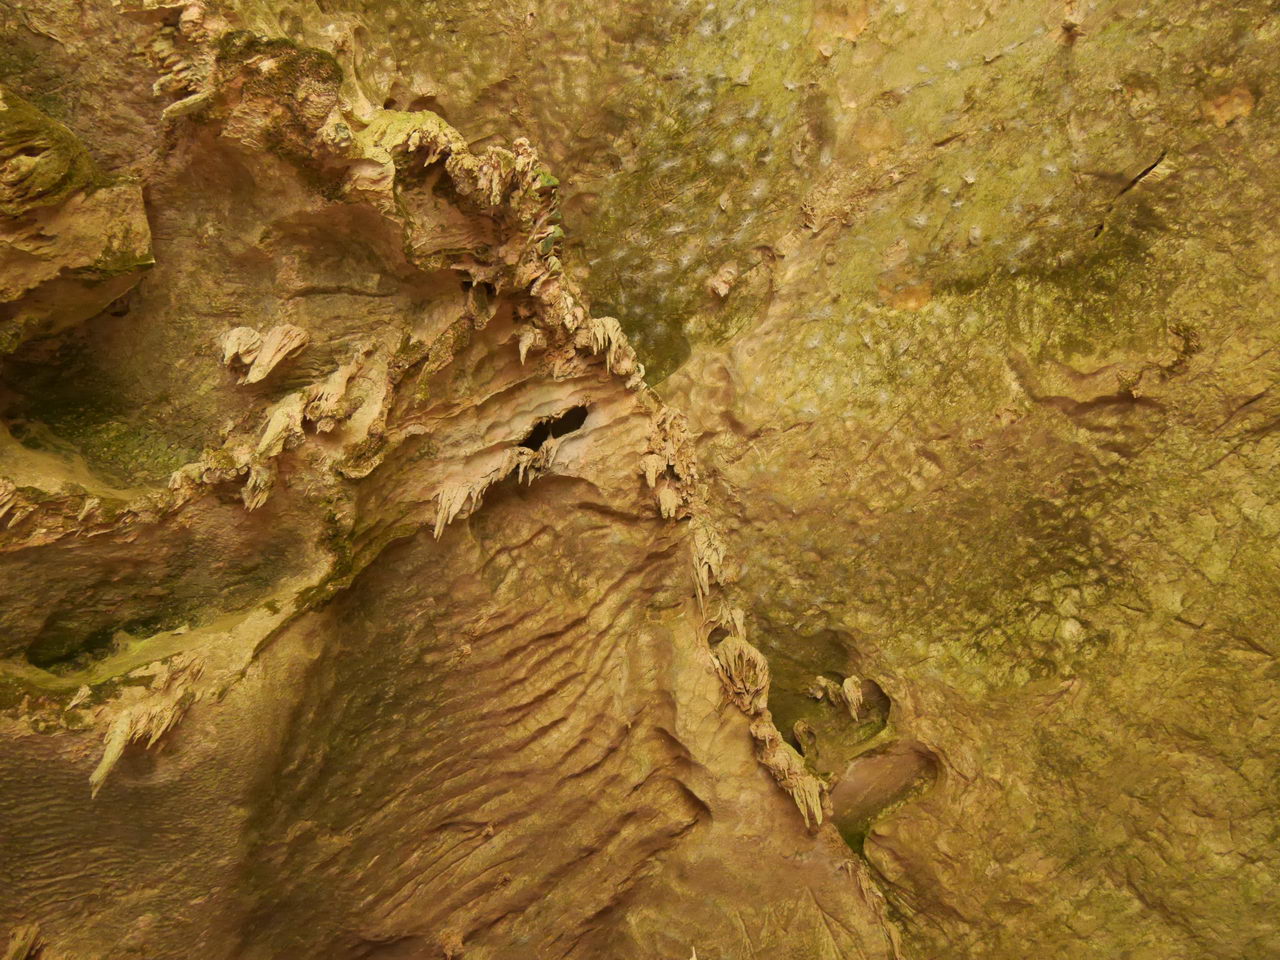
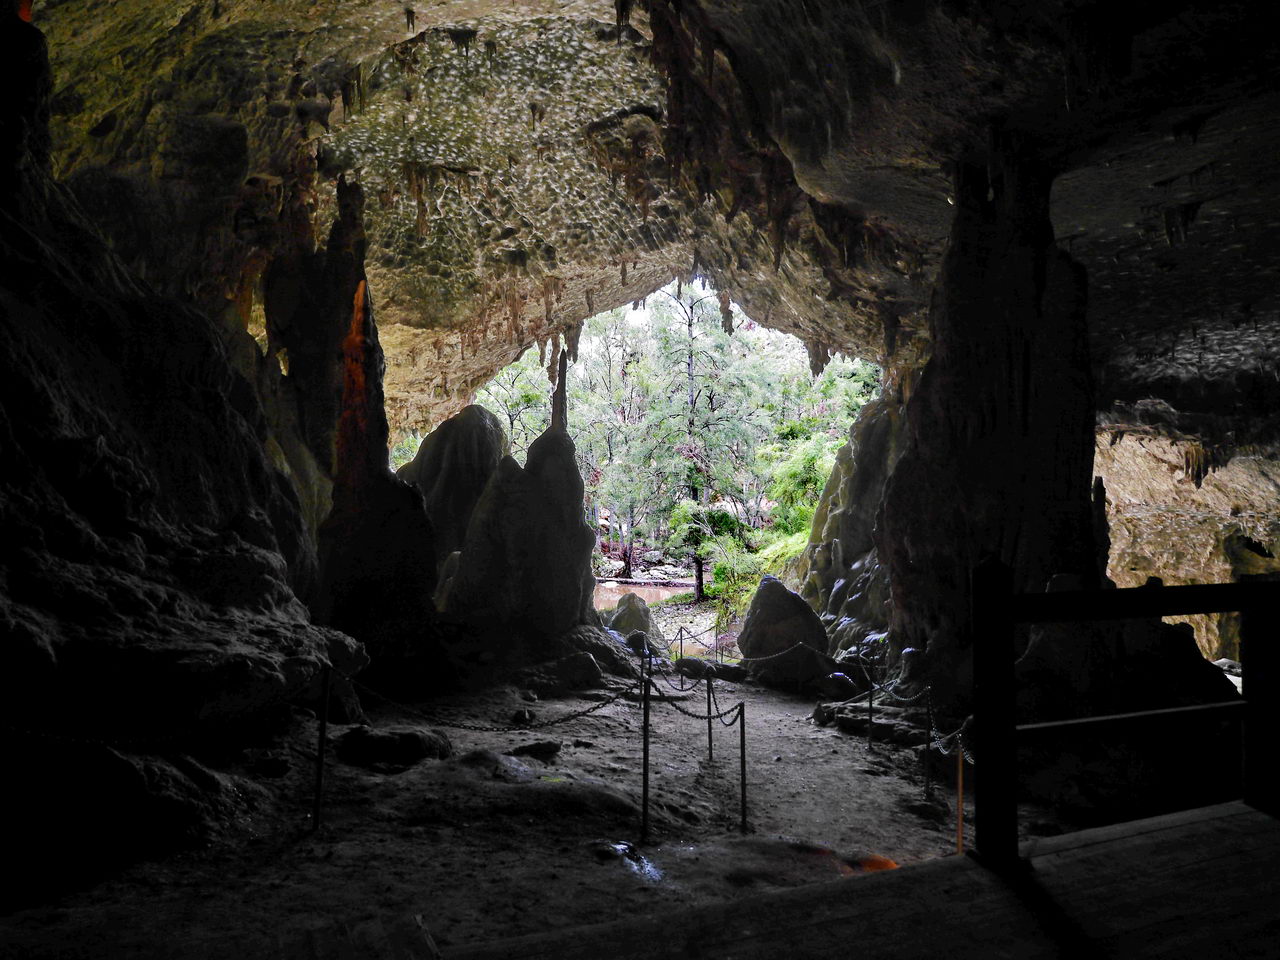
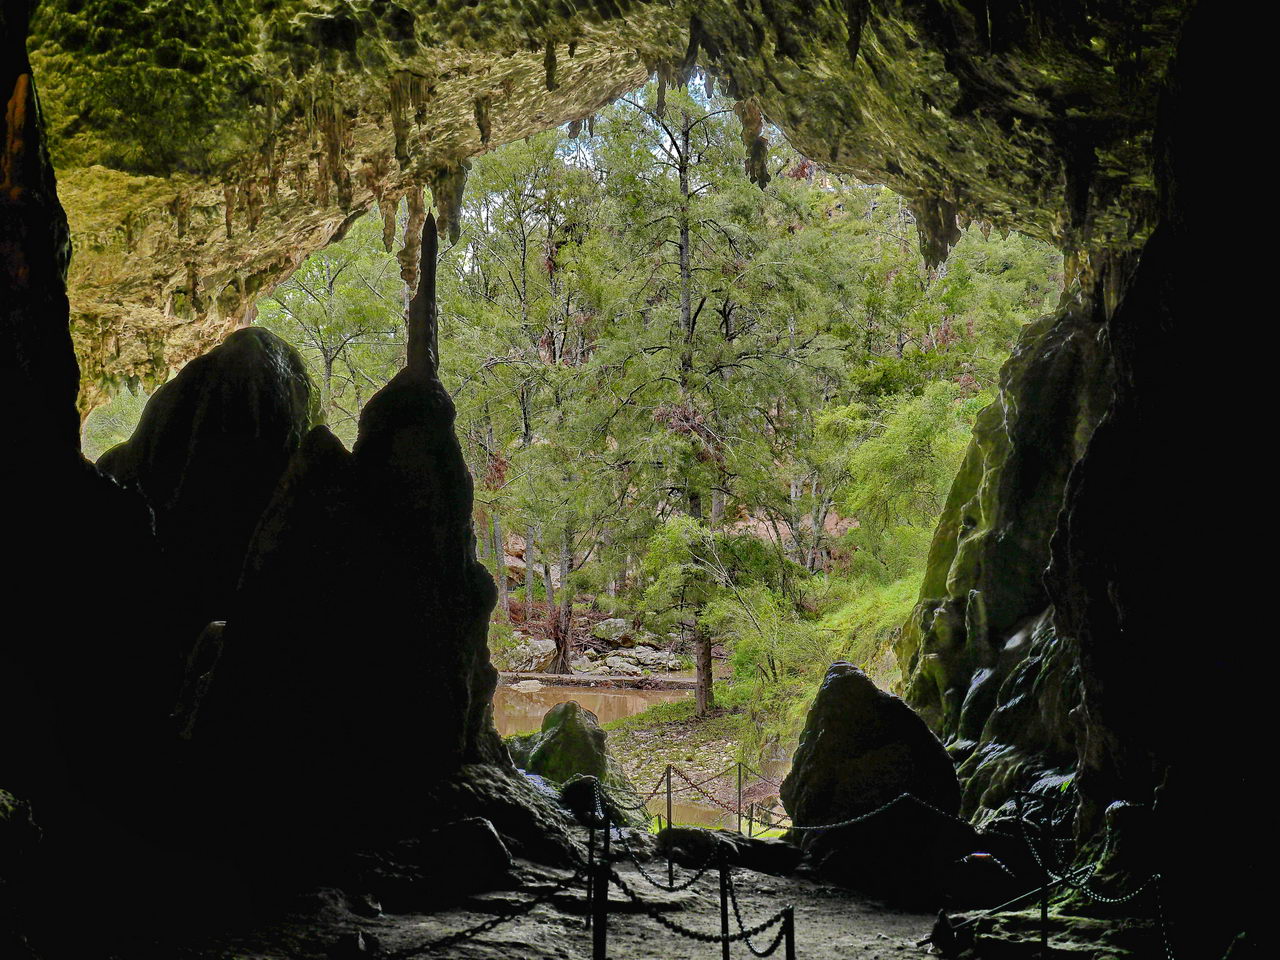
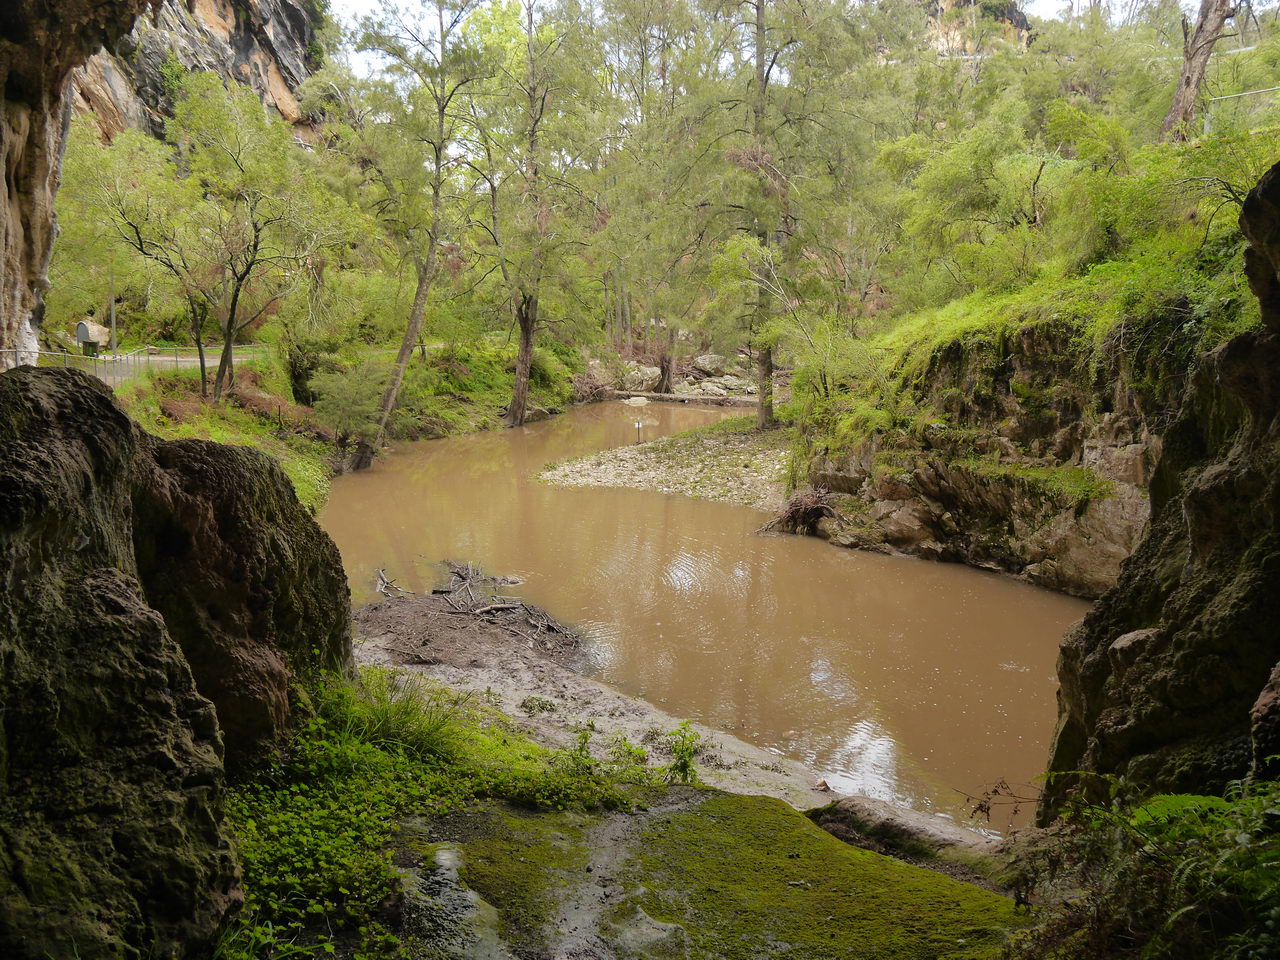
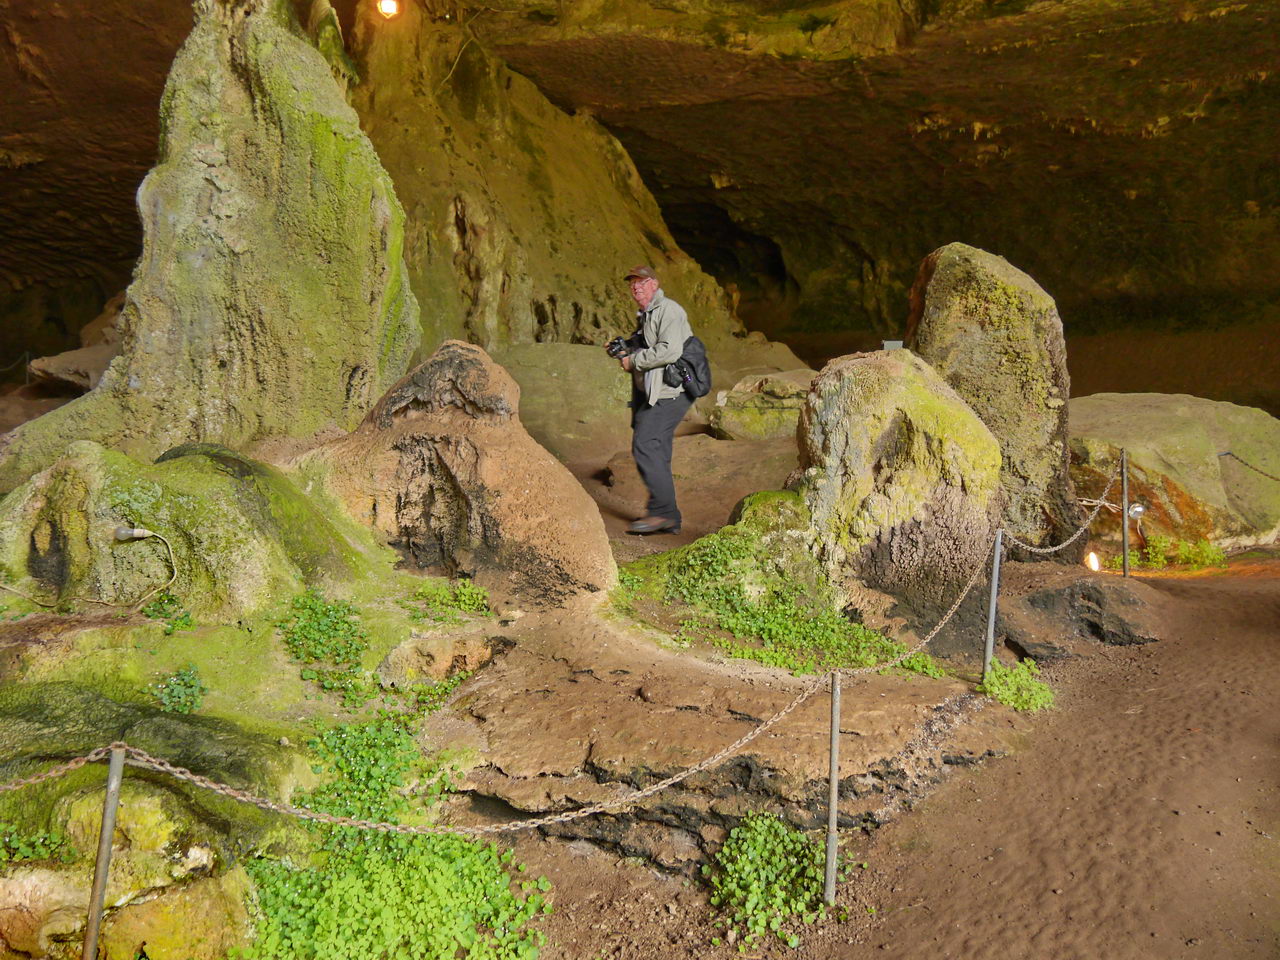
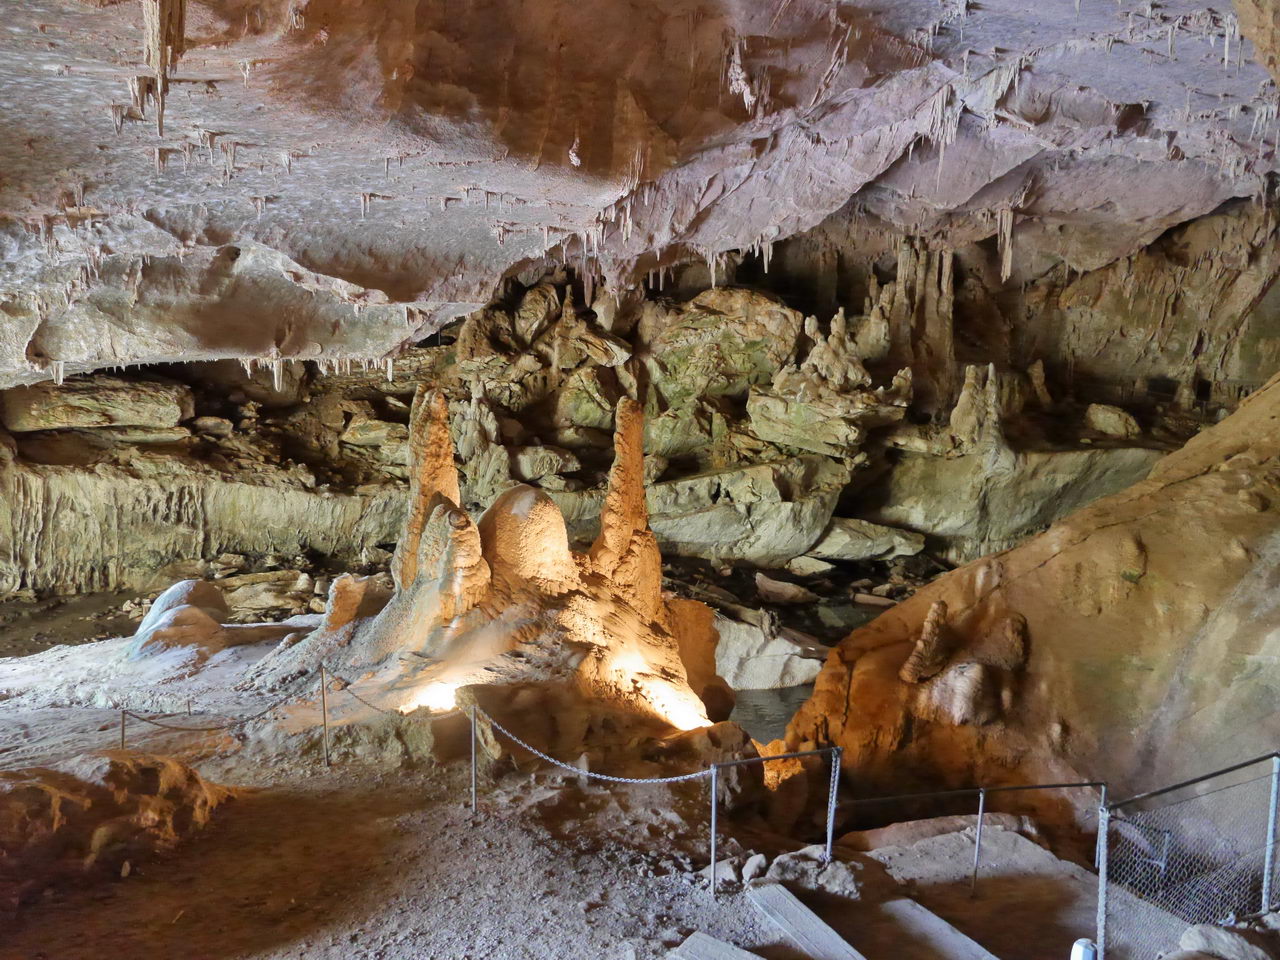
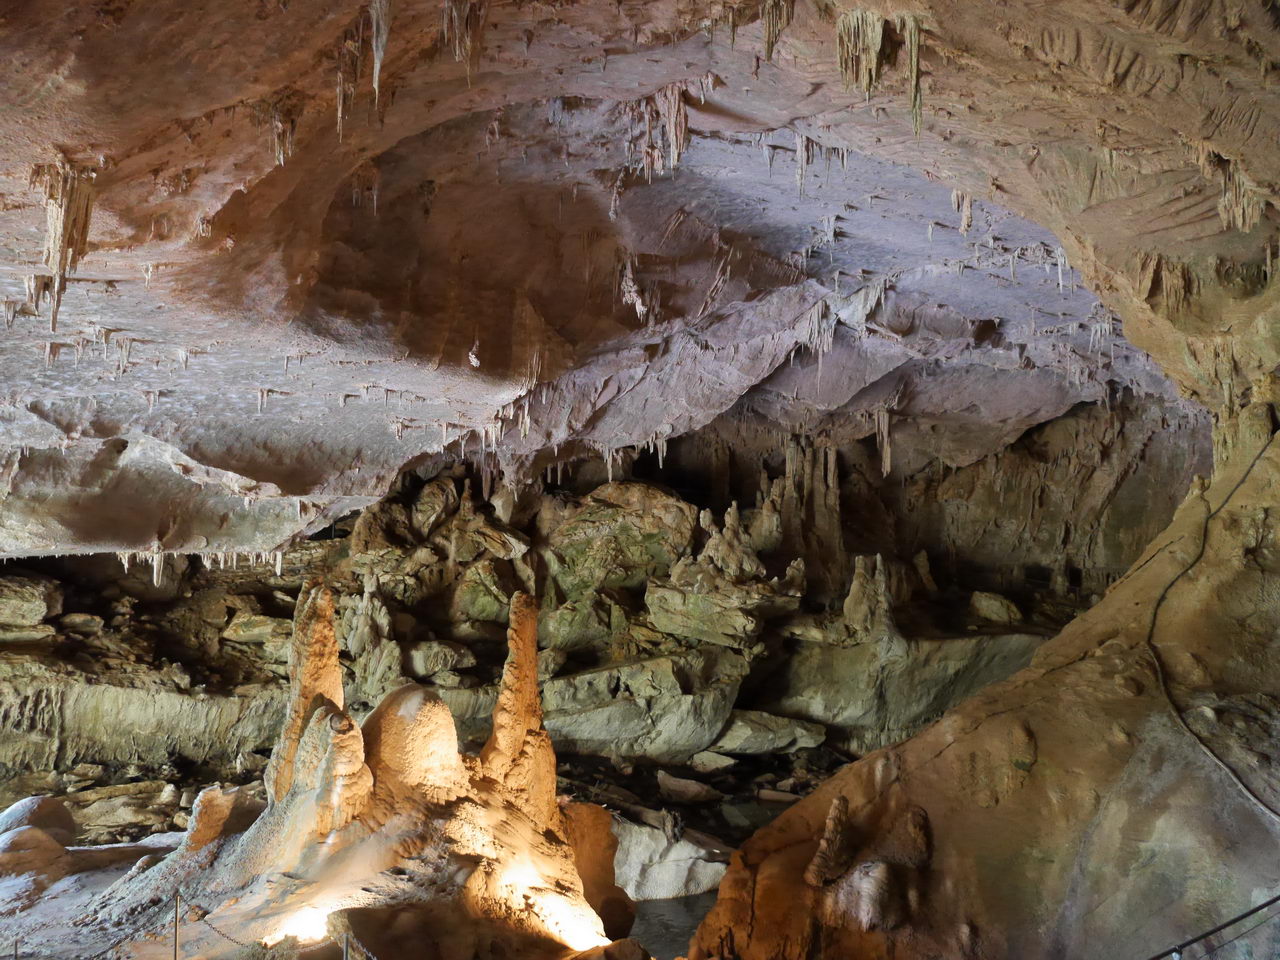
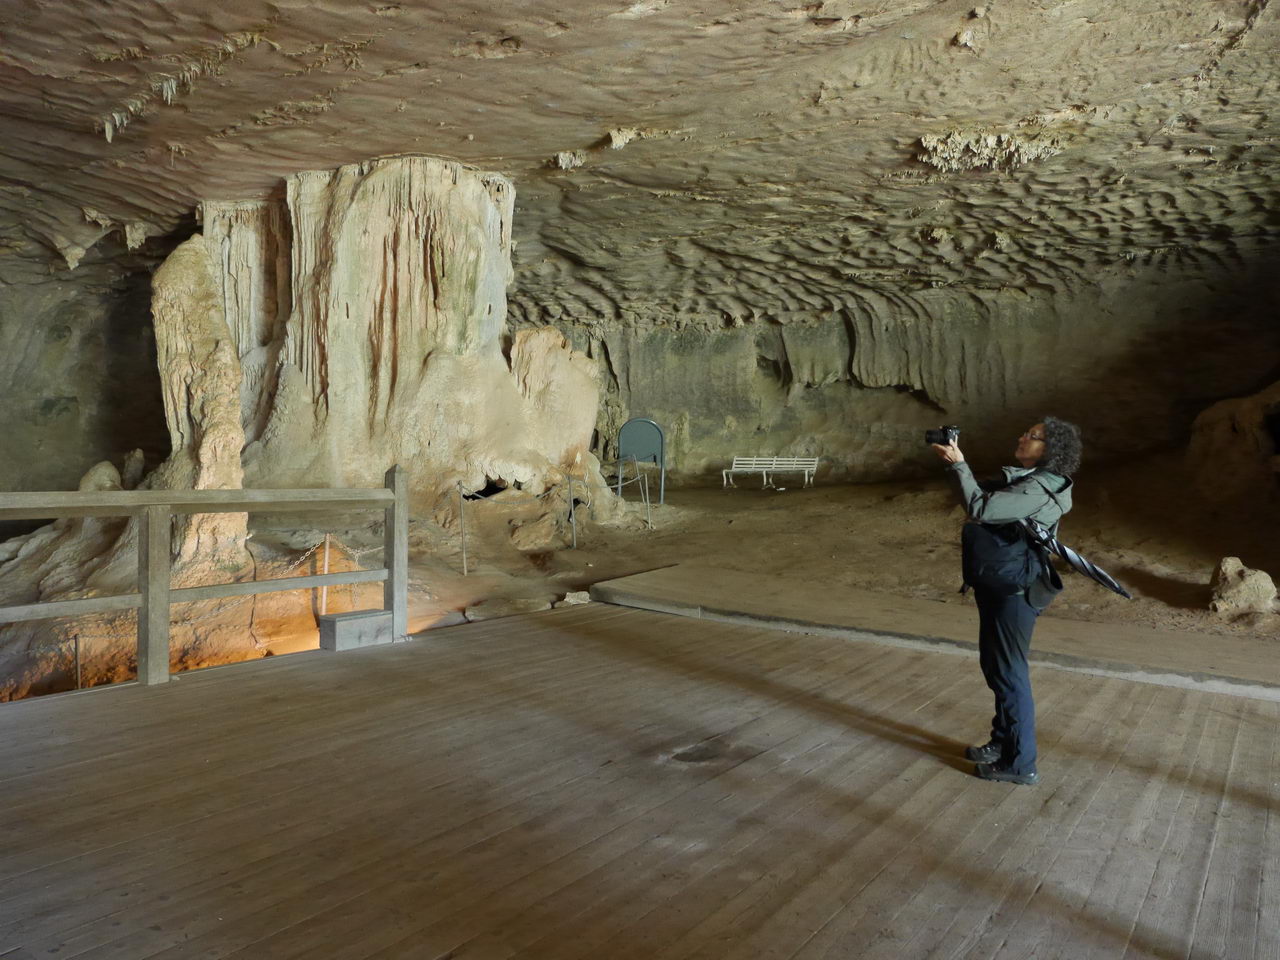
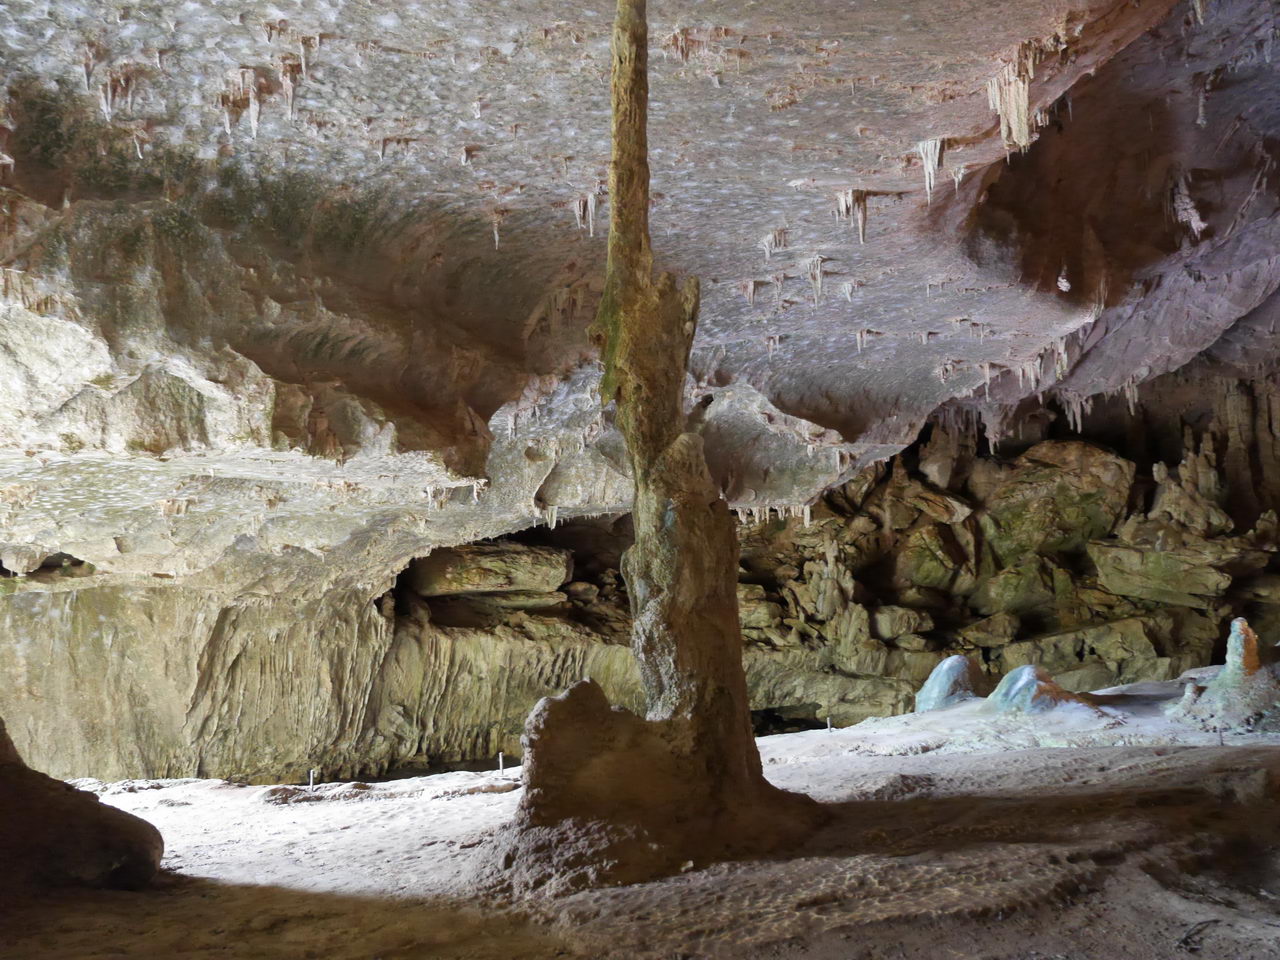
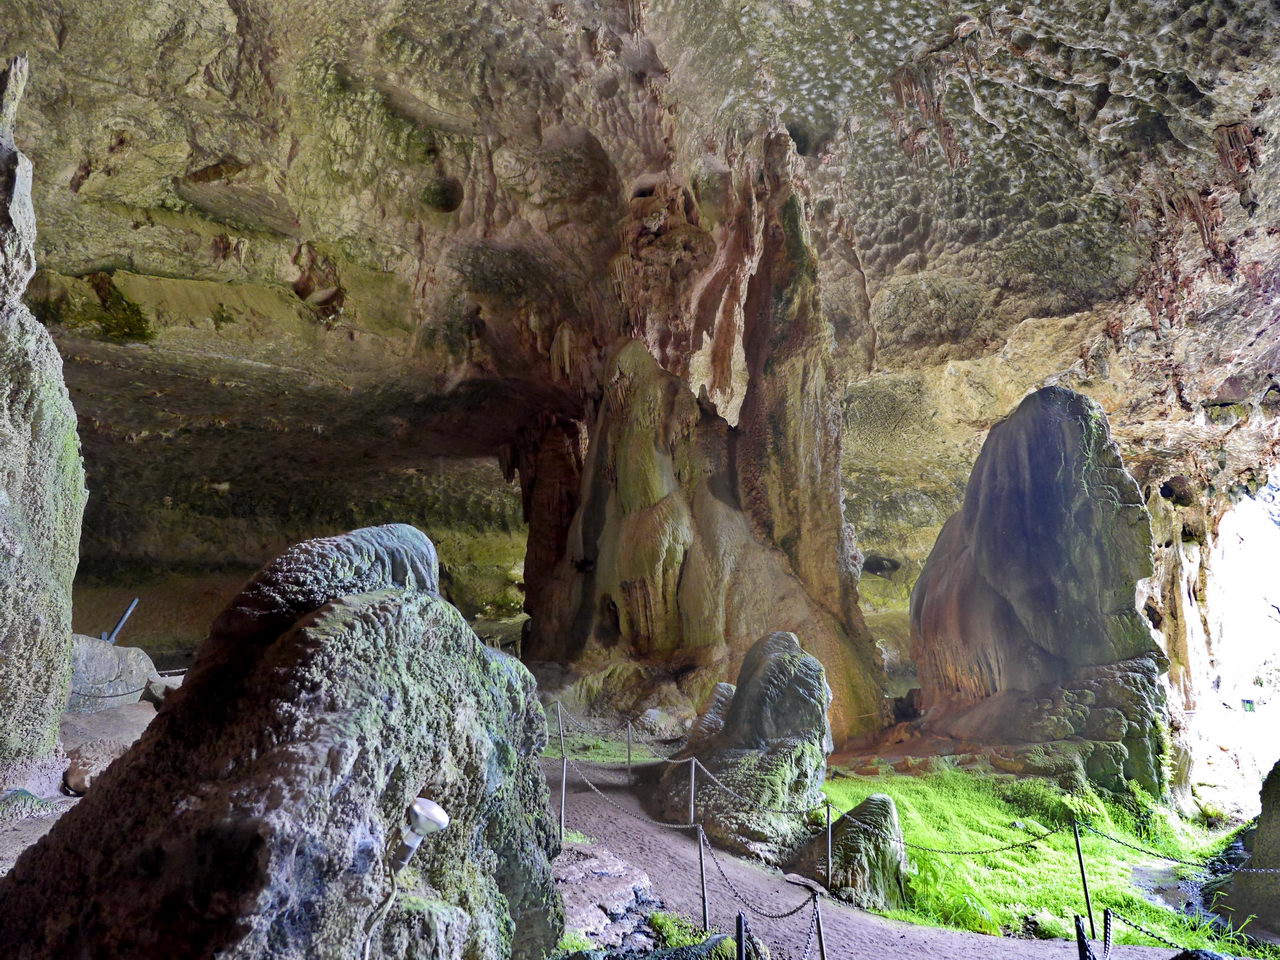
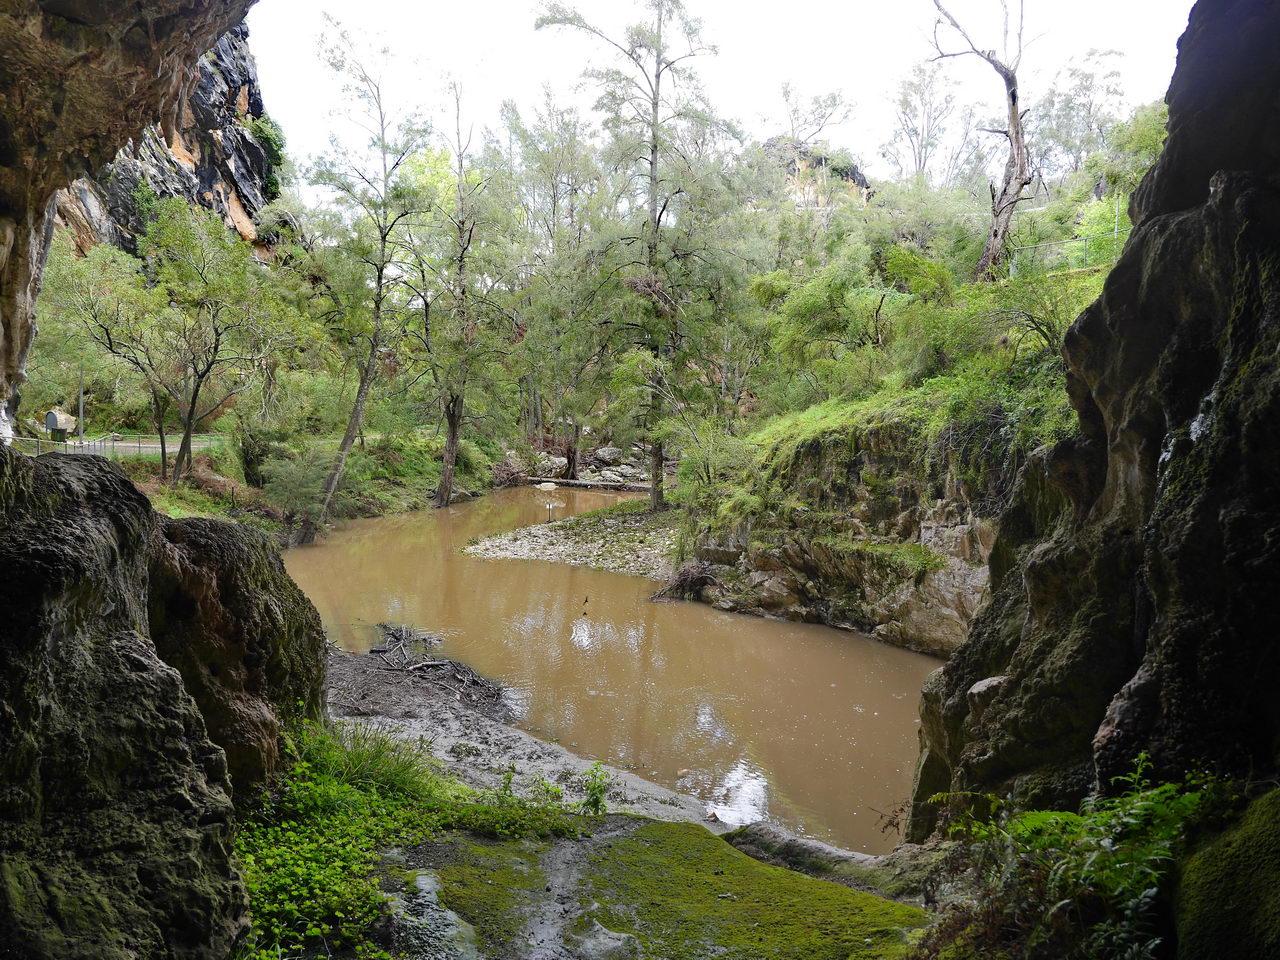
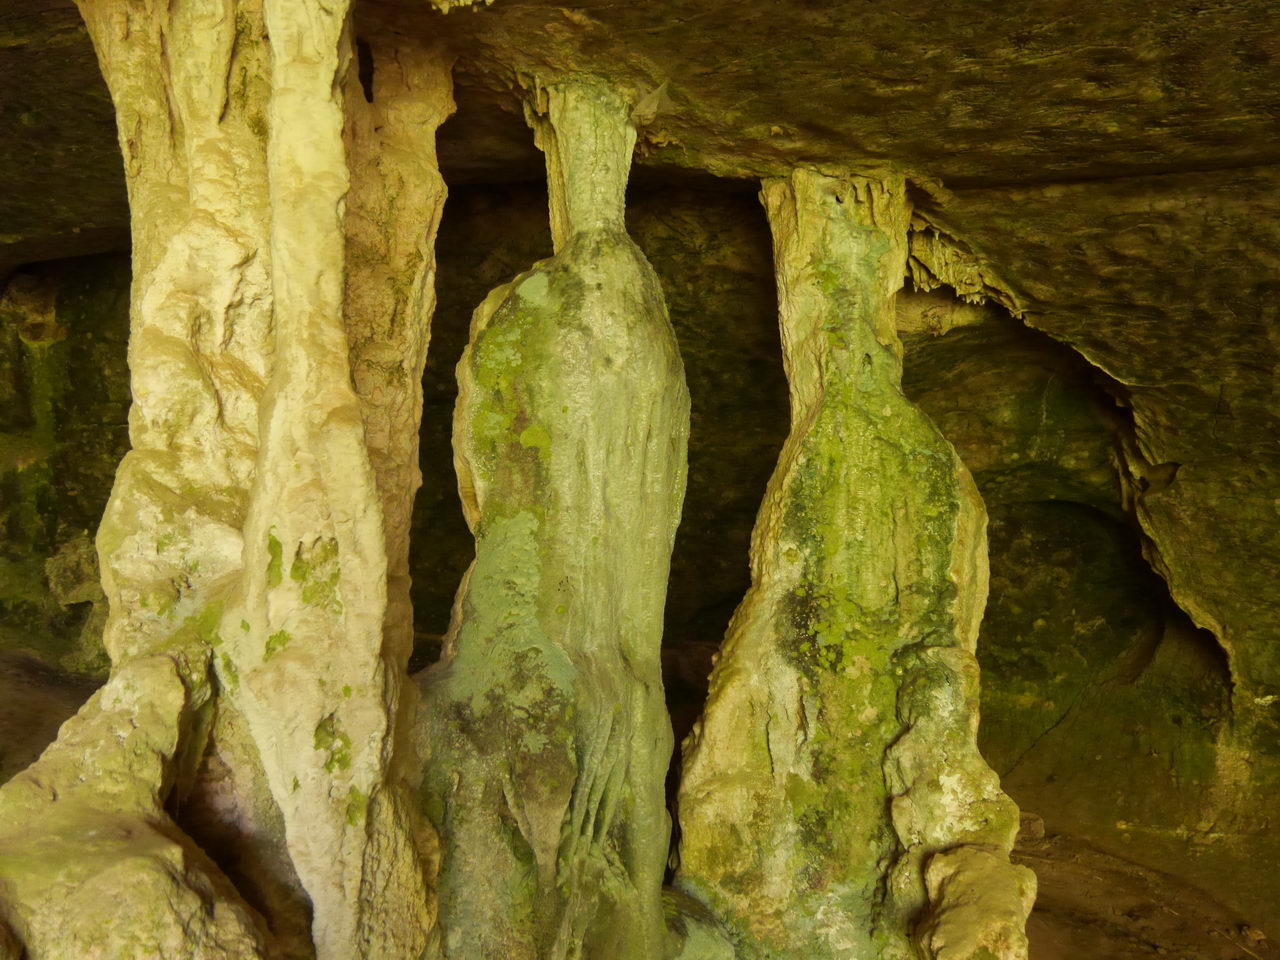
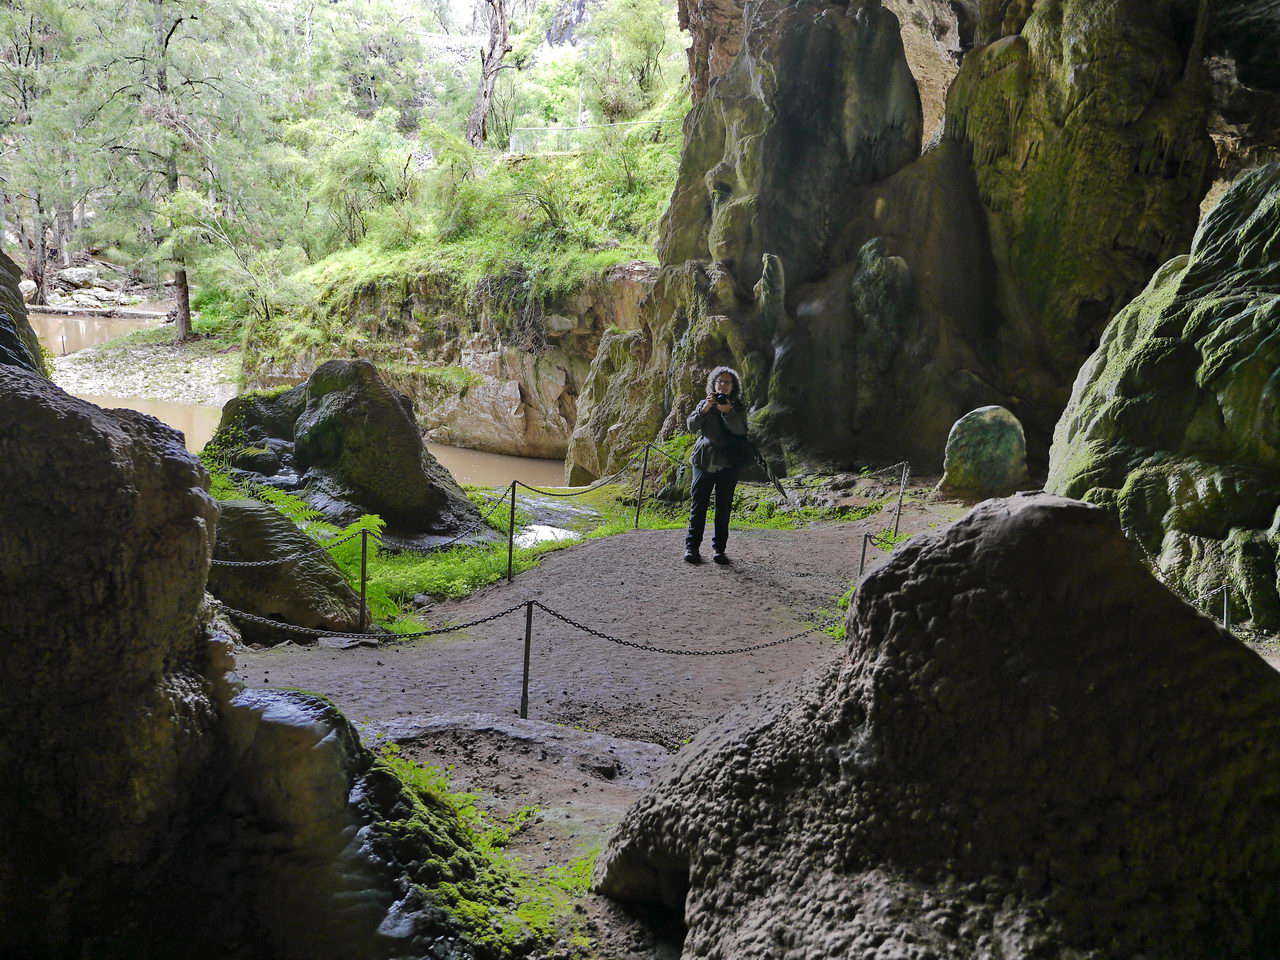
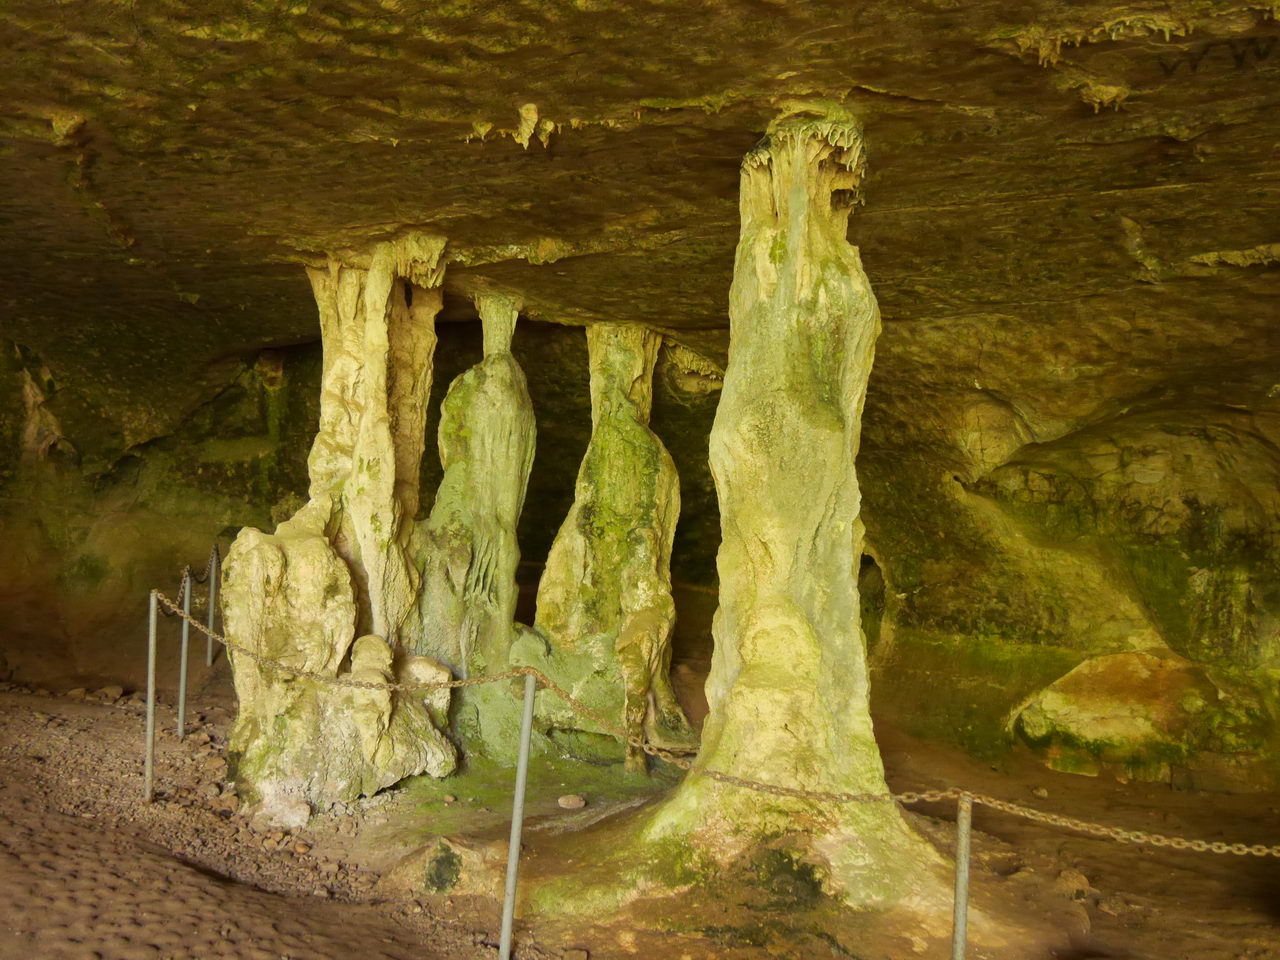
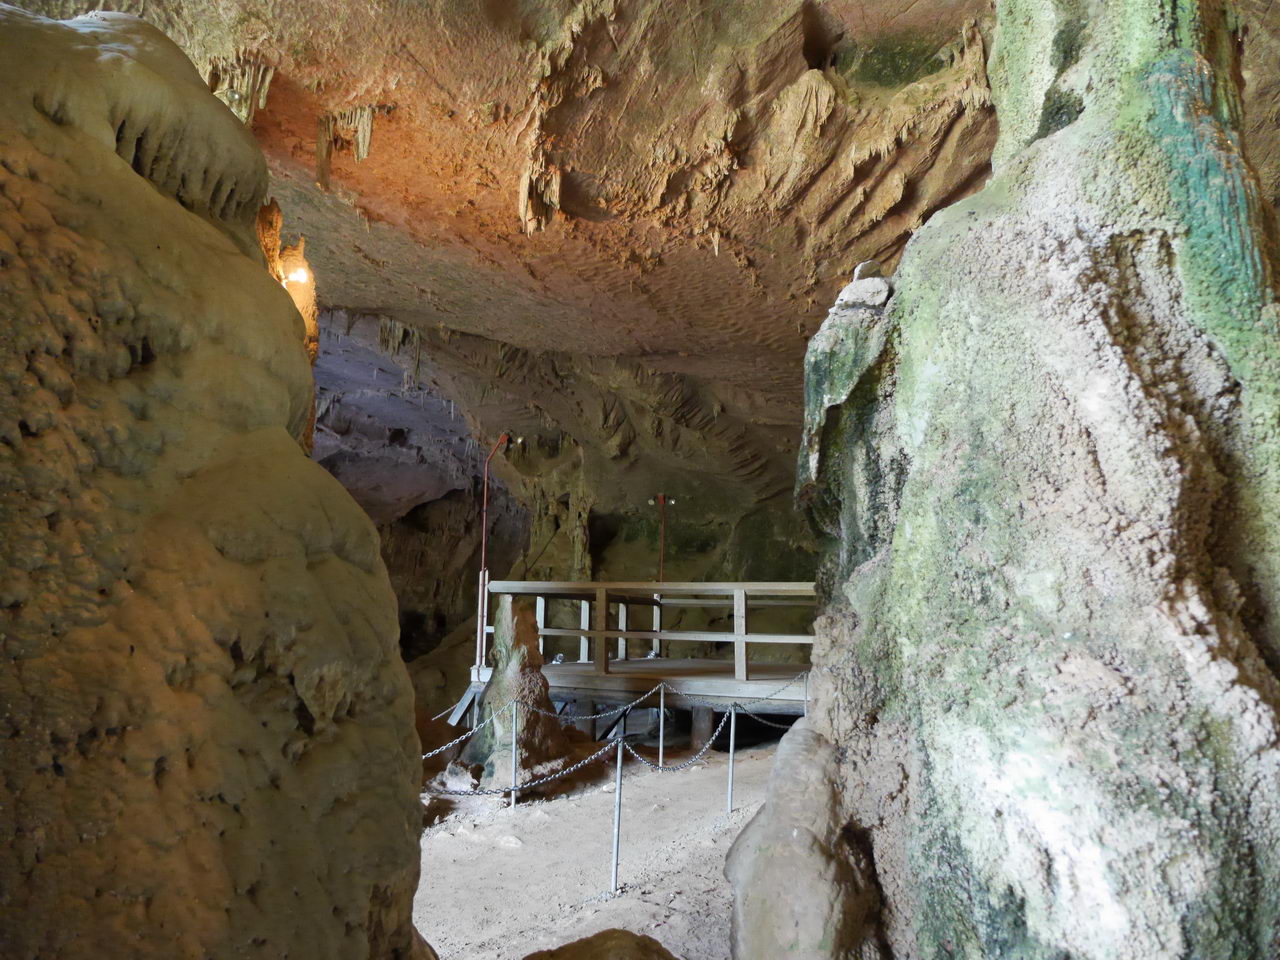
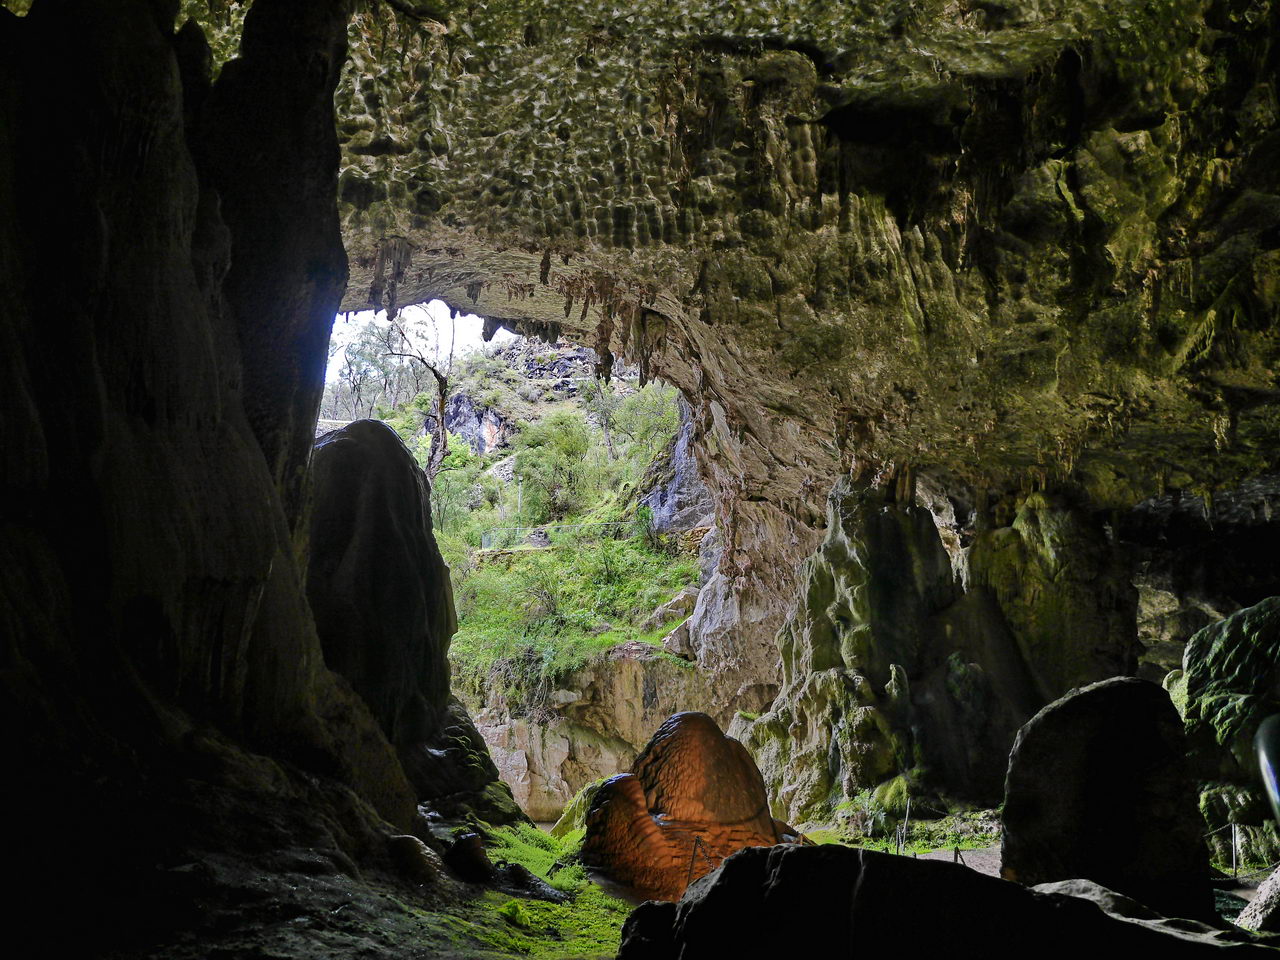
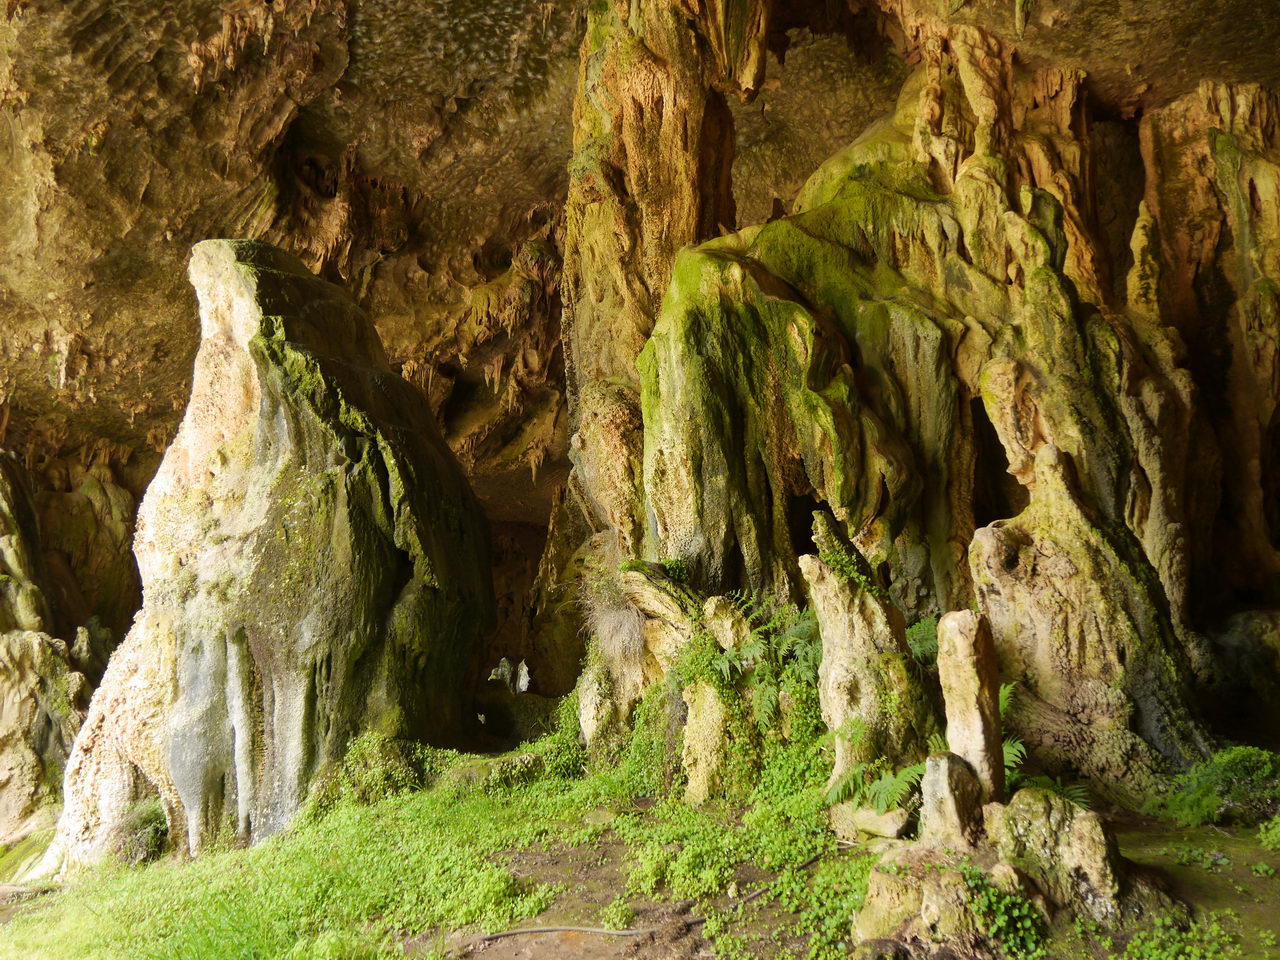
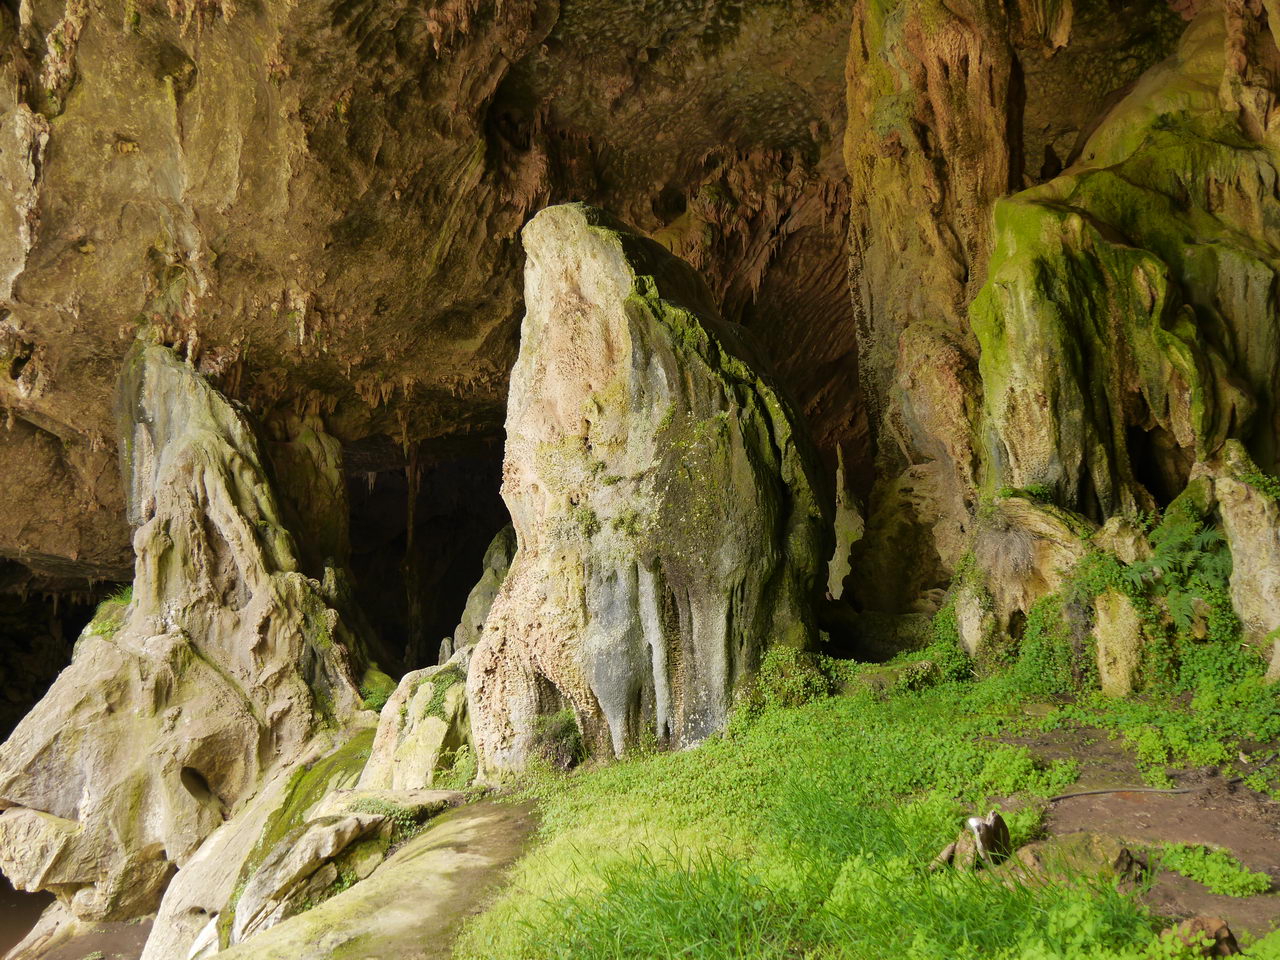
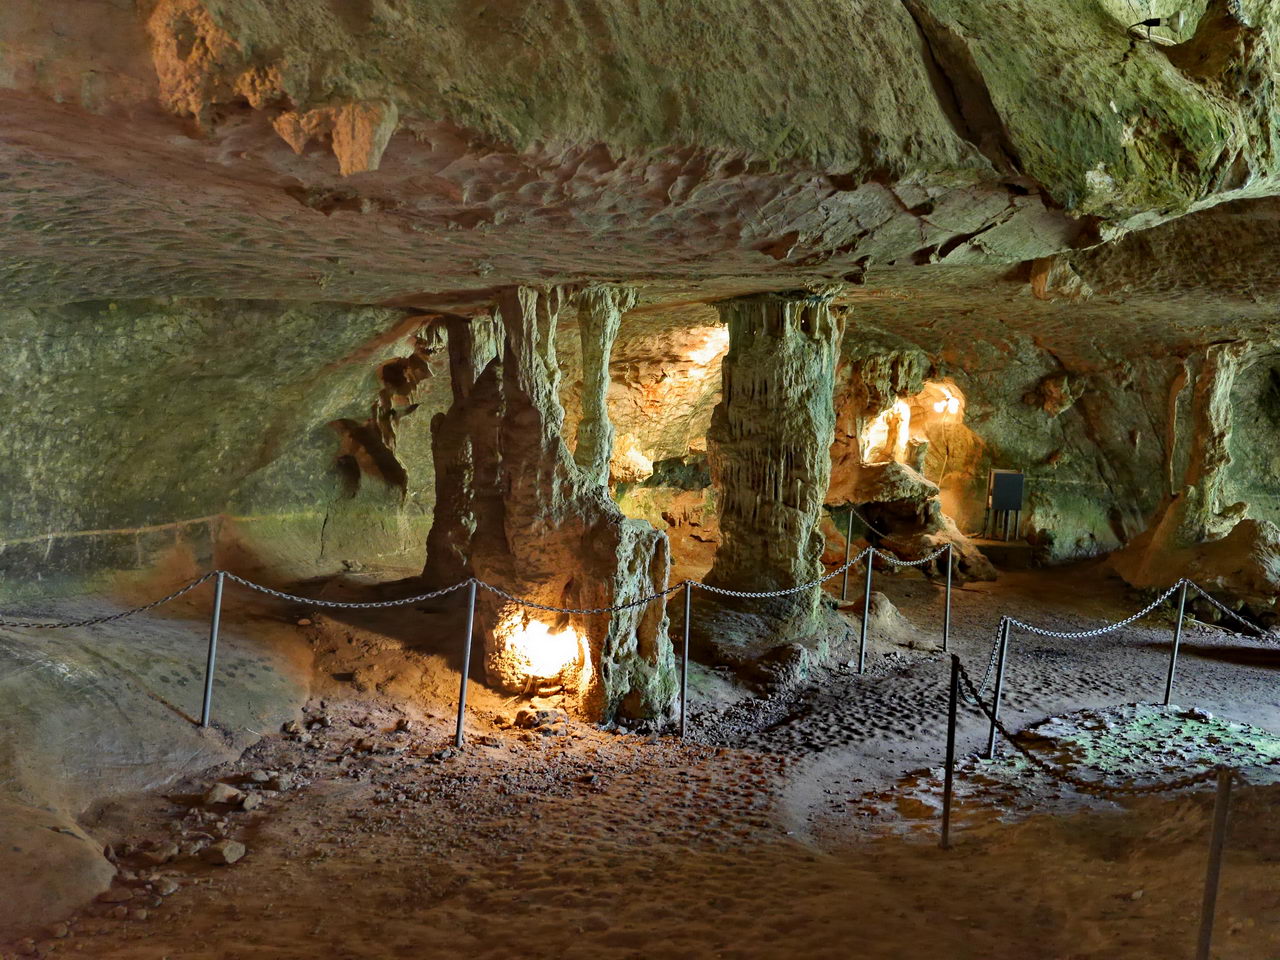
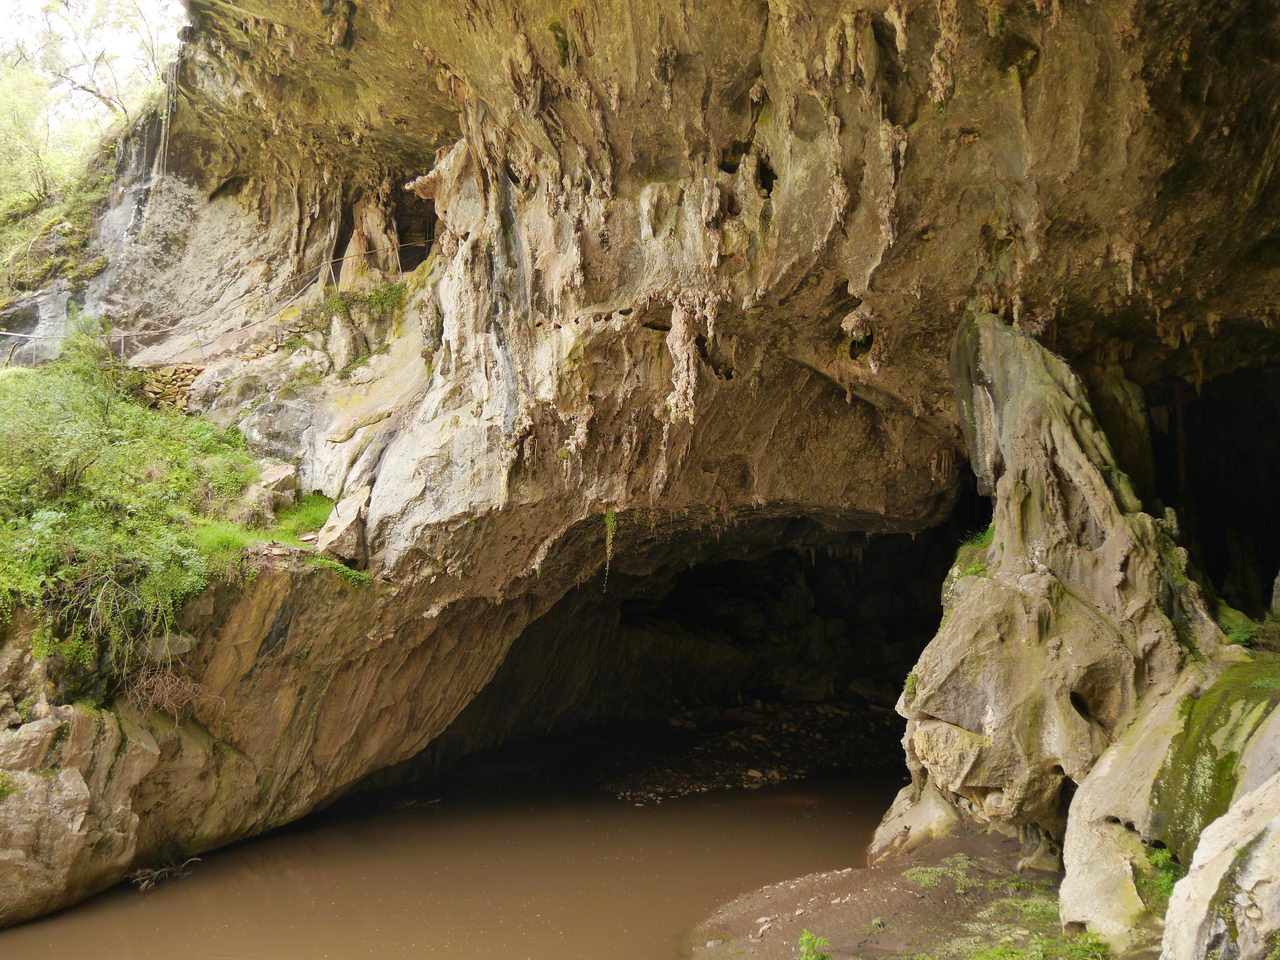
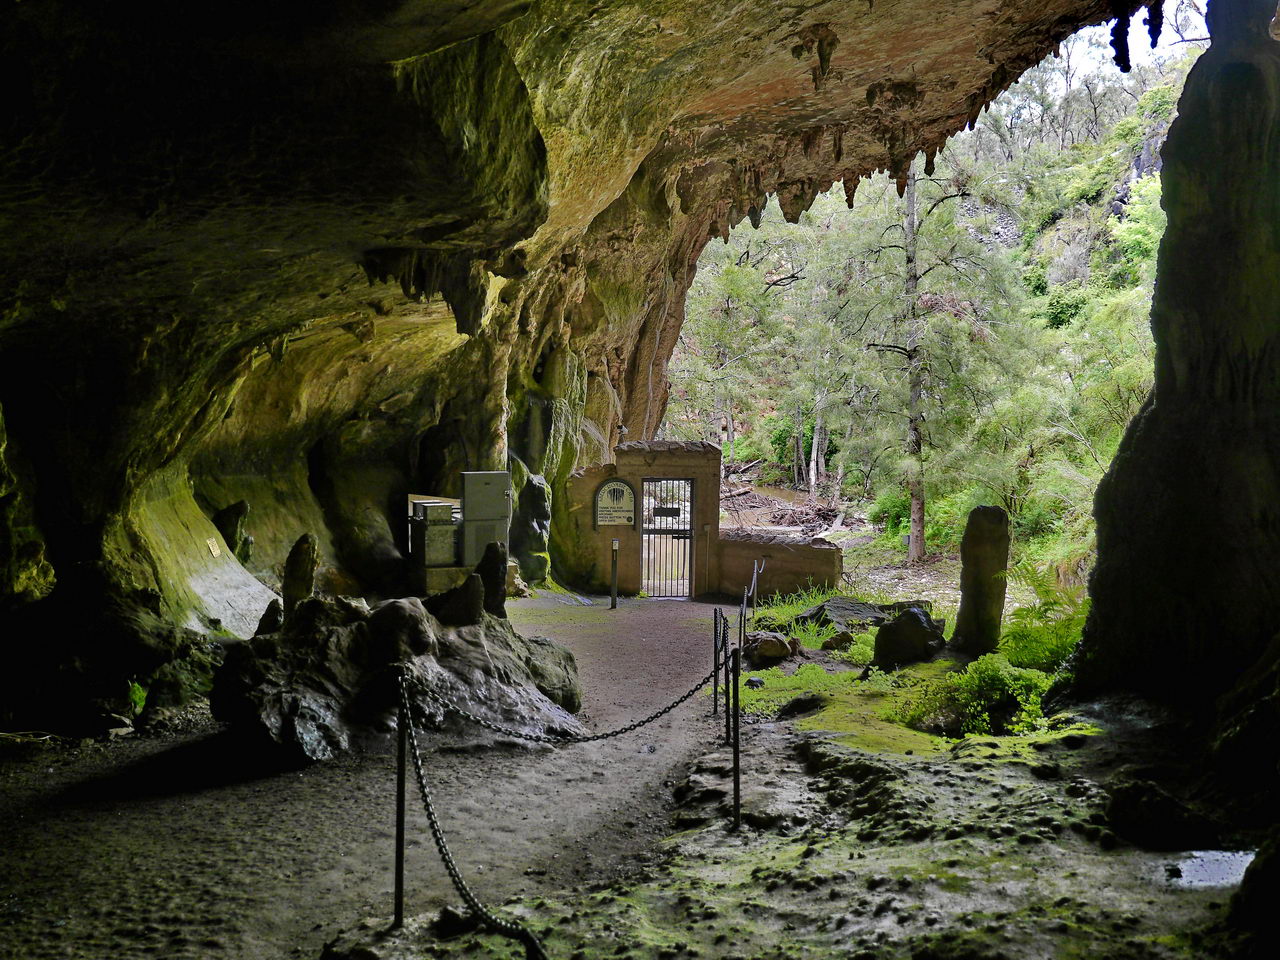
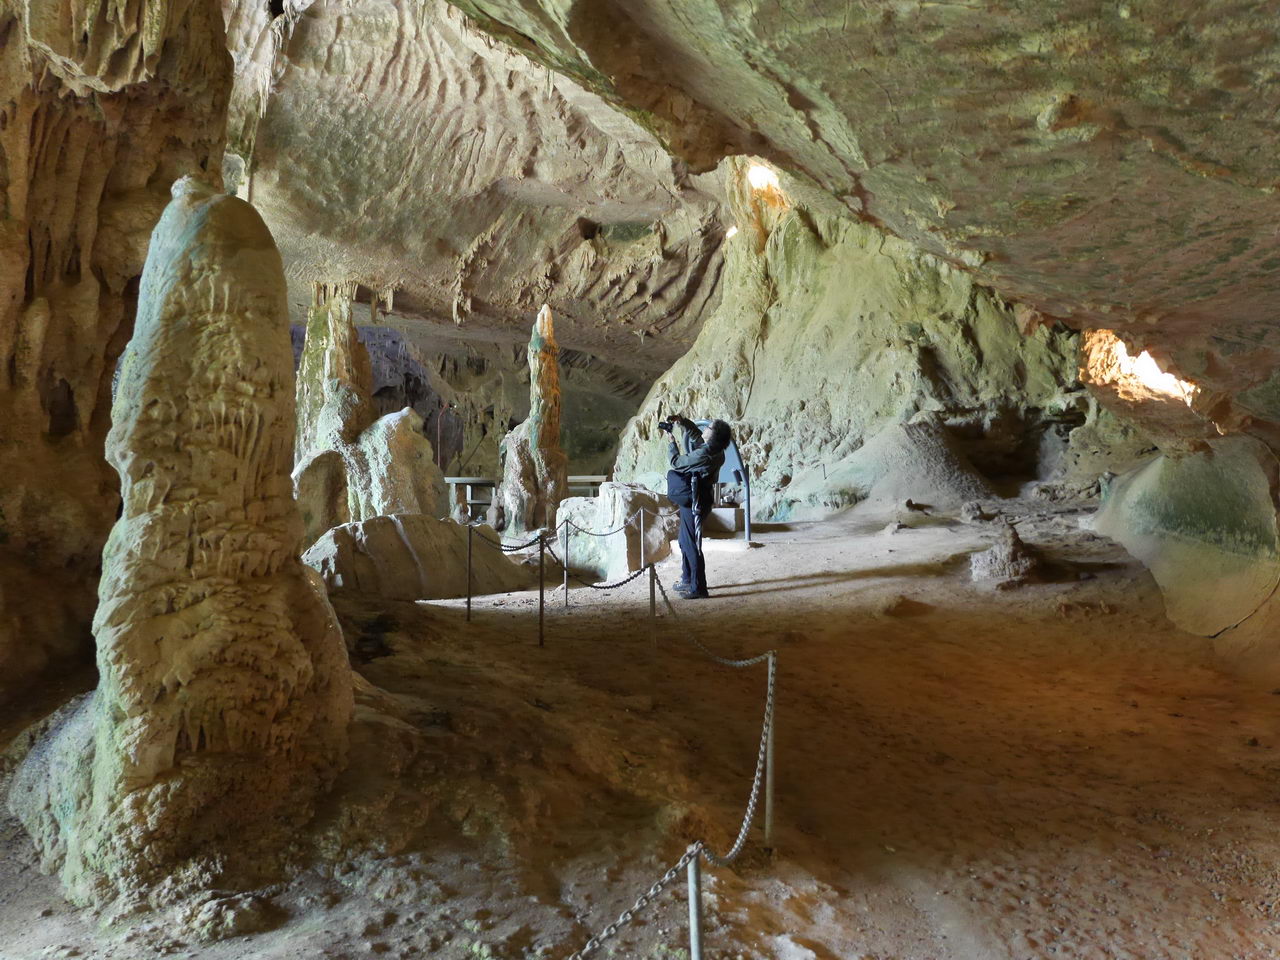
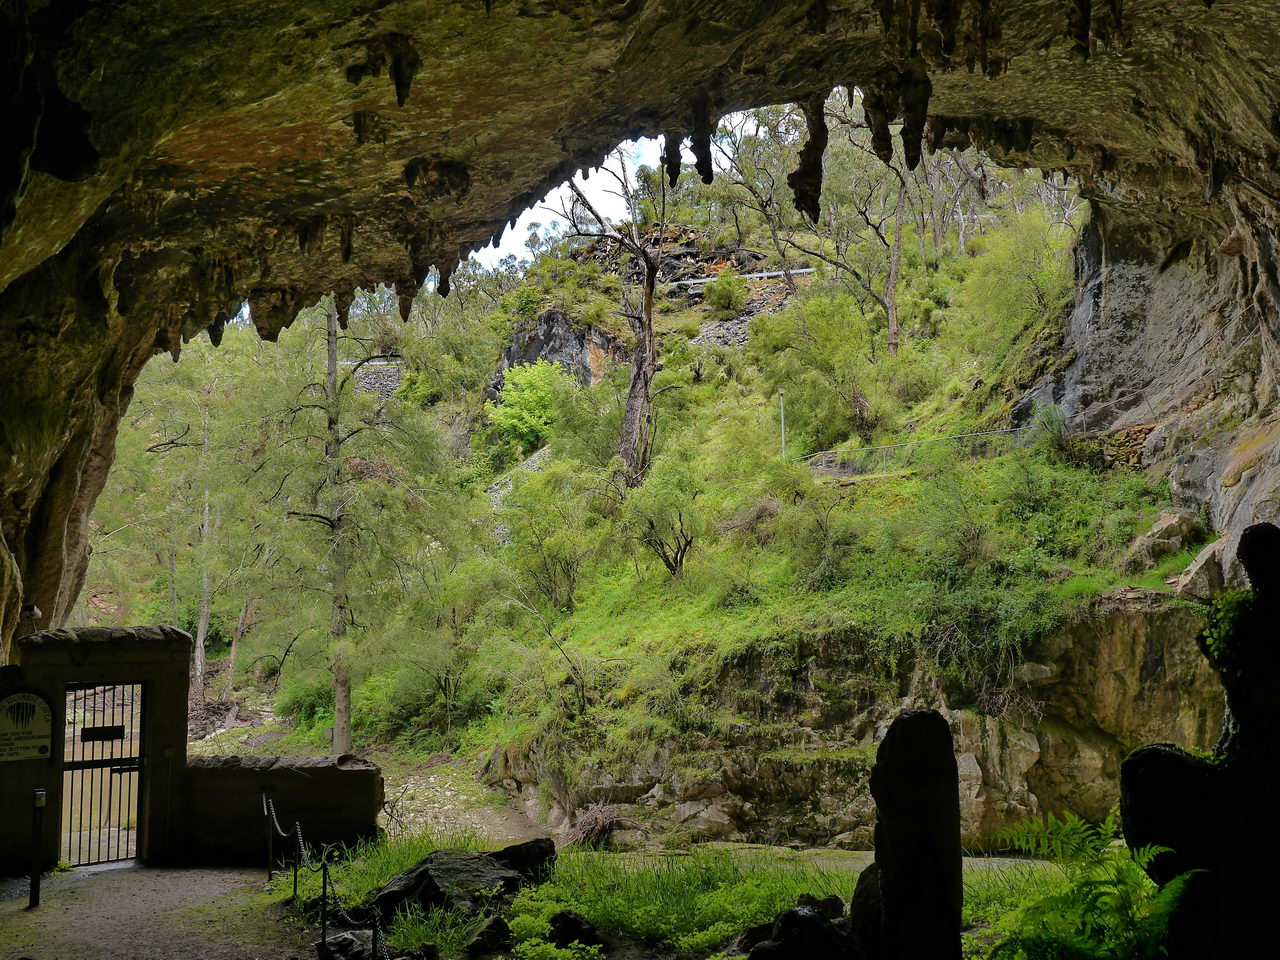
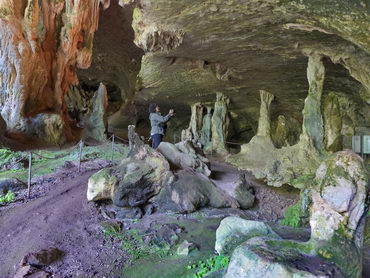
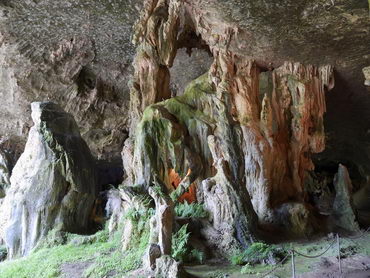
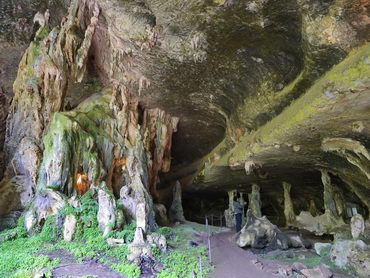
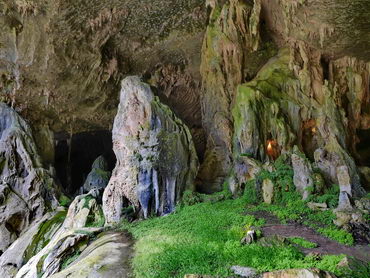
Notes: We had always wanted to come to the Abercrombie Caves and finally we had our chance. On a rather bleak day we drove down the narrow roadway to the base of the valley, thankfully meeting nobody else on the way or it would have been quite awkward for us and them, no wiggle room at all. The Ranger told us that only the self guided archway cave walk was open today, so we decided to see what it was like. The Archway is Abercrombie’s most famous feature and the largest natural arch in the Southern Hemisphere. The walk starts at the Rangers office and heads to the river and crosses over the arch to the far end of the cave itself. It is here you enter the cave and walk back through the cave. Walking on paths close to the creek bed then over a bridge, the path had side tracks to explore and even a swing bridge to cross for fun, before leaving the cave and heading back to the Rangers Office. The cave has a long social history, including the gold miner’s dance platform, which we were told is still used today. Fortunately the tour features automatic lighting and has information signs about the cave origins. This was a great self-guided tour. After a lunch that we bought at the park Kiosk we again drove up the rather narrow road and again thankfully we met no-one else, just as the Ranger promised. However at lunch we did see a much bigger caravan than ours come down which made me, at least, apprehensive regarding the trip back up the hill. |
|
|
|
|
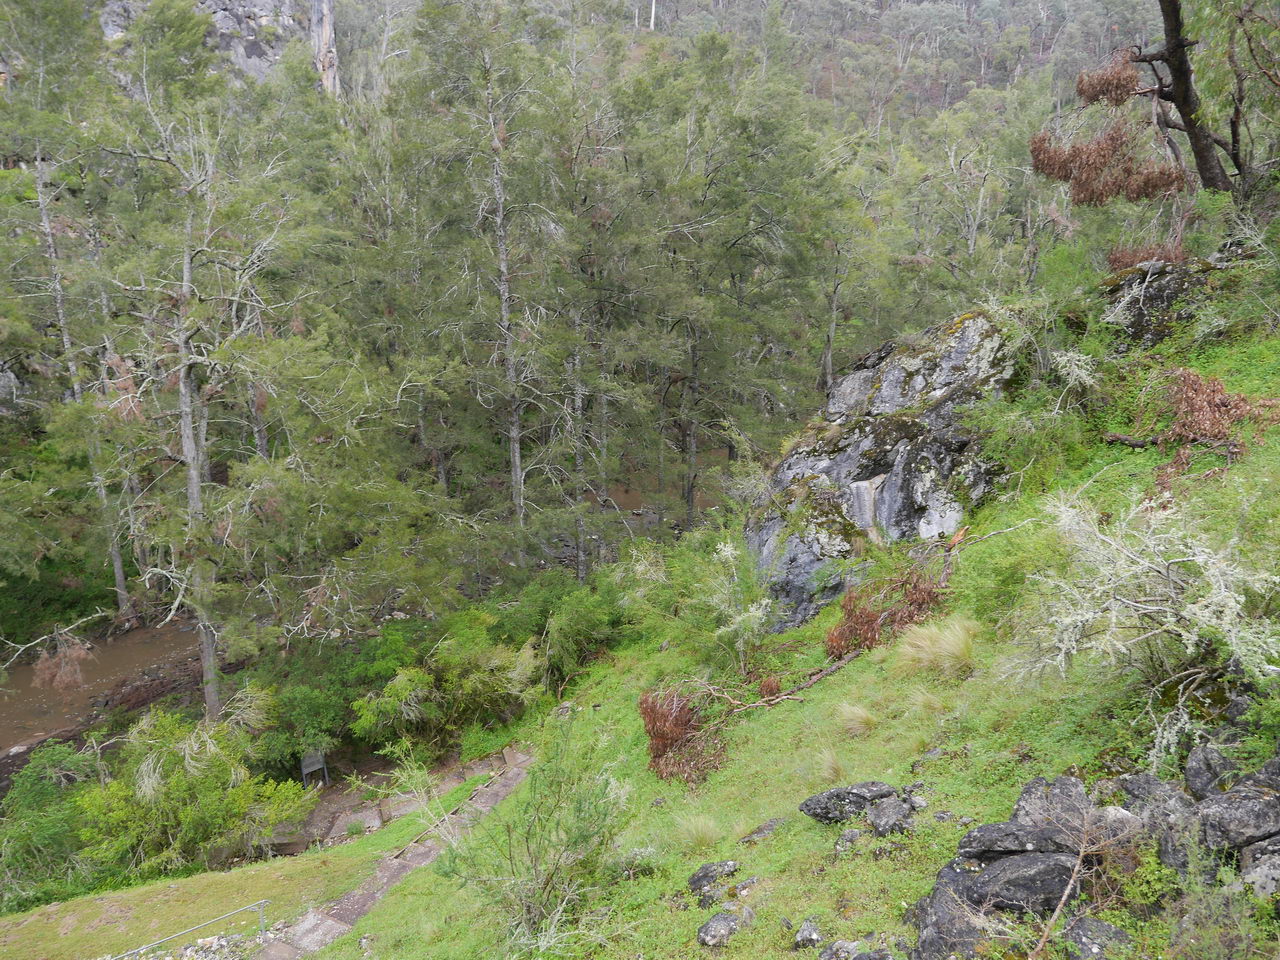
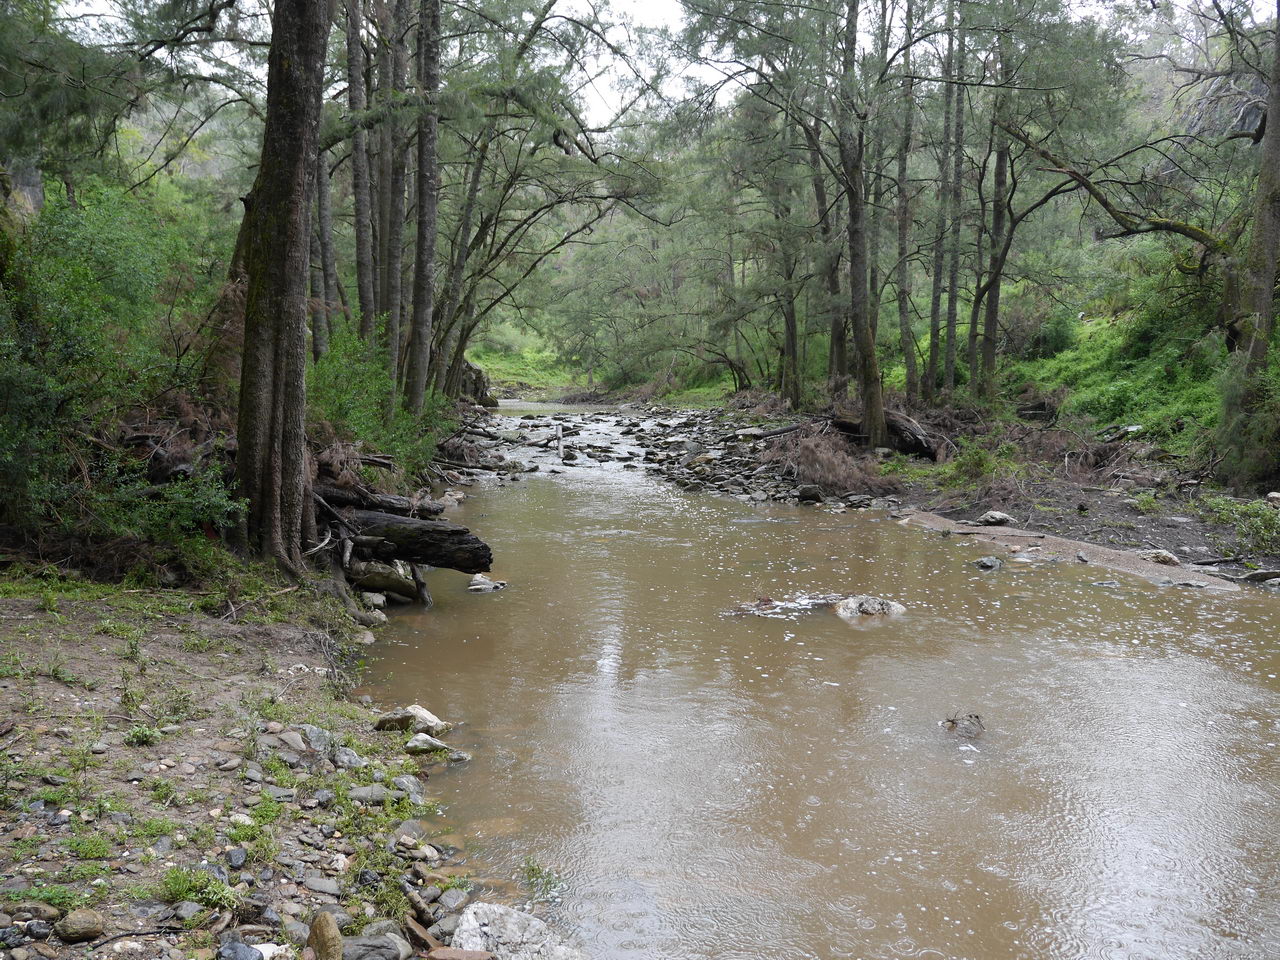
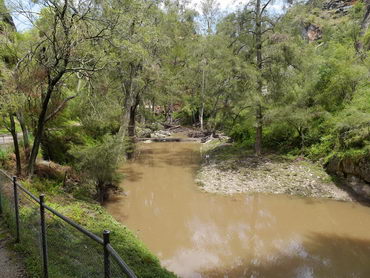
| Starting the walk | A vintage swing bridge | Looking upstream towards the caves |
|
|
|
|
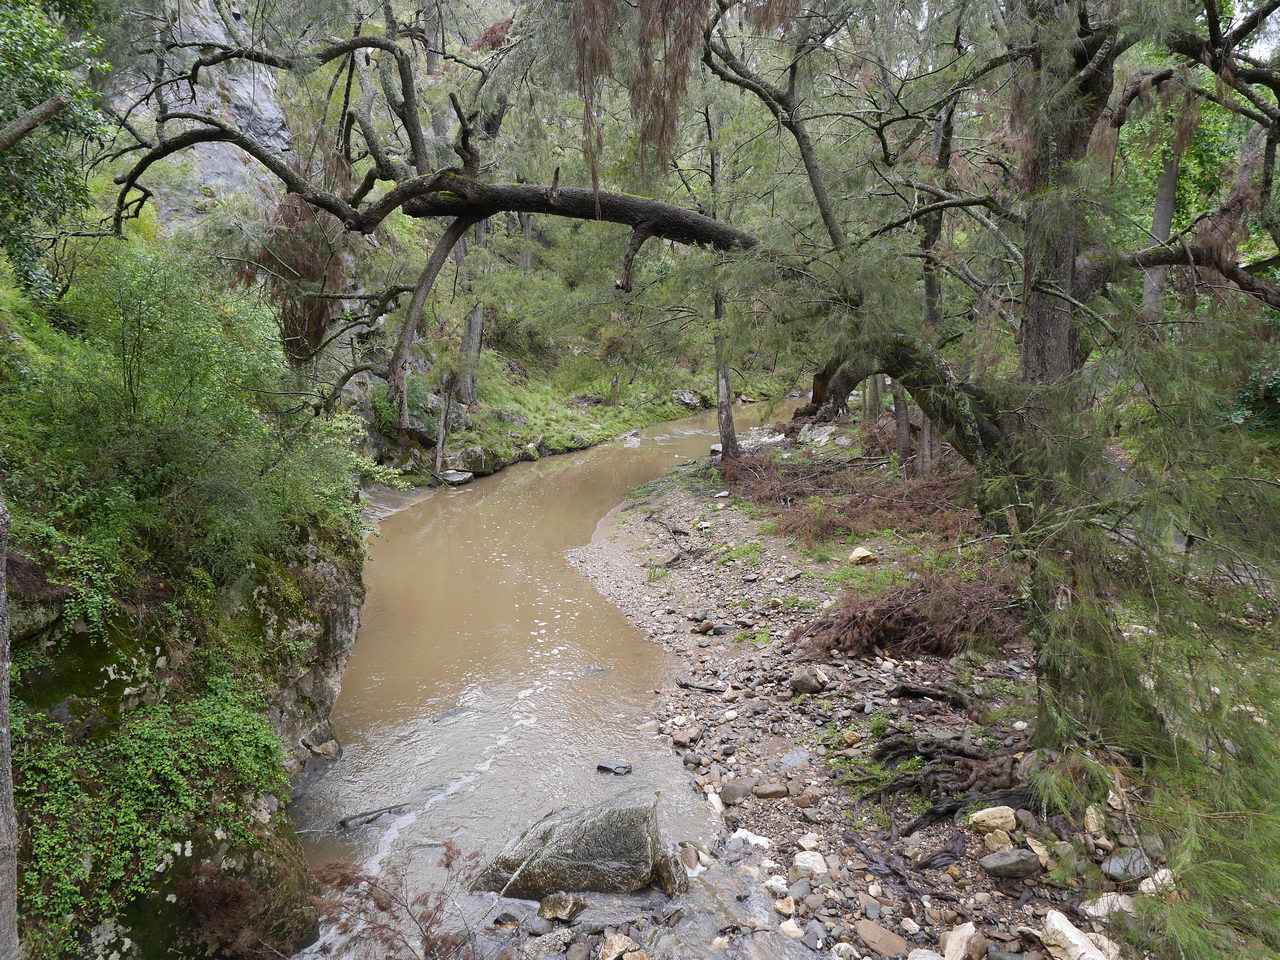
| Looking downstream | Crossing the Swing bridge | View - Swing bridge in the distance |
|
|
|
|
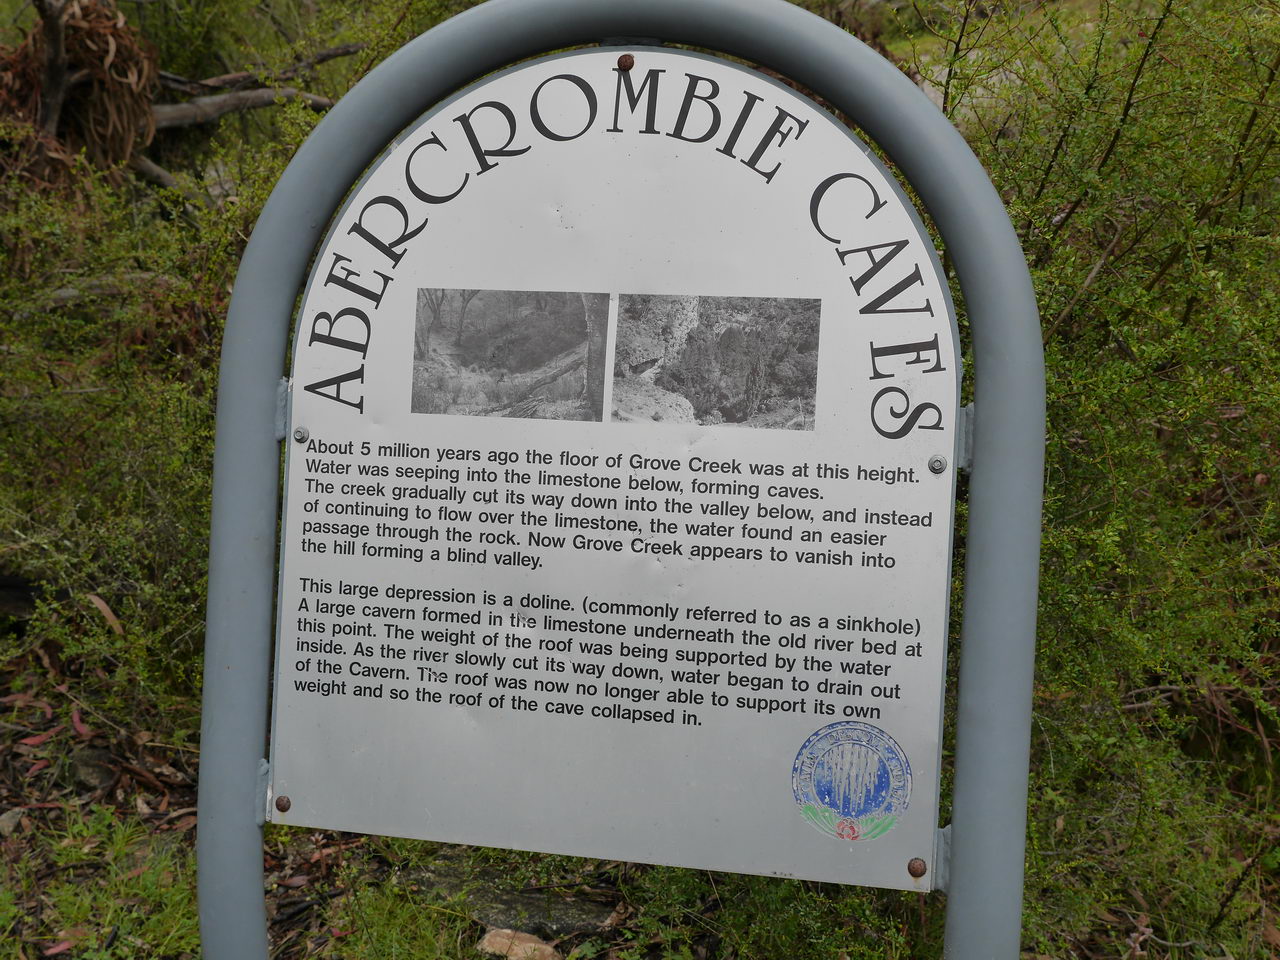
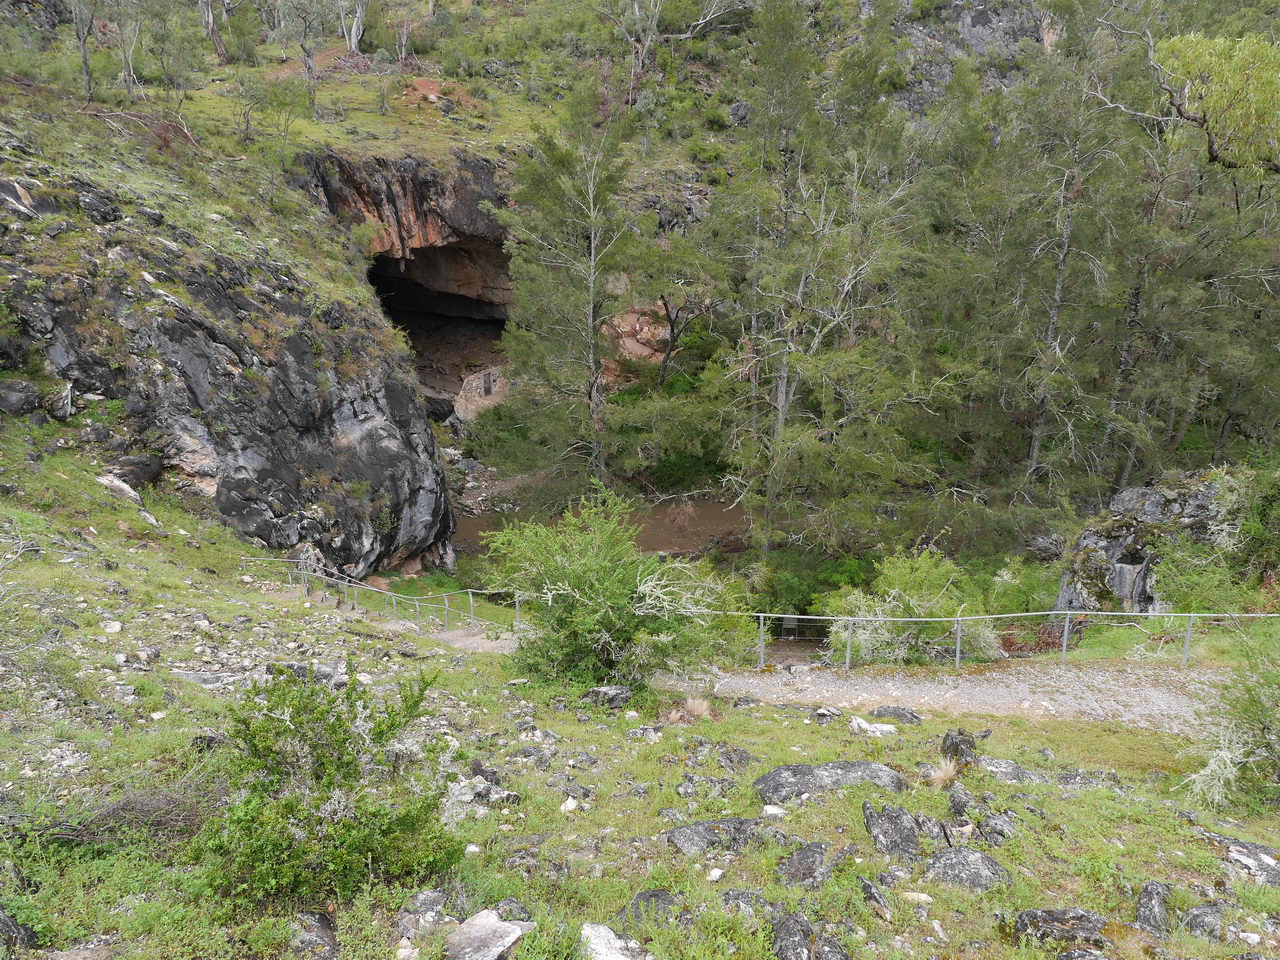
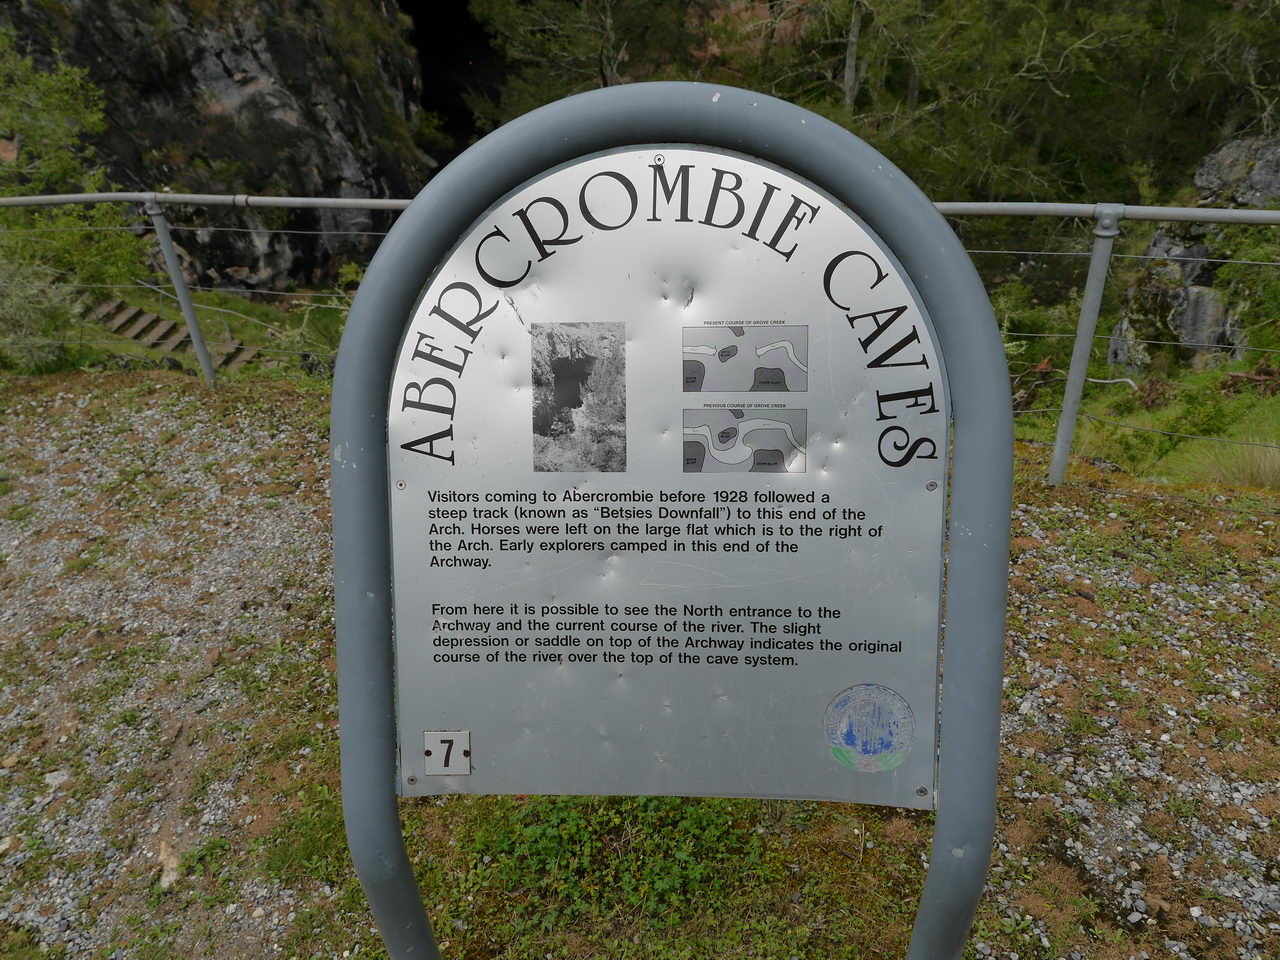
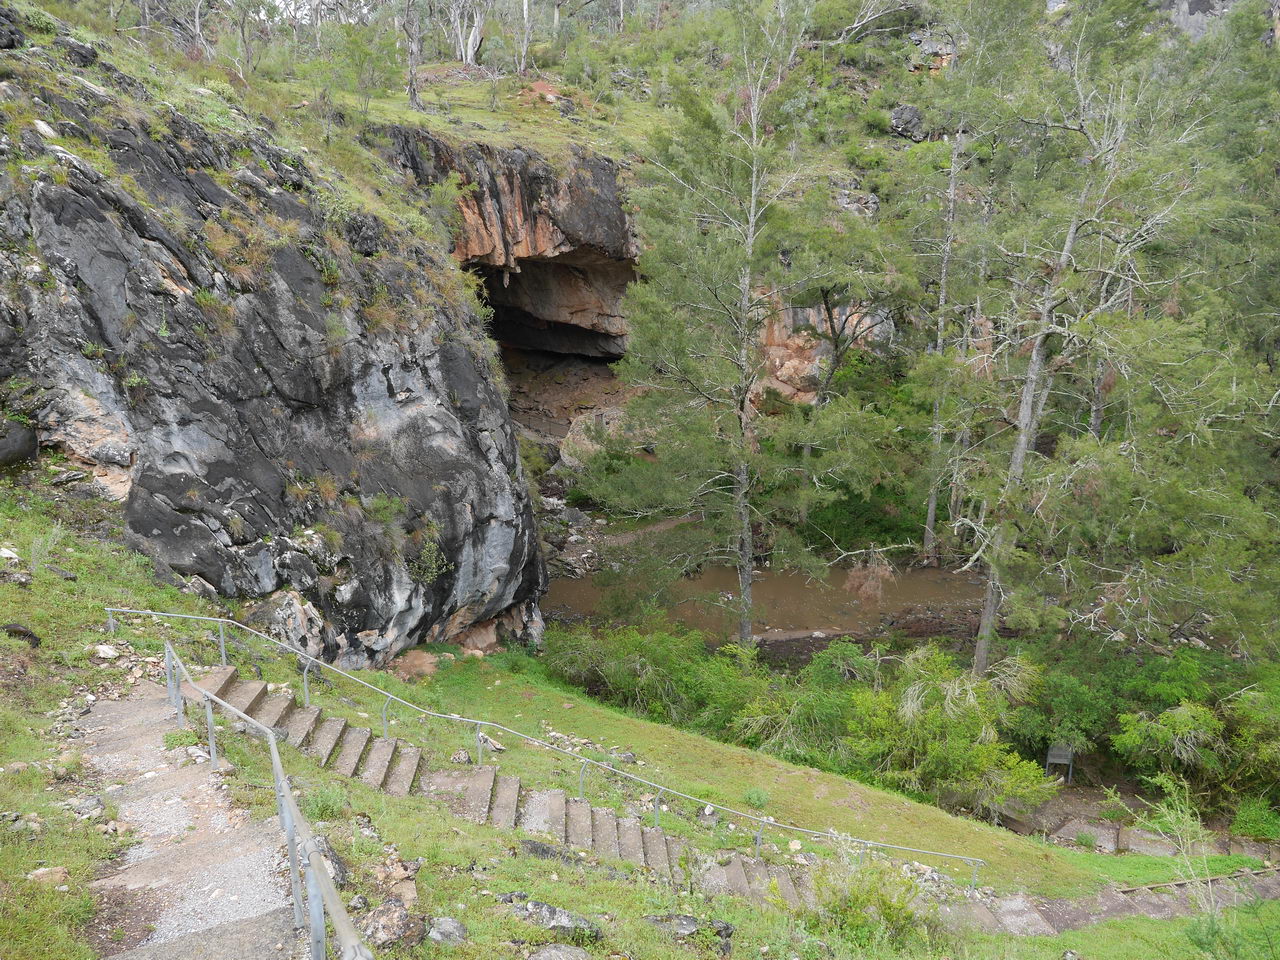
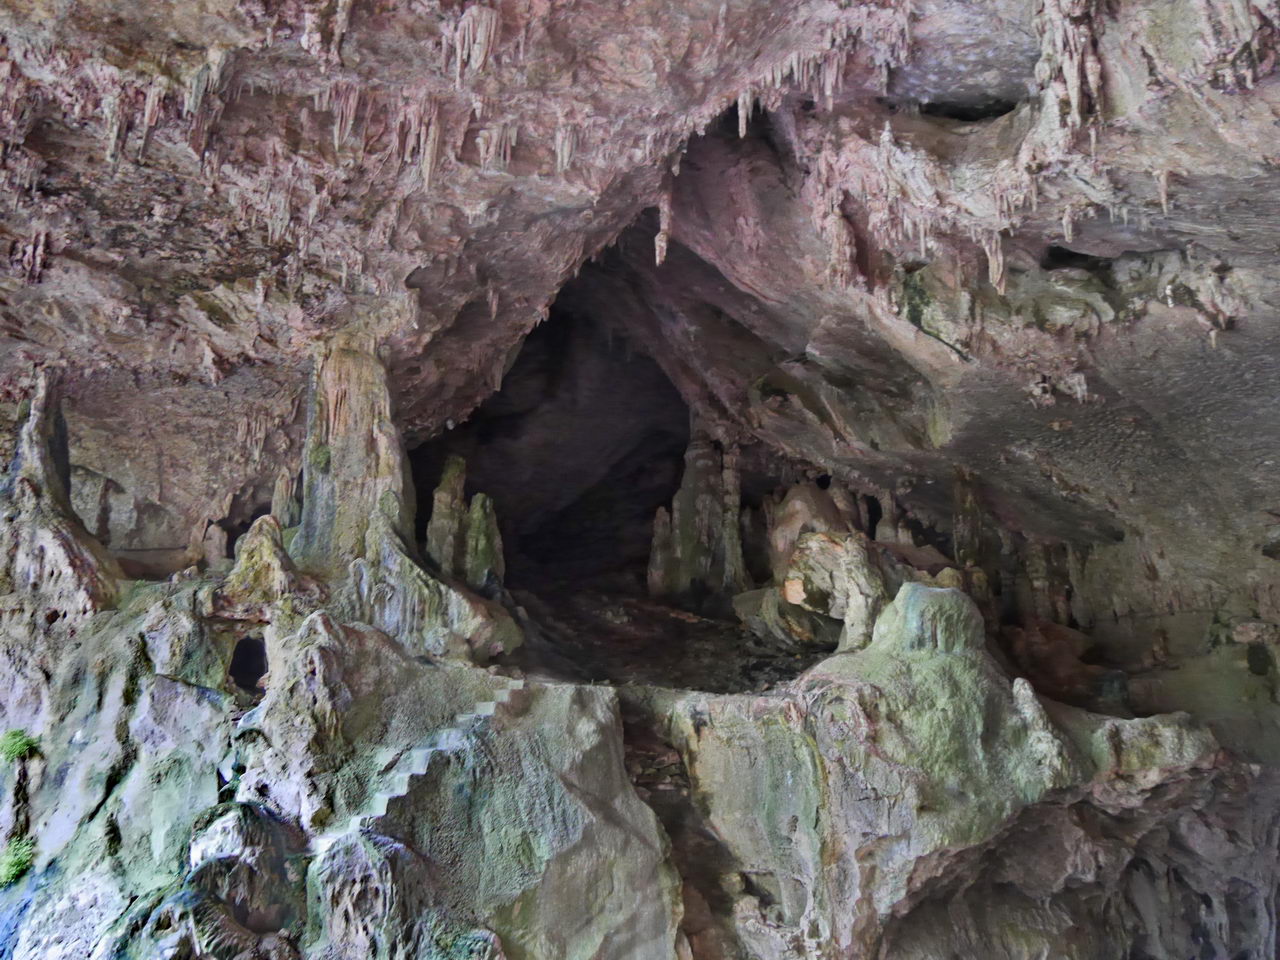
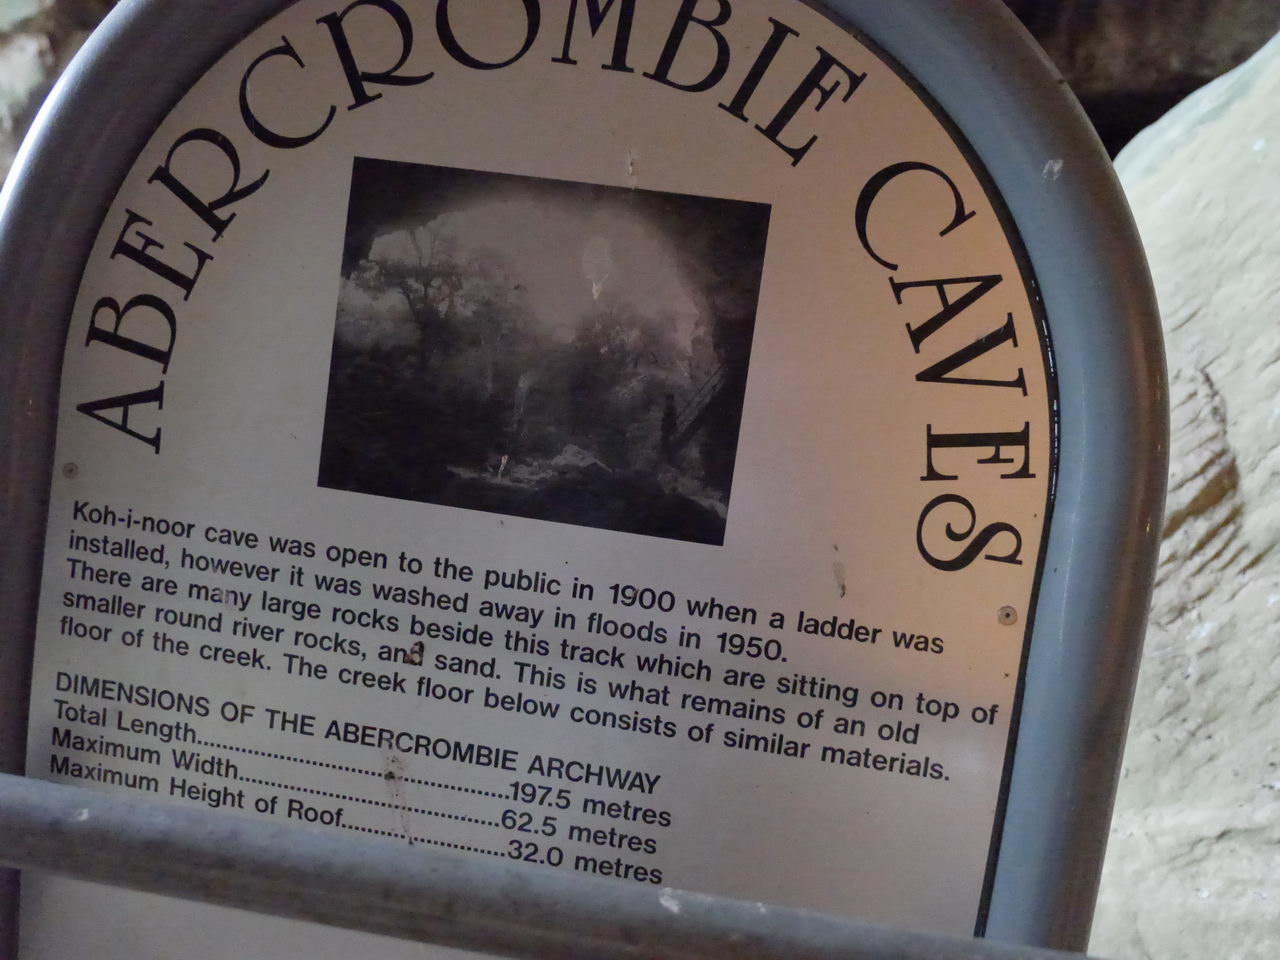
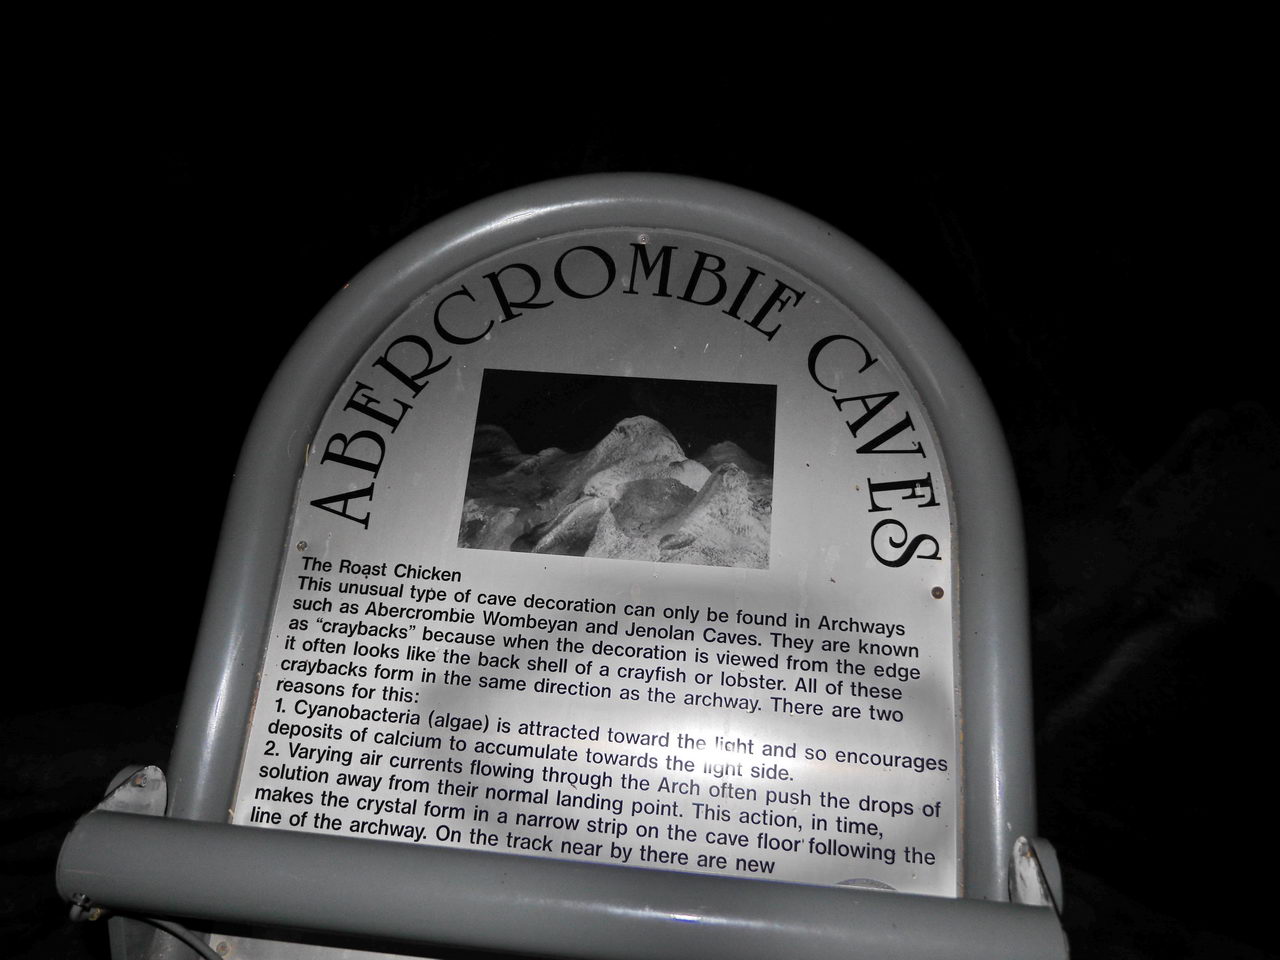
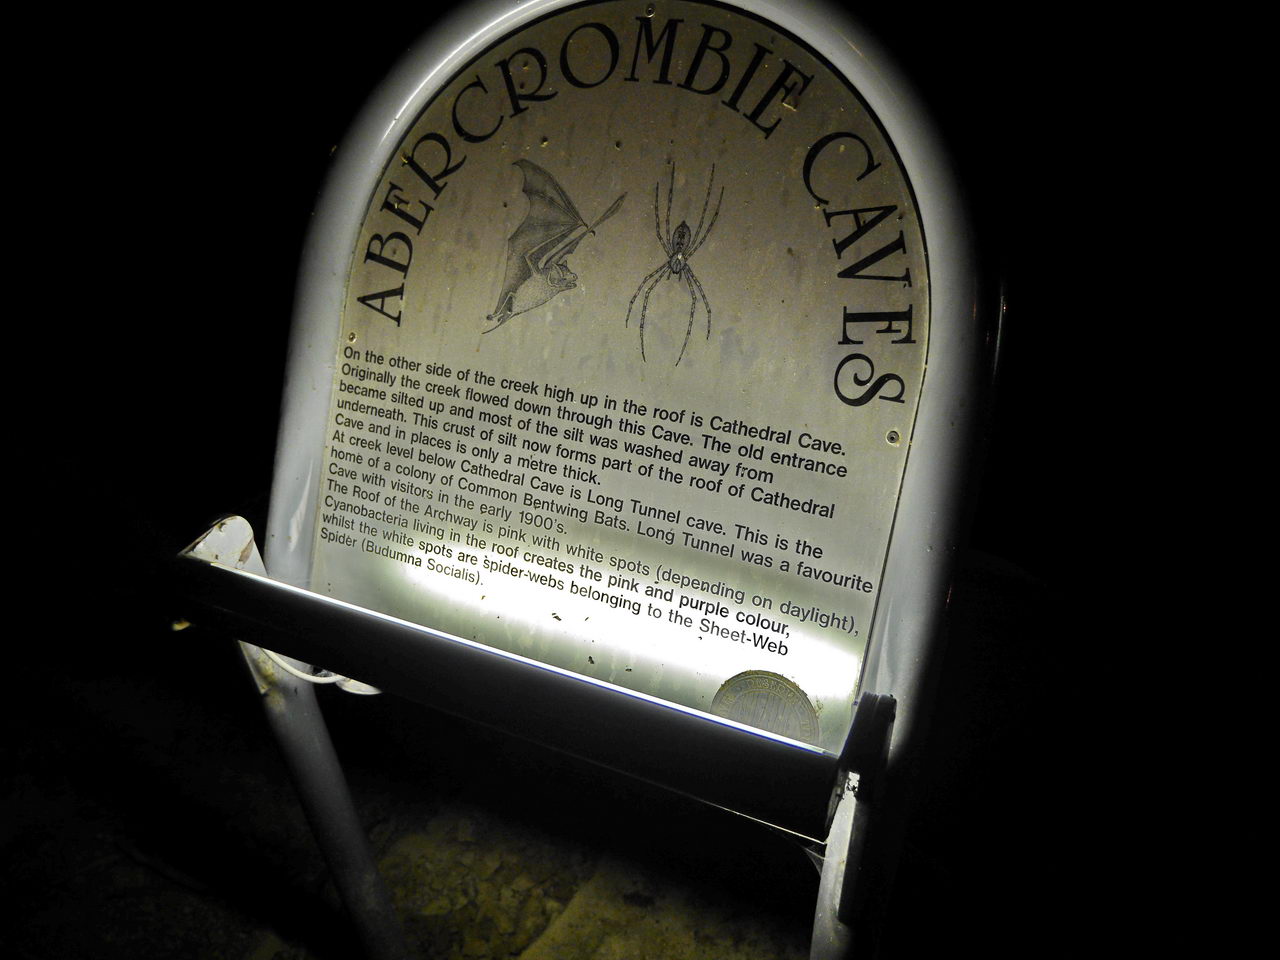
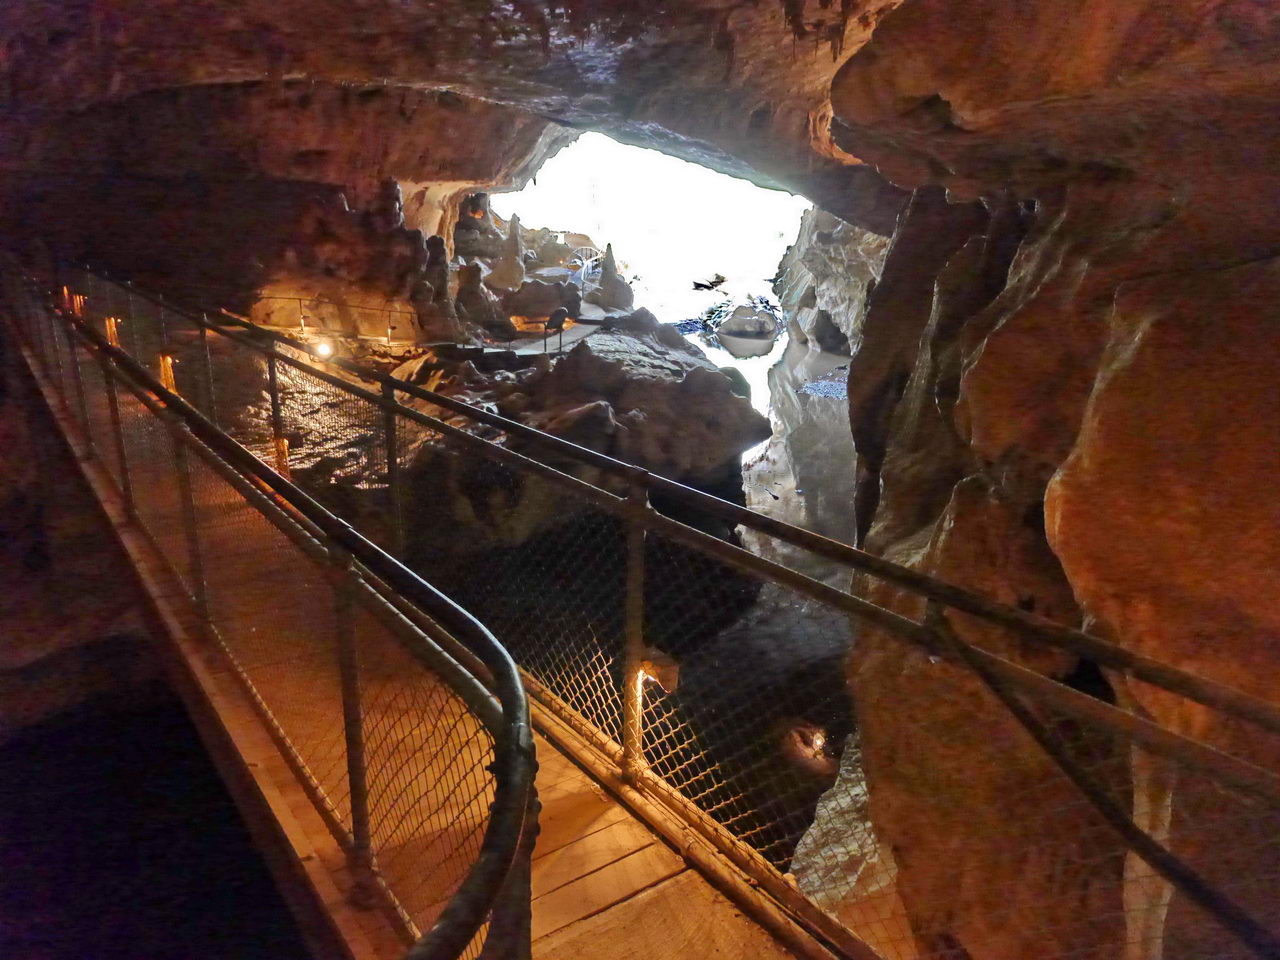
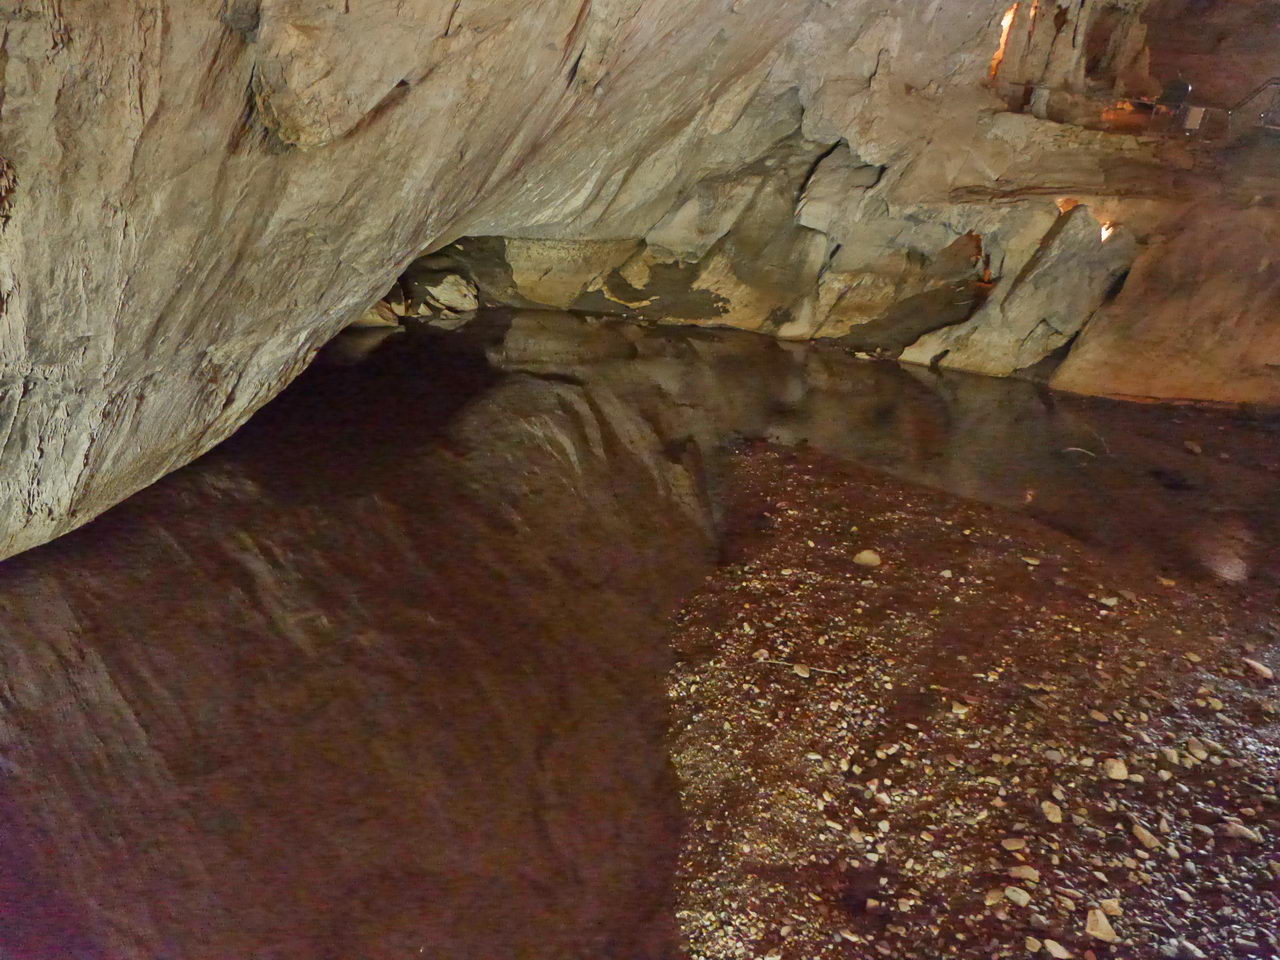
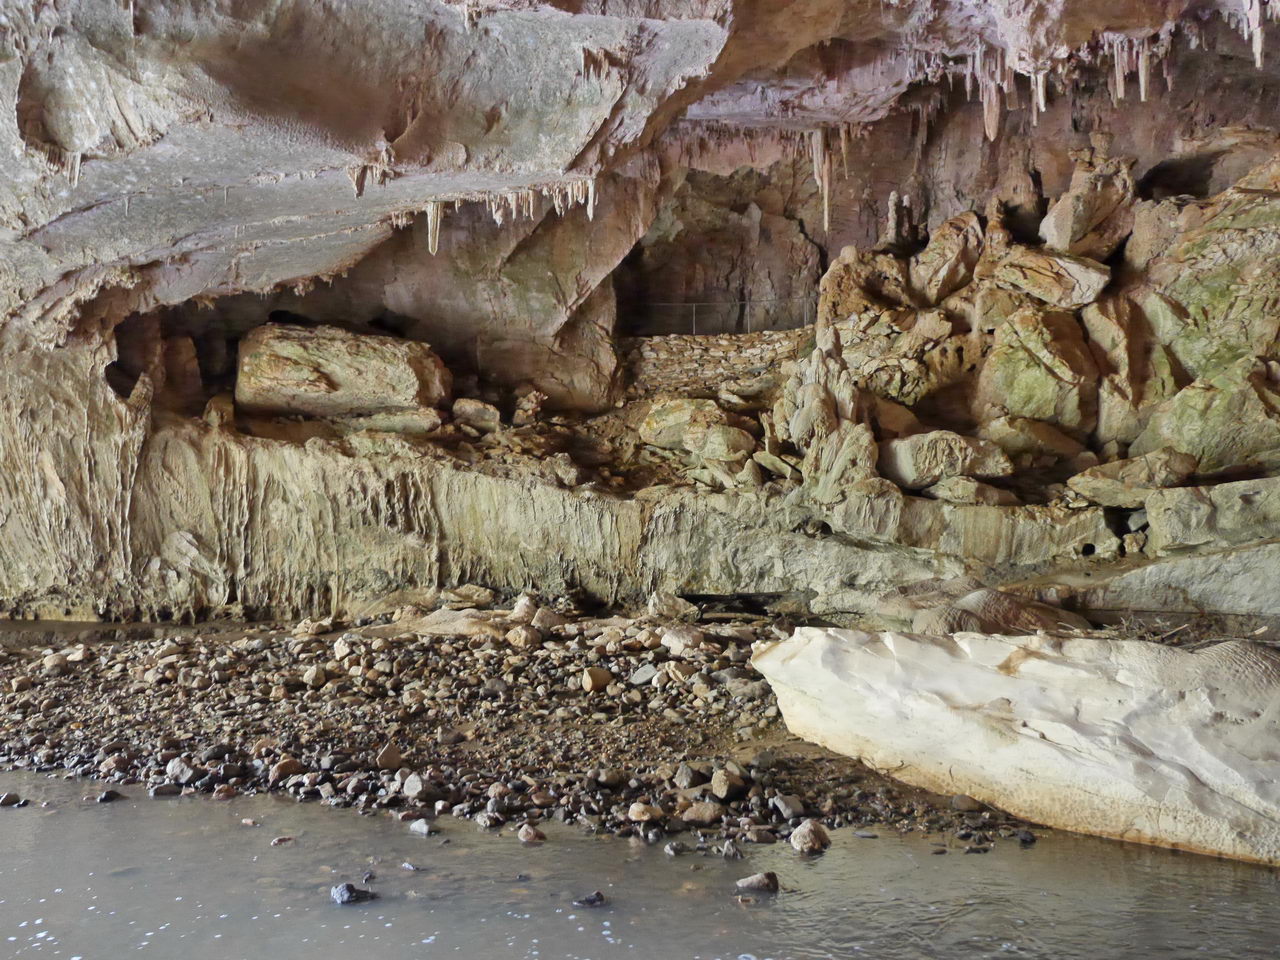
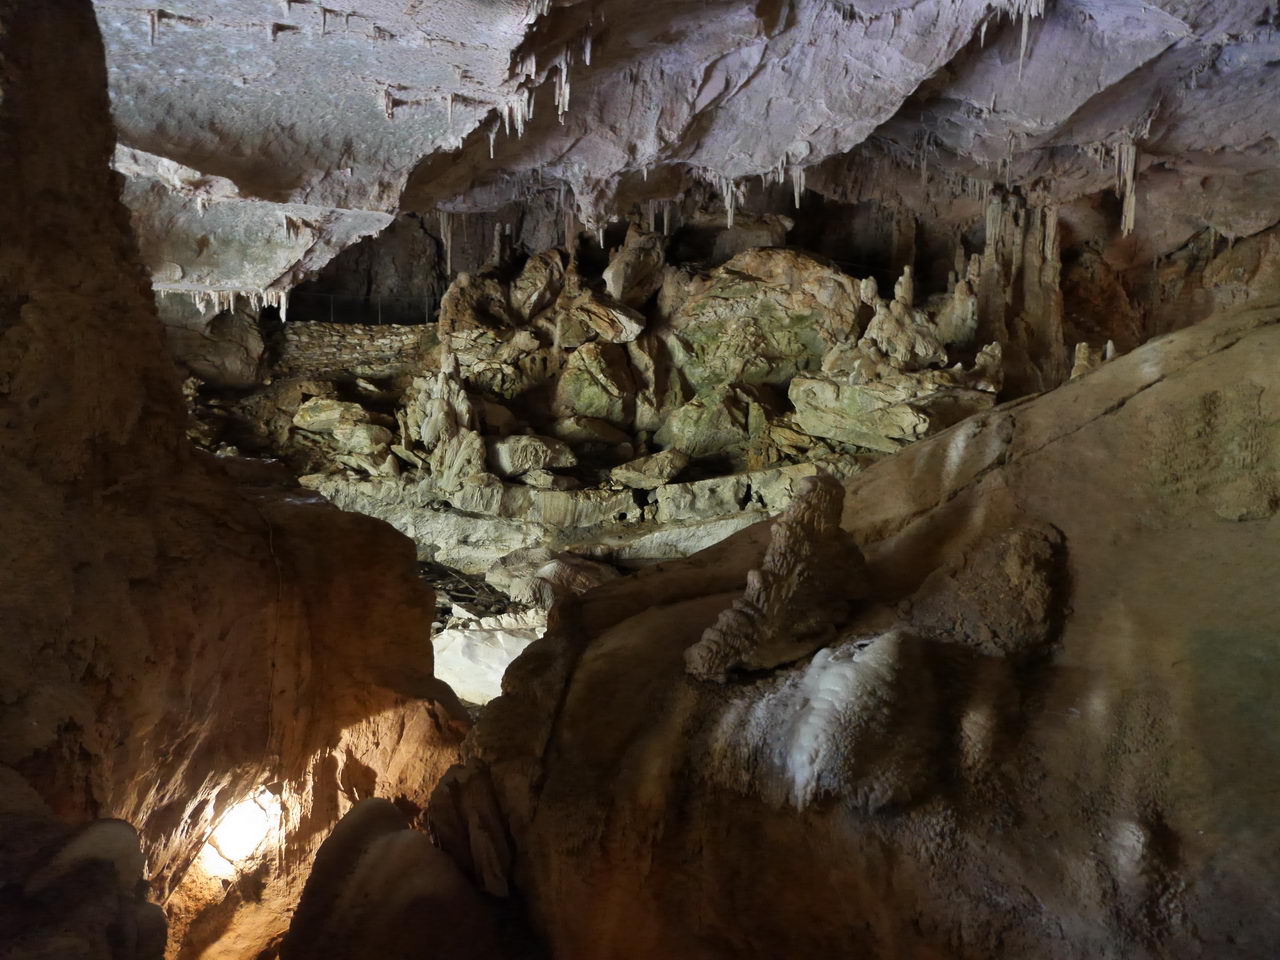
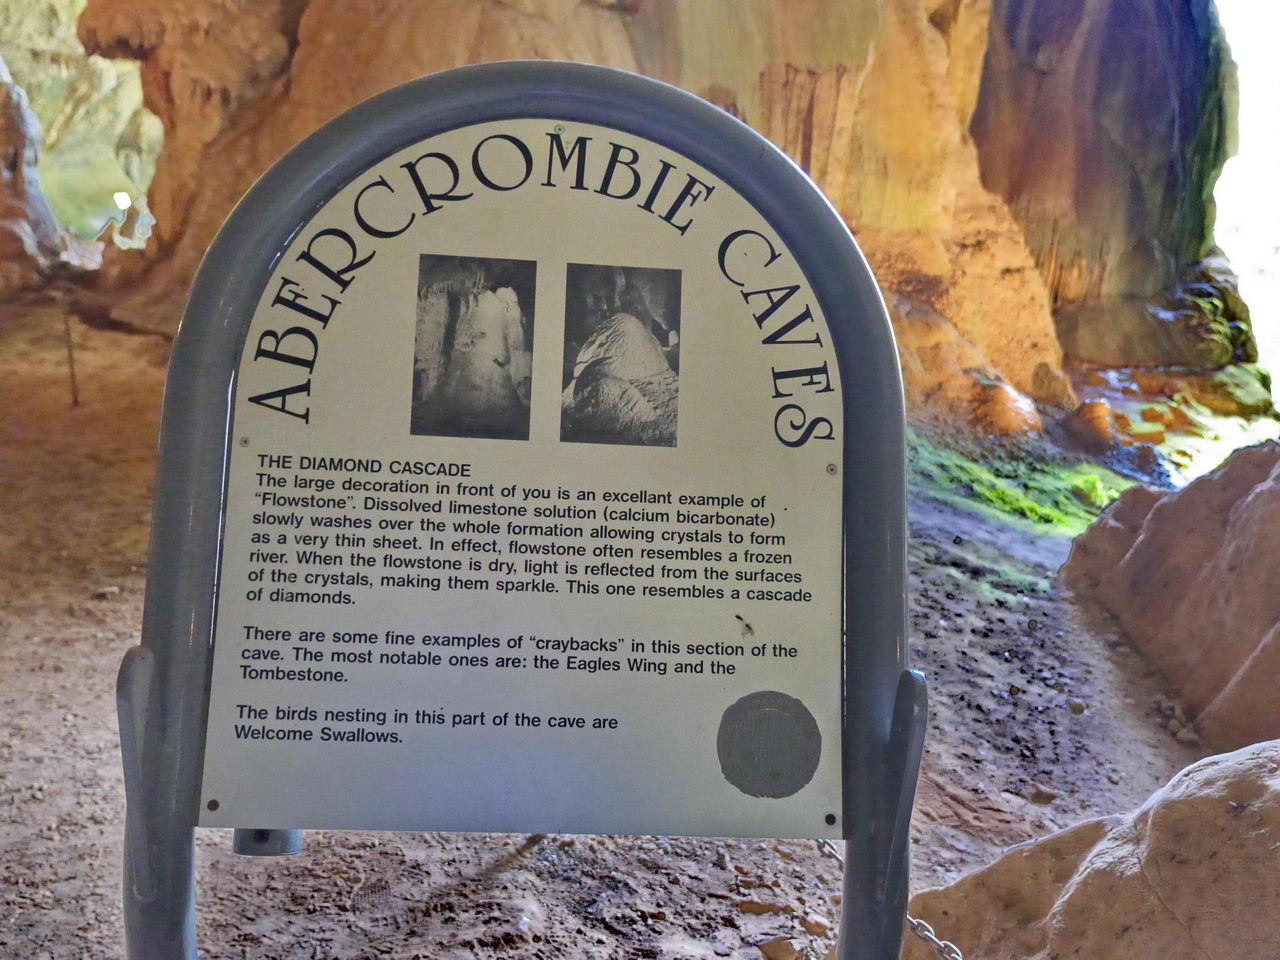
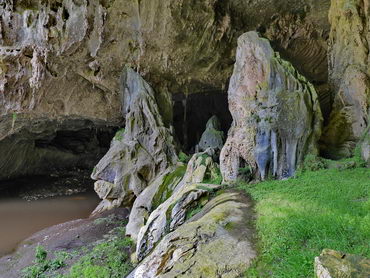
| The cave below - where the cave tour ends | Information sign | The cave below - where the cave tour ends |
|
|
|
|
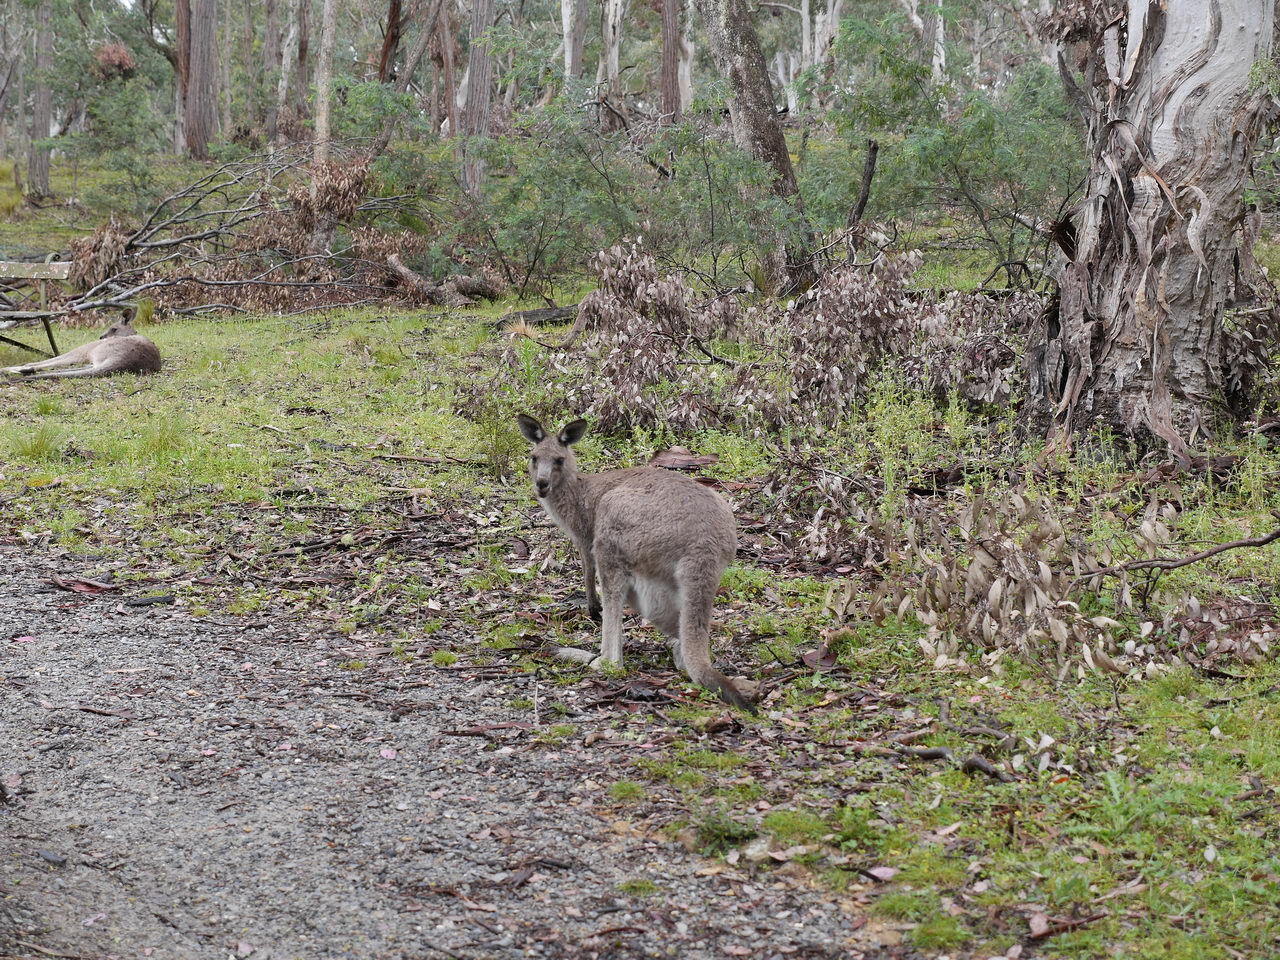
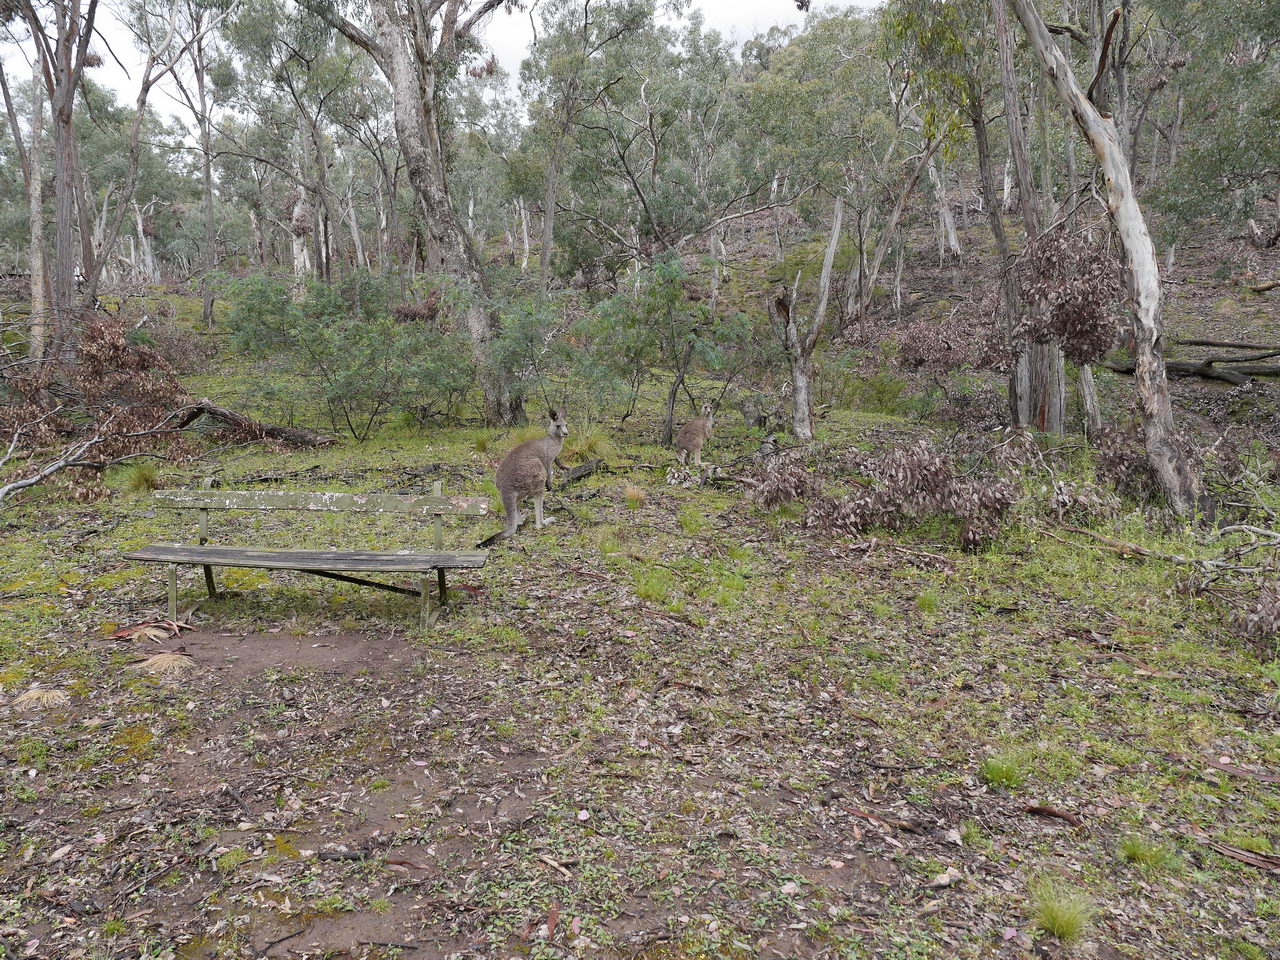
| Cave exit | Up hill to the cave entrance | Kangaroo on our path |
|
|
|
|
| Kangaroos on our path | Kangaroos on our path | Information sign |
|
|
|
|
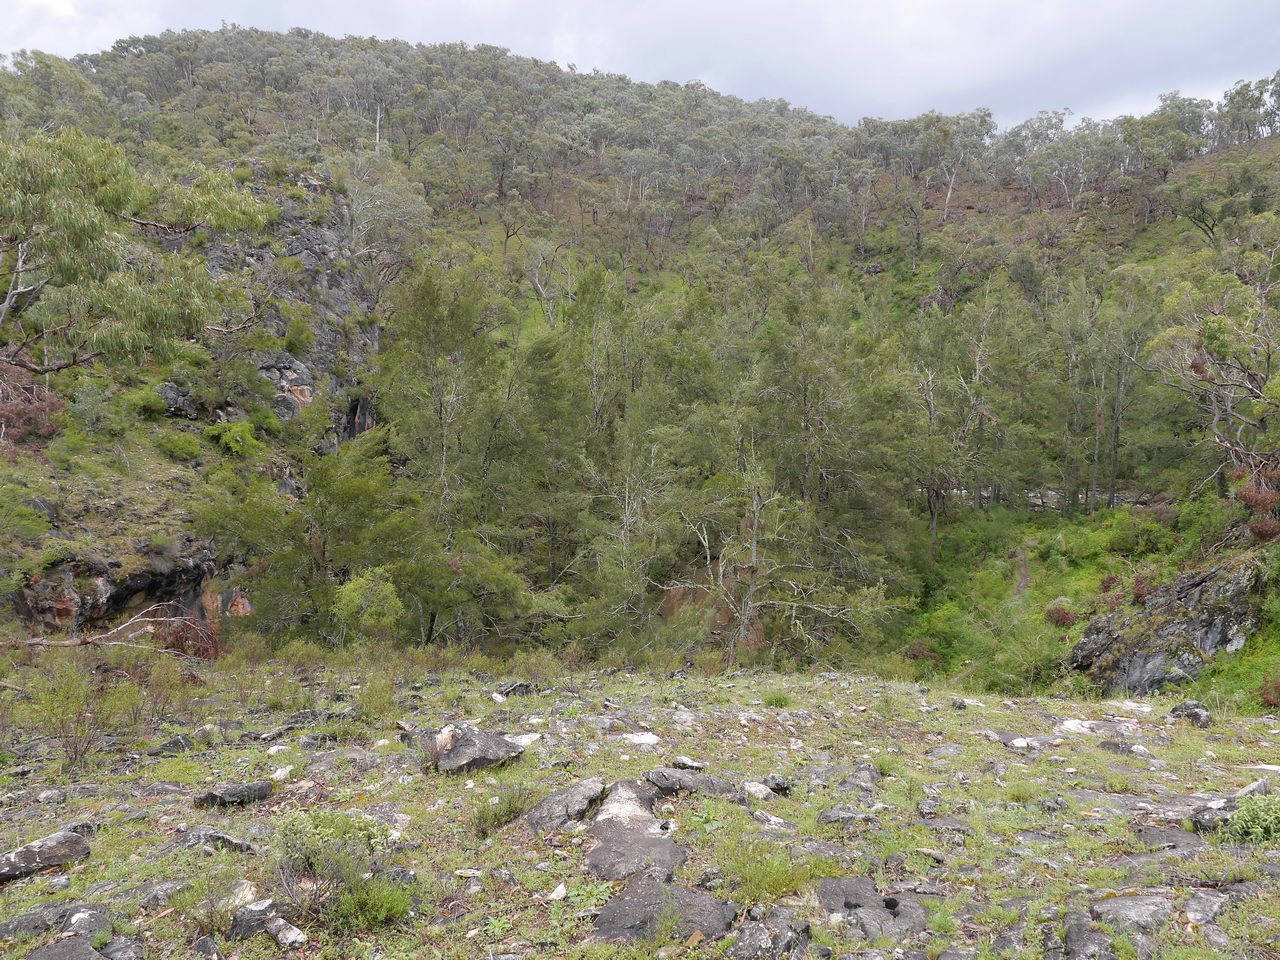
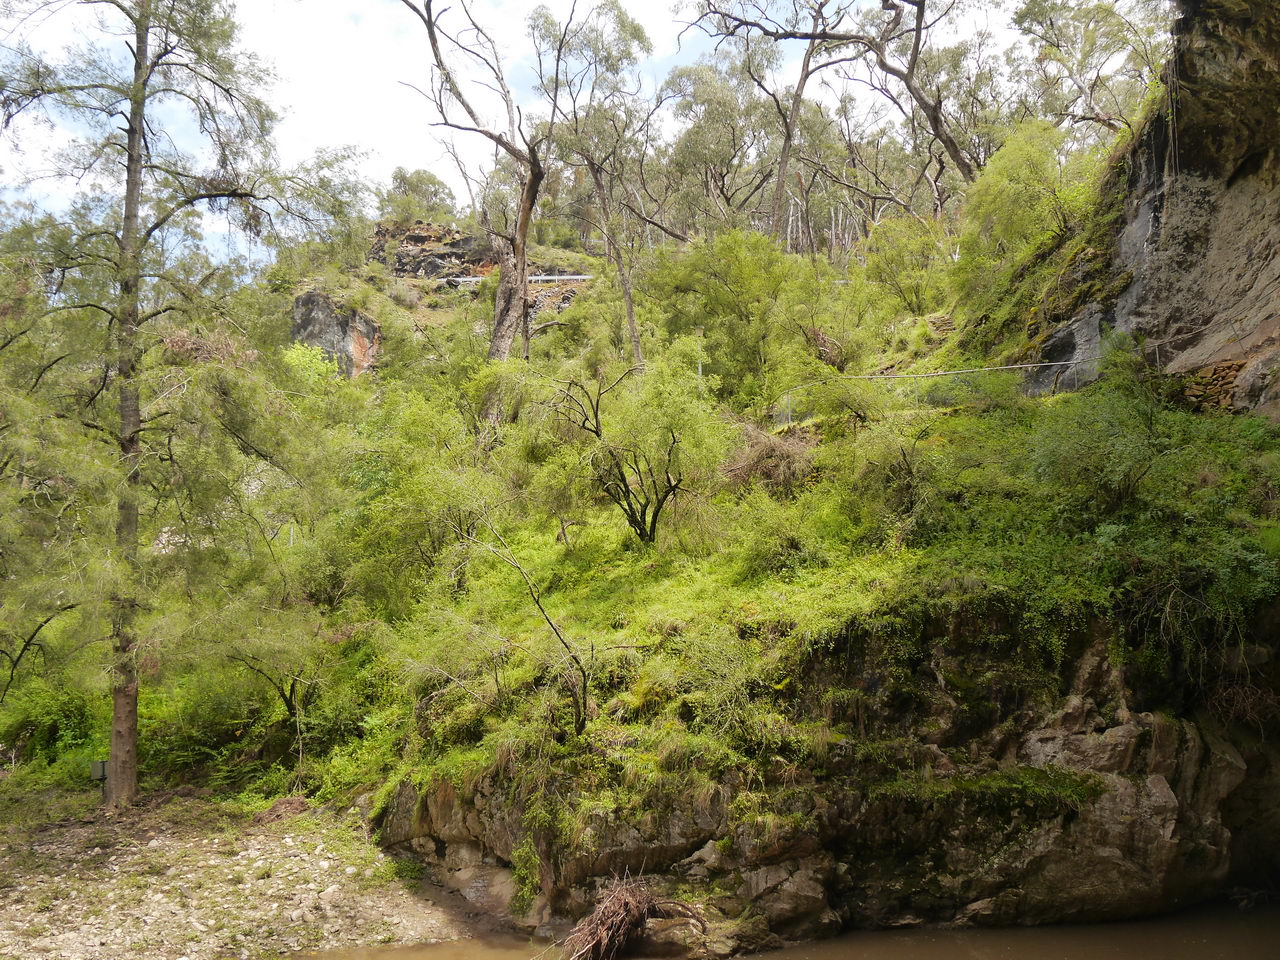
| General view of area | View - cave entrance | Information sign |
|
|
|
|
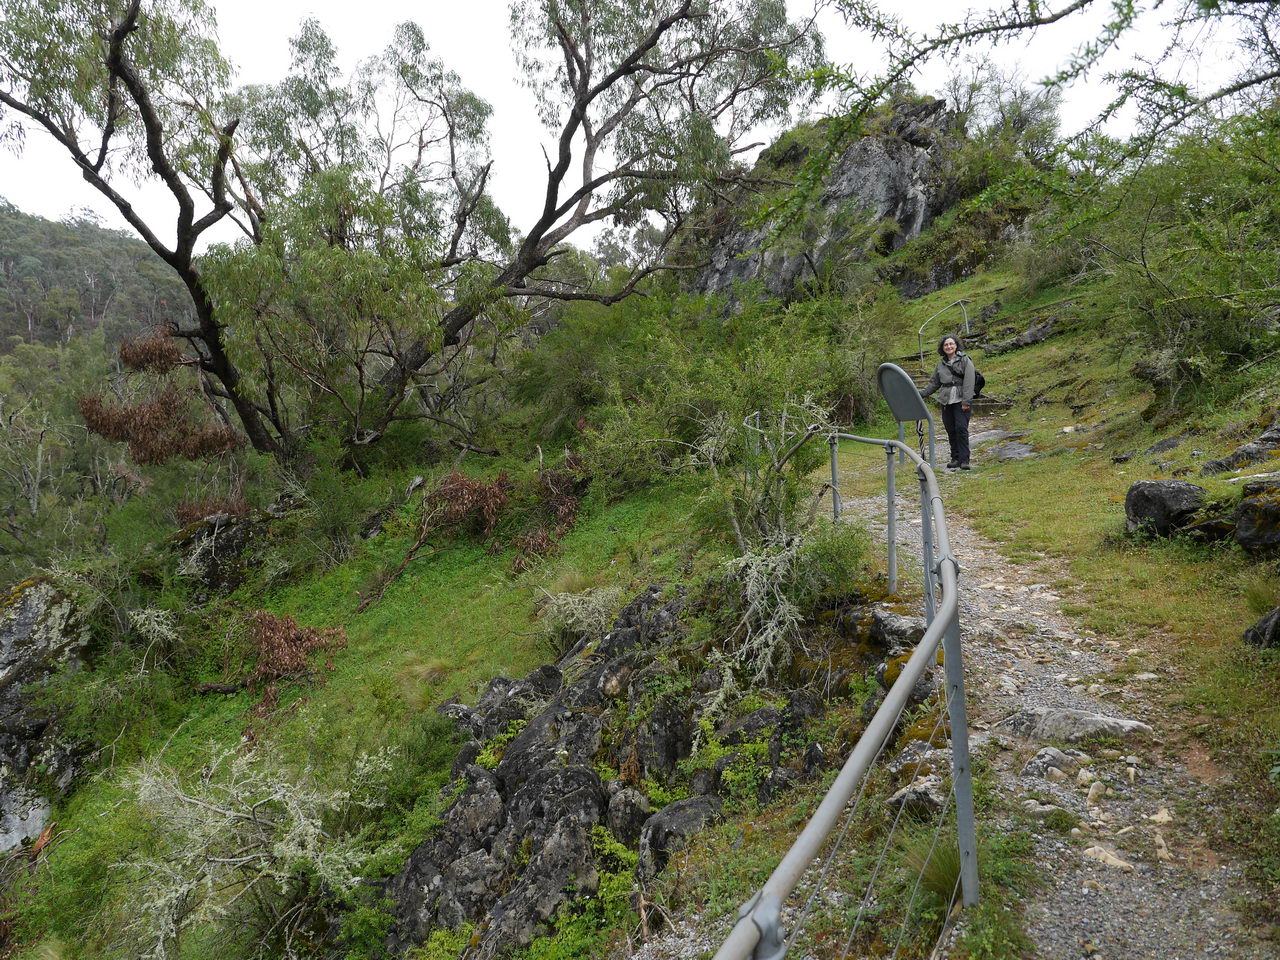
| View - Walking track | View - river below | View - Walking track to cave |
|
|
|
|
| View - Walking track to cave | View - Walking track to cave | View - upstream from cave entrance |
|
|
|
|
| View - Cave entrance | View - start of the cave walk | View - looking back to entrance gate |
|
|
|
|
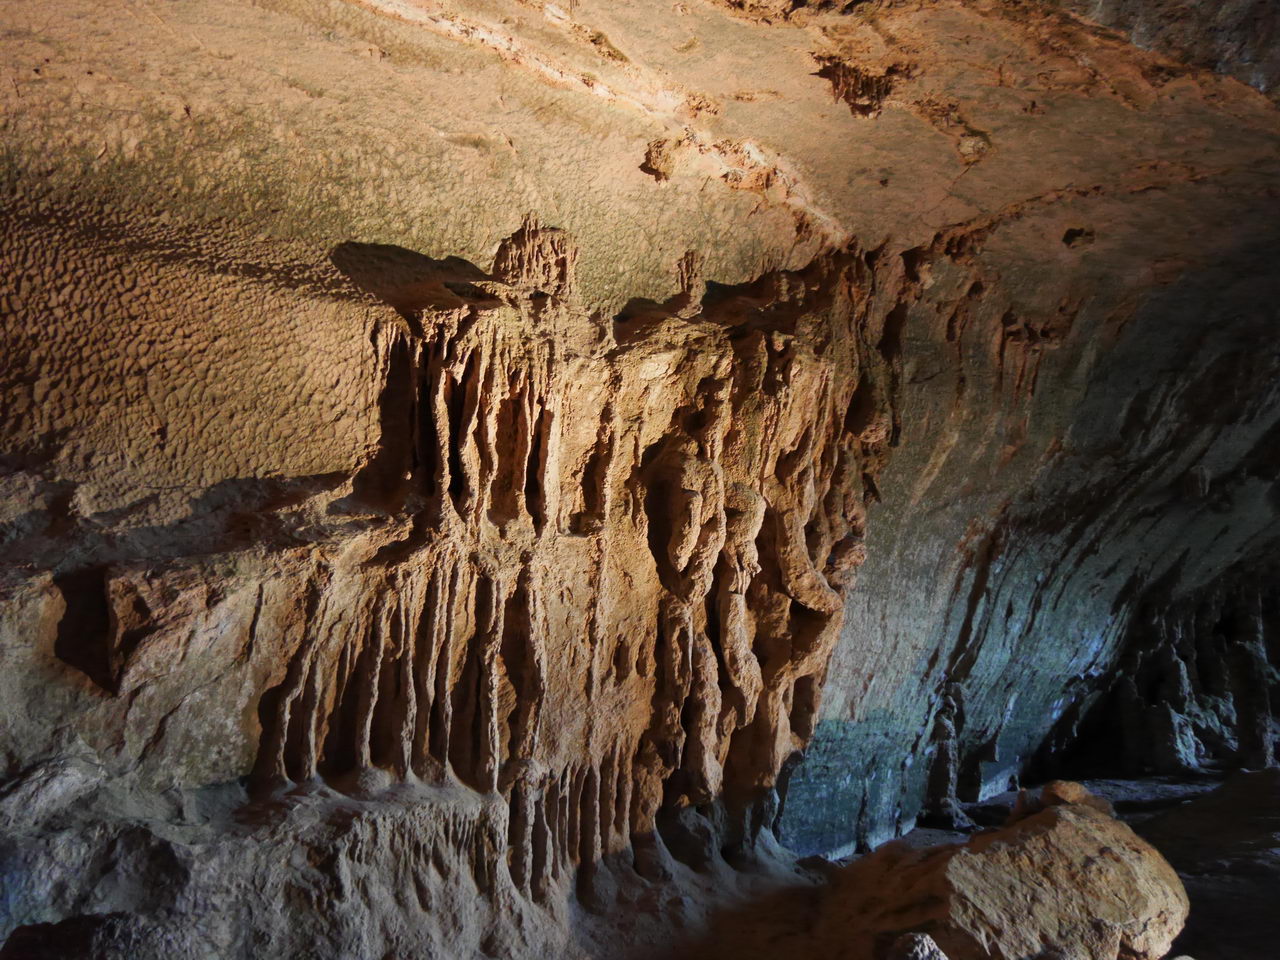
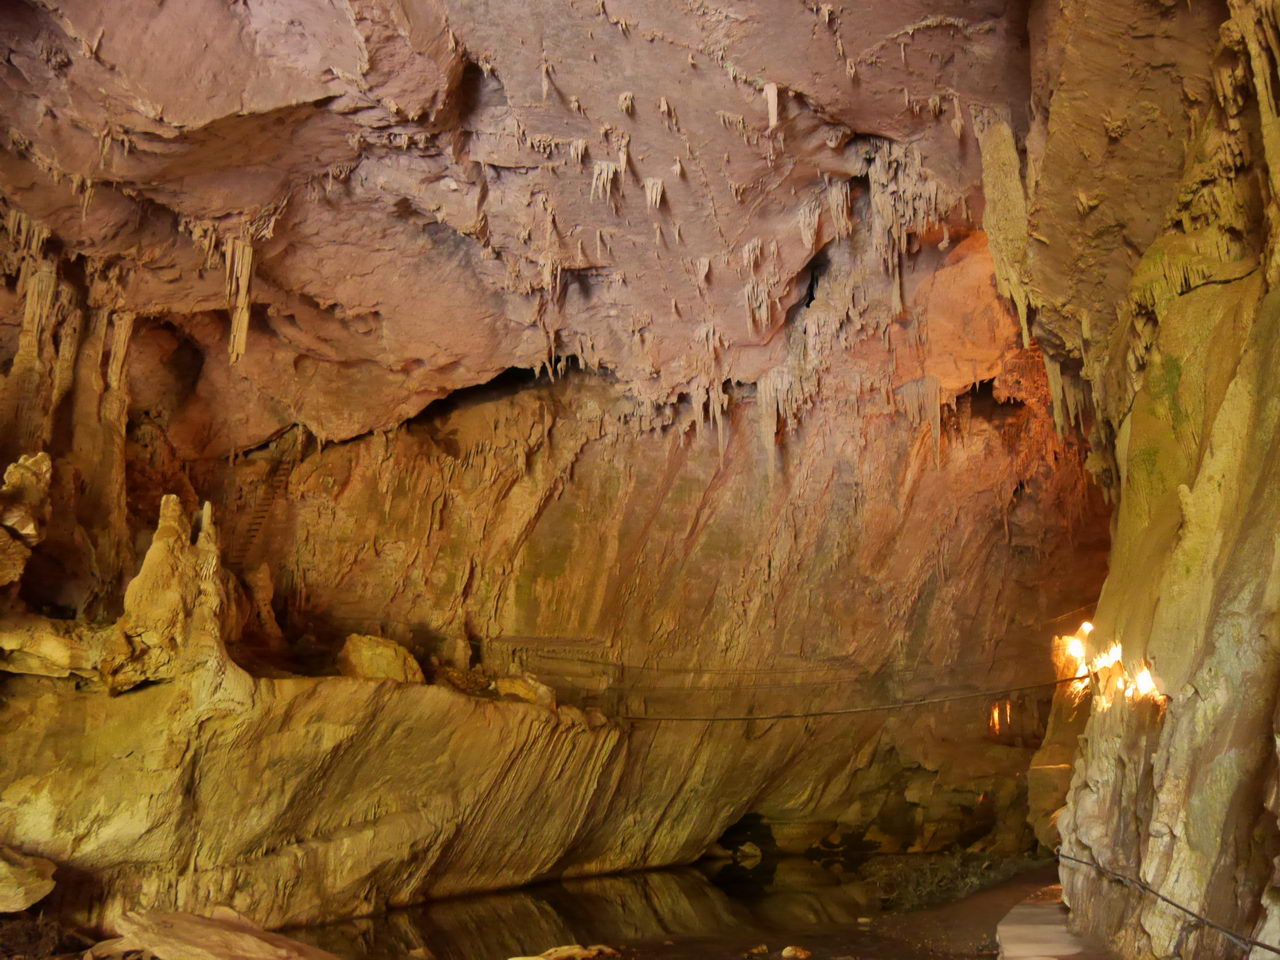
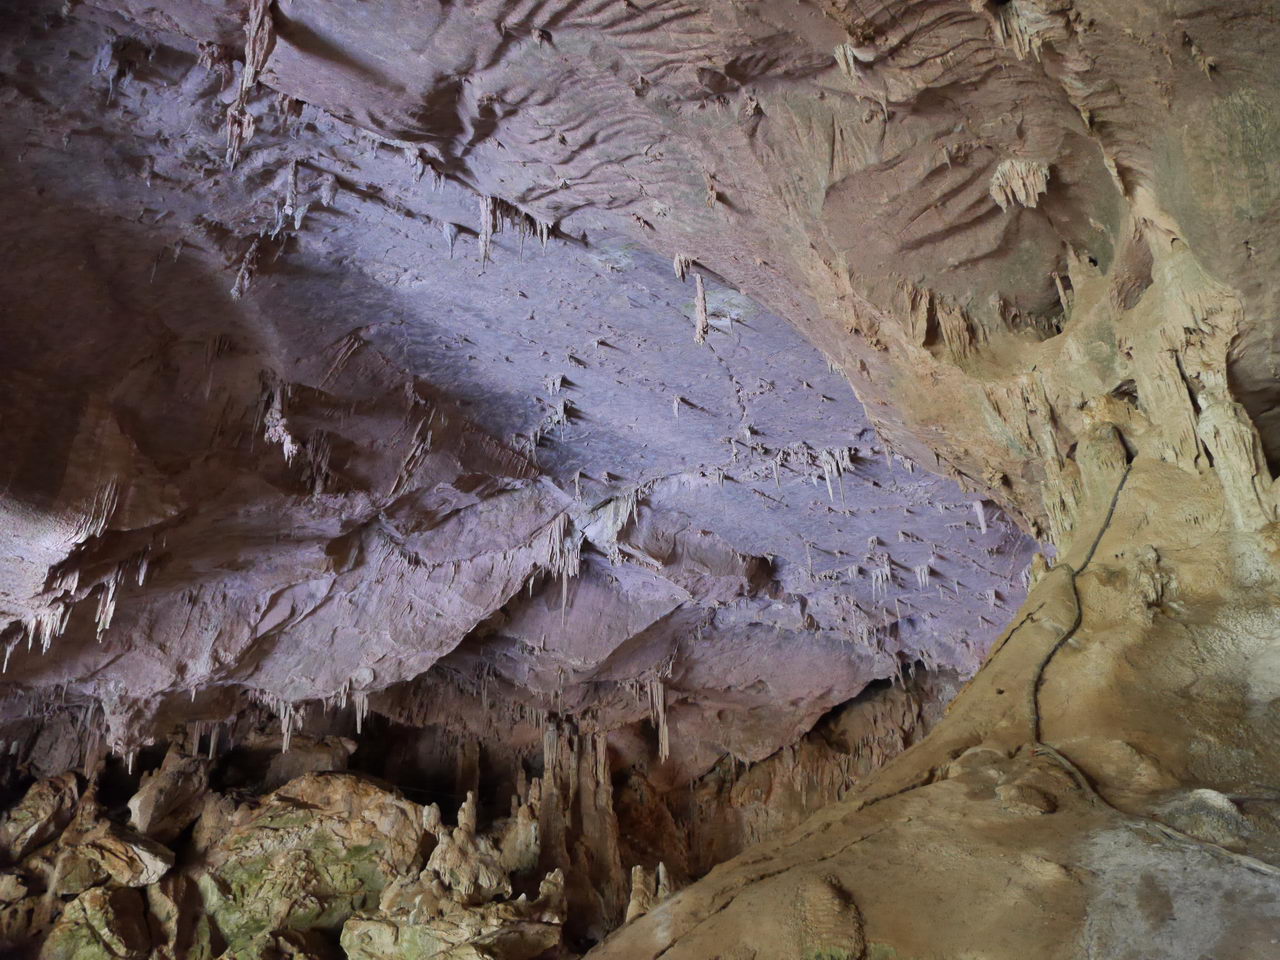
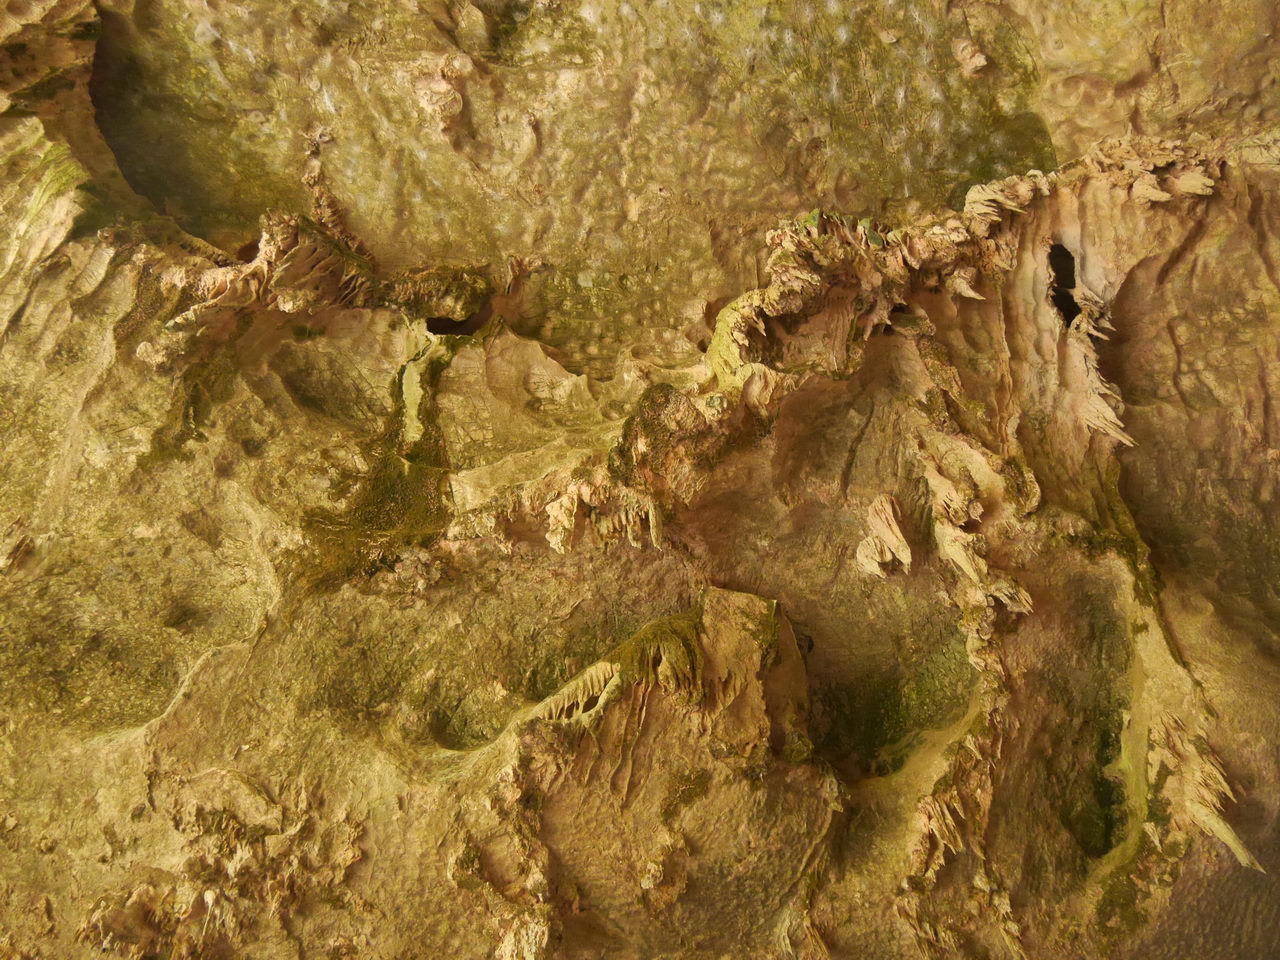
| View - Cave walk | View - wall formations | View - looking back to entrance gate |
|
|
|
|
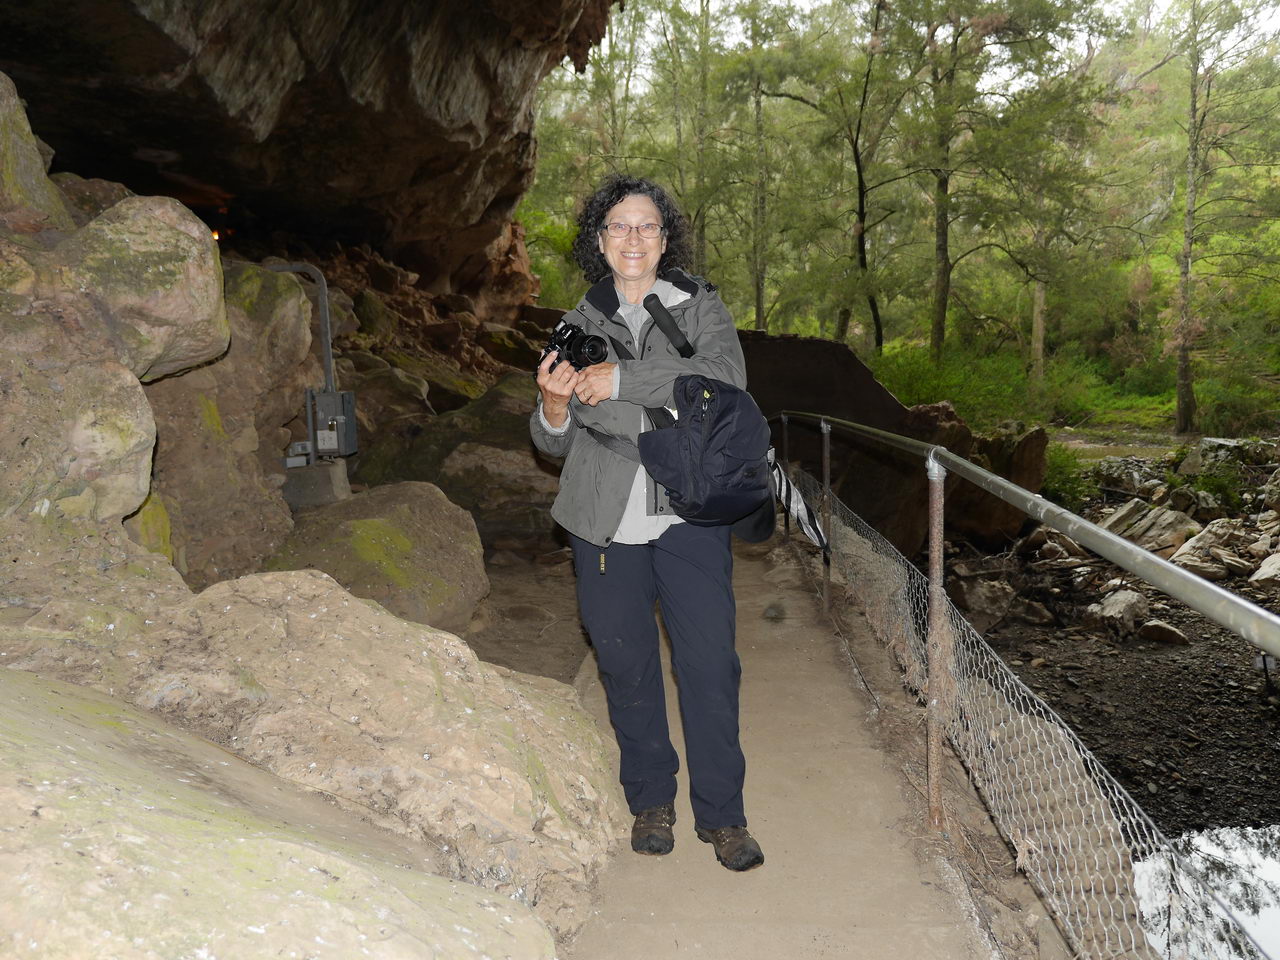
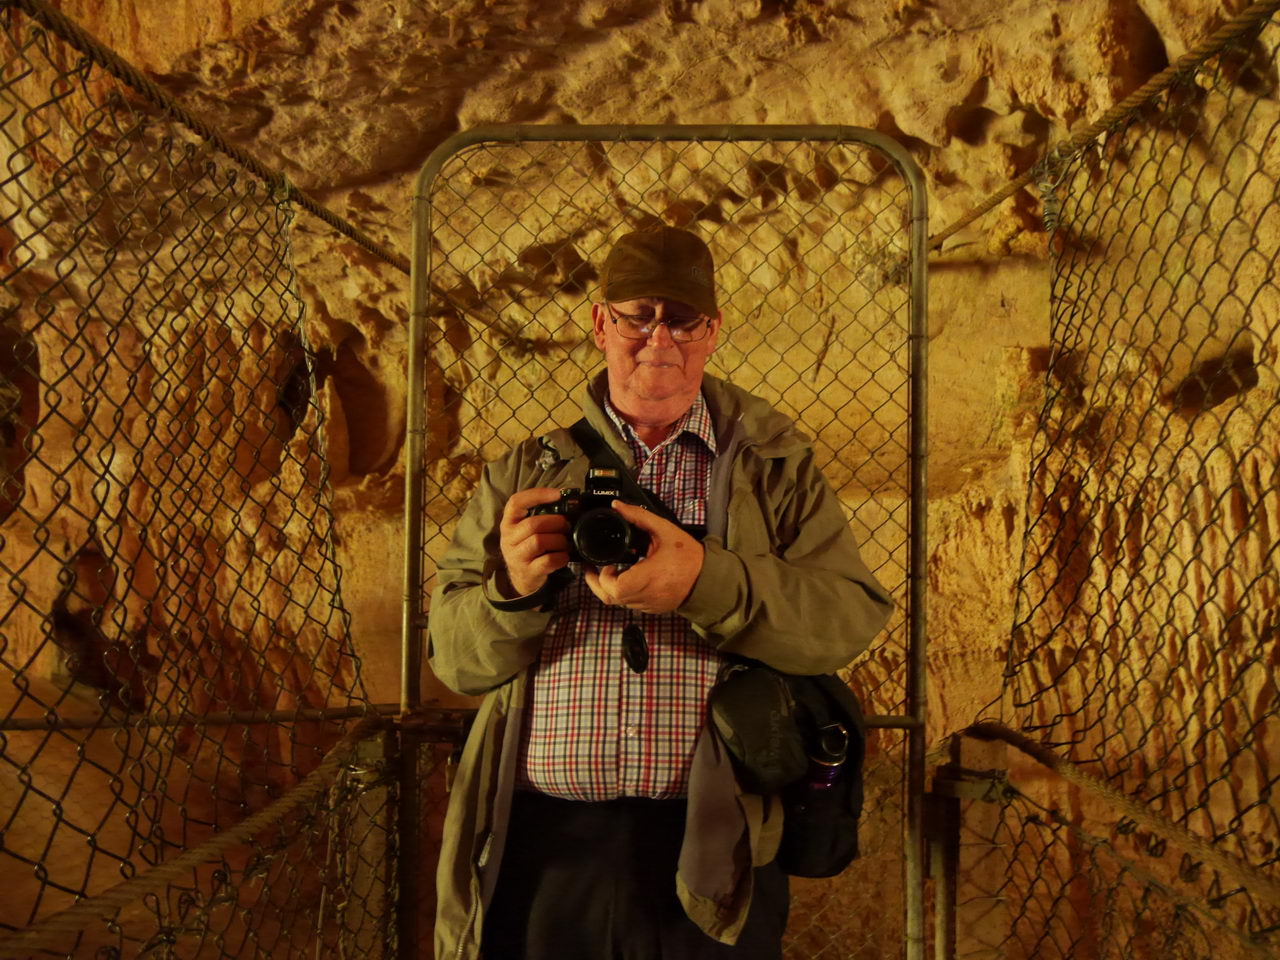
| View - looking back, Mischa near entrance gate | View - Cave walk | View - looking back to entrance gat |
|
|
|
|
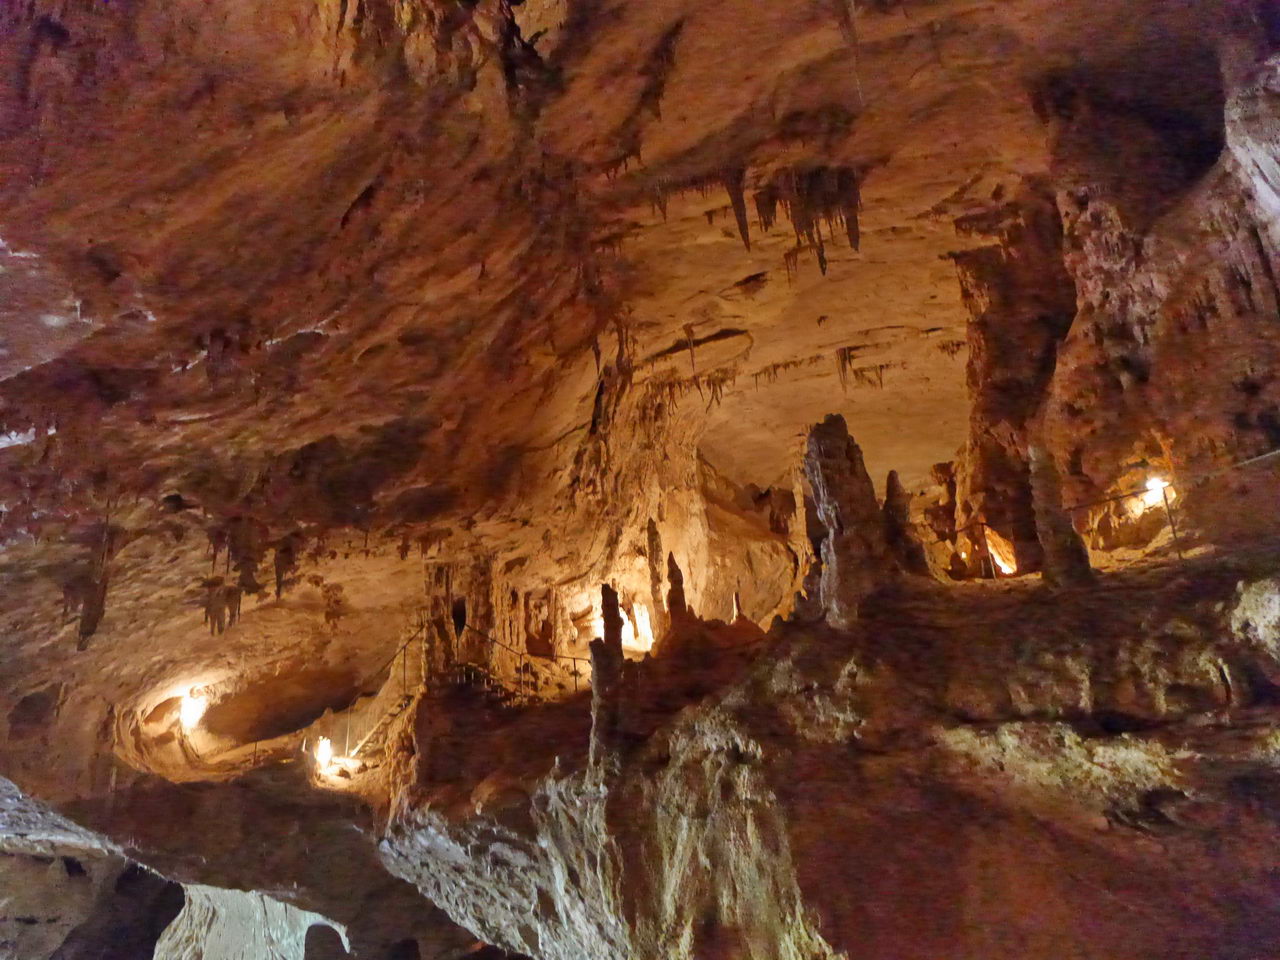
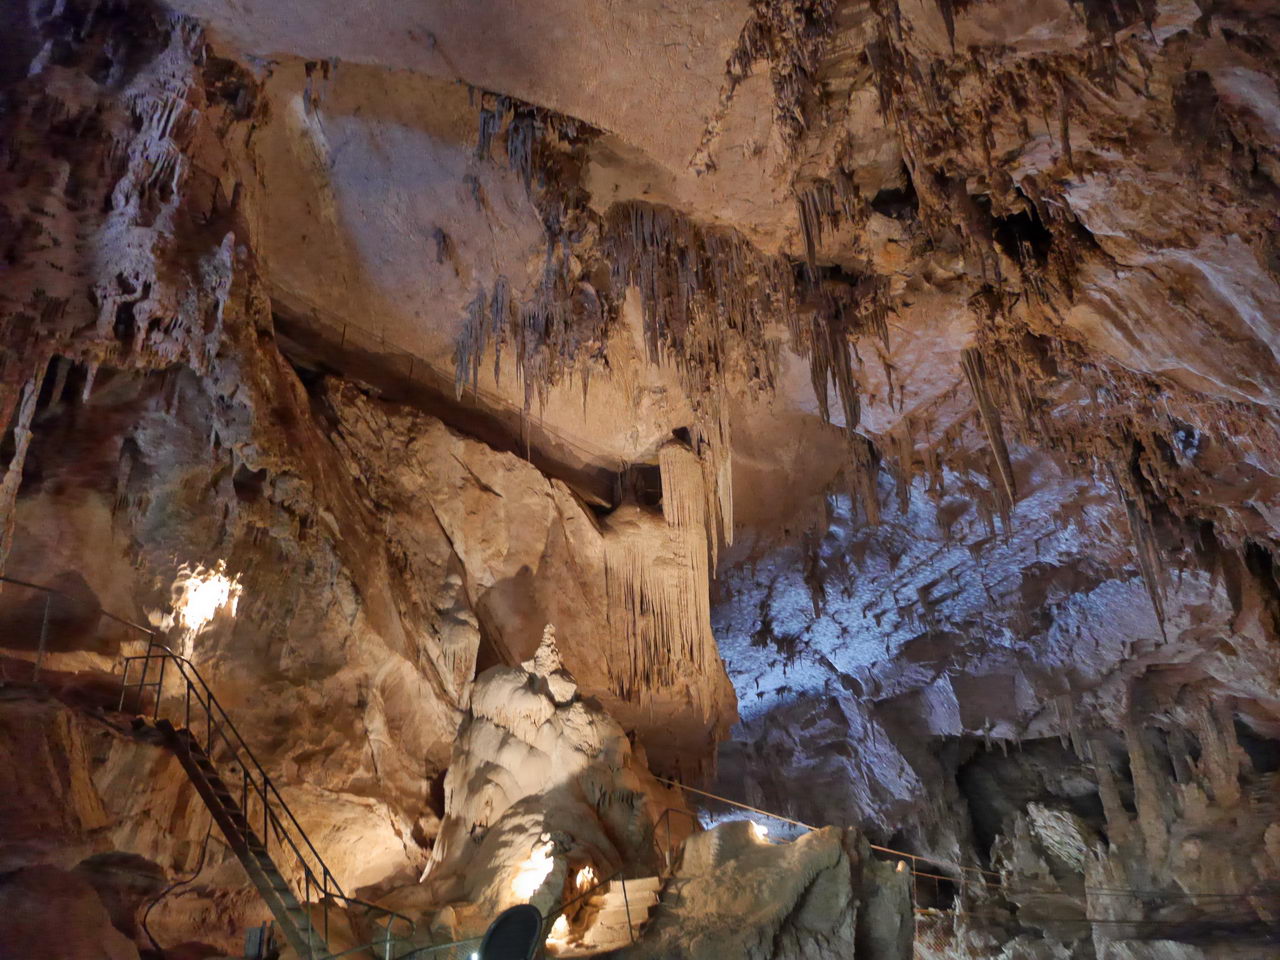
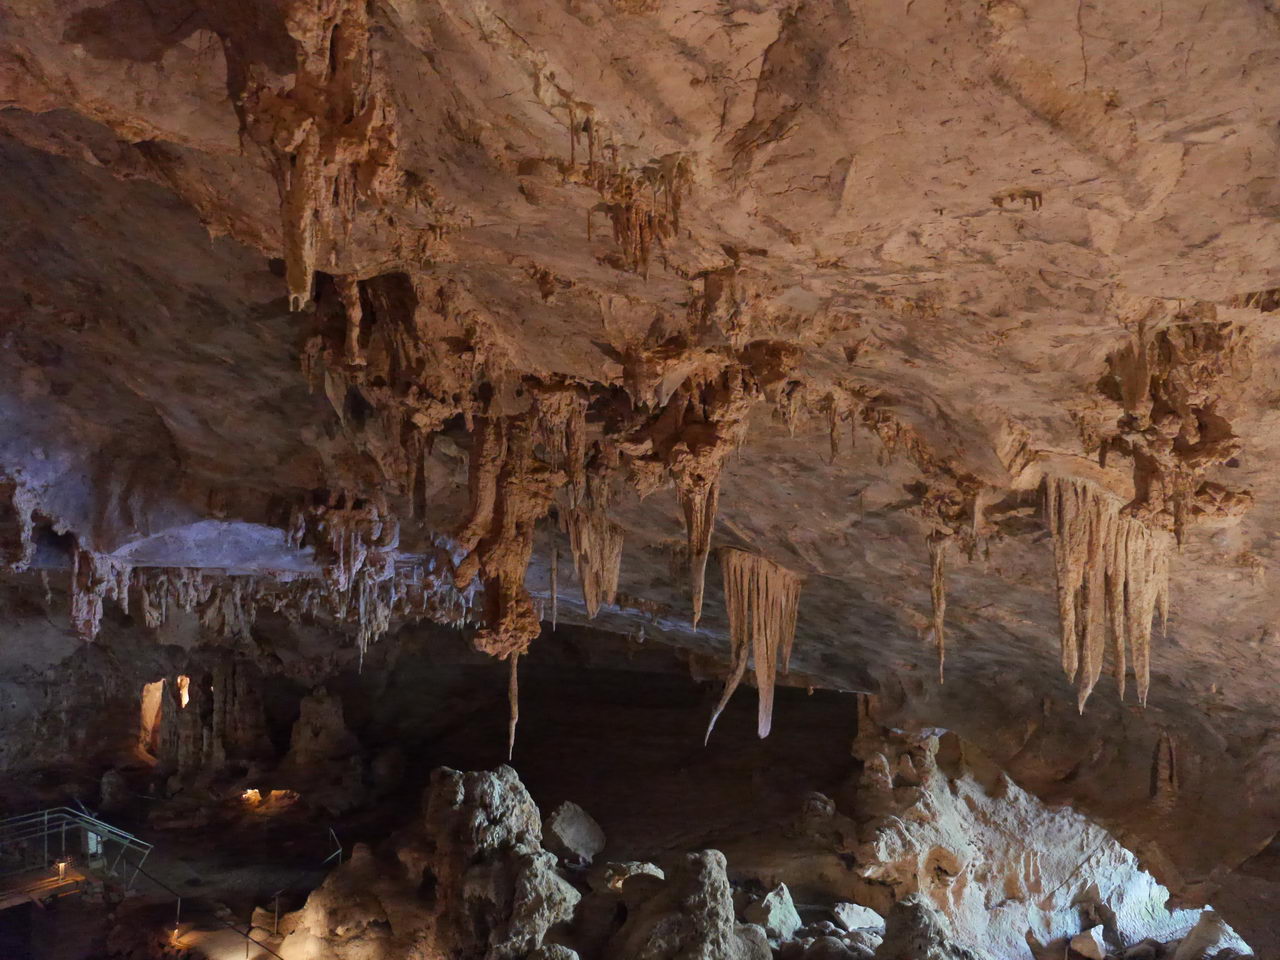
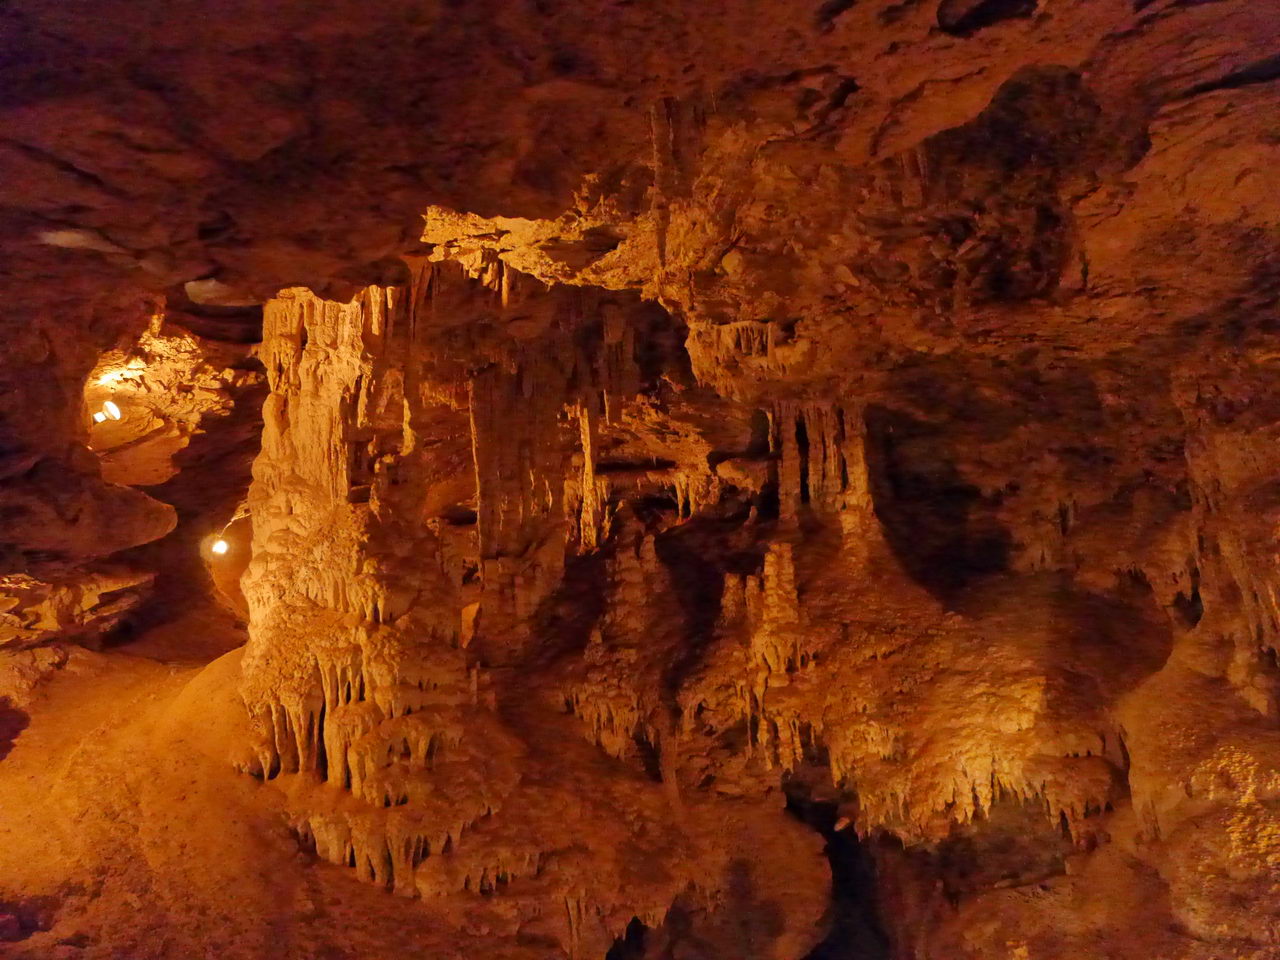
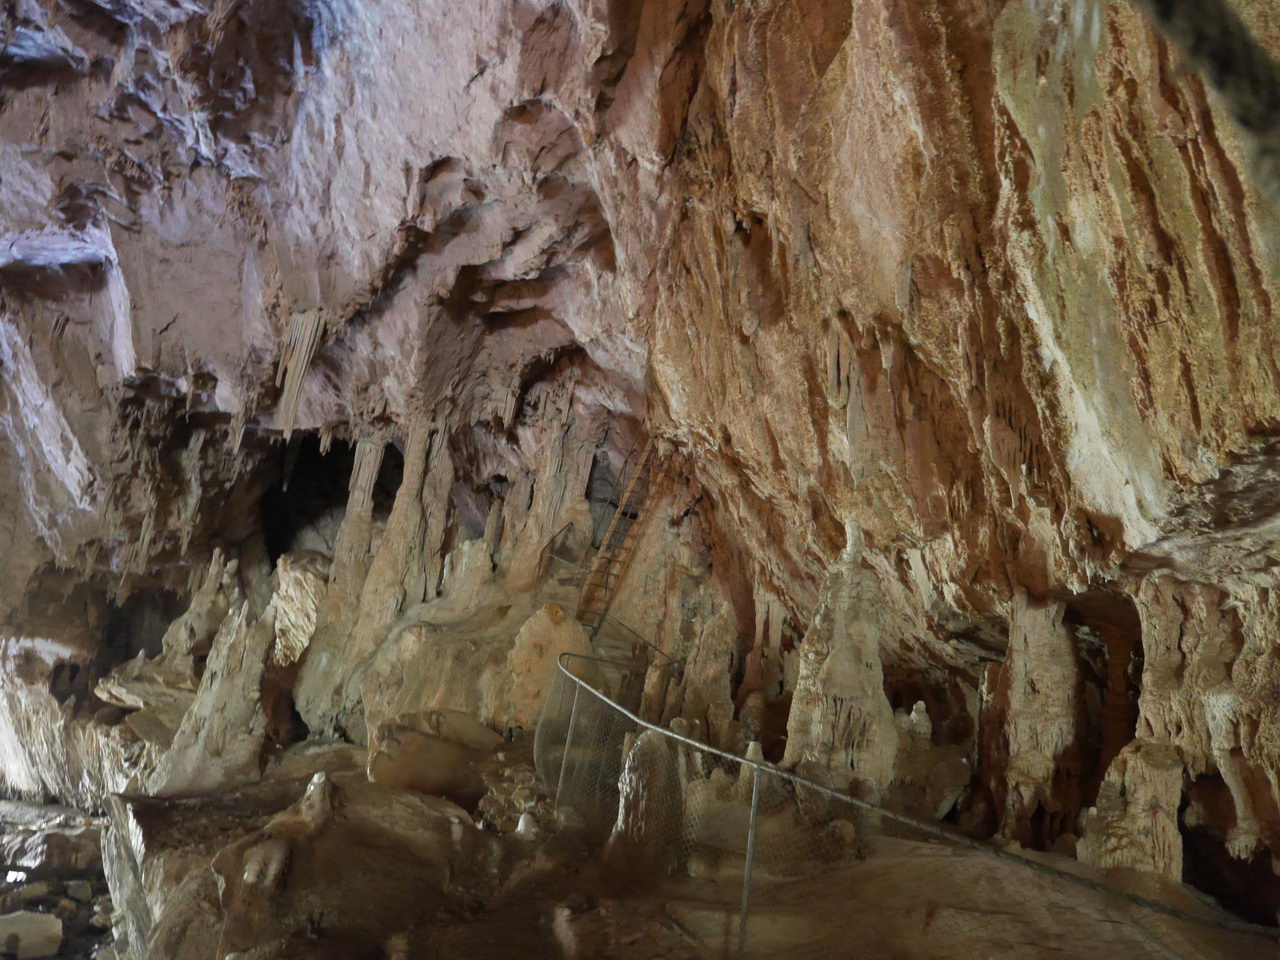
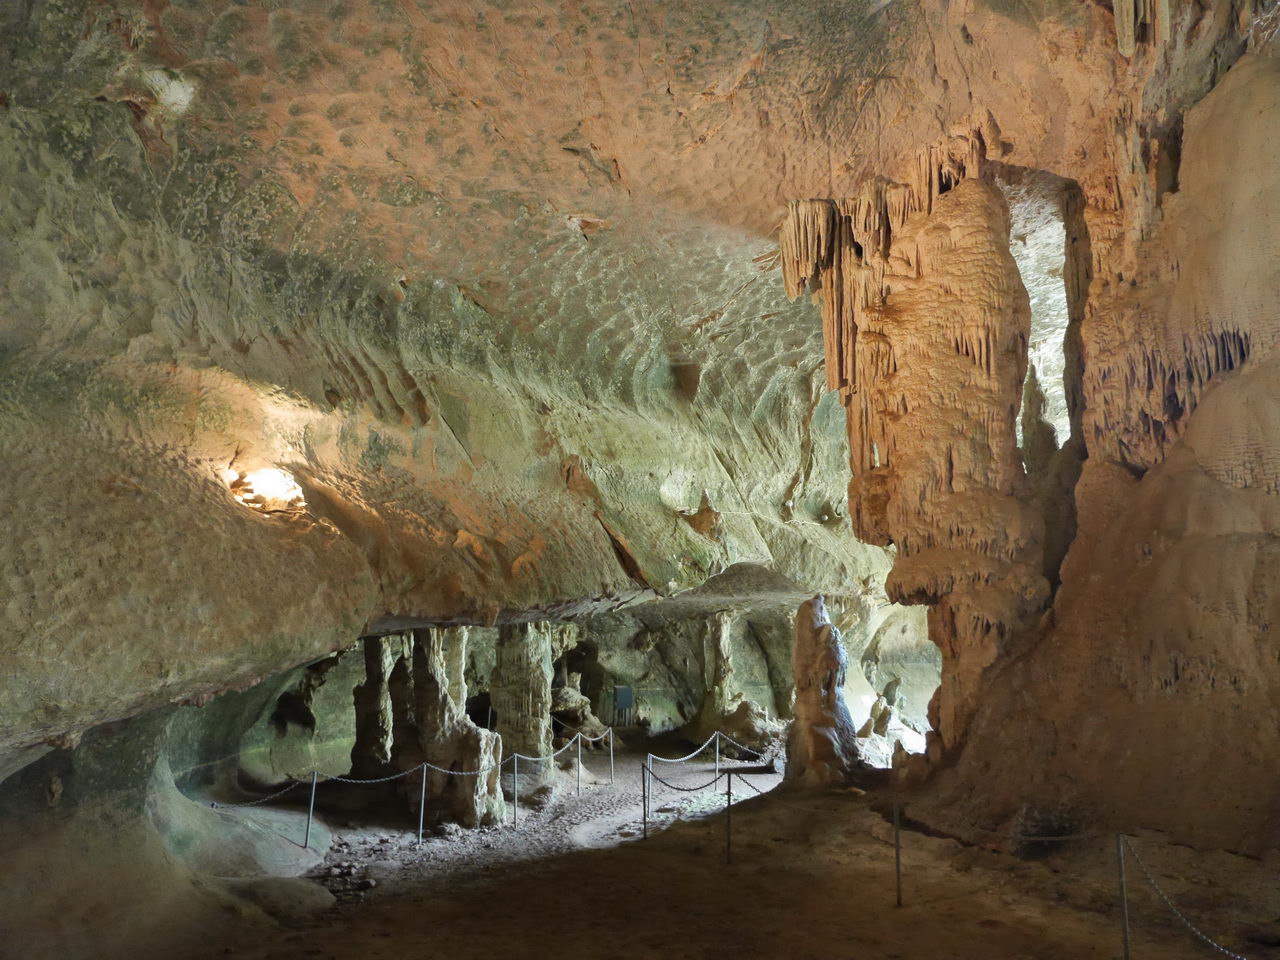
| View - Cave walk | View - stalactites from cave roof | View - Cave walk |
|
|
|
|
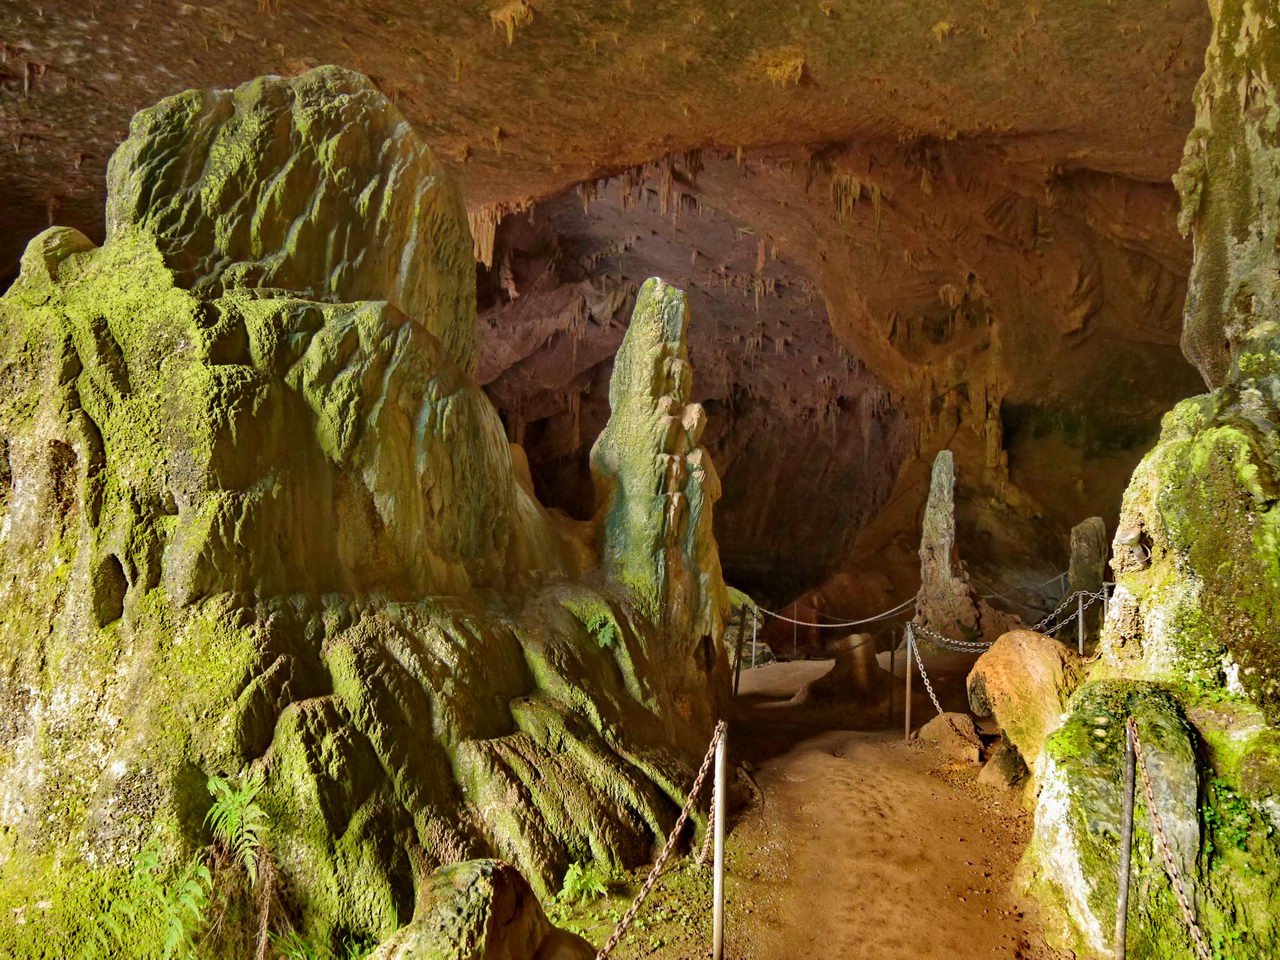
| View - stalactites from cave roof | View - stalactites from cave roof and grotto | View - stalagmites |
|
|
|
|
| View - stalagmites next to cave walkway | View - stalagmites next to cave walkway | View - stalagmites next to cave walkway |
|
|
|
|
| Information sign | View - stalagmites | View - Cave walk, looking back to entrance |
|
|
|
|
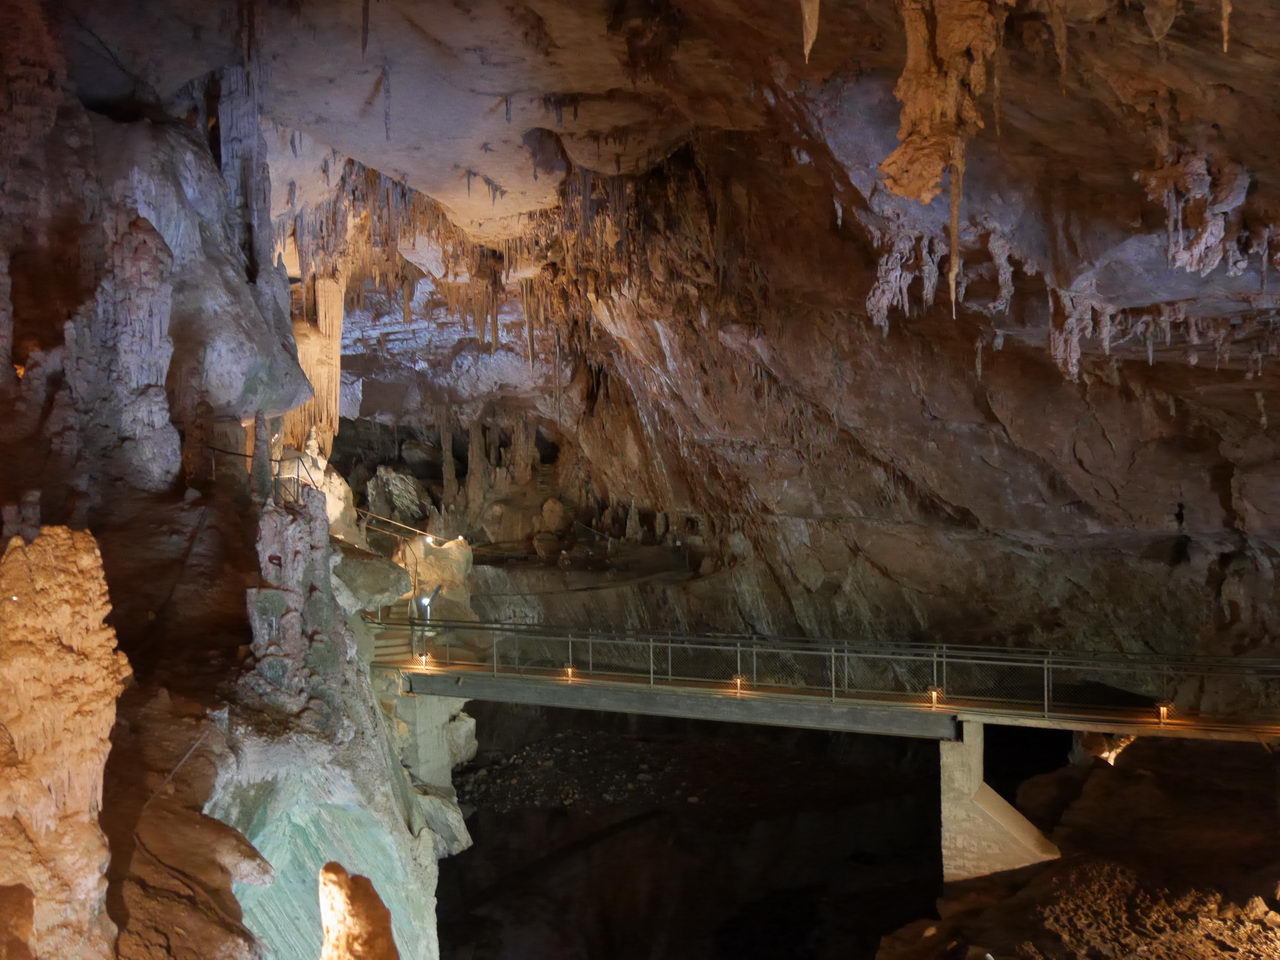
| View - Cave walk, looking back to entrance | Information sign | View - bridge over creek |
|
|
|
|
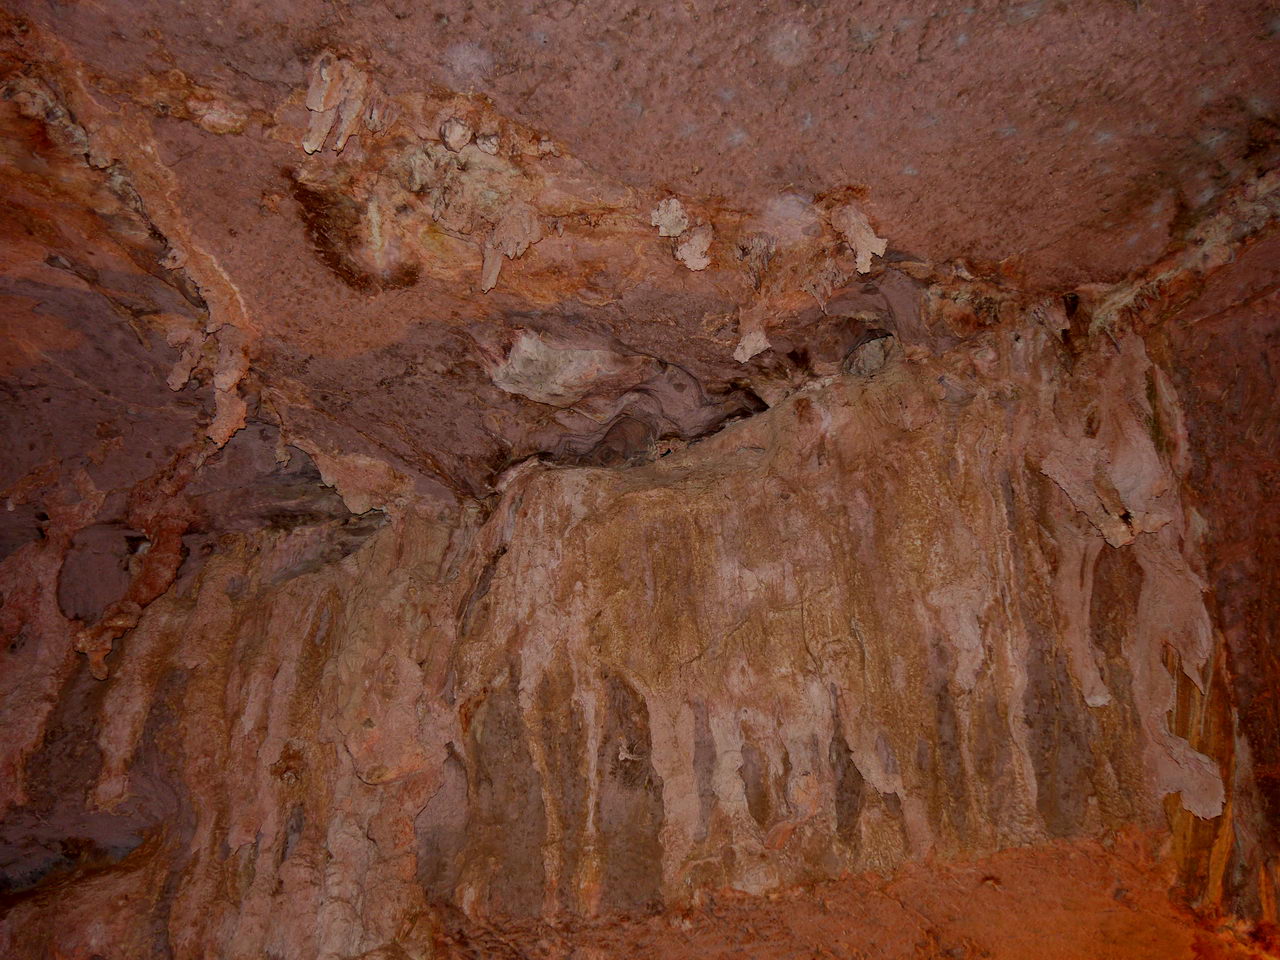
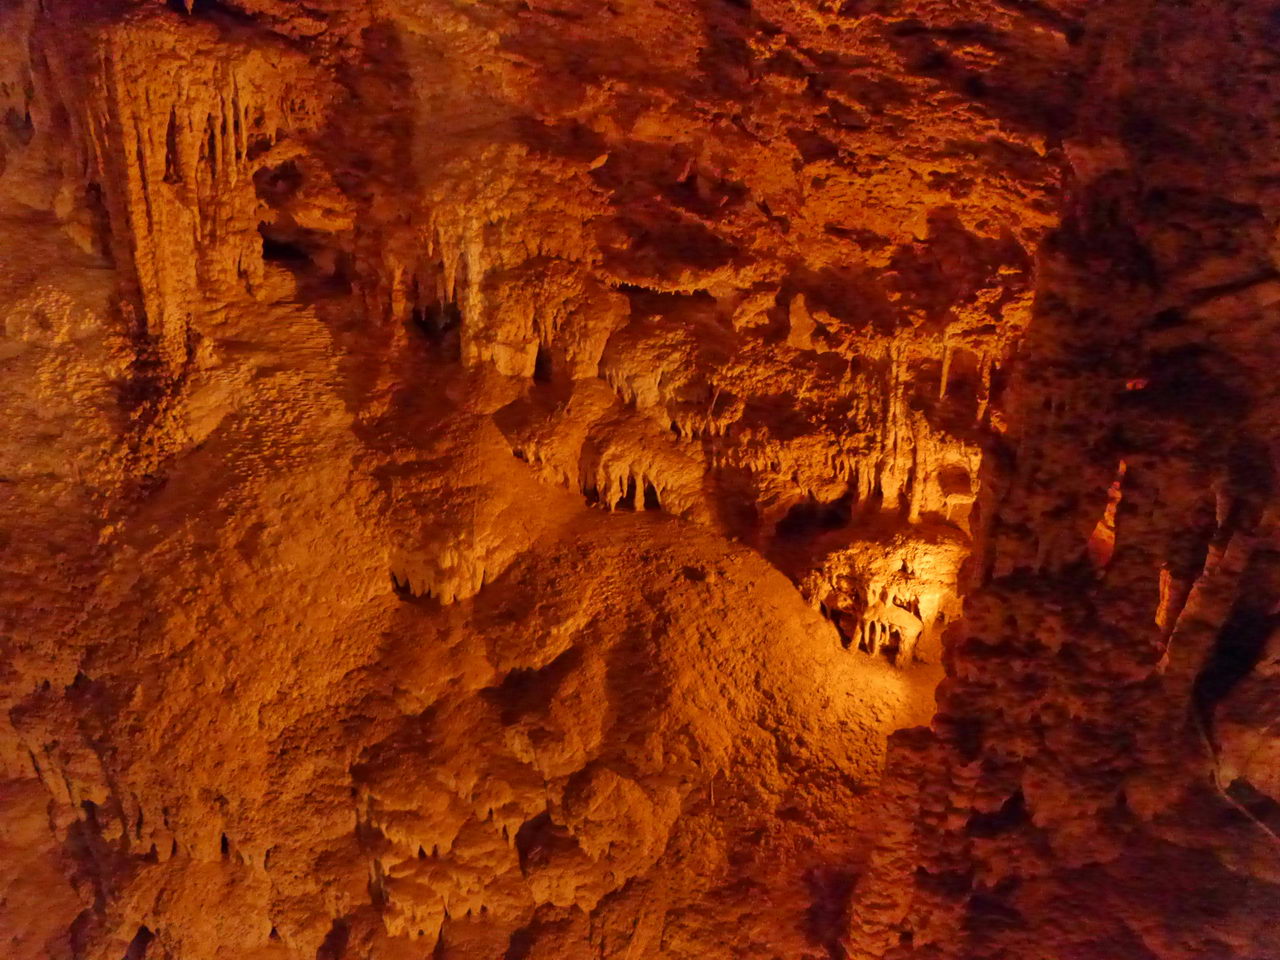
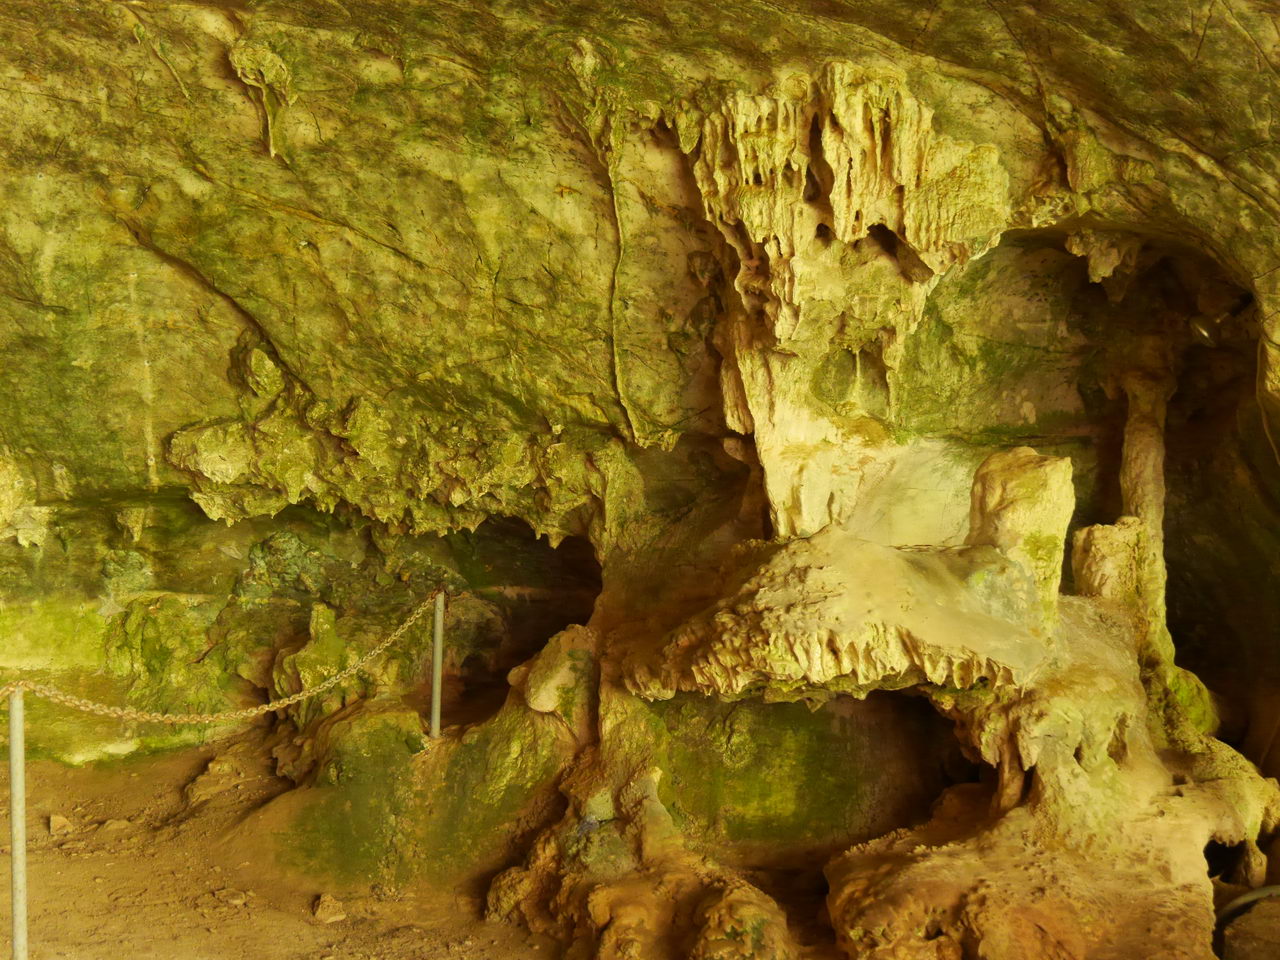
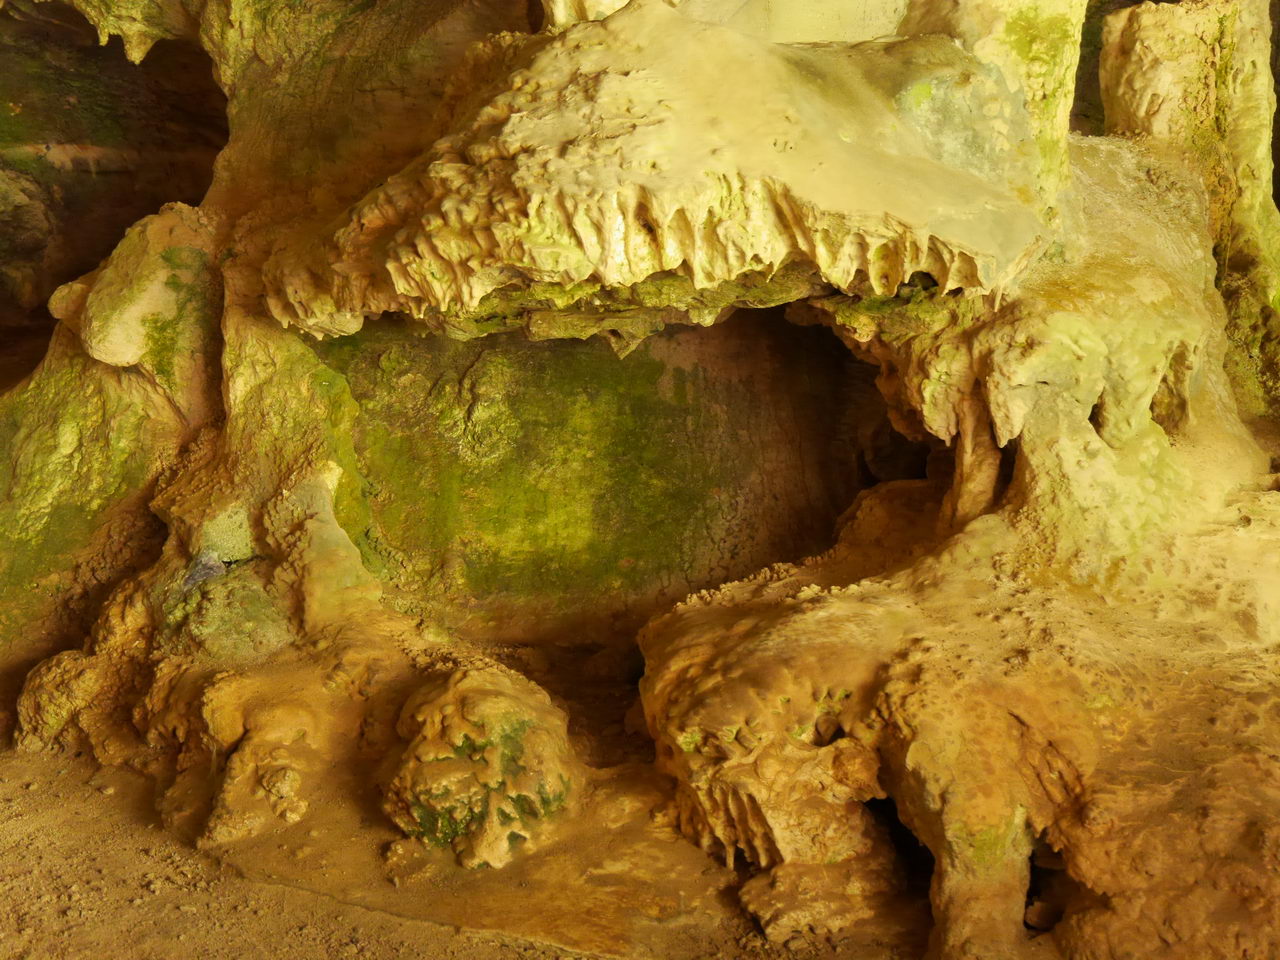
| View - cave formations | View - cave formations | View - cave formations |
|
|
|
|
| View - cave formations | View - bridge over creek | View - cave formations |
|
|
|
|
| View - cave formations | View - cave formations | View - cave entrance with Ranger leaving |
|
|
|
|
| View - cave entrance | View - cave formations | View - cave formations |
|
|
|
|
| View - cave formations | Information sign | View - bridge and cave formations |
|
|
|
|
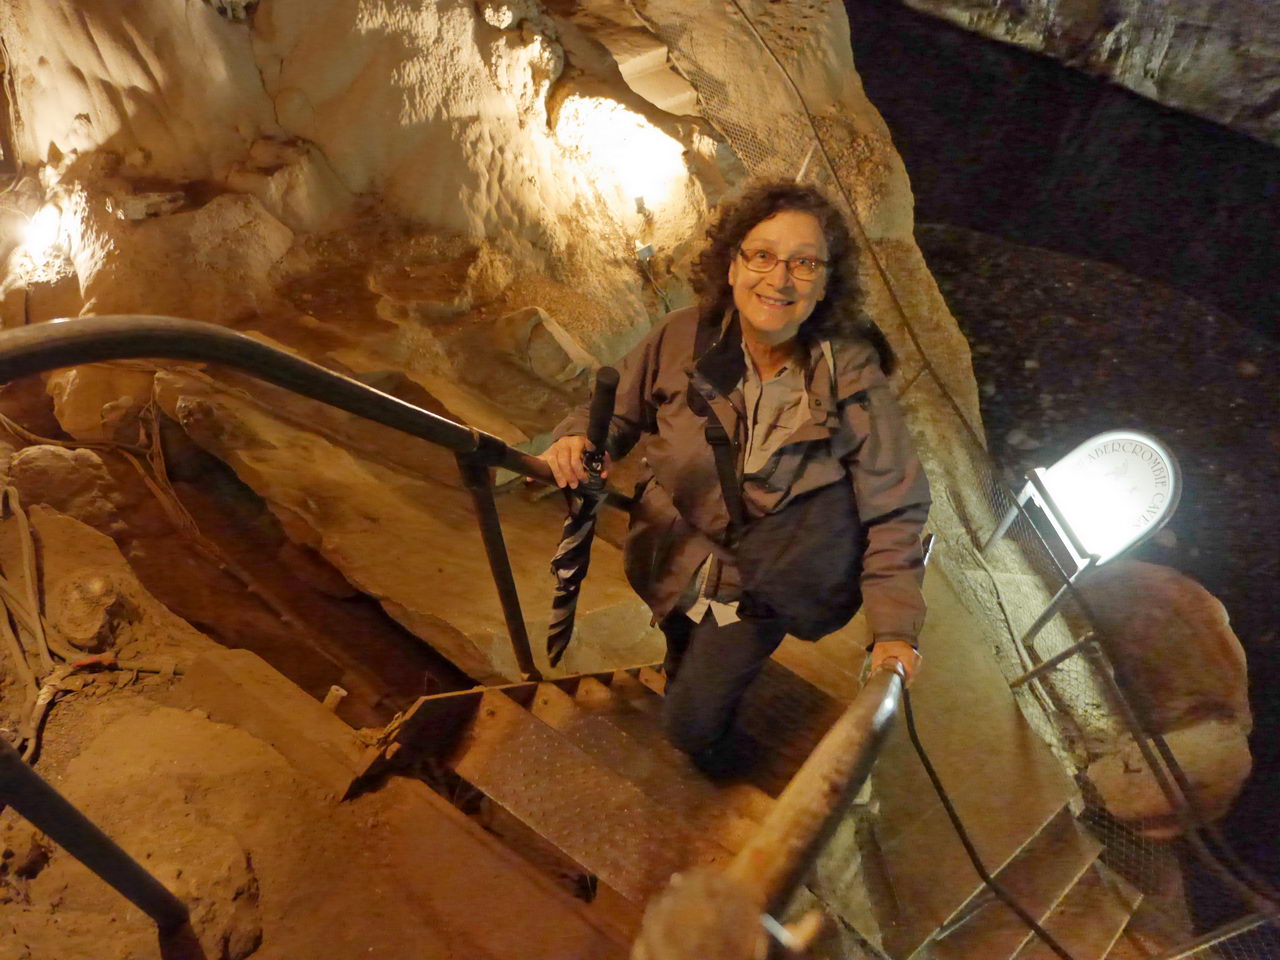
| View - bridge and cave formations | View - bridge and cave formations | View - Mischa climbing stairs |
|
|
|
|
| View - cave formations | View - cave formations | View - cave formations |
|
|
|
|
| View - cave formations | View - cave formations | View - cave formations |
|
|
|
|
| View - cave formations | View - cave formations | View - cave formations |
|
|
|
|
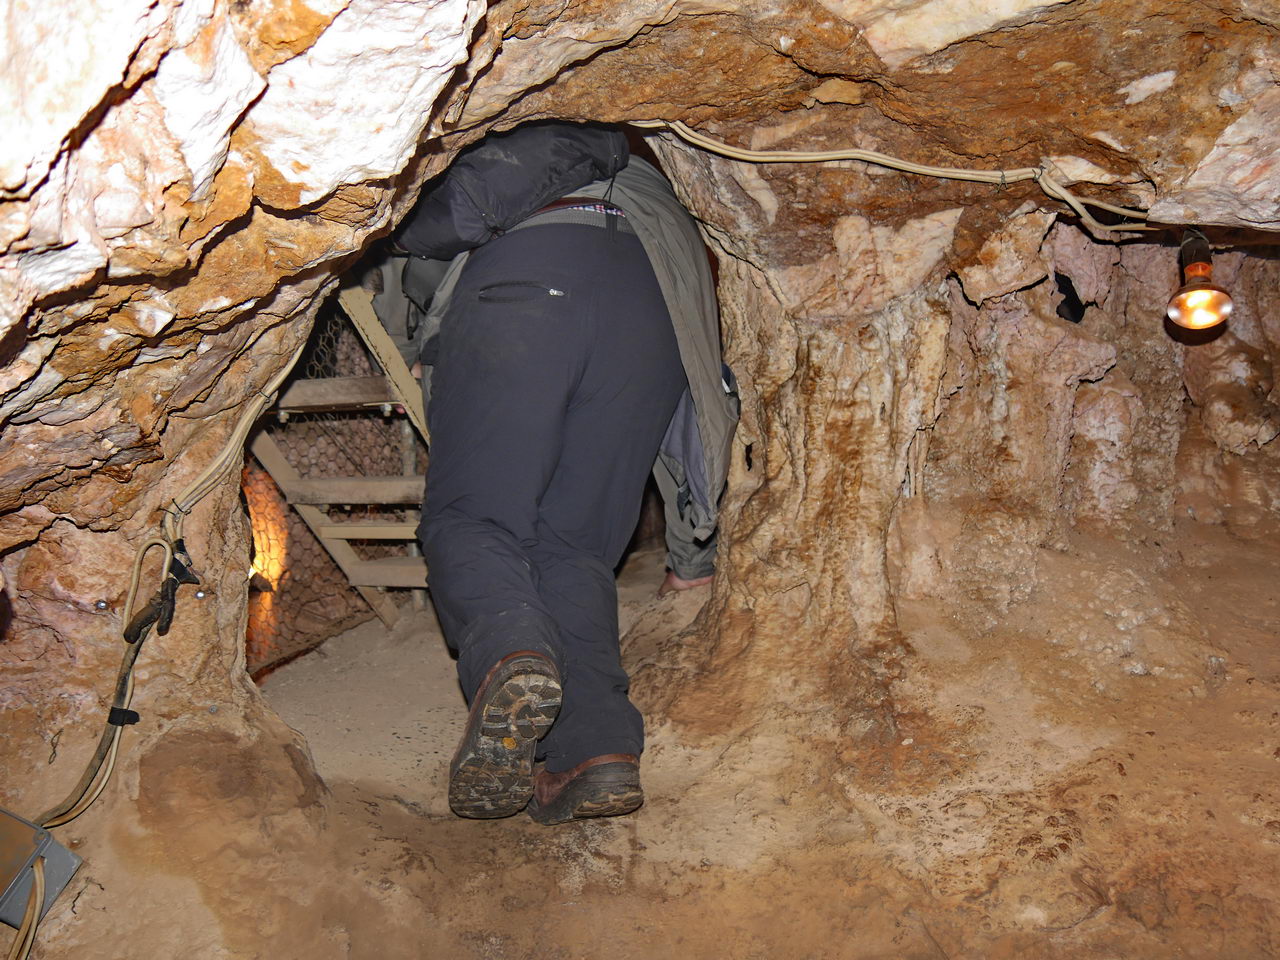
| View - cave formations | Some crawl spaces to find and explore | View - cave formations |
|
|
|
|
| View - cave formations | View - cave formations | View - cave formations |
|
|
|
|
| View - cave formations | View - cave formations | View - cave formations |
|
|
|
|
| View - cave formations | View - cave formations | View - cave formations |
|
|
|
|
| View - cave formations | More crawling | View - cave formations |
|
|
|
|
| View - cave formations - creek below | View - cave formations | View - cave formations |
|
|
|
|
| View - cave formations | View - cave formations | View - cave formations |
|
|
|
|
| View - cave exit ahead | View - cave exit ahead | View - cave bridge |
|
|
|
|
| View - cave bridge | View - Swing bridge | View - cave exit |
|
|
|
|
| View - Swing bridge | View - cave exit | View - cave exit |
|
|
|
|
| View - creek bed | Photo on swing bridge | View - cave formations |
|
|
|
|
| View - cave formations | View - cave exit | View - cave formations |
|
|
|
|
| View - cave formations | View - cave formations | View - cave formations |
|
|
|
|
| View - cave formations | View - cave walkway next to creek | View - cave formations |
|
|
|
|
| View - swing bridge | View - cave walkway | View - cave walkway |
|
|
|
|
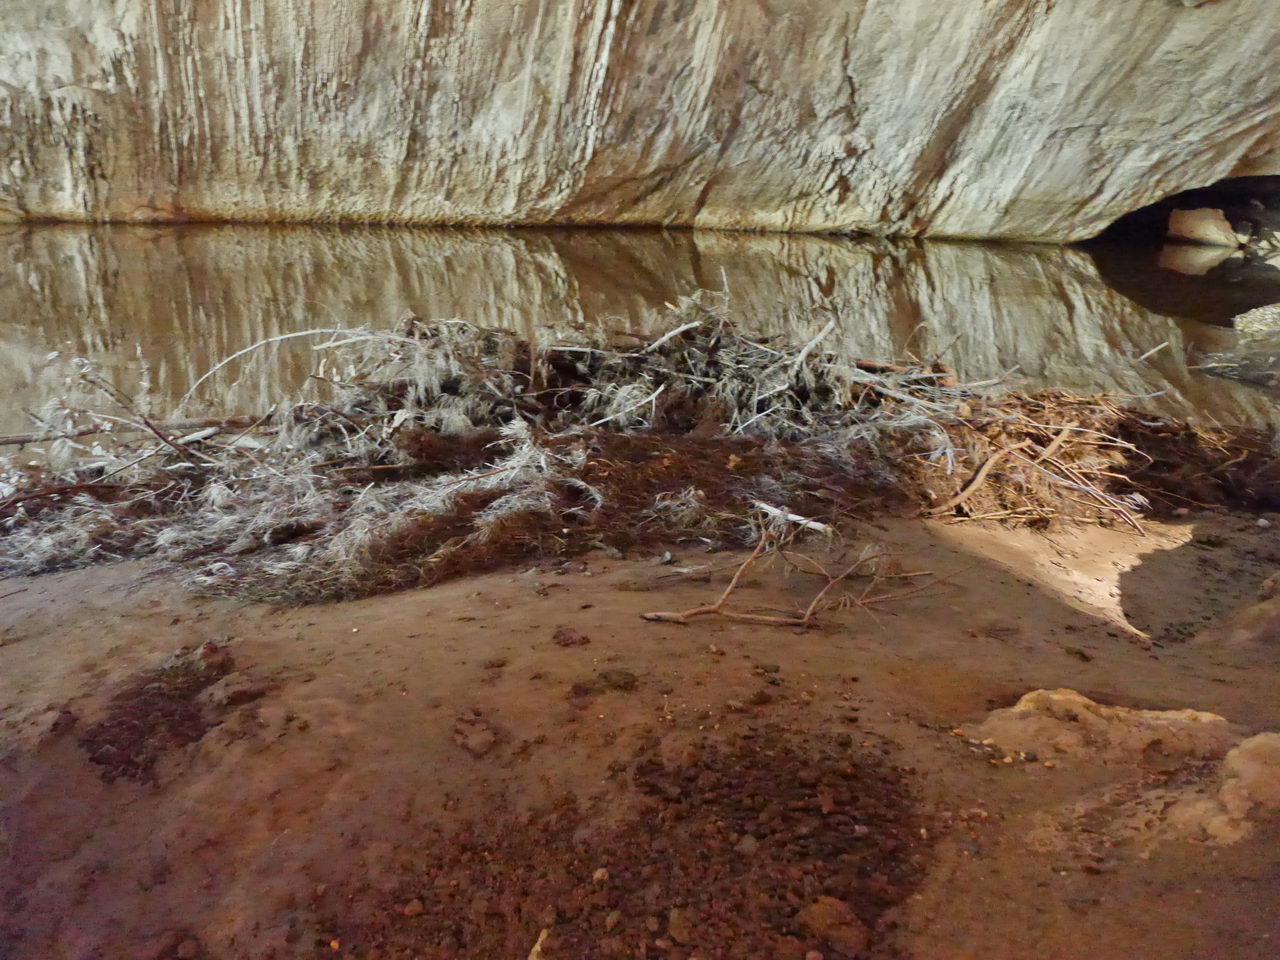
| View - swing bridge | View - cave formations | View - Debris next to creek |
|
|
|
|
| View - cave formations | View - cave formations | View - cave formations |
|
|
|
|
| View - cave formations | View - pathway to exit | View - cave formations |
|
|
|
|
| View - cave formations | View - cave formations | View - creek |
|
|
|
|
| View - pathway to exit | View - cave formations | View - park bench for relaxing |
|
|
|
|
| View - cave formations | View - cave formations | View - cave formations |
|
|
|
|
| View - cave formations | View - cave formations | View - cave formations |
|
|
|
|
| View - cave formations | View - cave formations and dancefloor | View - cave formations |
|
|
|
|
| View - cave formations | View - cave formations | View - cave formations |
|
|
|
|
| Information sign | View - cave formations | View - cave formations |
|
|
|
|
| View - cave formations | View - cave formations | View - cave formations |
|
|
|
|
| View - cave formations near exit | View - cave end | View - cave formations |
|
|
|
|
| View - cave formations | View - cave formations | View - dance floor |
|
|
|
|
| View - cave formations | View - cave formations | View - cave formations |
|
|
|
|
| View - cave formations | View - cave formations | Exit view |
|
|
|
|
| View - cave formations | View - cave formations | Exit view |
|
|
|
|
| View - cave formations | View - cave formations with dance floor | View - cave formations |
|
|
|
|
| View - cave formations | Information sign | View - cave formations |
|
|
|
|
| View - cave formations close to exit | View - cave formations close to exit | View - cave formations close to exit |
|
|
|
|
| View - cave formations close to exit | View - cave formations close to exit | The end - exit gate ahead |
|
|
|
|
| View - cave formations close to exit | The end - exit gate ahead | View - cave formations close to exit |
| |
|
|
| View - cave formations close to exit | View - cave formations close to exit | View - cave formations close to exit |
| |
|
|
| View - cave formations close to exit | View - outside of cave | Outside and heading back - tour over |